
When a network drive is mapped, you can easily share data between computers at the workplace or your home. If you add a file to a mapped drive and make any changes, it will be visible to all the devices having access to the drive. Users find this a convenient alternative to sharing such files after updating them each time through other mediums like Email.
You need to know the path of a network drive to connect to it and access data. It is simple to find the path of a network drive in Windows 10. Windows 10 offers you two ways to check the path, Command Prompt and the File Explorer method. Since many users are not comfortable using Command Prompt, we will be discussing both the methods in this article for your understanding.
Finding the Path of a Network Drive in Windows 10
Via Command Prompt
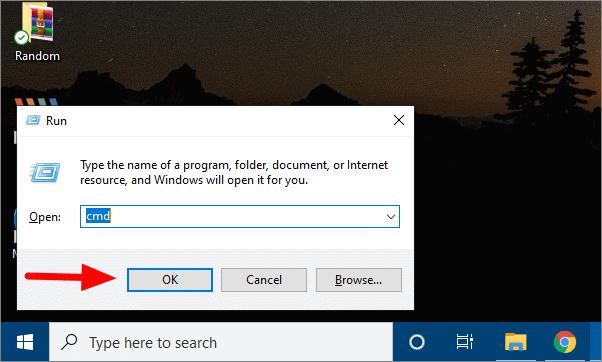
Search for Command Prompt in the search menu and then open it. You can also press WINDOWS + R, type ‘cmd’ in the text box, and press ENTER or click on ‘OK’ to access Command Prompt.
In Command Prompt, enter the following command to view the remote path of a network drive.
net use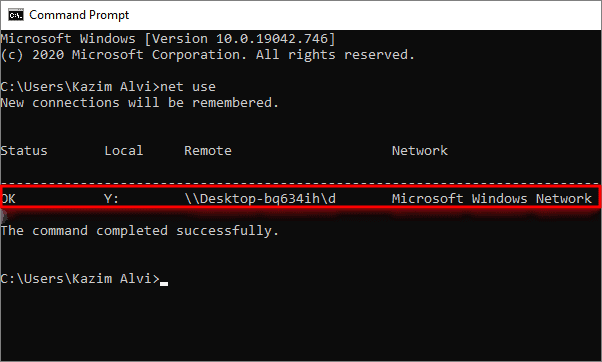
All the information of the mapped drive on your device is now displayed on the screen. ‘Status’ shows if the drive is currently mapped or not. ‘Local’ shows the drive letter you have appointed to the drive. ‘Remote’ shows the drive path of the mapped drive.
Via File Explorer
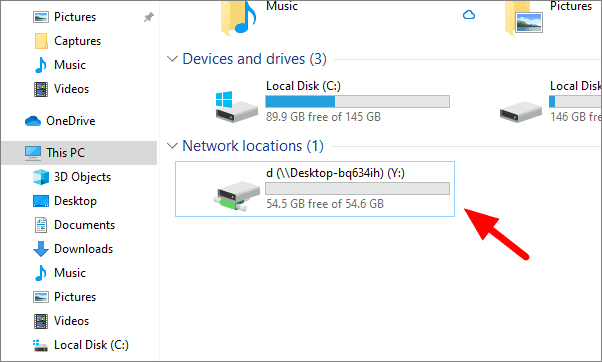
To check the path of a network drive using File Explorer, click on ‘This PC’ on the left panel in Explorer. Then double-click the mapped drive under ‘Network Locations’.
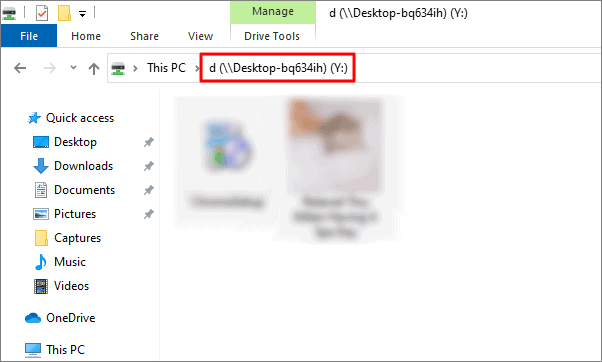
The path of the mapped network drive can be seen at the top.
Now that you know how to find the path of a network drive in Windows 10, you can find the path on your system using any of the methods discussed in this article.


