Mapping a network drive in Windows 10 simply creates a shortcut to a drive on another device. Anything stored on a mapped drive in another system will be visible on yours. This helps share data between multiple systems on a network.
Mapping a network drive is helpful in both home and office networks. A user with more than one computer at home can easily access the data on the first system while using the other. Say, you have two computers at home and have official data stored on both. If you map a drive on the first computer, the drive and the stored data will be visible on the second as if the drive was on the second computer.
Most offices across the globe employ mapping of a network drive to share data between systems on their network. There is no other way of accessing and sharing data, more convenient than mapping a drive.
Mapping a network drive is simple, but it involves some changes in settings that have to be done beforehand. In this article, we will learn about drive mapping and the various required settings.
Mapping a Network Drive
Before we proceed with the mapping part, we have to ensure that the network discovery is on.
Turning on Network Discovery
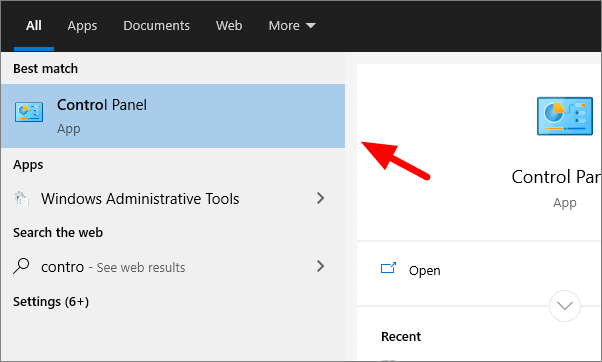
To check if the network discovery is on, search for ‘Control Panel’ in the Search Menu and then open it.
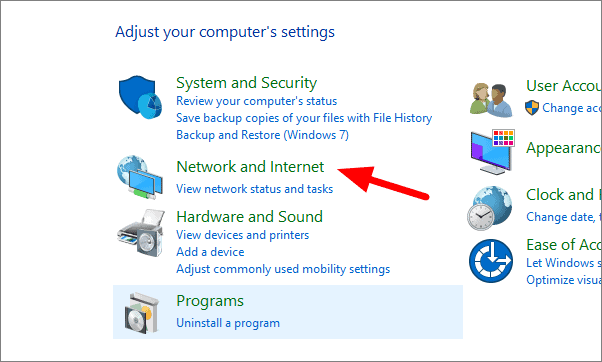
In the Control Panel, select ‘Network and Internet’.
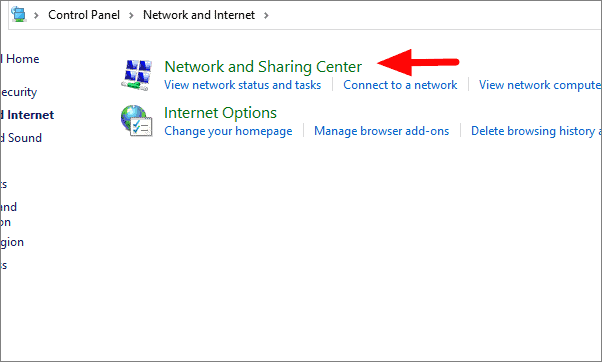
Now click on ‘Network and Sharing Center’, the first option.
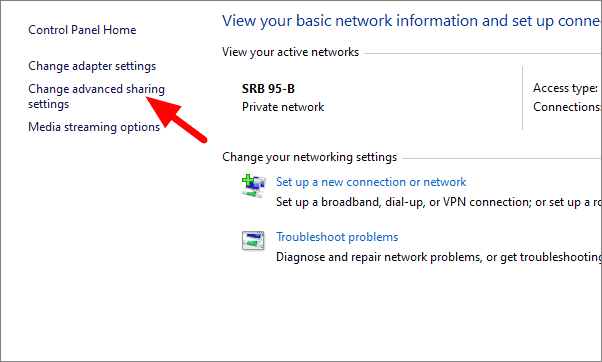
In ‘Network and Sharing Center’, you will see active networks and can access its detail. Click on ‘Change advanced sharing settings’ on the left.
In this window, you have to option to change the network settings on both private and public networks. Verify if the ‘Turn on network discovery’ is selected under Private, which is the current profile. Turn network discovery on in case it is turned off. Also, tick the checkbox for ‘Turn on automatic setup of network connected devices’.
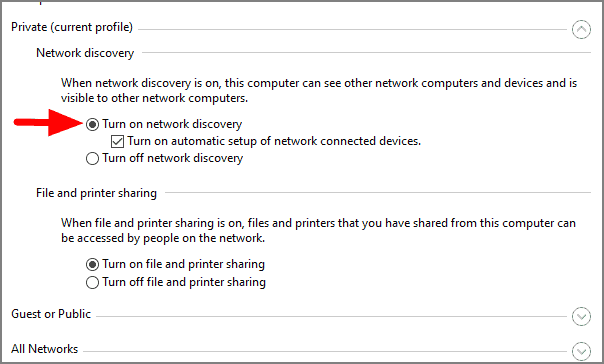
Your computer is now visible to other systems on the network, and you can also see the other systems. This is necessary before you can map a network drive.
Turn on Sharing for a Drive
If you plan to map a drive, you have to enable sharing from drive properties.
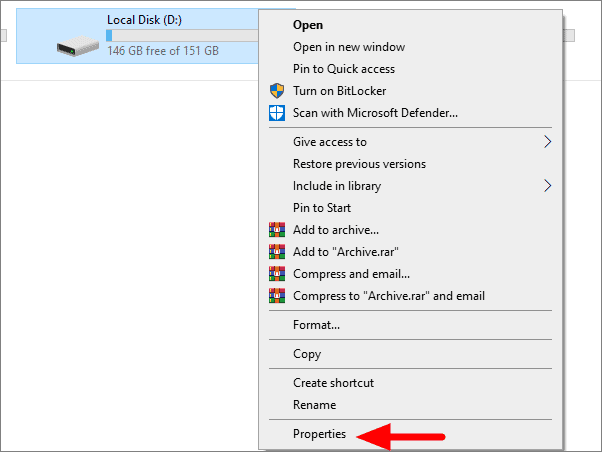
To enable sharing, right-click on the drive you want to map in File Explorer, and select ‘Properties’.
In disk properties, go to the ‘Sharing’ tab.
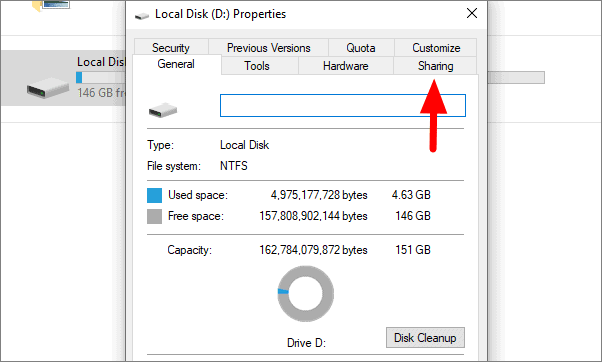
Here, you can see if the device is shared or not. In case, sharing is not enabled, click on ‘Advanced Sharing’.

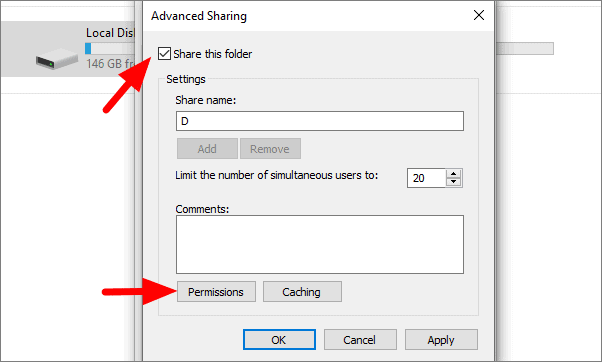
Now, tick the checkbox adjoining the ‘Share this folder’ option. You can also modify the level of access you wish to provide by clicking on ‘Permissions.’
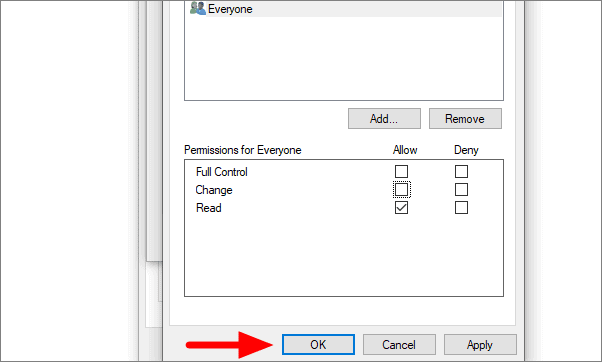
Select what kind of sharing control you want to enable under ‘Permissions for Everyone’ and then click ‘OK’ at the bottom.
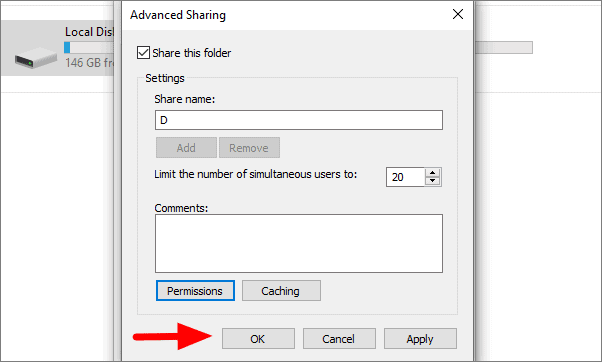
After saving the permissions, again click on ‘OK’.
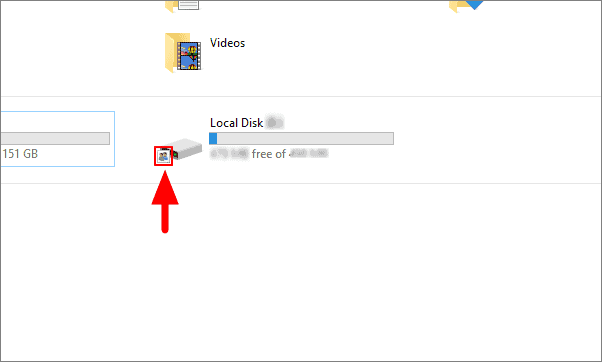
When sharing is enabled for a drive, a small icon will appear right under the drive.
Mapping a Drive
To map the drive, for which you just turned on sharing, follow the steps on the other computer where you want to access the drive. Before you proceed with drive mapping, ensure that the devices are on the same network.
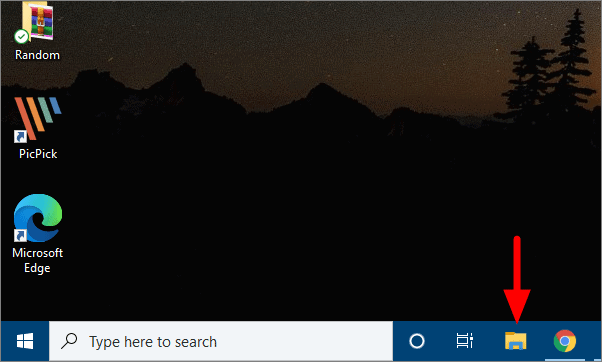
Click on the ‘File Explorer’ option in the Taskbar.
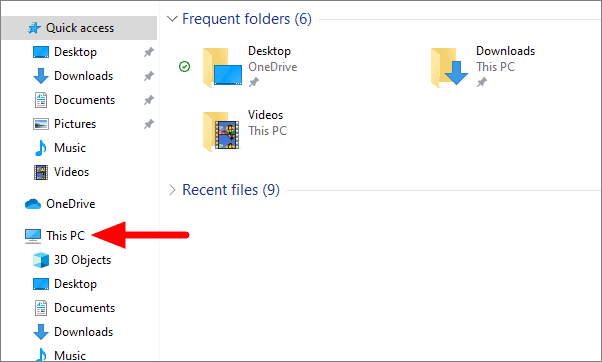
In File Explorer, click on ‘This PC’ at the left.
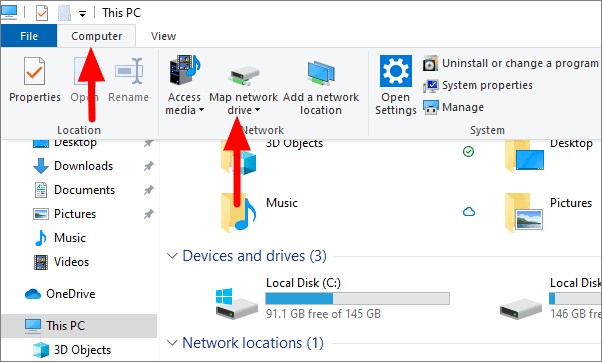
Now, go to the ‘Computer’ tab at the top and then select ‘Map network drive’ from the menu.
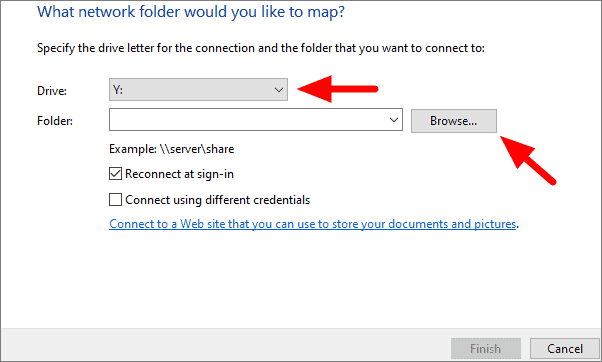
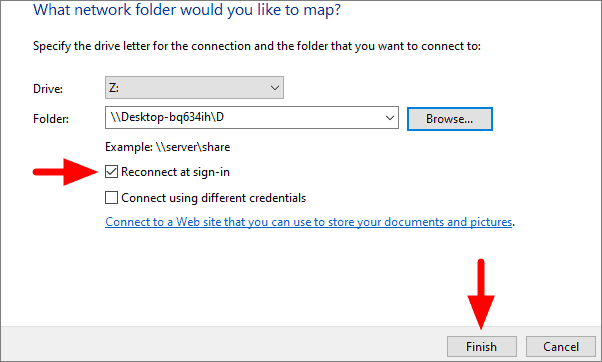
The Map Network Drive window will open on the screen. You can now select the drive letter by clicking on the box right next to ‘Drive’, select the drive letter from the drop-down menu, or go with the default option. After the selection of drive letter is made, click on ‘Browse’ to select the drive to be mapped.
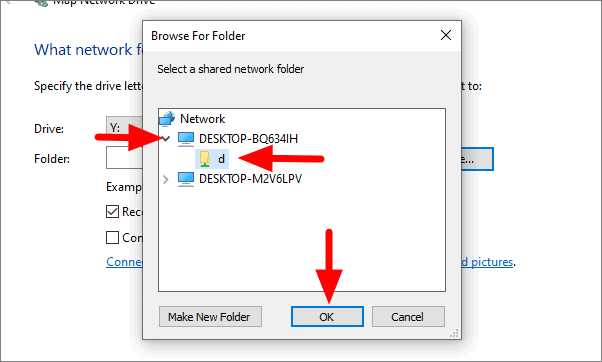
All the devices on the network will be visible on the system. Click on the device name, select the drive to be mapped and then click on ‘OK’.
See: How to Find the Path of a Network Drive in Windows 10
If you want to connect to the mapped drive every time you log in to your system, tick the checkbox for ‘Reconnect at sign-in’. Click on ‘Finish’ at the bottom after configuring drive mapping.
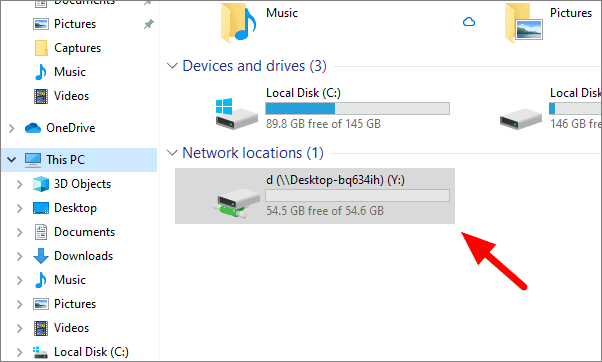
The mapped drive is visible under Network locations in ‘This PC’. You can now access the files on this drive and store data on it as well. All changes made on the mapped drive will also reflect on the other systems sharing the drive.
You can now start mapping drives on your network and access and share data over multiple devices.


