
Finding the installation folder of a program on your Windows 11 PC can be essential for troubleshooting, creating shortcuts, or accessing configuration files. Even if you’ve forgotten where you installed an application, Windows provides several methods to help you locate it.
Find the installation folder using the Start Menu
The Start Menu offers a quick way to navigate to a program’s installation directory:
- Click the Start button and type the name of the program you’re searching for.
- In the search results, right-click on the program and select Open file location.
This action will open the File Explorer directly to the location where the program is installed.

Locate the installation folder using Task Manager
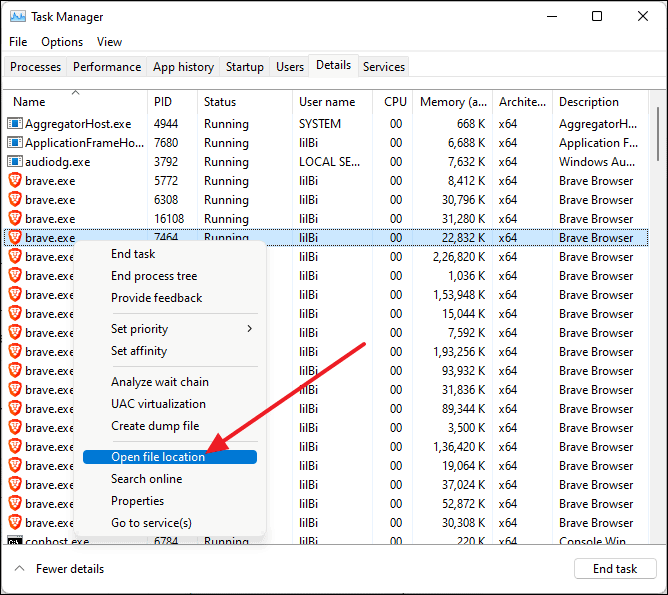
If the program is currently running, you can use Task Manager to find its installation path:
- Open Task Manager by pressing
Ctrl+Shift+Escor by searching for it in the Start Menu. - Click on the Details tab to view all running processes.
- Scroll through the list to find your program, right-click on it, and choose Open file location.
This will open the folder containing the program’s executable file.
Use the program icon to find the installation folder
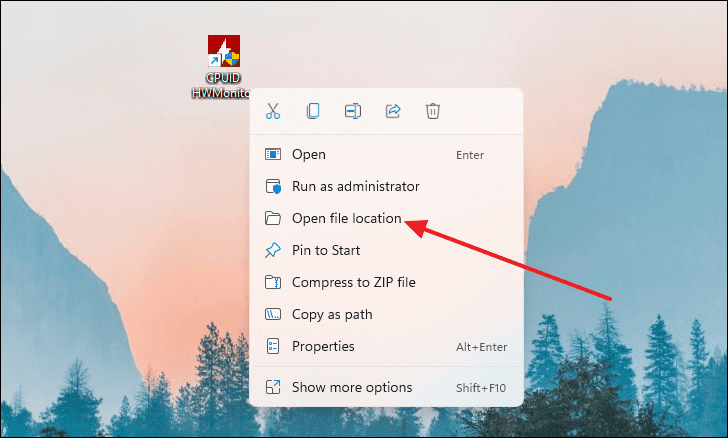
If you have a desktop shortcut for the program, you can quickly access its installation directory:
- Right-click on the program’s desktop icon.
- Select Open file location from the context menu.
The File Explorer will open to the program’s installation folder.
Find the program’s installation folder via File Explorer
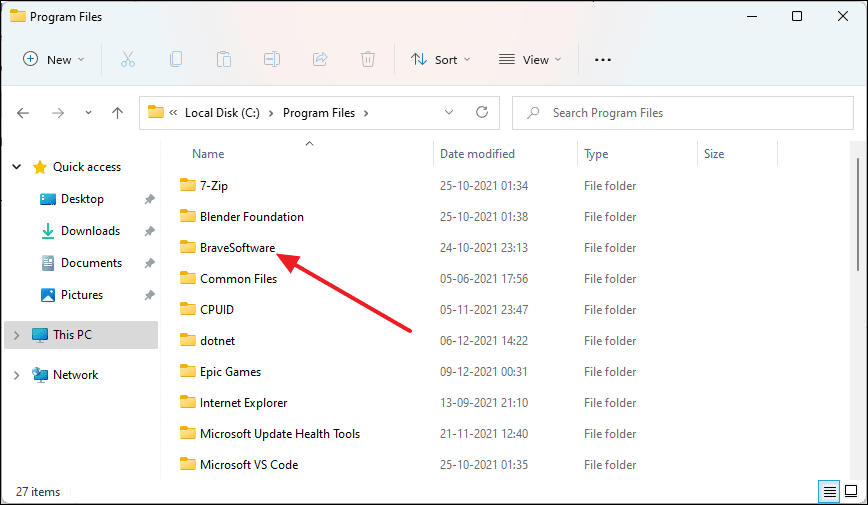
You can manually navigate to the default installation directories using File Explorer:
- Open File Explorer by pressing
Windows+Eor by clicking the File Explorer icon. - In the left pane, select This PC, then open Local Disk (C:) or the drive where Windows is installed.
- Locate and open the Program Files and Program Files (x86) folders.
- Browse through these folders to find the one named after your program.
This method may be time-consuming if you have many programs installed, but it’s useful if you prefer manual navigation.
By utilizing these methods, you can effortlessly locate where any program is installed on your Windows 11 PC, allowing you to manage your applications more effectively.


