Windows 11 introduced the capability to run Android apps natively using the Windows Subsystem for Android (WSA). The WSA allows users to enjoy a wide range of mobile applications directly on their desktops and laptops. However, you might encounter issues where Android apps fail to launch or don’t work correctly. This guide provides several solutions to help you troubleshoot and fix these problems.
Android apps not launching on Windows 11
If your Android apps are not launching at all, try the following methods to resolve the issue.
Restart your Windows 11 PC
Sometimes, a simple restart can resolve many underlying issues caused by prolonged system uptime. Restarting your PC refreshes system processes and can fix problems preventing Android apps from launching.
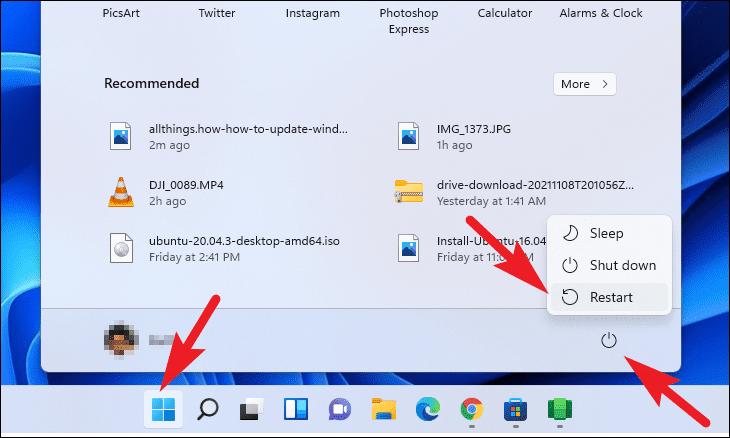
- Click on the Start menu.
- Click the Power button.
- Select Restart from the menu.
Ensure you save any open work before restarting to prevent data loss.
Restart Windows Subsystem for Android
Restarting the Windows Subsystem for Android (WSA) can clear temporary issues and refresh the environment necessary for running Android apps.
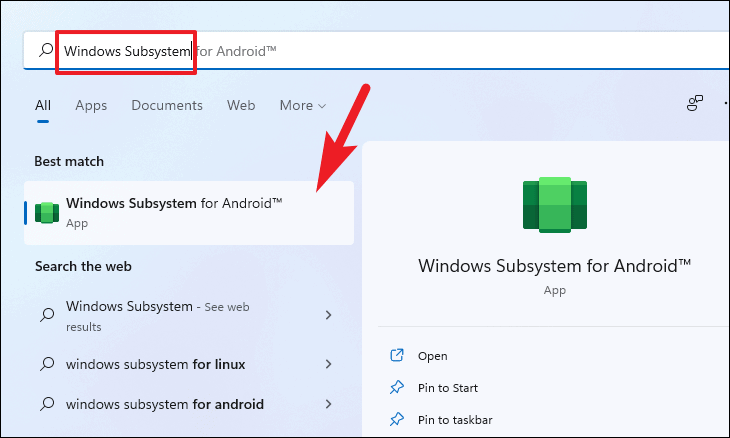
- Open the Start menu and type
Windows Subsystemin the search bar. - Click on Windows Subsystem for Android from the search results.
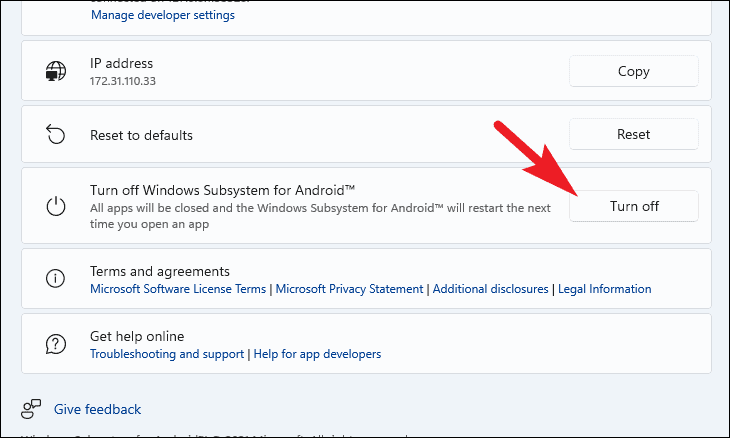
- In the WSA window, locate the Turn off Windows Subsystem for Android option and click on Turn off.
This will close any running Android apps and shut down WSA. When you launch an Android app again, WSA will restart automatically.
Update Windows Subsystem for Android
An outdated version of WSA might cause compatibility issues with Android apps. Updating WSA ensures you have the latest features and bug fixes.
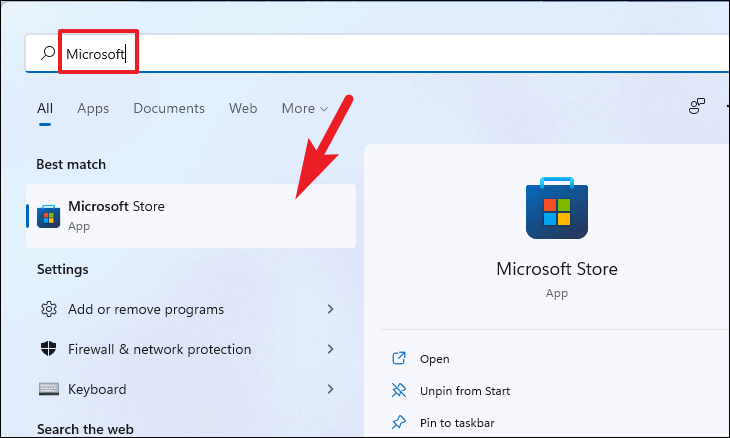
- Open the Microsoft Store from the Start menu.
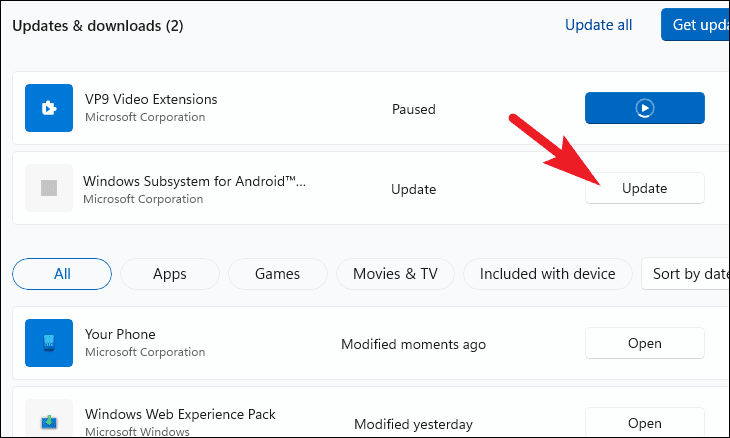
- In the Microsoft Store, click on Library at the bottom-left corner.

- Scroll through the list of apps and find Windows Subsystem for Android.
- Click on the Update button next to it.
After the update completes, restart your PC to ensure the changes take effect.
Reinstall Windows Subsystem for Android on your PC
If updating and restarting WSA doesn’t resolve the issue, reinstalling it might help fix corrupted files.
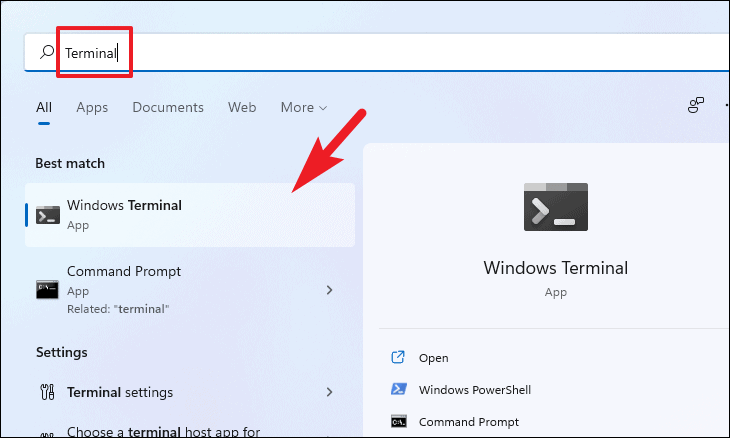
- Open Windows Terminal from the Start menu.
- In the terminal window, type the following command and press
Enterto uninstall WSA:
winget uninstall "Windows Subsystem for AndroidTM"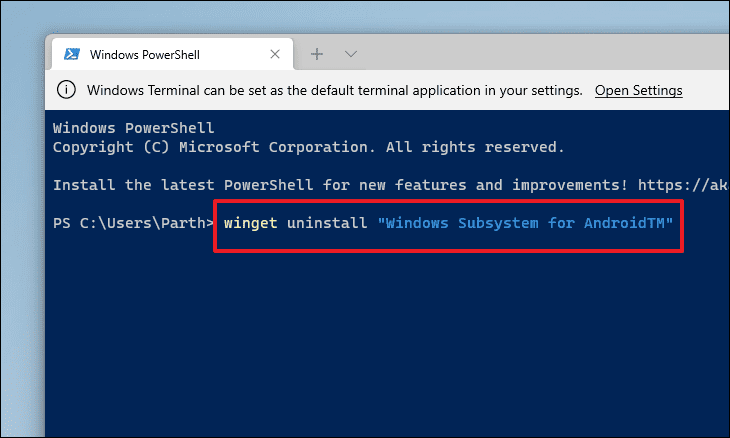
- After uninstallation, type the following command and press
Enterto search for WSA:
winget search "Windows Subsystem for AndroidTM"
- Install the latest version of WSA by typing the following command and pressing
Enter:
winget install "Windows Subsystem for AndroidTM"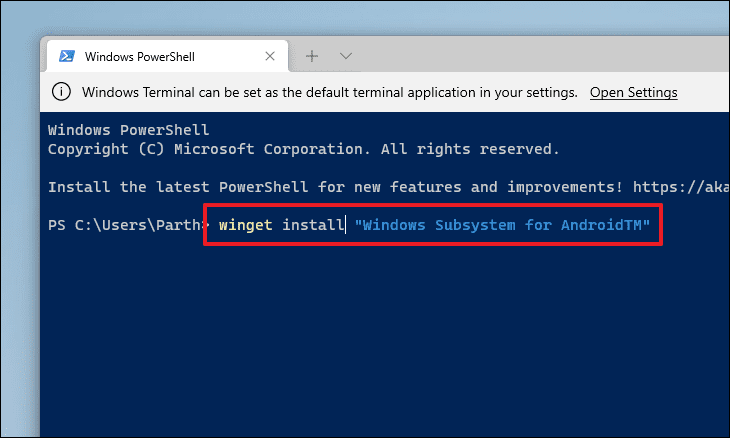
Android apps open but don’t work
If your Android apps launch but don’t function correctly, such as not responding to input or failing to display content, try the following solutions.
Clear app cache and data
Clearing an app’s cache and data can resolve issues caused by corrupted files or settings.
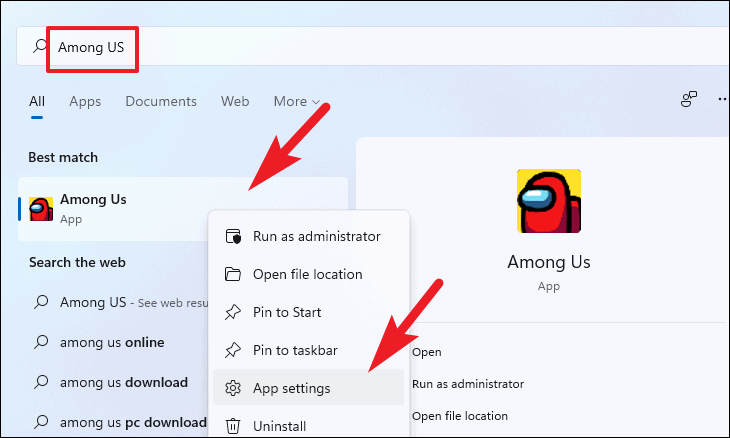
- Open the Start menu and search for the Android app.
- Right-click on the app and select App settings from the context menu.
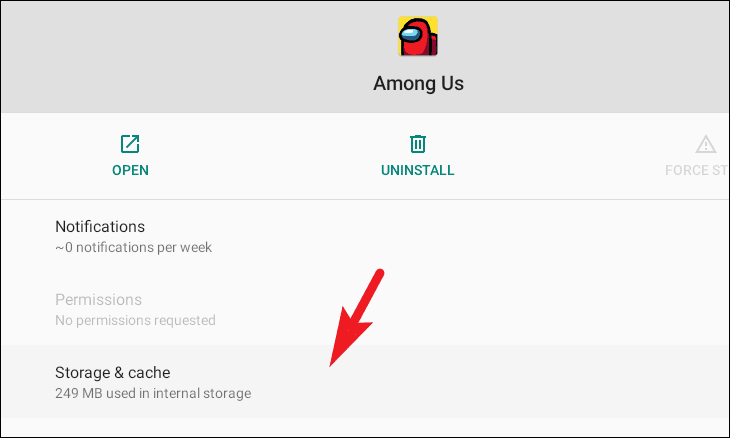
- In the app settings window, scroll down and click on Storage & cache.
- Click on CLEAR STORAGE and then on CLEAR CACHE to reset the app to its default state.
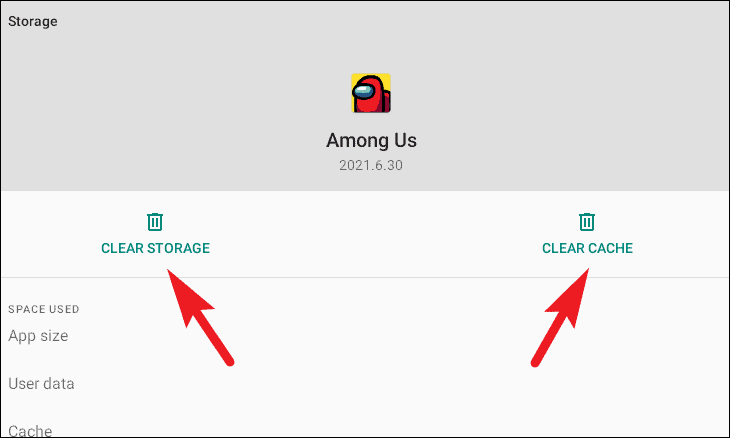
After clearing the cache and data, relaunch the app to see if the issue is resolved.
Update the Android app
An outdated app version might not work properly with the latest system updates. Updating the app can resolve compatibility issues.
If you installed the app from the Amazon Appstore or Google Play Store:
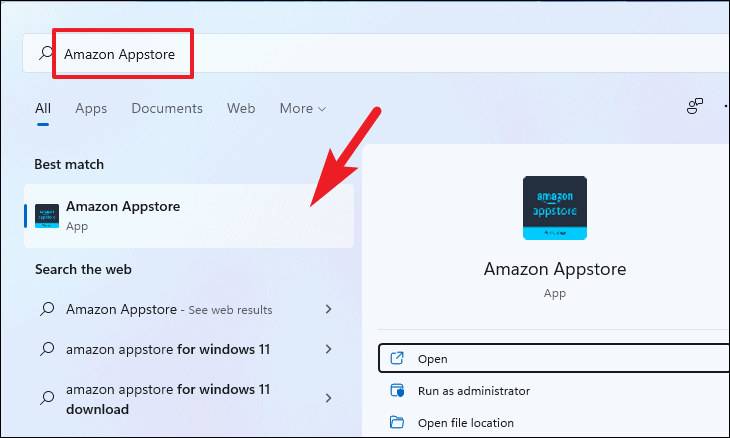
- Open the respective app store from the Start menu.
- Search for the app and navigate to its page.
- Click on Update if an update is available.
If you sideloaded the app using an APK file, you need to reinstall it with the updated version.
- Download the latest APK file of the app.
- Place the APK file in your Android SDK Tools directory.
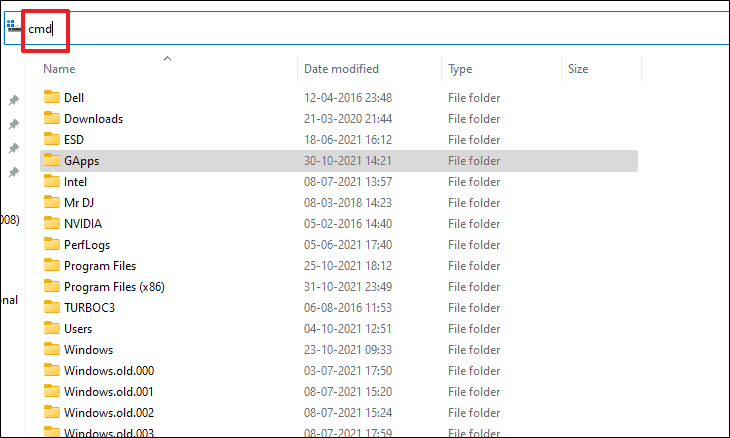
- Open
Command Promptin that directory by typingcmdin the address bar and pressingEnter.
Note: Replace <packagename.apk> with the name of your APK file.
- Uninstall the existing app without deleting its data by running the command:
adb uninstall -k <packagename.apk>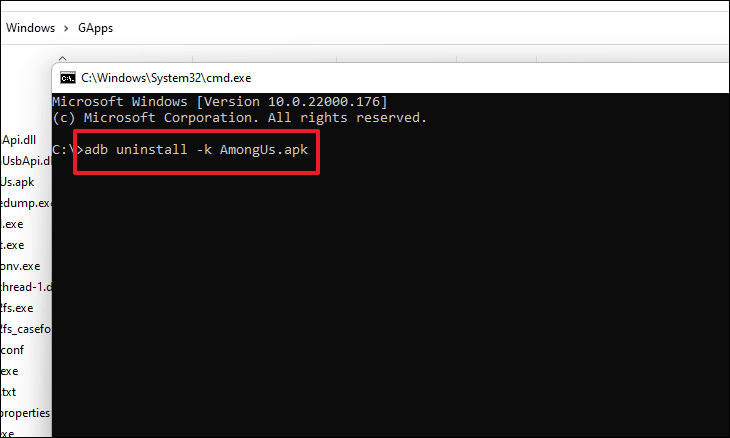
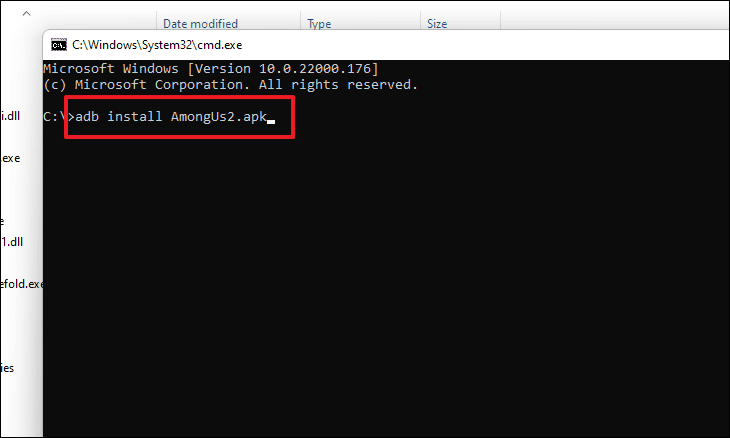
- Install the new version of the app using the command:
adb install <packagename.apk>Ensure the new APK is a newer version than the one you had installed.
Reinstall the app on your system
If updating doesn’t help, reinstall the app to resolve any underlying issues.
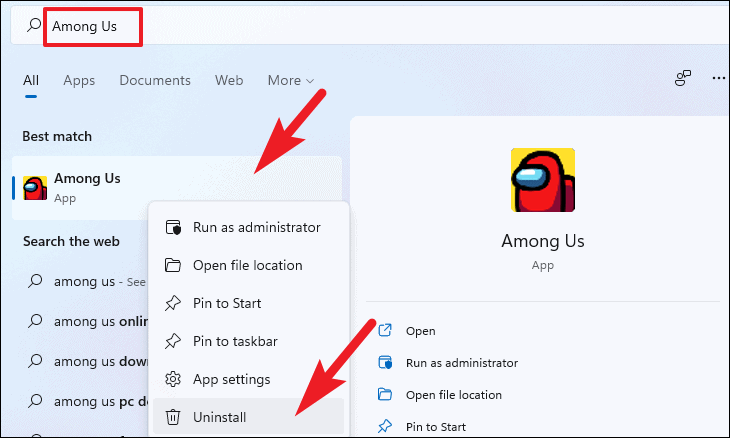
- Open the Start menu and search for the app.
- Right-click on the app and select Uninstall.
- After uninstallation, reinstall the app:
- If you used an APK file, double-click the APK to install it.
- If you installed the app from an app store, open the store, search for the app, and click Install.
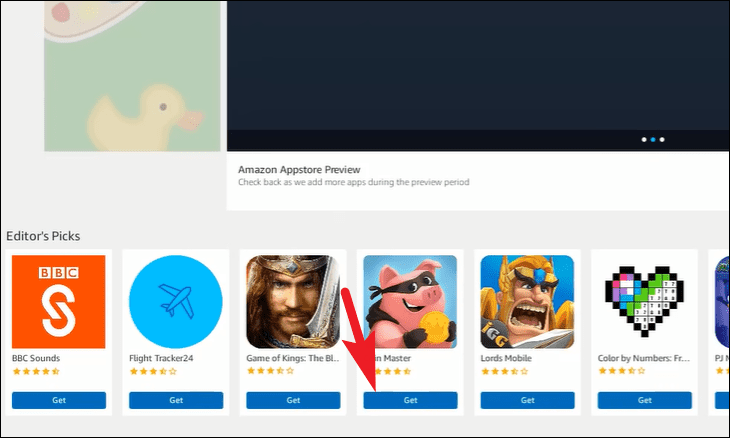
For example, to reinstall from the Google Play Store:
- Search for the app in the store and click on Install or Get.
Installed app could be incompatible
Some Android apps might not be compatible with Windows 11’s WSA, especially if they have not been officially released for Windows. Incompatibility issues can cause apps to malfunction or not respond properly.
Unfortunately, there is no direct fix for incompatible apps. You may need to wait for official support or look for alternative apps that are compatible with Windows 11.
By following these methods, you should be able to resolve most issues with Android apps not working on Windows 11.


