Windows 11 introduces the capability to run Android apps natively on your PC. While Microsoft’s partnership with the Amazon Appstore provides access to a variety of apps, you can broaden your options by installing the Google Play Store. This guide will walk you through the steps to prepare your Windows 11 computer and install the Google Play Store, giving you access to millions of Android apps.
Getting Your Windows 11 PC Ready for Google Play Store
Before installing the Google Play Store, you need to enable the Windows Subsystem for Linux (WSL) and the Virtual Machine Platform features on your system.
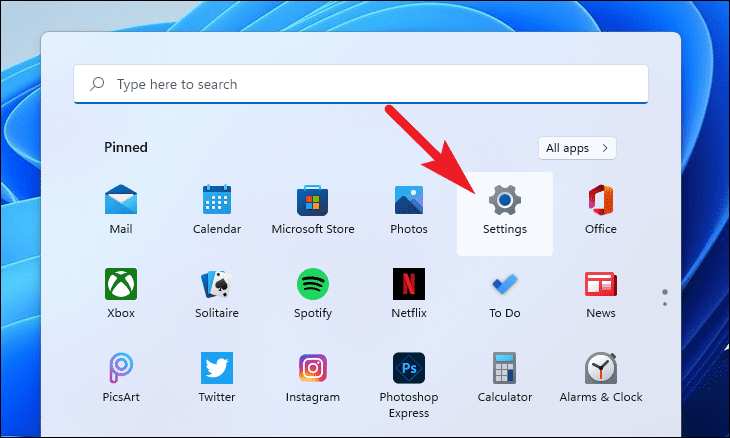
- Open the Settings app by clicking the Start Menu and selecting the gear icon, or press
Windows+Ion your keyboard.
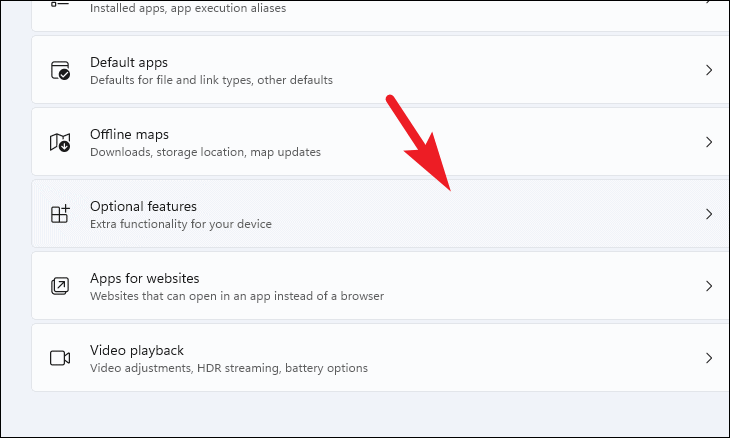
- In the Settings window, click on the Apps tab on the left sidebar.

- On the right side, select Optional features.
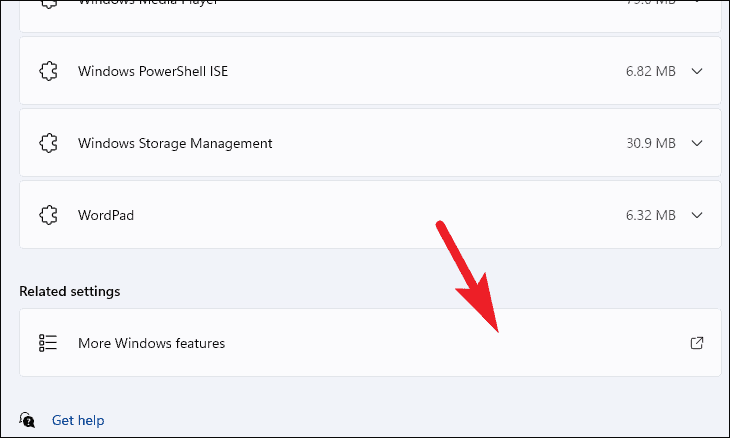
- Scroll down to the Related settings section and click on More Windows features. This will open a new window.
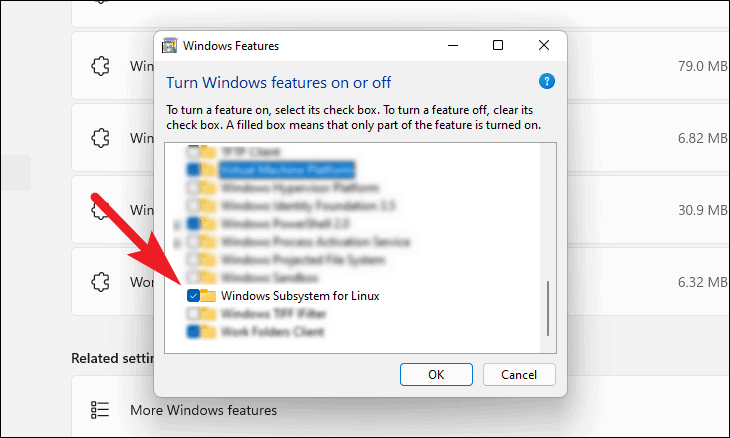
- In the Windows Features window, find and check the box next to Windows Subsystem for Linux.
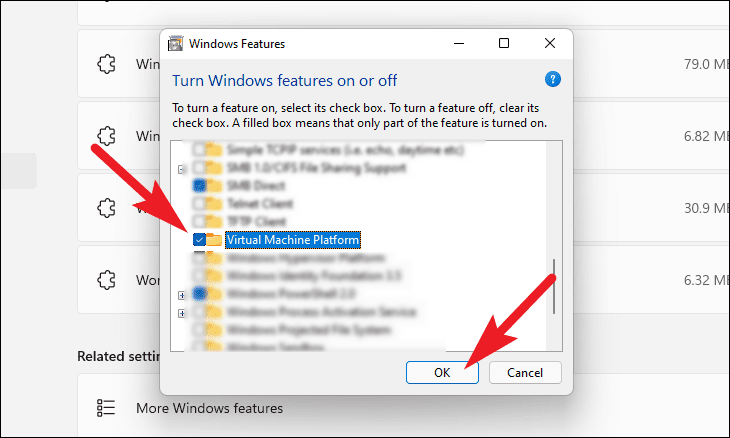
- Also, check the box next to Virtual Machine Platform and click OK to install these features.
Windows will take some time to install these features. Once the installation is complete, proceed to the Microsoft Store to install Ubuntu.
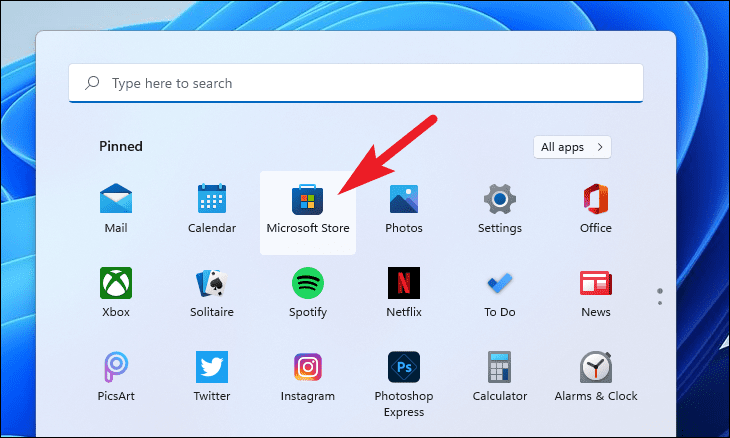
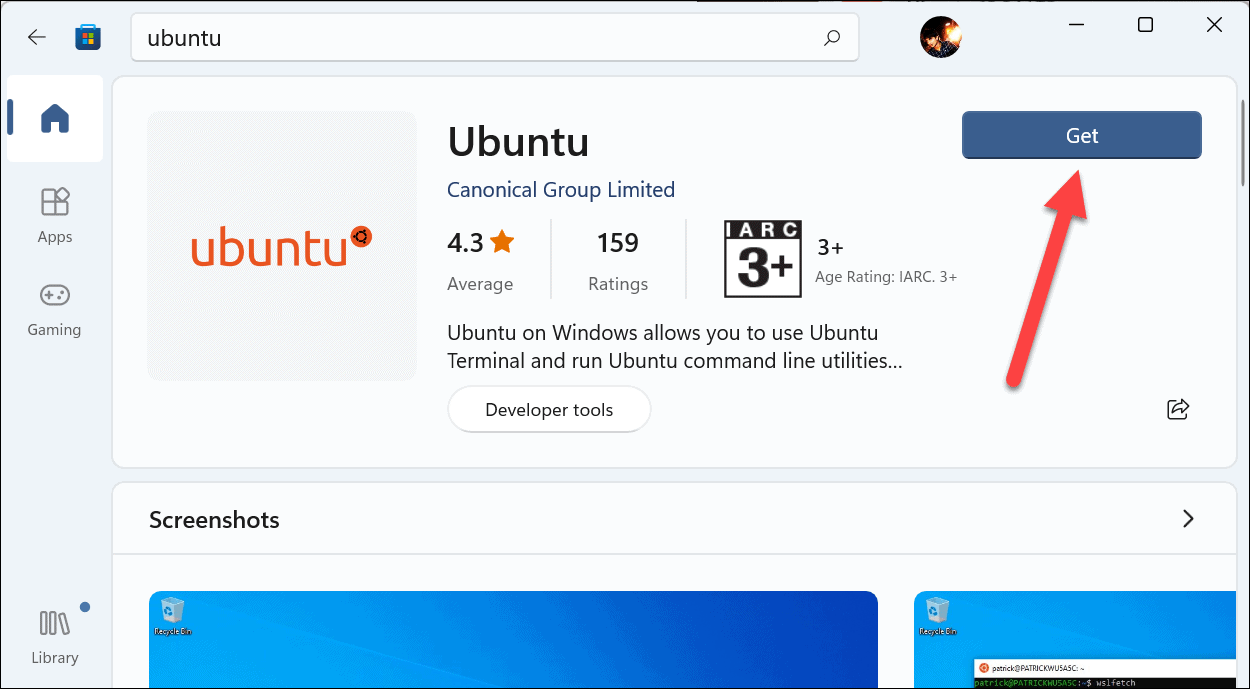
- Open the Microsoft Store from the Start Menu or by searching for it in Windows Search.
- In the Microsoft Store, type
Ubuntuinto the search bar at the top and pressEnter.
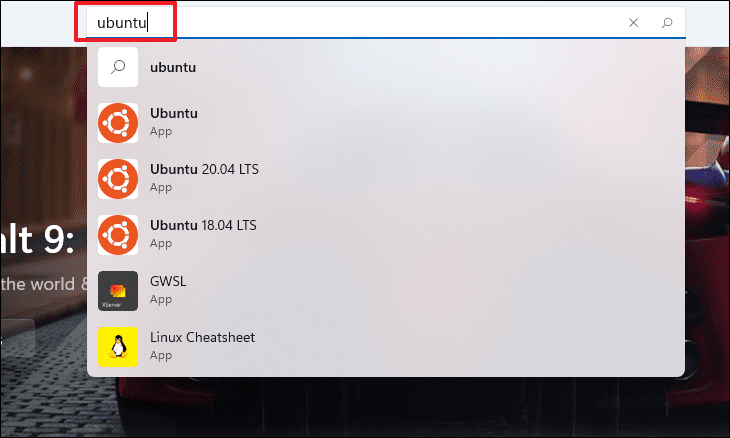
- Click the Get button next to Ubuntu to install it on your system.
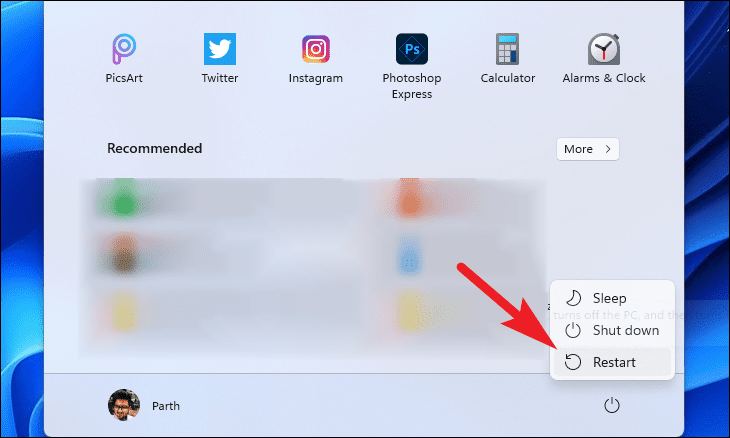
After installing these features, it’s recommended to restart your computer to apply the changes.
- Restart your PC by clicking the Start Menu, selecting the Power icon, and choosing Restart.
Manually Installing Google Play Store along with Windows Subsystem for Android
To install the Google Play Store, we’ll modify the Windows Subsystem for Android package using a third-party tool. This process involves several steps, so follow them carefully.
Pre-requisites
- Windows Subsystem for Android msixbundle (Download here)
ProductId: 9P3395VX91NR, Ring: SLOW - Google Apps package installer (64-bit | ARM64)
- File Archiver Tool (e.g., 7-Zip, WinRAR)
Install Google Play Store Using Linux PowerShell
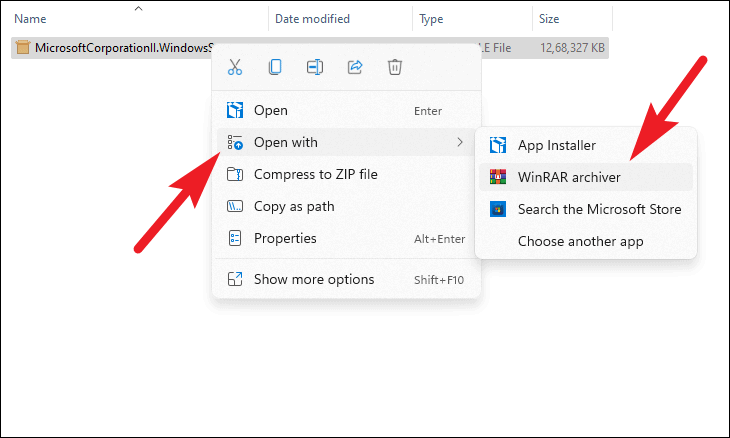
- Navigate to the directory where you downloaded the Windows Subsystem for Android msixbundle.
Right-click the .msixbundle file, hover over Open with, and select your file archiver tool to open it.
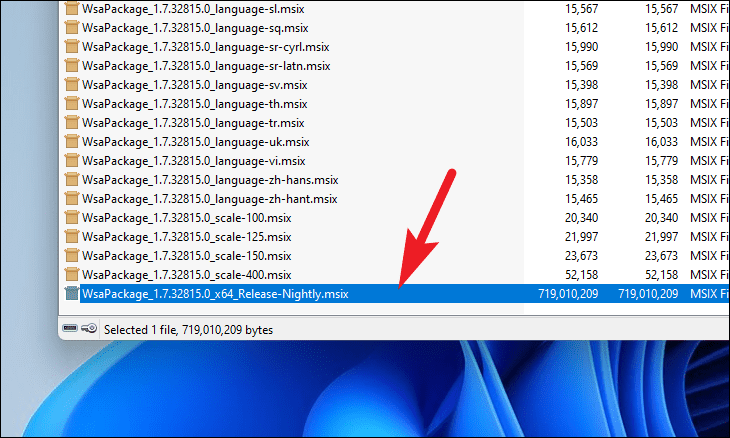
- Inside the archive, locate and open the
.msixpackage. - Select all files (
Ctrl+A) and copy them (Ctrl+C).
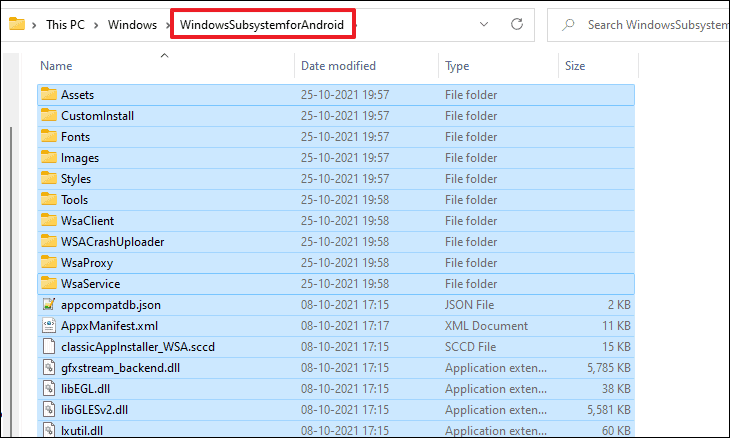
- Go to your Windows installation drive (usually C:), create a new folder named
Windows Subsystem for Android, and paste the copied files there (Ctrl+V).
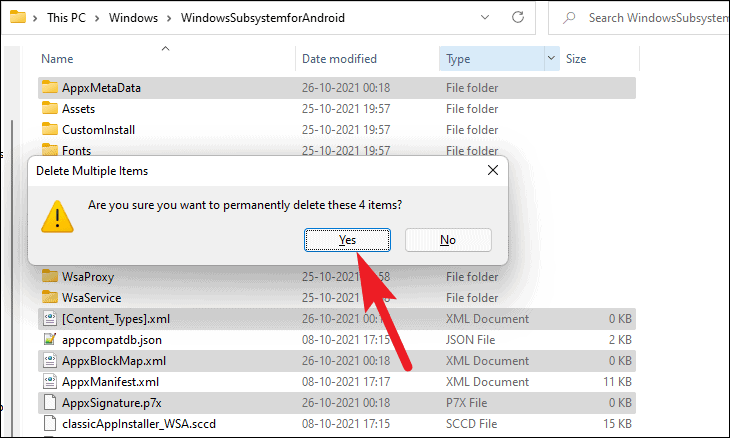
- Delete the following files and folders:
AppxBlockMap.xml,AppxSignature.p7x,[Content_Types].xml, and theAppxMetadatafolder. Confirm the deletion when prompted.
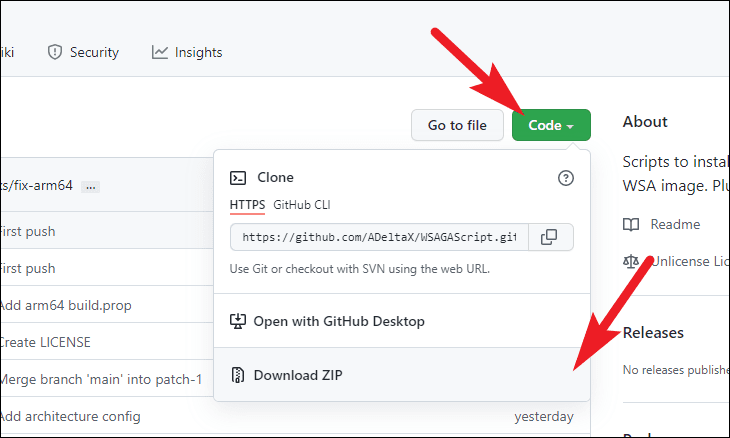
- Download the WSAGAScript tool from the GitHub repository. Visit github.com/ADeltaX/WSAGAScript, click on Code, and select Download ZIP.
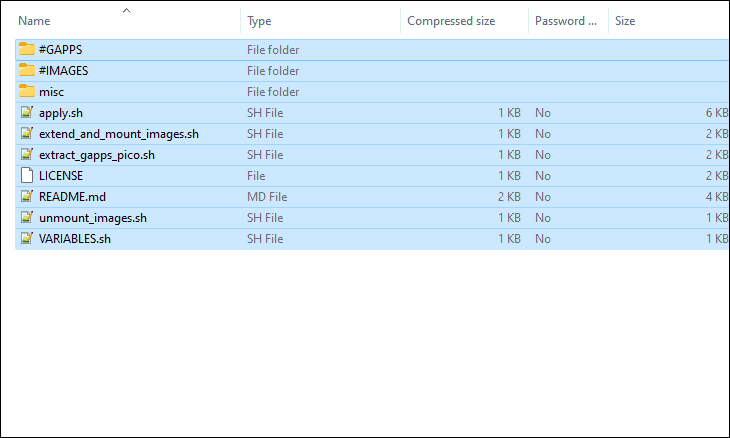
- Extract the contents of the downloaded
WSAGAScript-main.zipfile. - Copy all extracted files and folders (
Ctrl+Ato select all, thenCtrl+Cto copy).
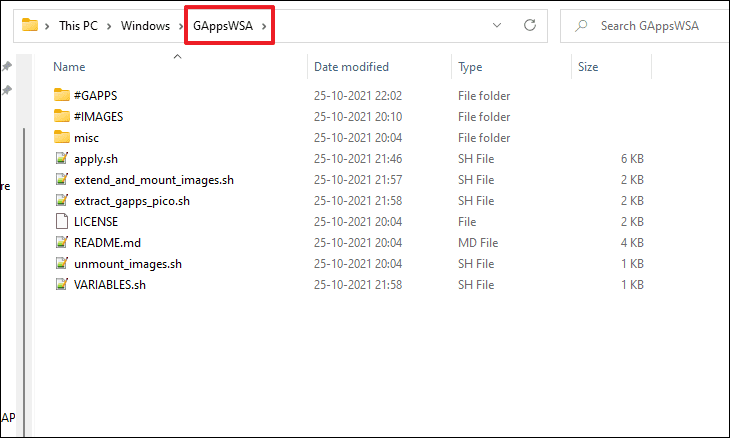
- Create a new folder named
GAppsWSAon your Windows installation drive and paste the copied files there (Ctrl+V).
- Copy the following files from the Windows Subsystem for Android folder:
vendor.img,system.img,system_ext.img, andproduct.img.
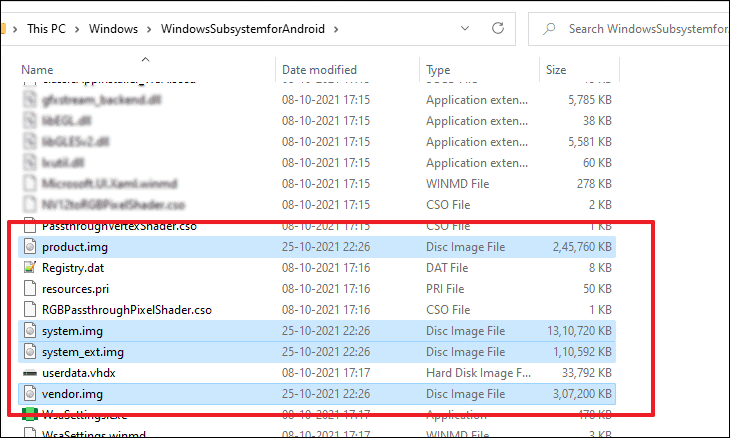
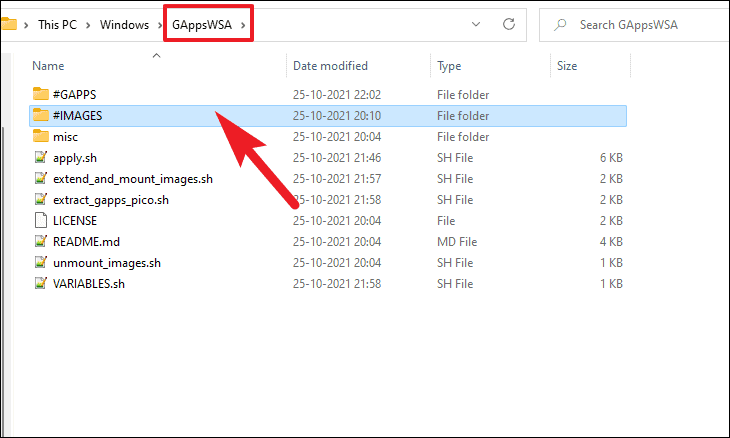
- Paste these files into the
#IMAGESfolder inside GAppsWSA.
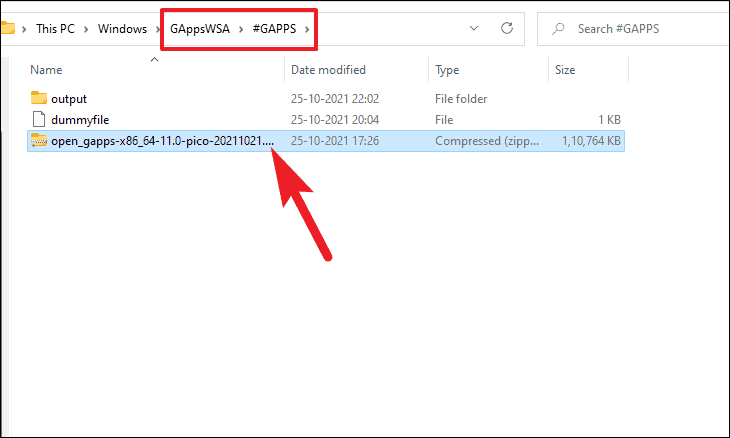
- Copy your downloaded GApps zip file.
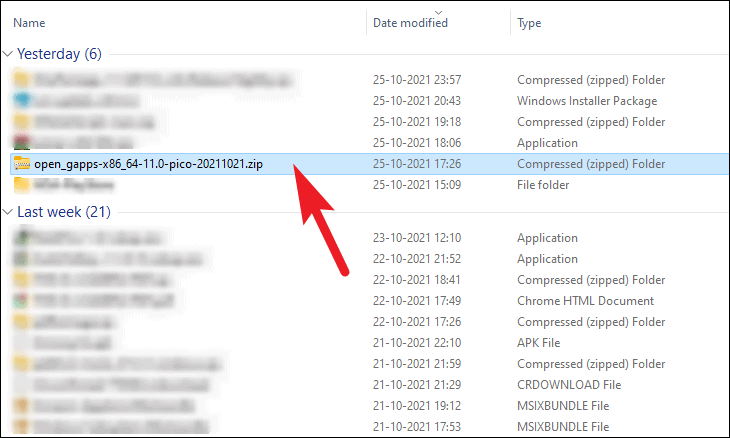
- Paste the GApps zip file into the
#GAPPSfolder inside GAppsWSA.
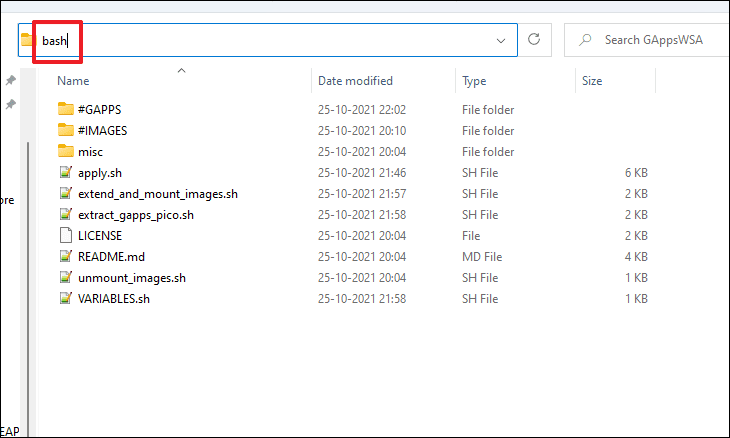
- In the GAppsWSA directory, click on the address bar, type
bash, and pressEnterto open a WSL window.
- In the WSL window, install necessary packages by entering the following commands one at a time:
apt install lzip unzipapt install dos2unixIf you receive an ‘Unable to locate package dos2unix’ error, run:
apt-get updateapt-get install dos2unix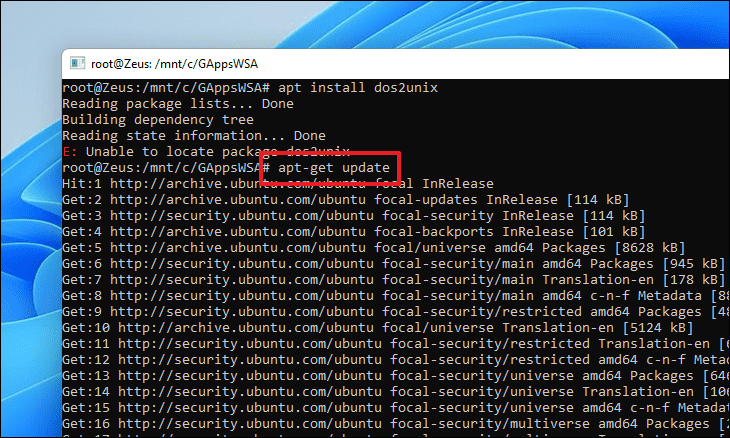
- Convert necessary scripts by running these commands one by one:
dos2unix ./apply.shdos2unix ./extend_and_mount_images.shdos2unix ./extract_gapps_pico.shdos2unix ./unmount_images.shdos2unix ./VARIABLES.sh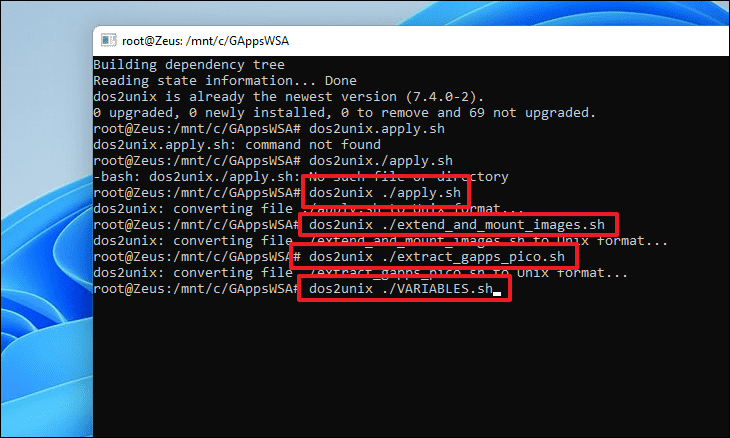
- Extract the GApps package by executing:
./extract_gapps_pico.sh
- Mount the images with:
./extend_and_mount_images.sh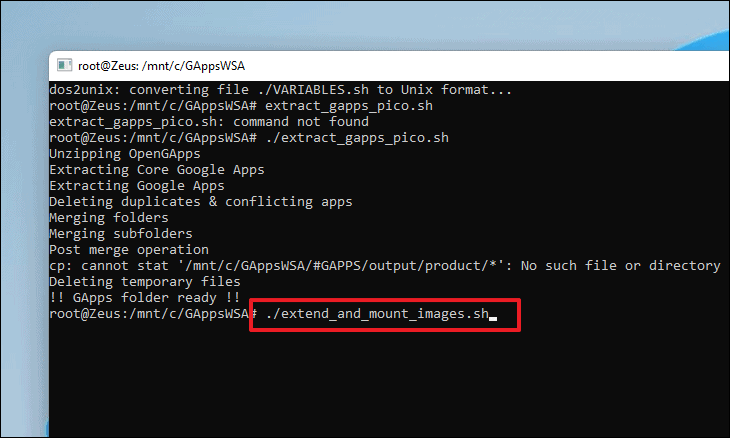
- Apply the modifications by running:
./apply.sh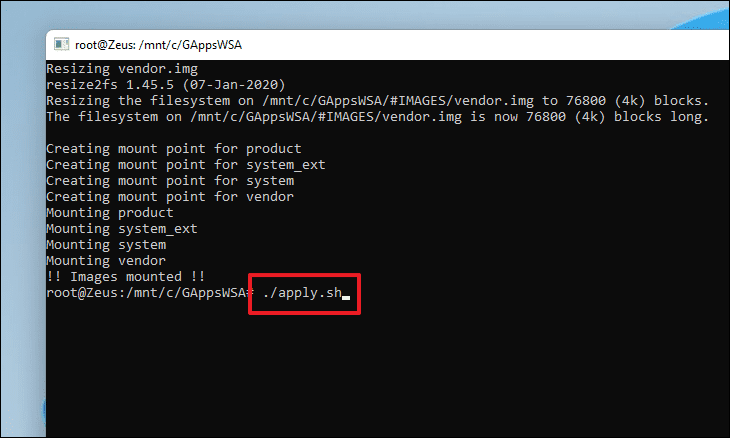
- Unmount the images using:
./unmount_images.sh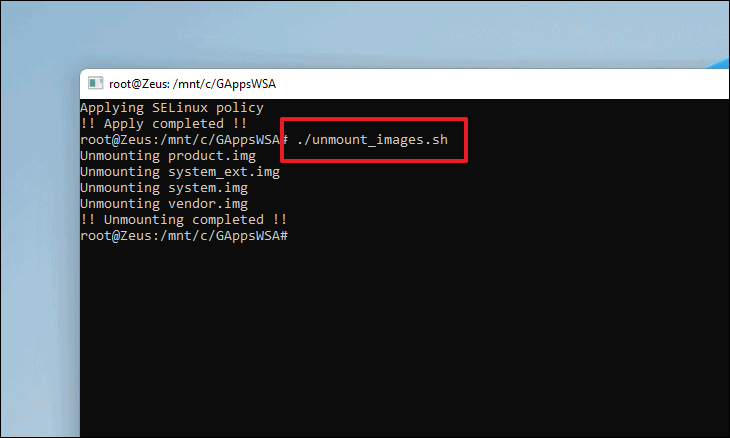
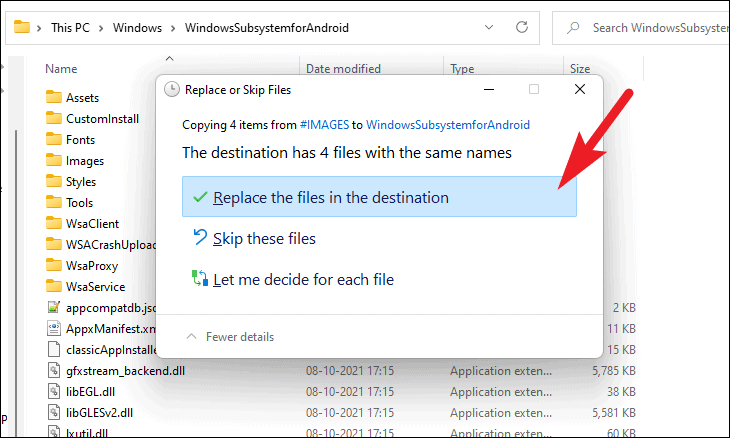
- After unmounting, go to the
#IMAGESfolder inside GAppsWSA, select all files, and copy them (Ctrl+A, thenCtrl+C).
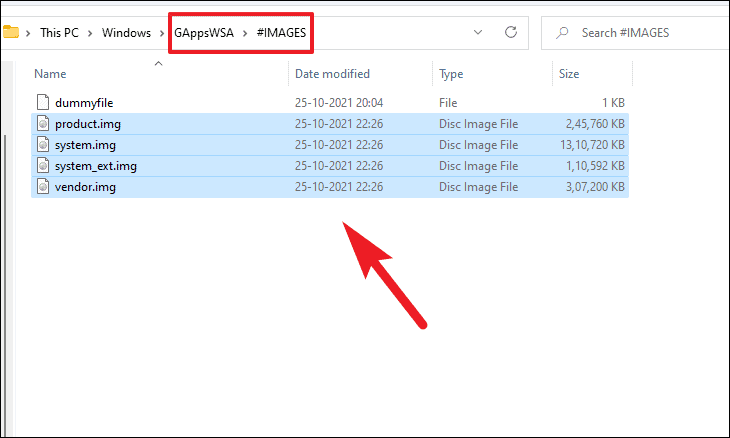
- Paste the copied files into the Windows Subsystem for Android folder, replacing existing files when prompted.
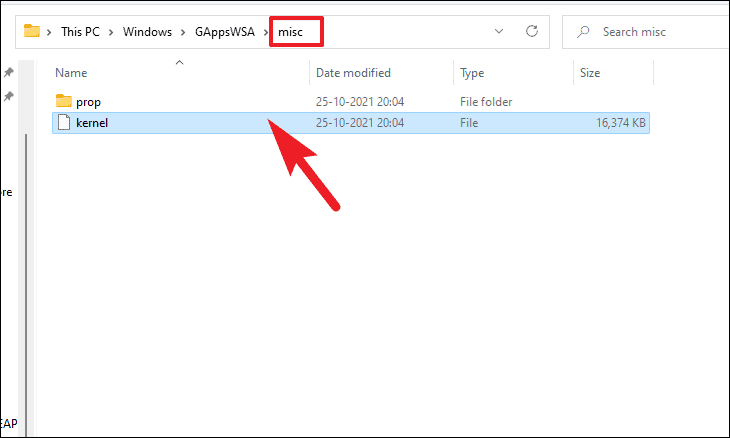
- Copy the
kernelfile from themiscfolder inside GAppsWSA.
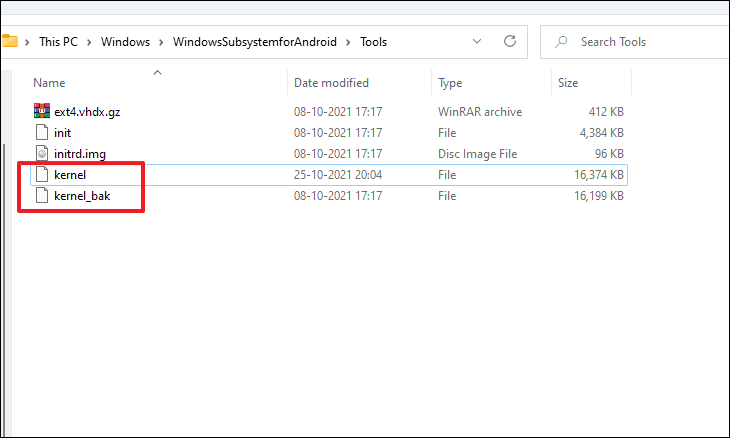
- Navigate to the
Toolsfolder inside Windows Subsystem for Android. Rename the existingkernelfile tokernel_bakfor backup, and paste the newkernelfile.
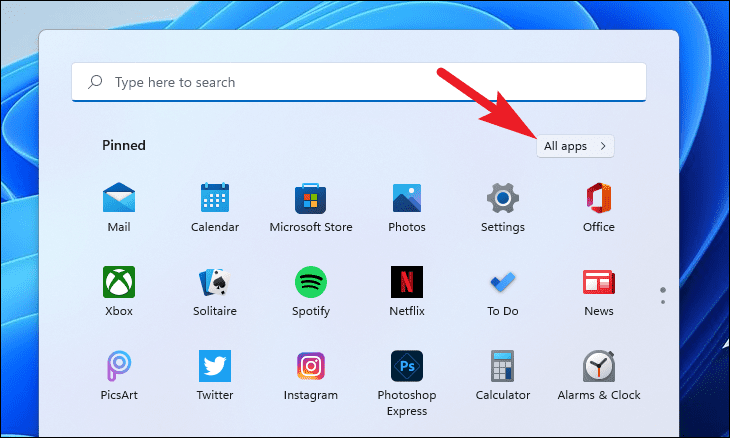
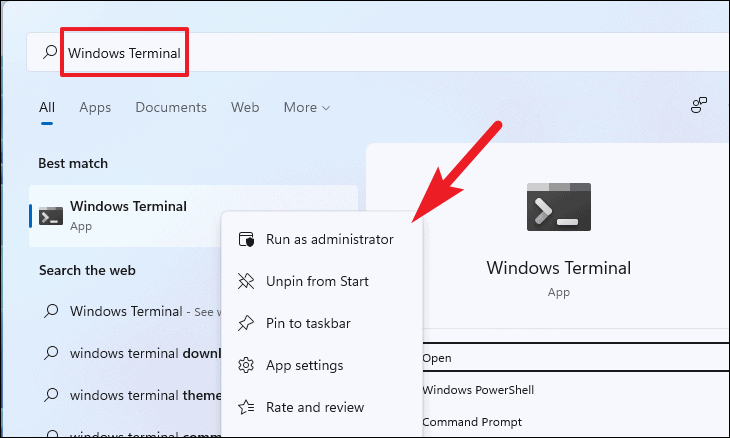
- Open the Start Menu and click on All apps.
- Scroll down, right-click on Windows Terminal, and select Run as administrator.
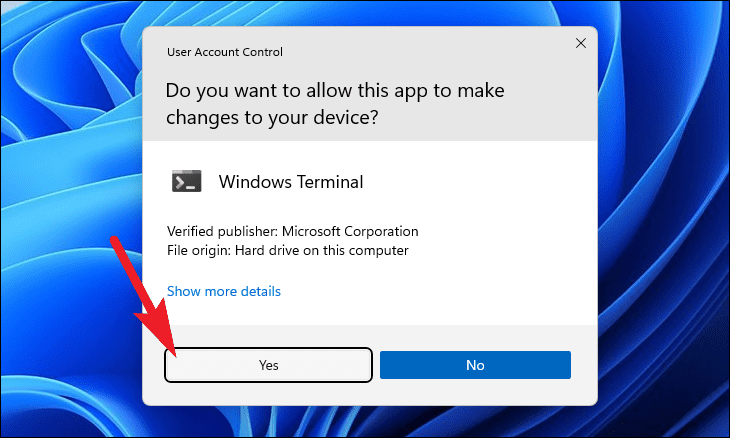
- If prompted by User Account Control (UAC), click Yes to proceed.
- In the Windows Terminal, ensure you’re in the PowerShell tab. Register the modified Windows Subsystem for Android by running:
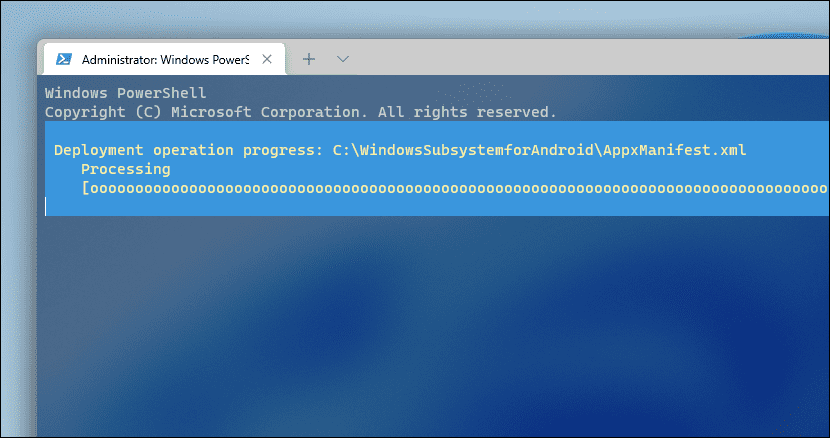
Add-AppxPackage -Register C:\WindowsSubsystemforAndroid\AppxManifest.xml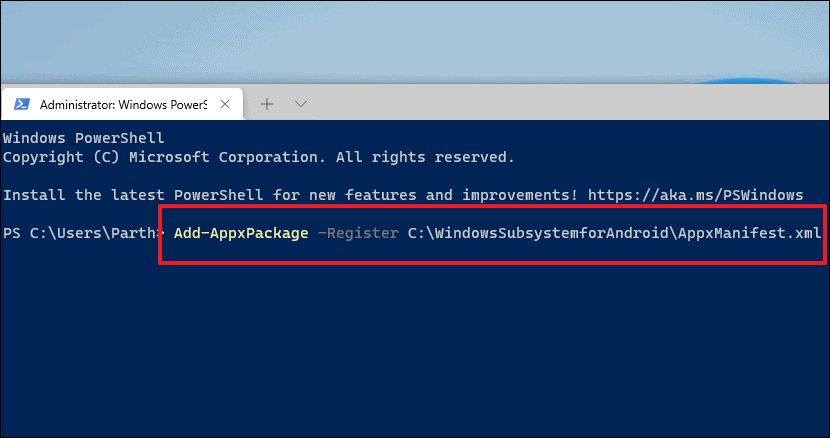
Wait for the installation to complete.
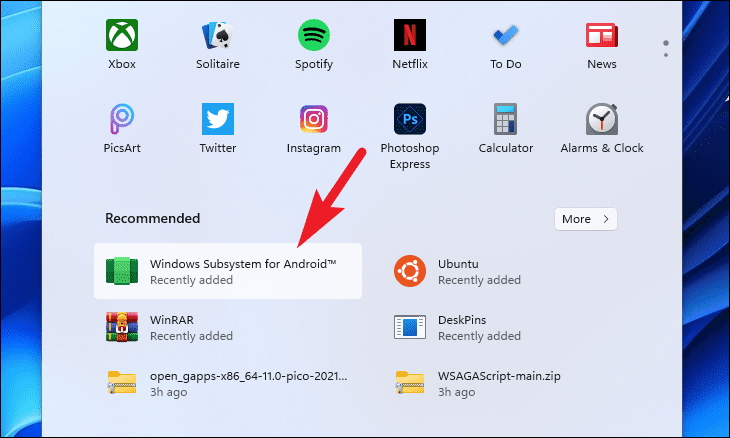
- Open the Windows Subsystem for Android app from the Start Menu.
- In the WSA settings, toggle Developer mode to turn it on.

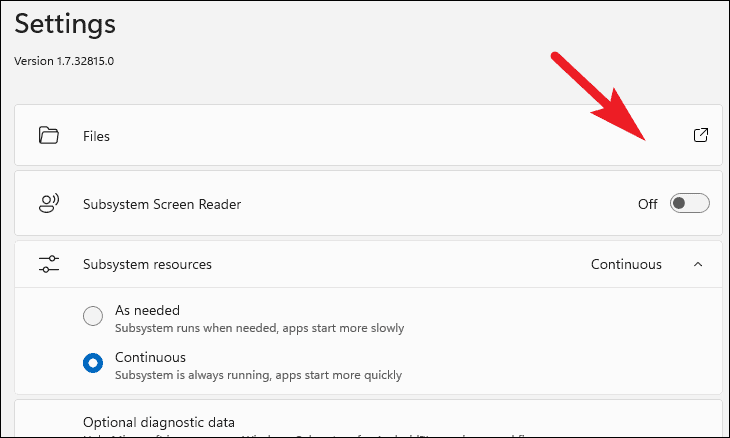
- Click on Files to launch the Android subsystem, which will also initiate the Play Store.
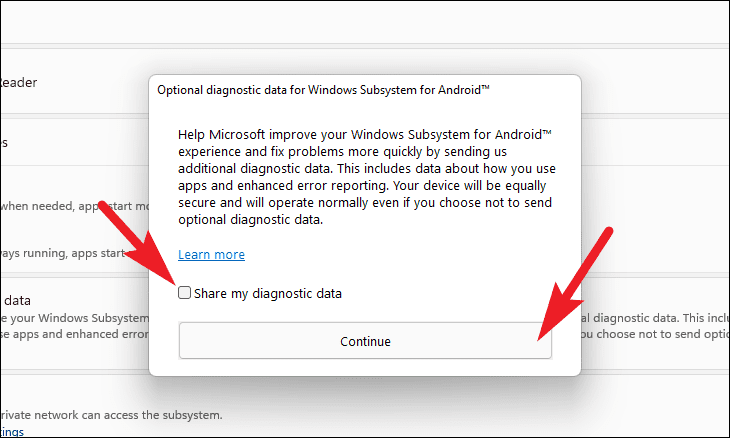
- If prompted for diagnostic data sharing, uncheck Share my diagnostic data and click Continue.
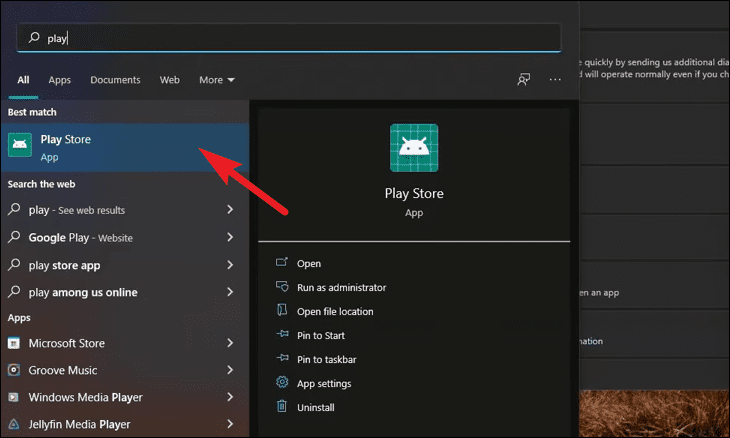
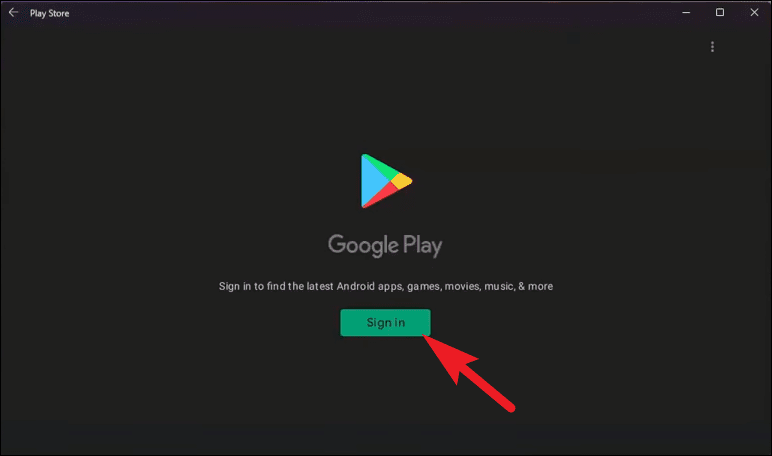
- To access the Play Store, open the Start Menu, type
Play Store, and select the app from the search results.
- Sign in with your Google account by clicking Sign in and entering your credentials.
You have successfully installed the Google Play Store on your Windows 11 PC. You can now download and enjoy a wide range of Android apps directly on your computer.


