Experiencing sound problems on your Windows 11 computer can be quite frustrating. Whether Windows isn’t recognizing your audio devices or the speakers are simply not outputting any sound, these issues can disrupt your day. Luckily, most audio problems stem from software glitches that can be resolved with some troubleshooting. In this guide, we’ll explore several methods to help you fix audio issues on Windows 11.
Common causes of audio issues
There are several reasons why you might be facing audio problems on your system:
- Outdated, incompatible, or corrupted sound drivers.
- Incorrect audio settings configuration.
- Disconnected external sound devices.
- Wrong audio output device selected.
- Disabled audio services.
Method 1: Update audio drivers
Outdated or corrupted audio drivers are a common cause of sound issues. Updating your audio drivers can resolve many problems.
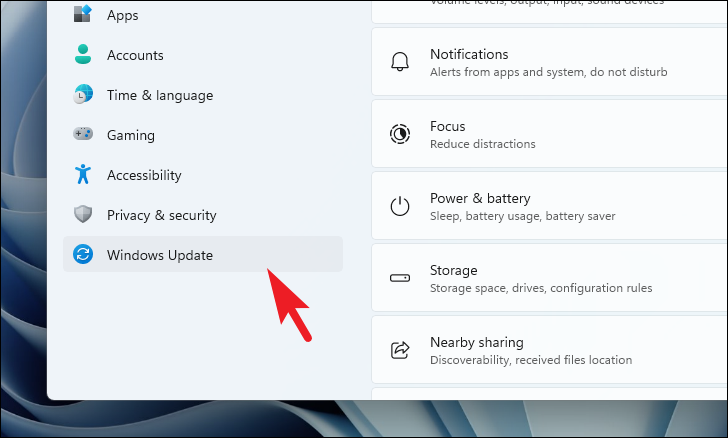
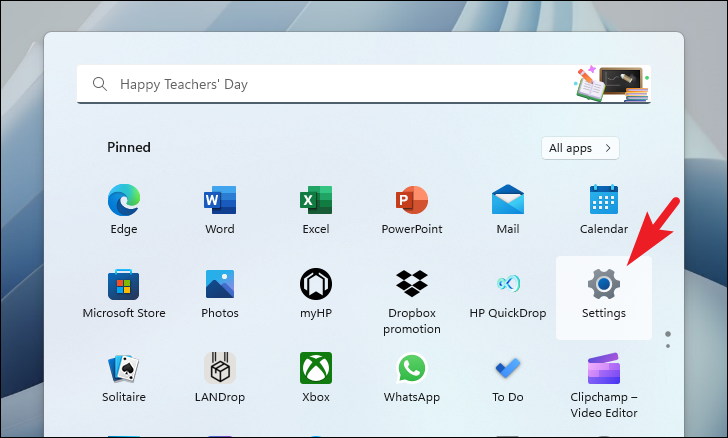
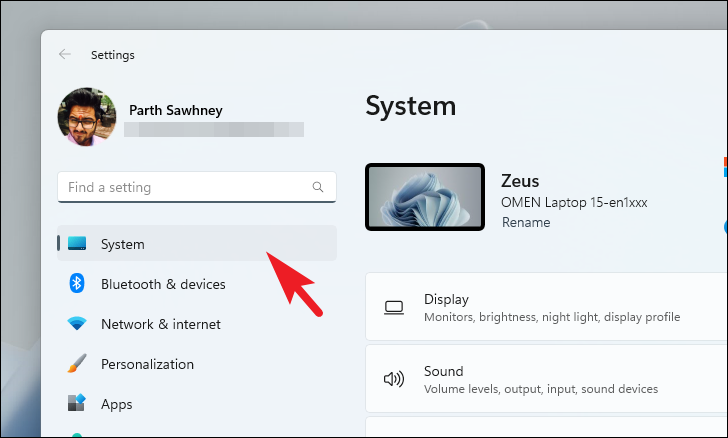
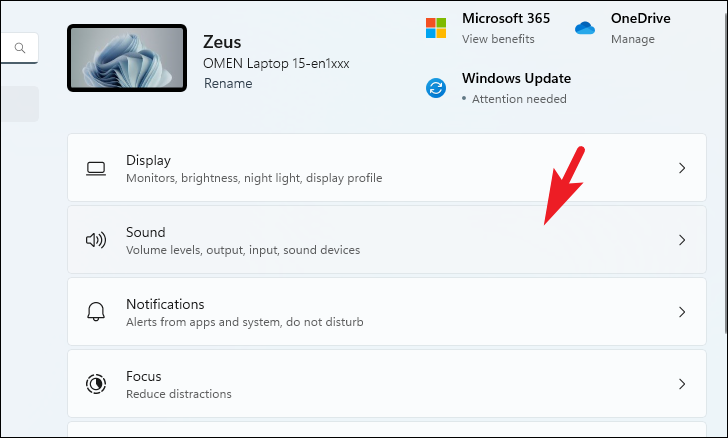
Start button and select the Settings icon to open the Settings app. Alternatively, press Windows+I on your keyboard.
Install.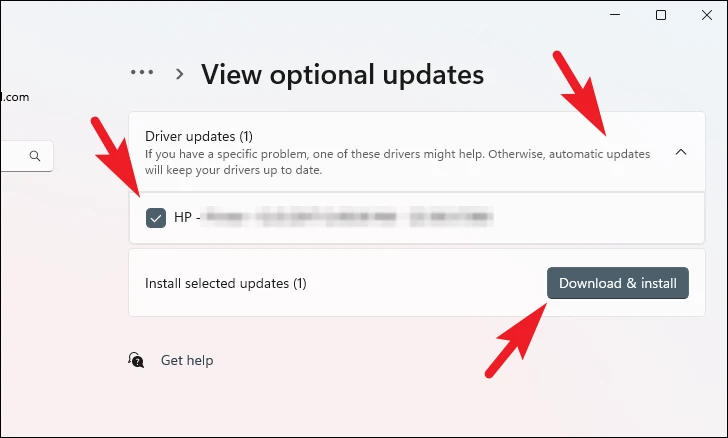
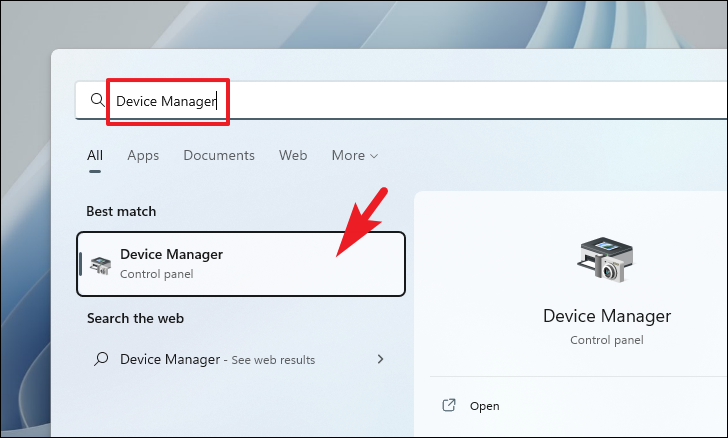
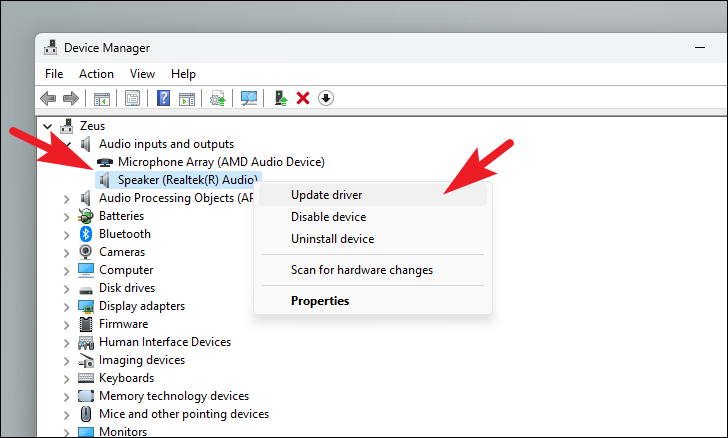
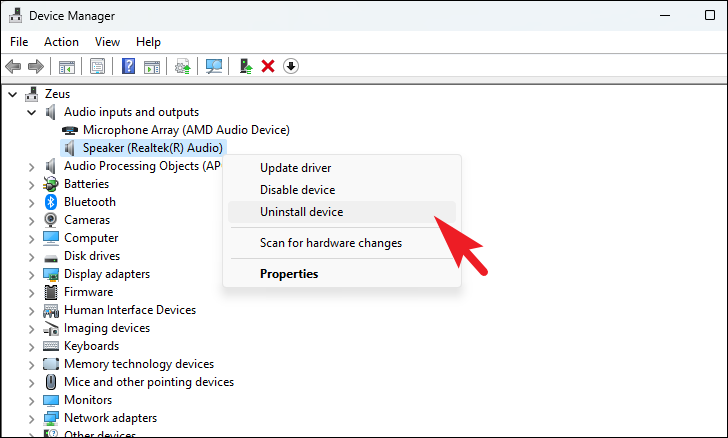
Alternative method: You can also update drivers via Device Manager.
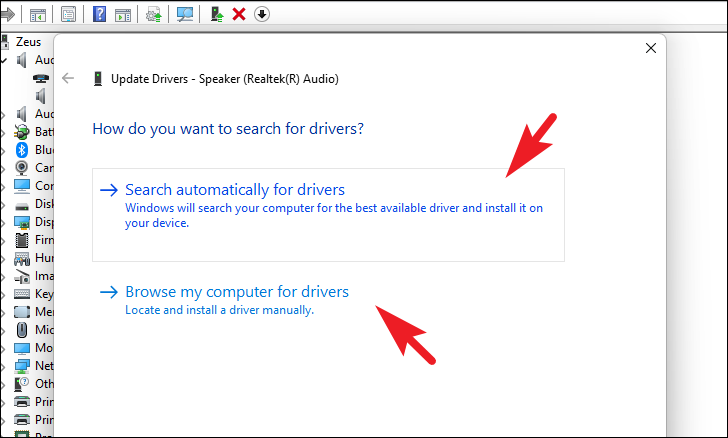
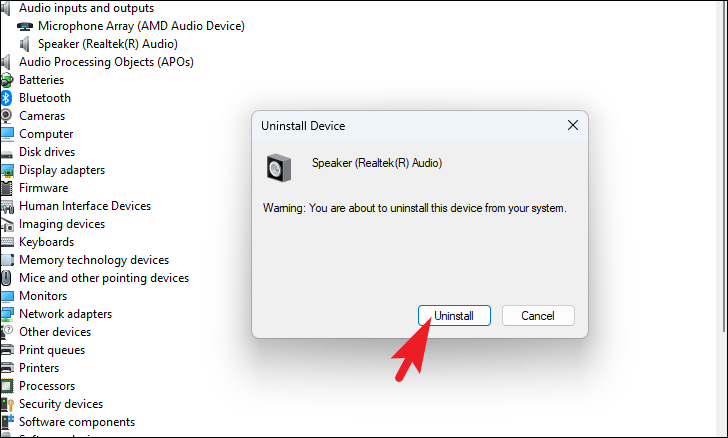
Force update the driver: If updating doesn’t help, you can reinstall the driver.
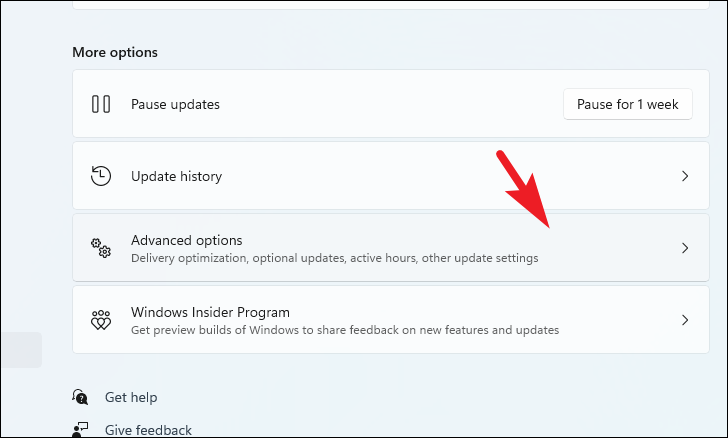
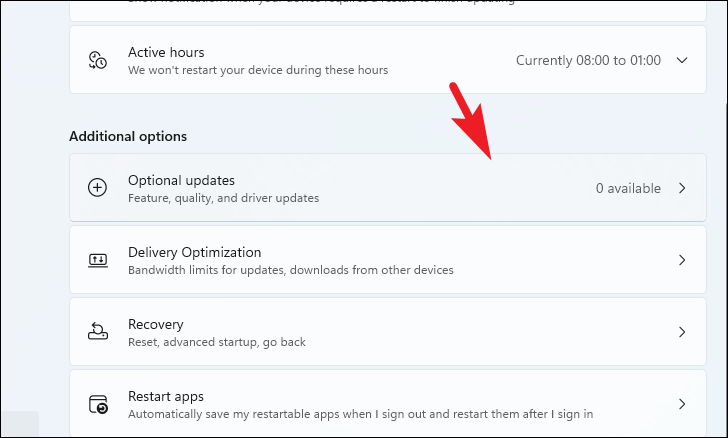
Optional updates section under Windows Update to ensure the latest driver is installed.
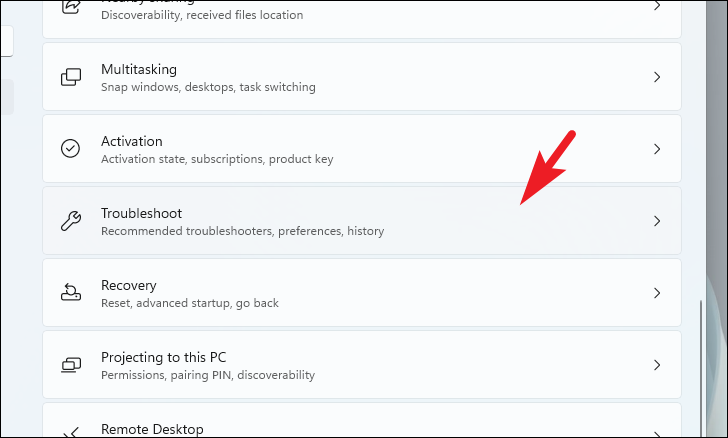
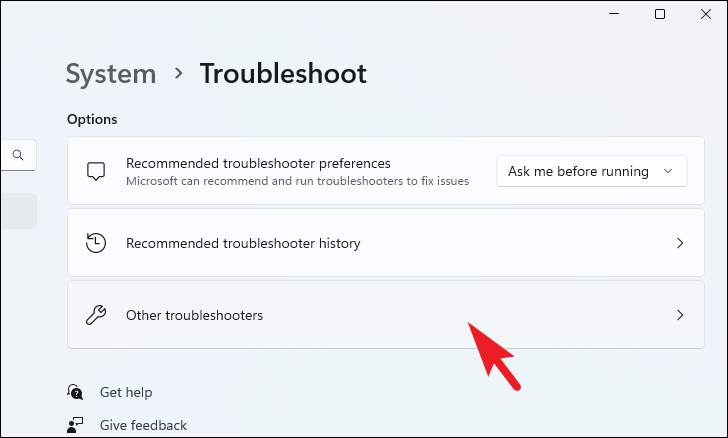
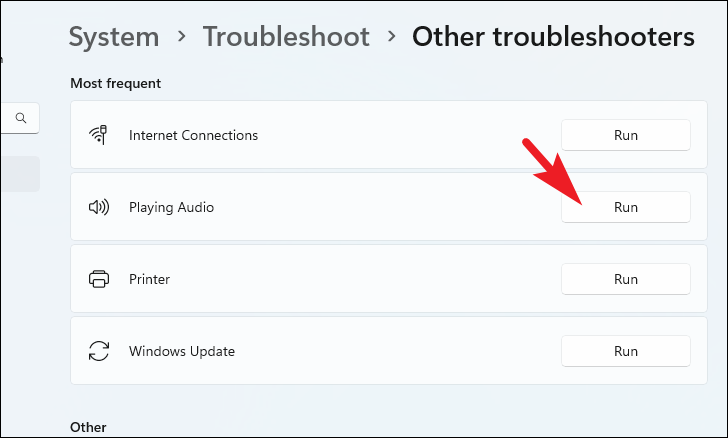
Method 2: Run the audio troubleshooter
Windows 11 has a built-in audio troubleshooter that can automatically detect and fix common sound issues.
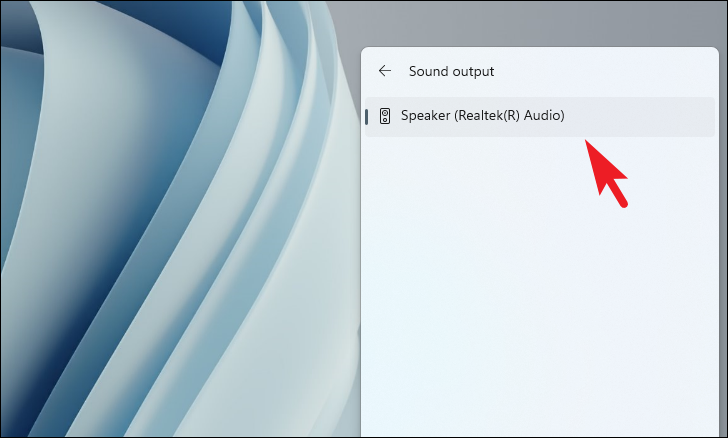
Method 3: Make sure correct audio output channel is selected
Sometimes, the wrong output device might be selected, resulting in no sound from your desired speakers or headphones.
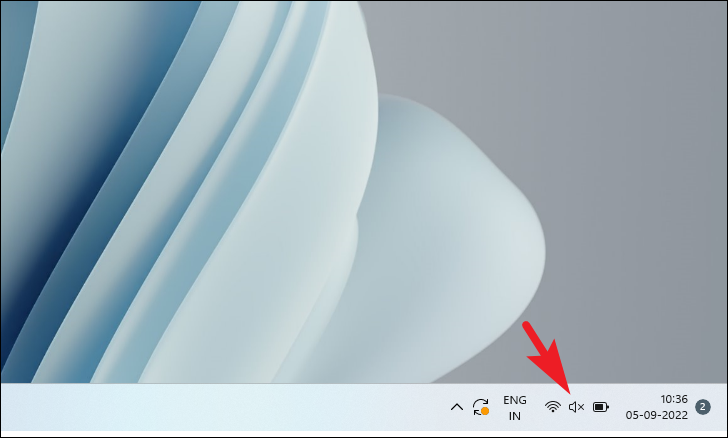

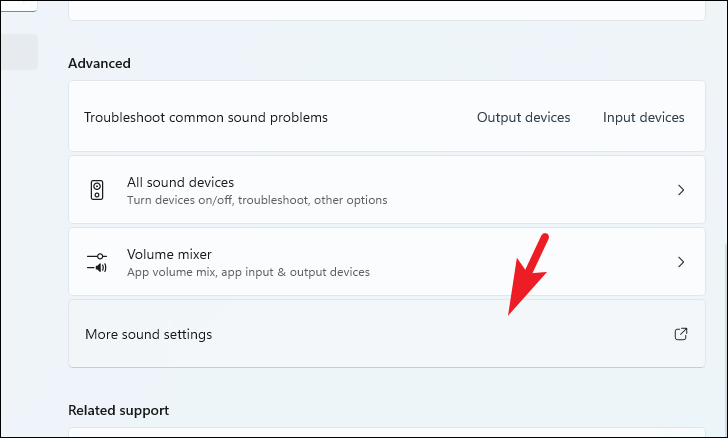
Method 4: Enable audio device from volume mixer
If your audio device is disabled, you won’t hear any sound. Enabling it from the volume mixer can fix the issue.


Playback tab, right-click on your audio device and select Enable. Disabled devices are shown as greyed out.
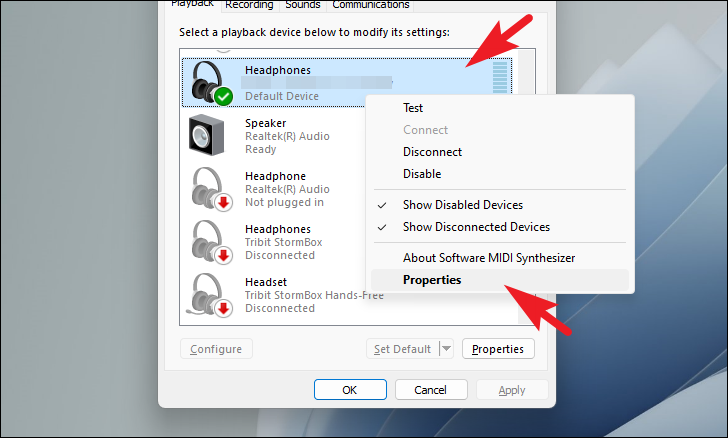
Enhancements tab and check the box next to Disable all enhancements. Click Apply and then OK.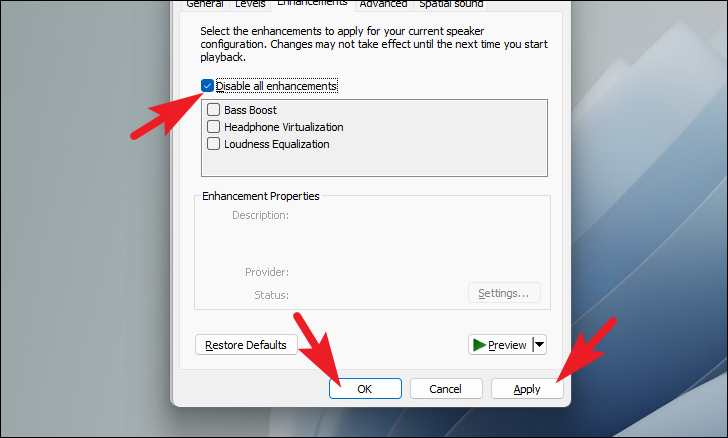
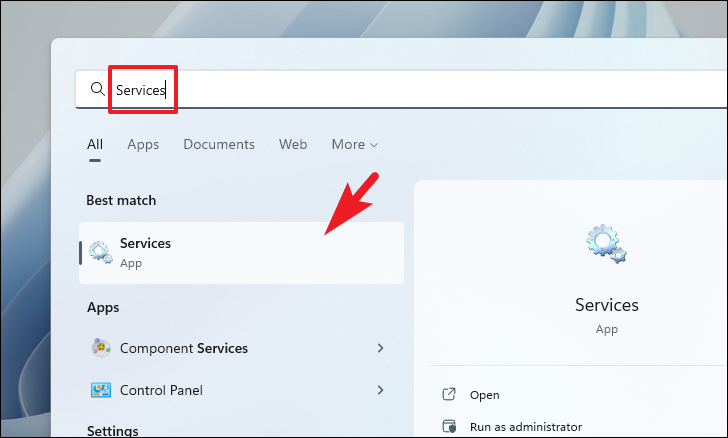
Method 5: Enable audio services
Audio services might be disabled, preventing sound from working properly. Enabling them can restore audio functionality.