
Not being able to receive texts on your iPhone could prove to be a big problem. You’ll end up missing out on important communication from your near ones and even on transactional/logistical updates.
Though it might seem like a big issue at the moment, it is rather easy to resolve it. Just follow the methods listed below and you will be done before you know it.
1. Toggle Airplane Mode
The first step you should take is to toggle the Airplane mode. Many times poor cellular reception is the major culprit behind the issue. Moreover, it is a simple procedure requiring literally two taps, so it doesn’t hurt to try it.
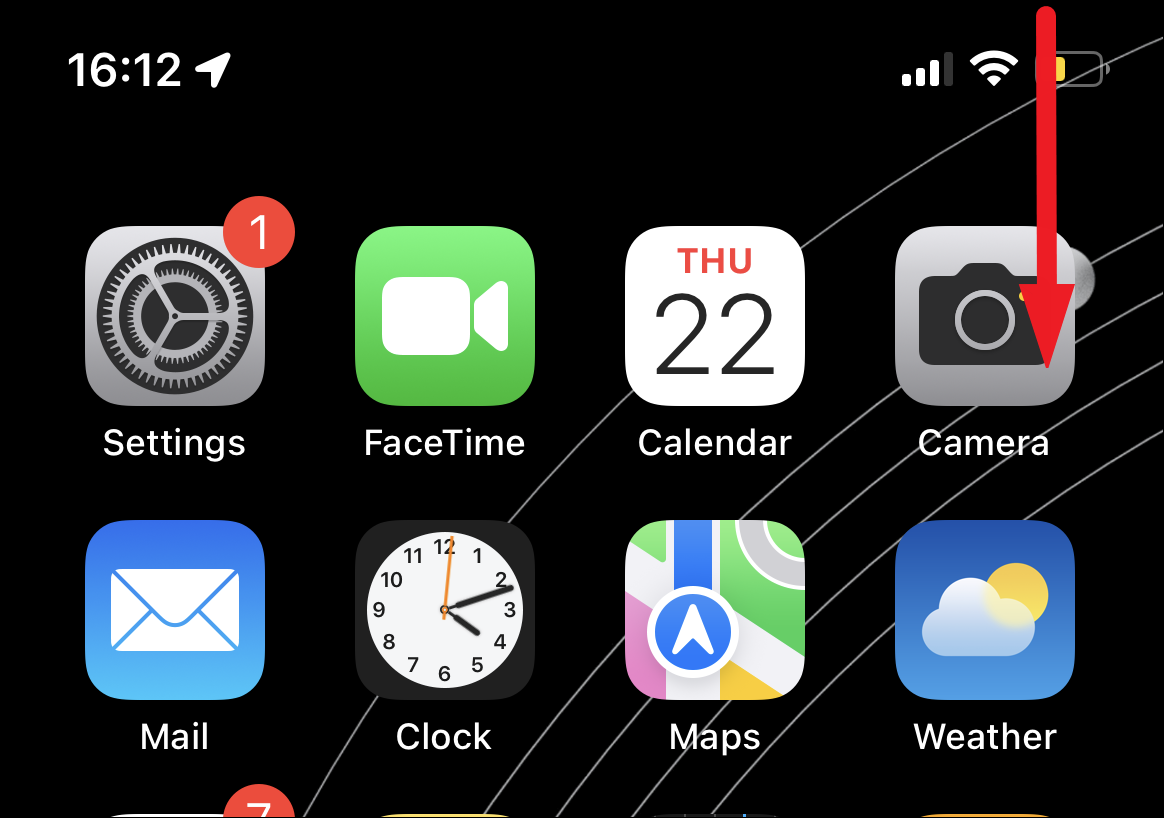
For iPhones with Face ID, swipe down from the top right corner of your iPhone to bring the Control Center to the foreground.
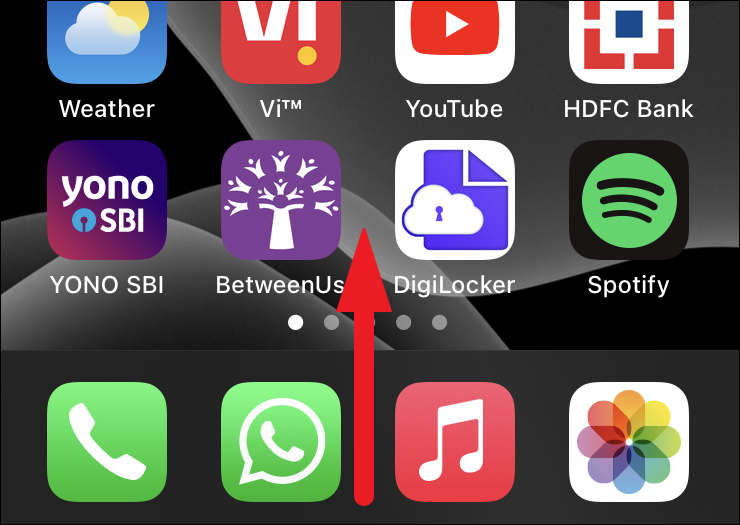
For iPhones with the Home button, swipe up from the bottom center of the screen to bring up the Control Center.
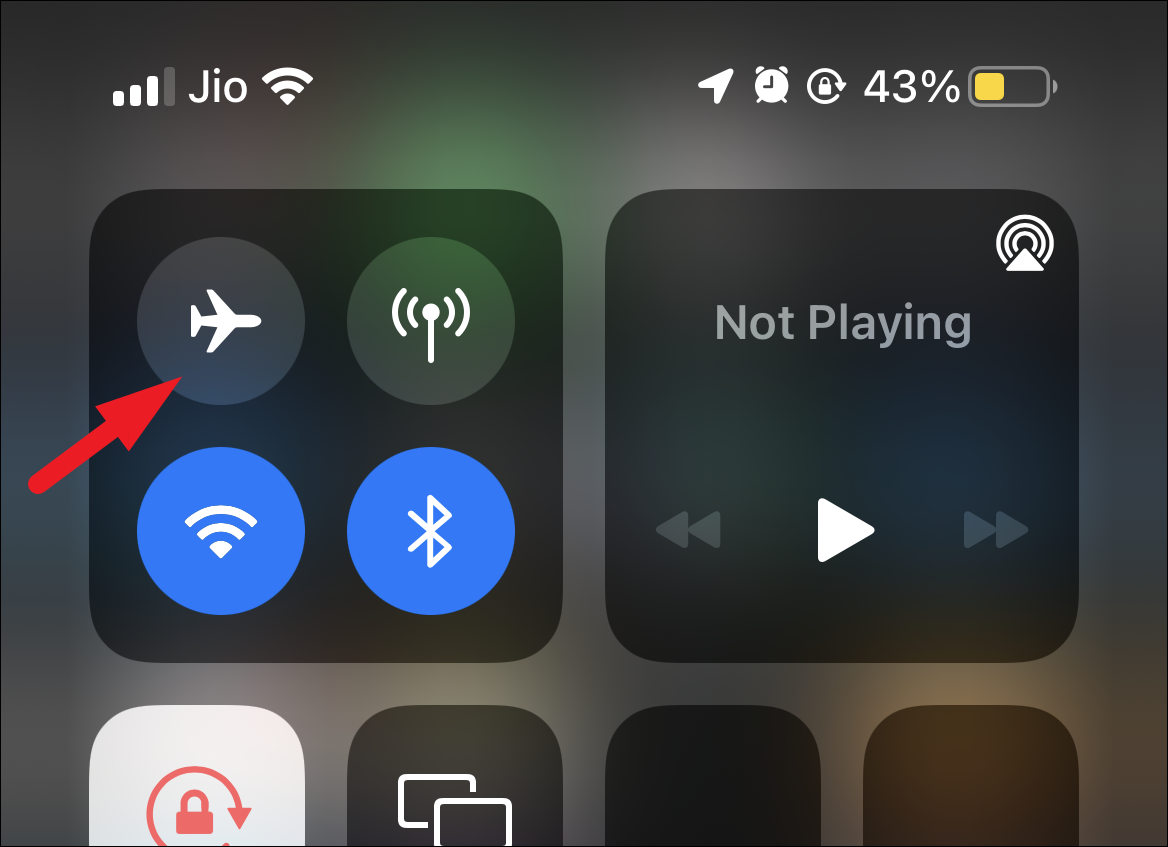
After that, tap on the ‘Airplane mode’ icon to enable it. And keep the Airplane mode turned on for at least 10-20 seconds.
Then, disable it by tapping on it. This should restore your network connection.
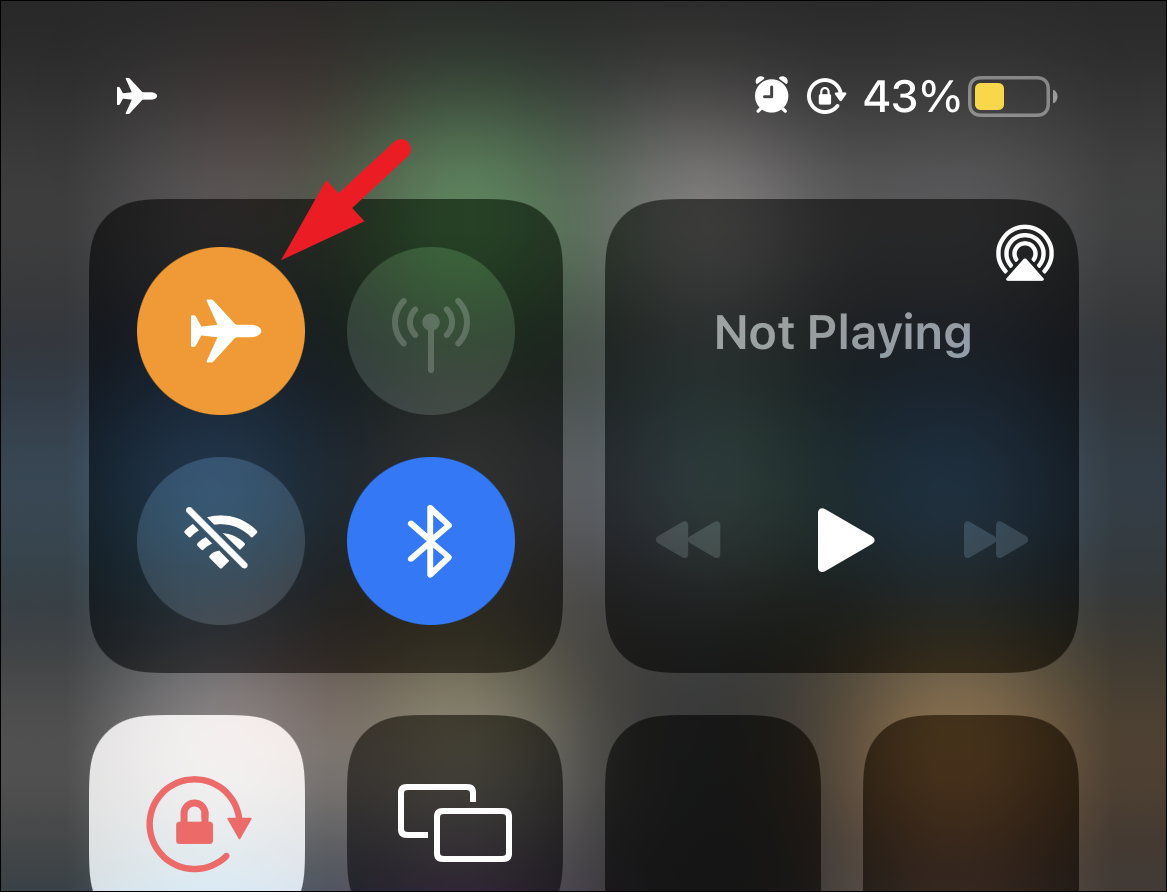
Now, check if this has resolved your problem.
2. Delete Older Messages
If your iPhone is too low on storage capacity, that could be the root cause of the issue. All you need to do is just delete a couple of old messages and you will be good to go.
First, head to the ‘Messages’ app either from the home screen or the app library of your device.
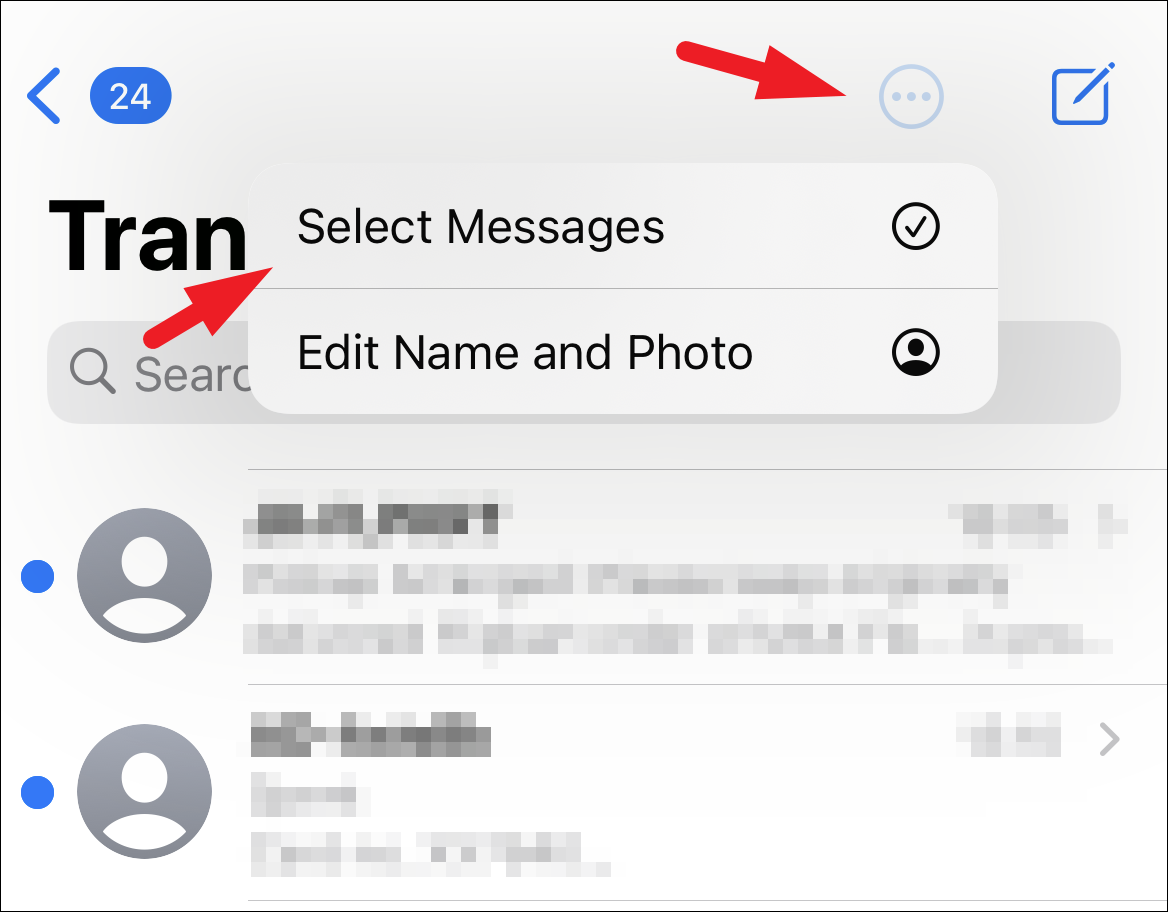
Next, tap on the ‘ellipsis’ option from the top right. Then, tap on the ‘Select Messages’ option.
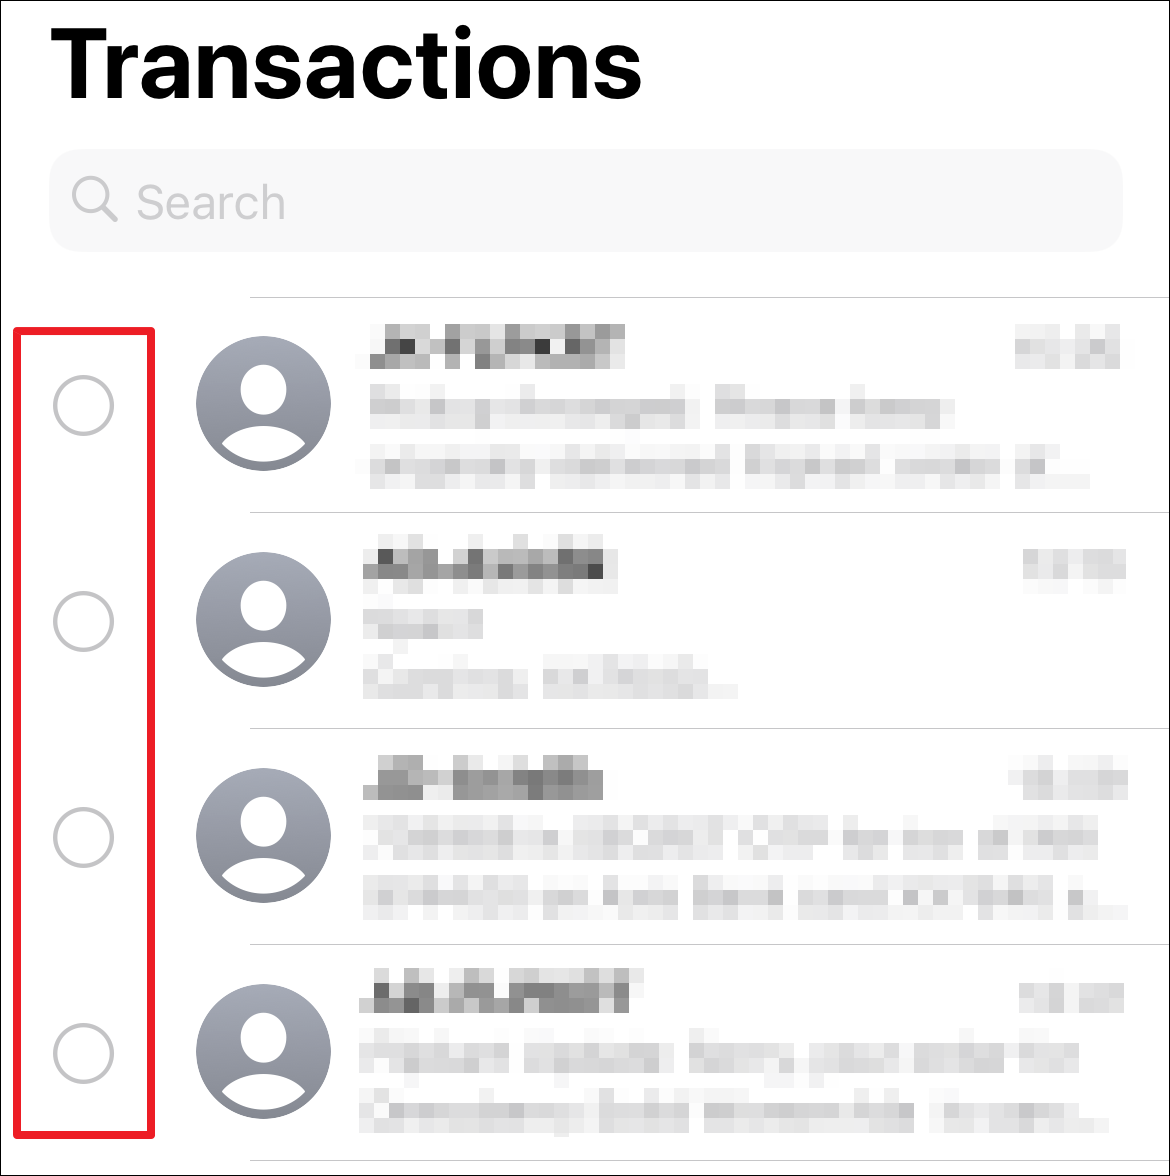
Now, select the messages thread by tapping on the radio button preceding each thread.
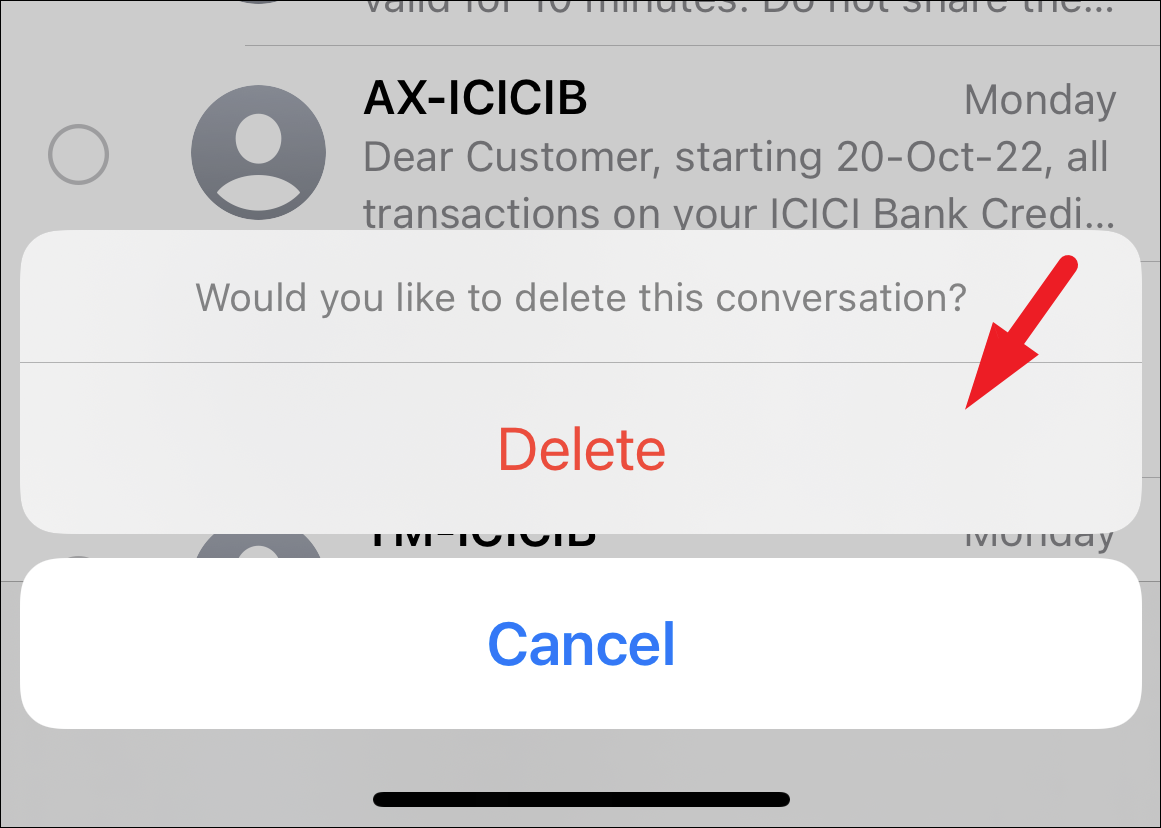
Once selected, tap on the ‘Delete’ button present on the bottom right to continue. This will bring an overlay menu to your screen.
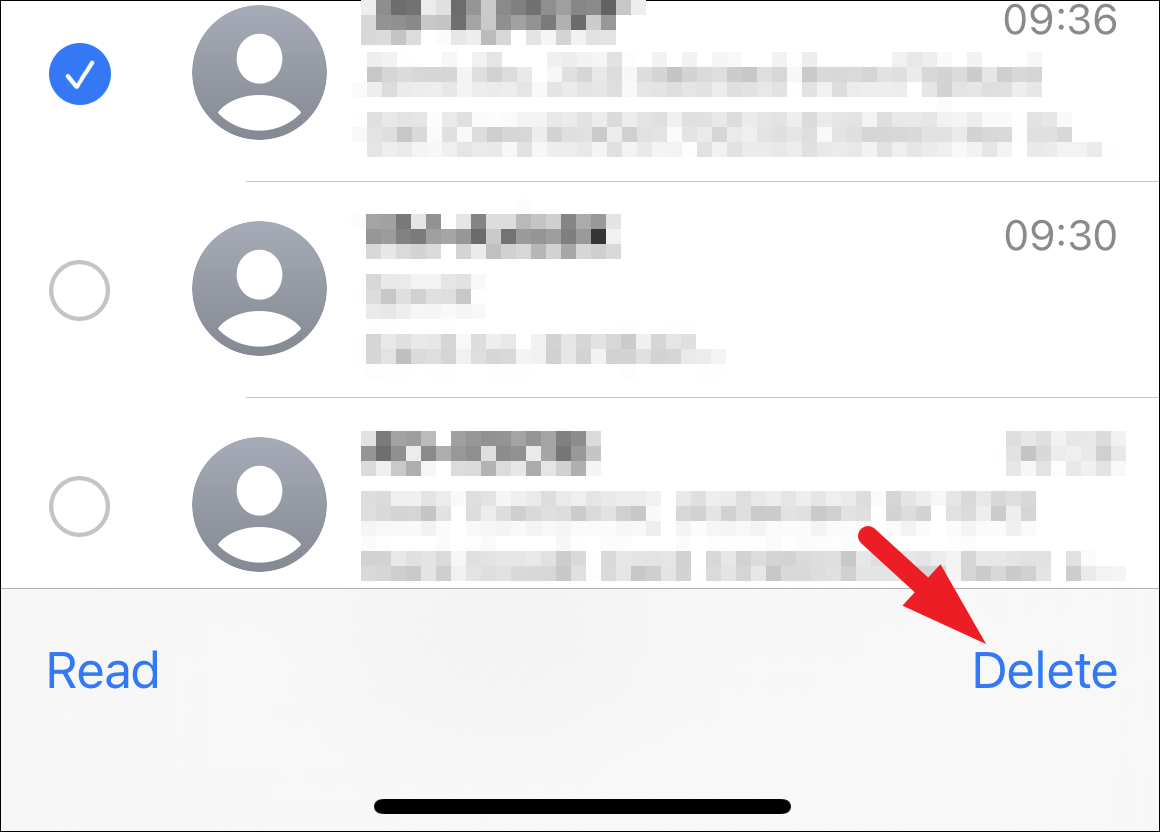
Next, tap on the ‘Delete’ button to delete the selected threads.
On devices running iOS 16, you’ll also need to delete the messages from the ‘Recently Deleted’ folder to free up space.
If you start receiving messages after emptying the inbox, consider freeing up more space on your iPhone. Otherwise, head on to the next section.
3. Force Restart iPhone
If the above-mentioned methods did not work for you, force restarting the device might just fix things for you, as it kills all the running processes and starts them afresh.
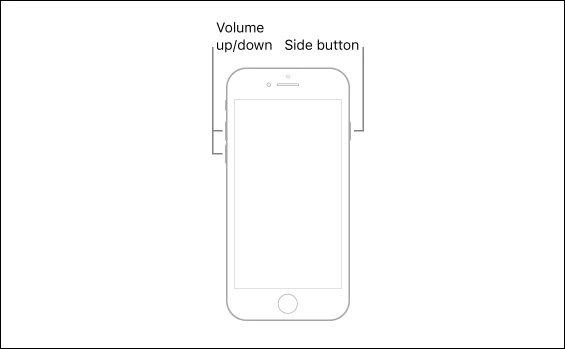
Force Restart iPhones with Face ID, iPhone 8, and SE (2nd Gen)
First, quickly press and release the ‘Volume Up’ button. Then, quickly press and release the ‘Volume down’ button. Next, press and hold the ‘Lock/Side’ button. Even when the screen with ‘Slide to Power Off’ appears, ignore it and keep holding the side button. Once the Apple logo appears on your screen, release the side button. Your iPhone will now restart.

Force Restart iPhone 7
This generation of iPhone has a different process compared to every other currently present.
To do so, press and hold the ‘Lock/Side’ button and ‘Volume down’ buttons together until the Apple logo appears on your screen. Once the logo appears, release both buttons.
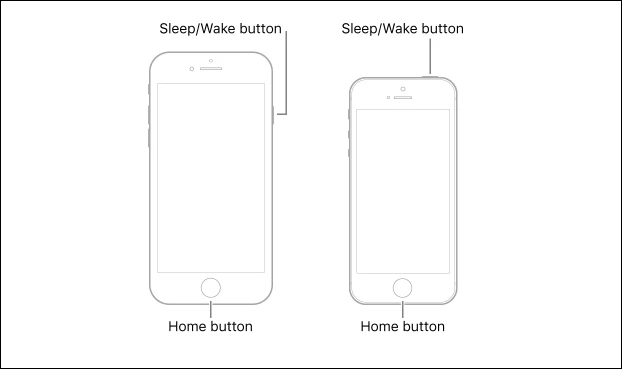
Force Restart iPhone 6, 6s, and SE (1st Gen)
First, press and hold the ‘Lock/Side’ button and the ‘Home’ button together on your iPhone until the Apple logo appears. Once you see the logo on your screen, release both buttons.
4. Make Sure iMessage is Enabled
Though iMessage is typically enabled at the time you insert the SIM first time on your iPhone, there could be a possibility that it is disabled and you need to turn it on manually.
First, head to the Settings app, either from the home screen or the app library.
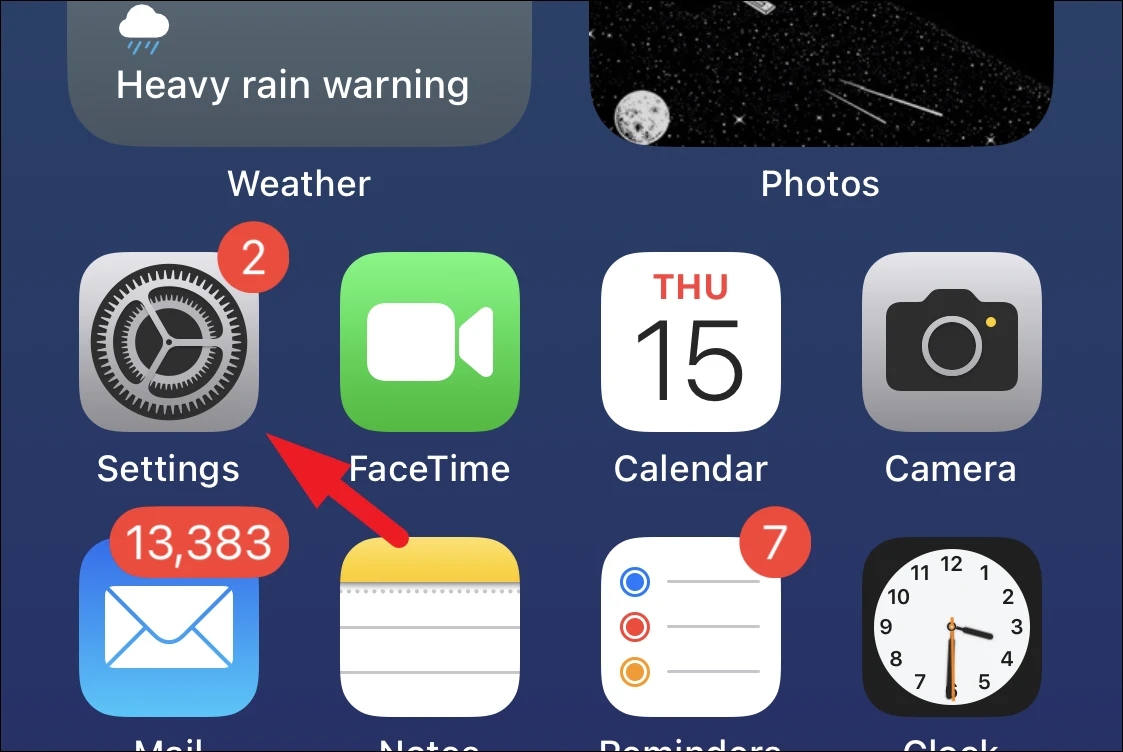
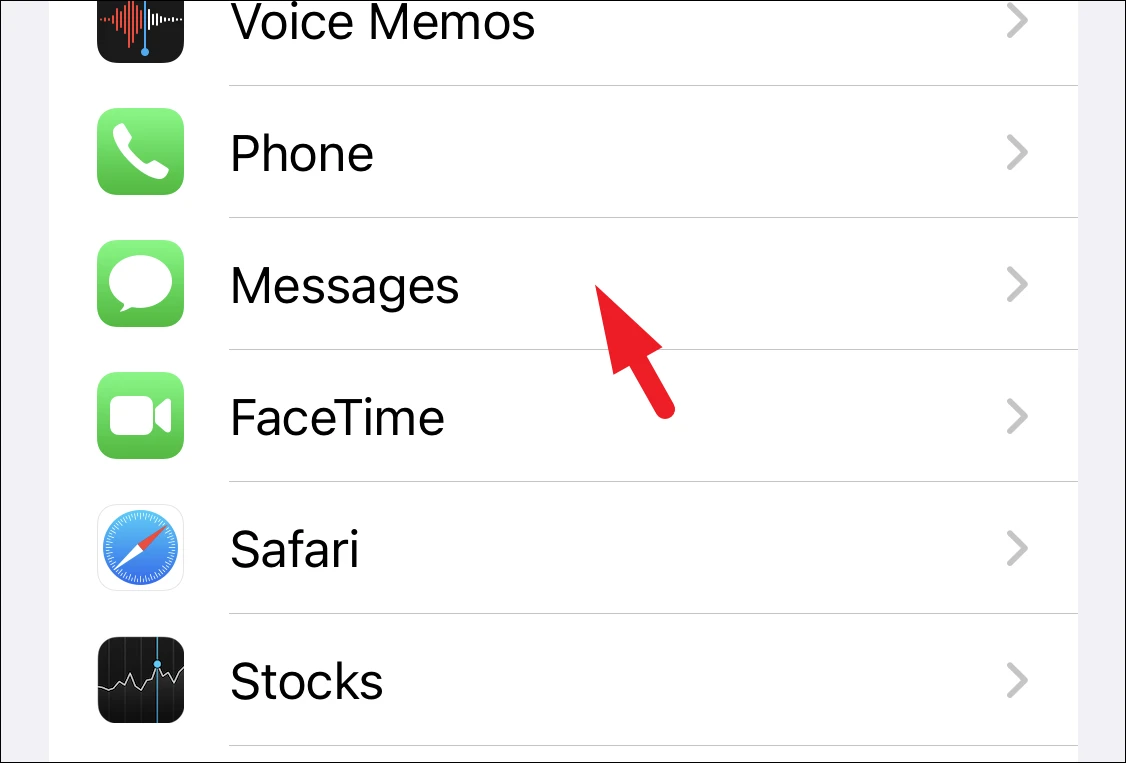
Then, tap on the ‘Messages’ tile from the list of options.

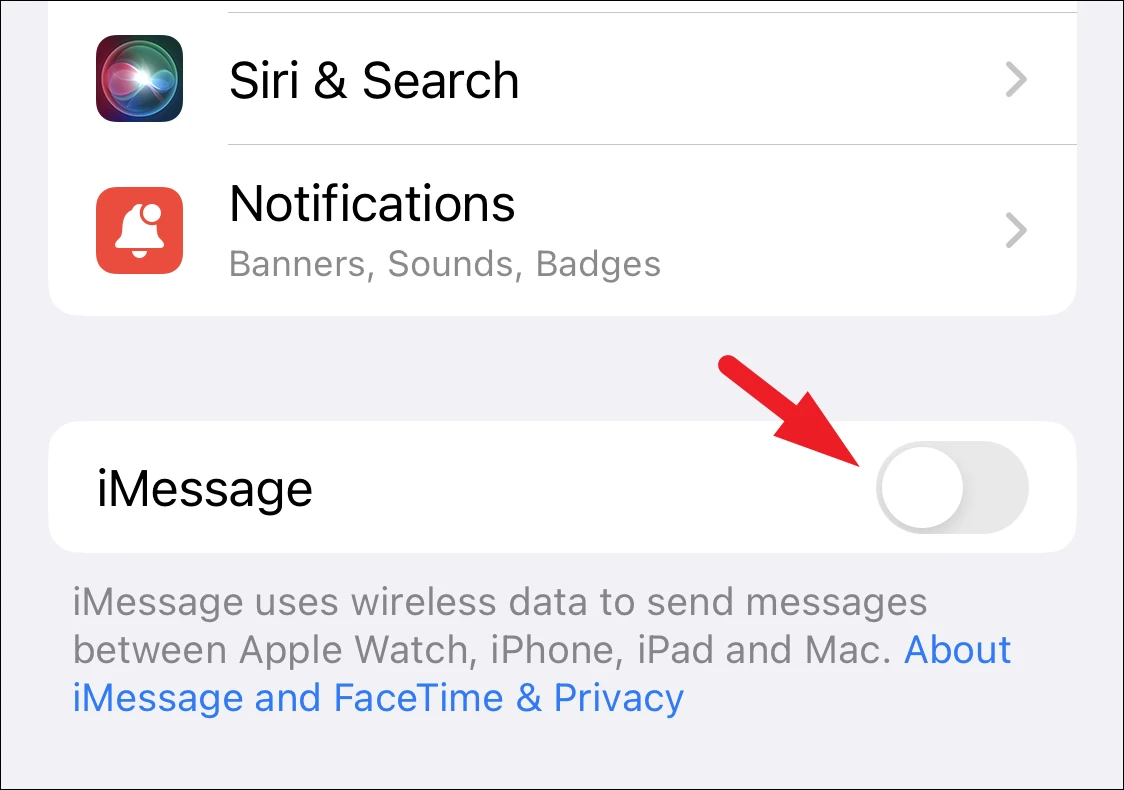
After that, tap on the toggle switch present on the ‘iMessage’ tile to bring it to the ‘On’ position.
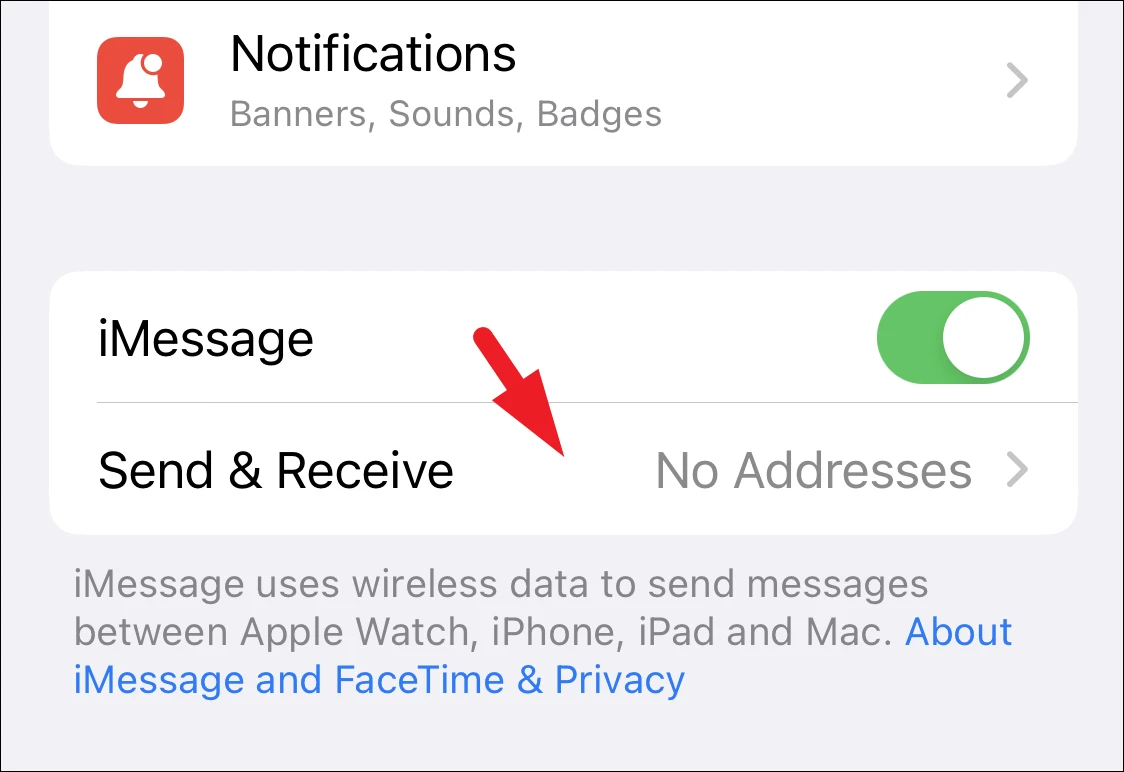
In case you are able to receive iMessage on one device but not the other, tap on the ‘Send & Receive’ option to continue.
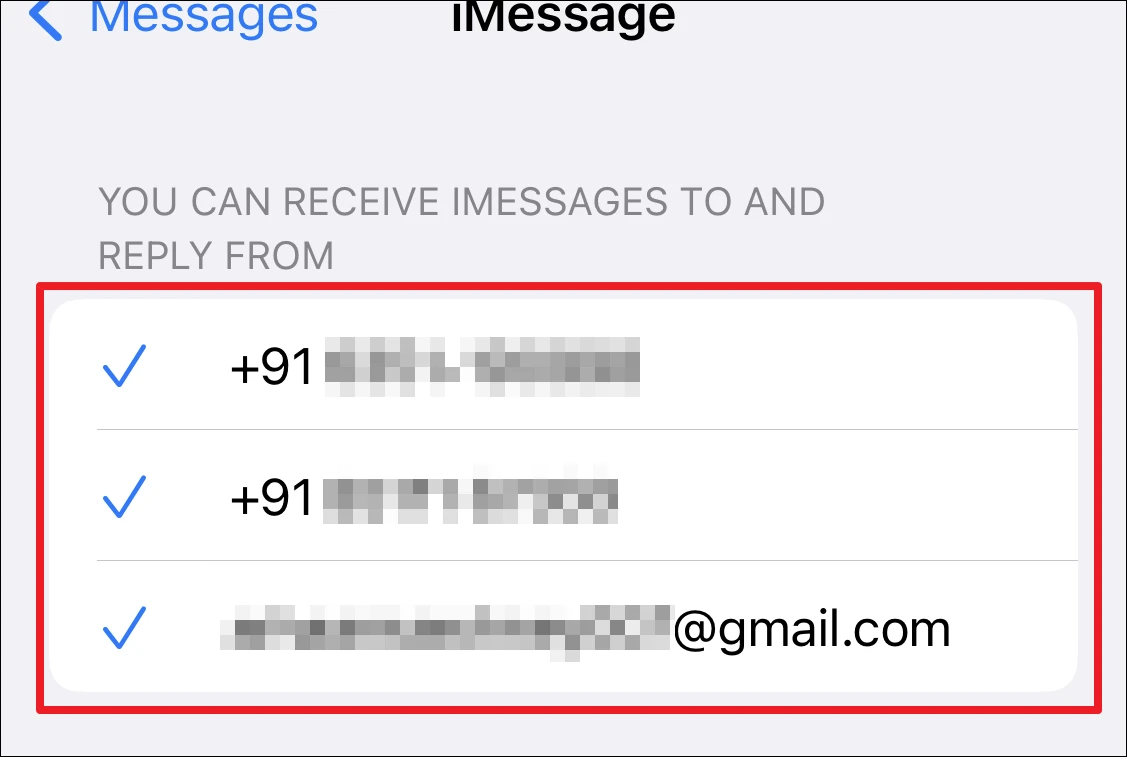
After that, select the number on which you wish to receive the iMessage.
5. Turn Off Message Filtering
Your iPhone by default uses message filtering protocols that help keep the spam messages at bay. However, it could also block a person who is not in your contacts by mistake.
First, head to the Settings app from the home screen.

Next, tap on the ‘Messages’ option from the list to continue.
After that, tap on the ‘Unknown & Spam’ option to proceed.
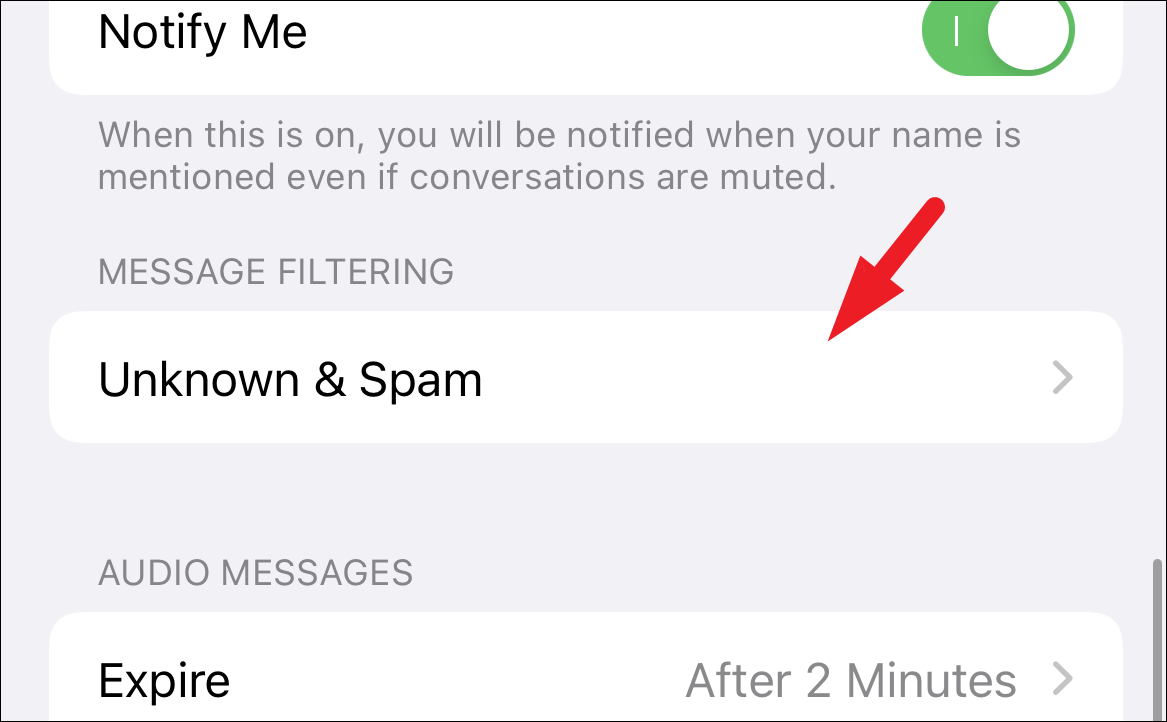
Next, tap on the toggle present on the ‘Filter Unknown Senders’ option to bring it to the ‘Off’ position and group all incoming messages together.
6. Update your iPhone
Though the possibility of having a bug that renders your device unable to receive messages is very rare, it isn’t impossible. Hence, it is imperative that you check and update your device.
First, head to the Settings app, either from the home screen or the app library.

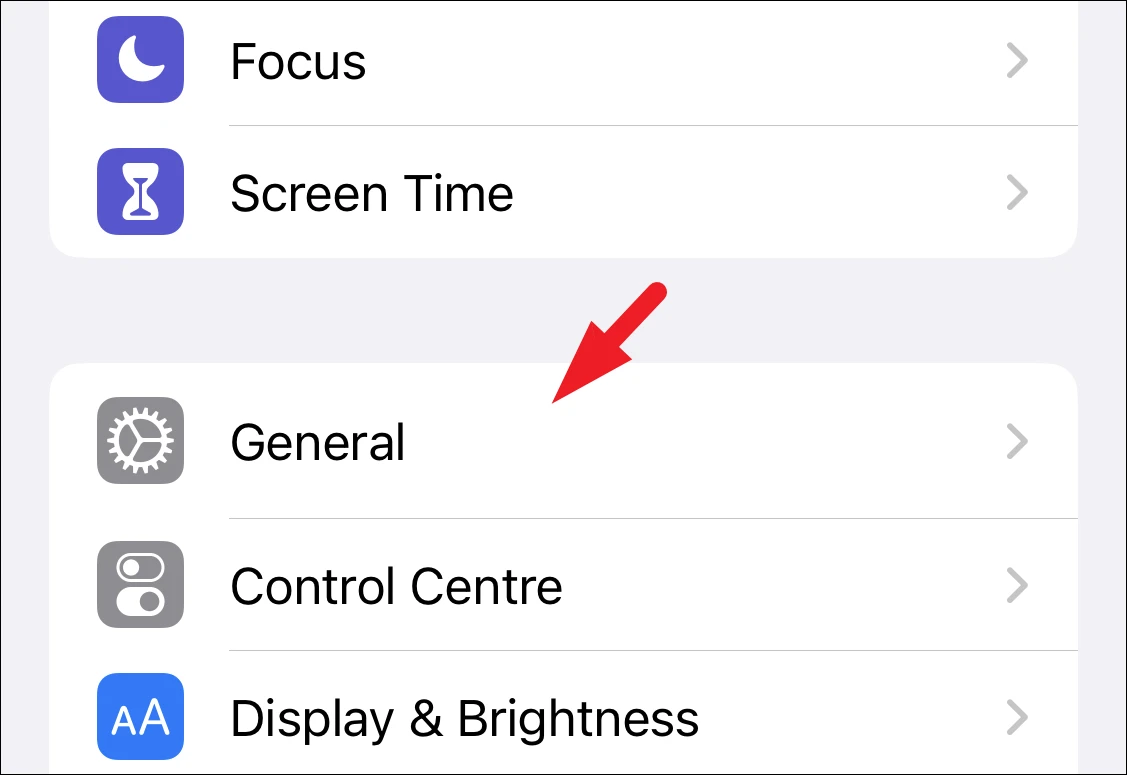
Next, tap on the ‘General’ option to continue.
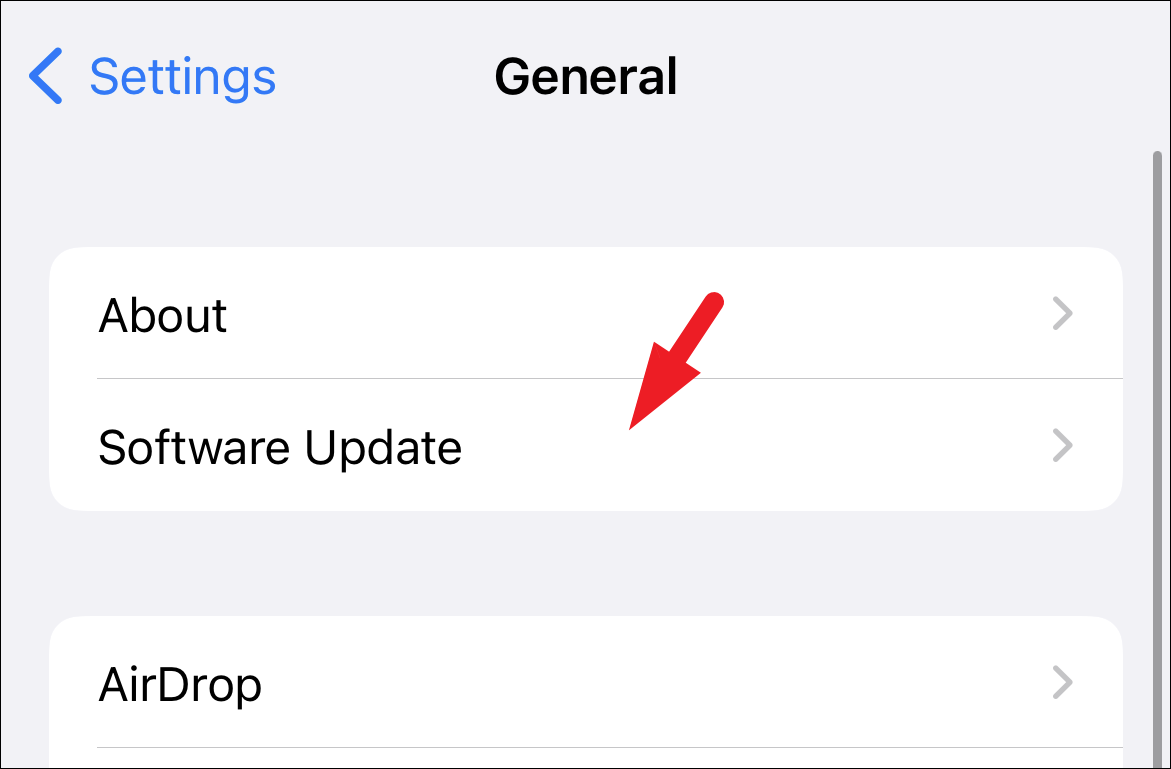
After that, tap on the ‘Software Update’ option from the list.
Then, if there’s an update available, your device will display that. In case there is, tap on the ‘Install/Download and Install’ button.

7. Reset Network Settings
In case nothing till now has resolved the issue for you, you can reset all the network settings to the factory defaults. Moreover, it will not impact any personal files or apps on your iPhone.
Simply head to the Settings app either from the home screen or the app library of your device.

Next, tap on the ‘General’ option to continue.

After that, tap on the ‘Reset or Transfer iPhone’ option.
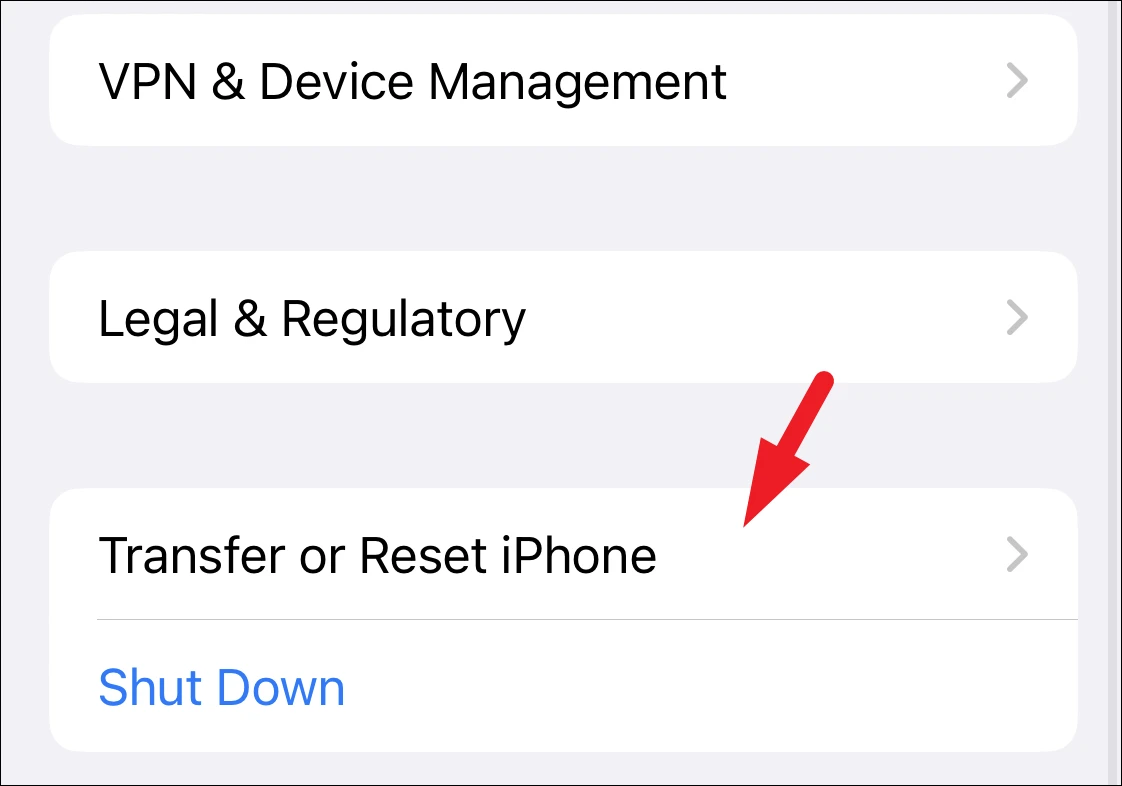
Next, tap on the ‘Reset’ tab. This will bring an overlay menu to your screen.
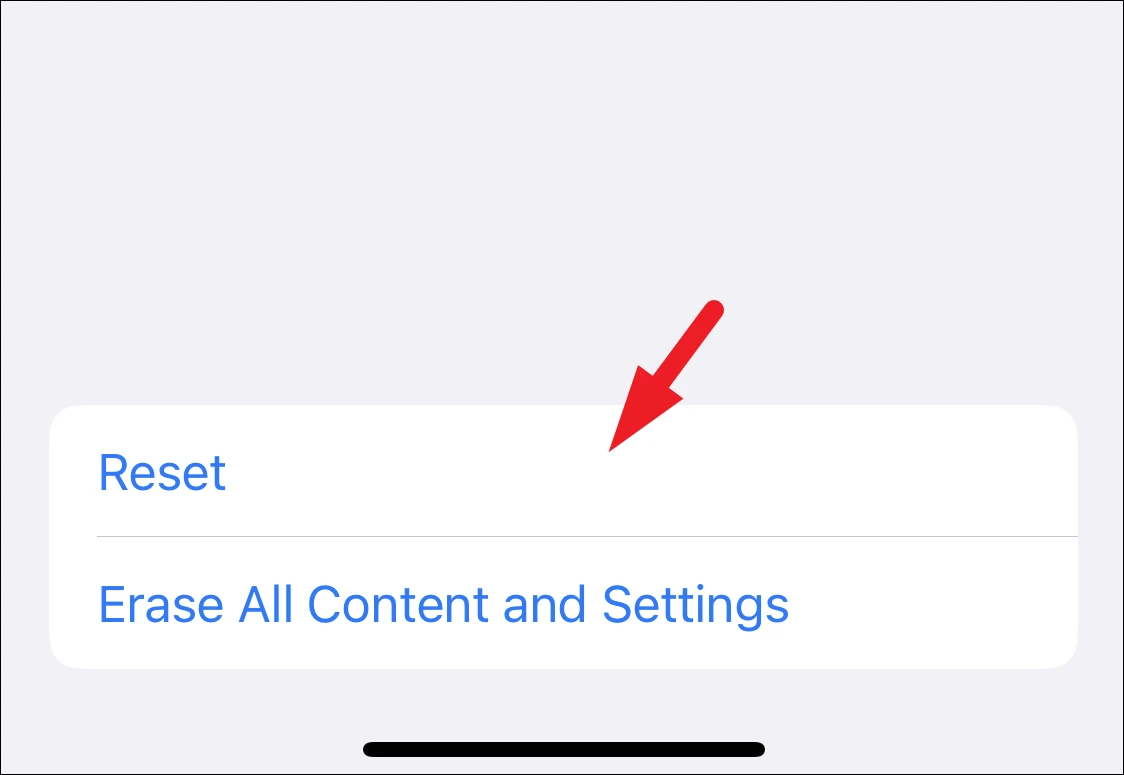
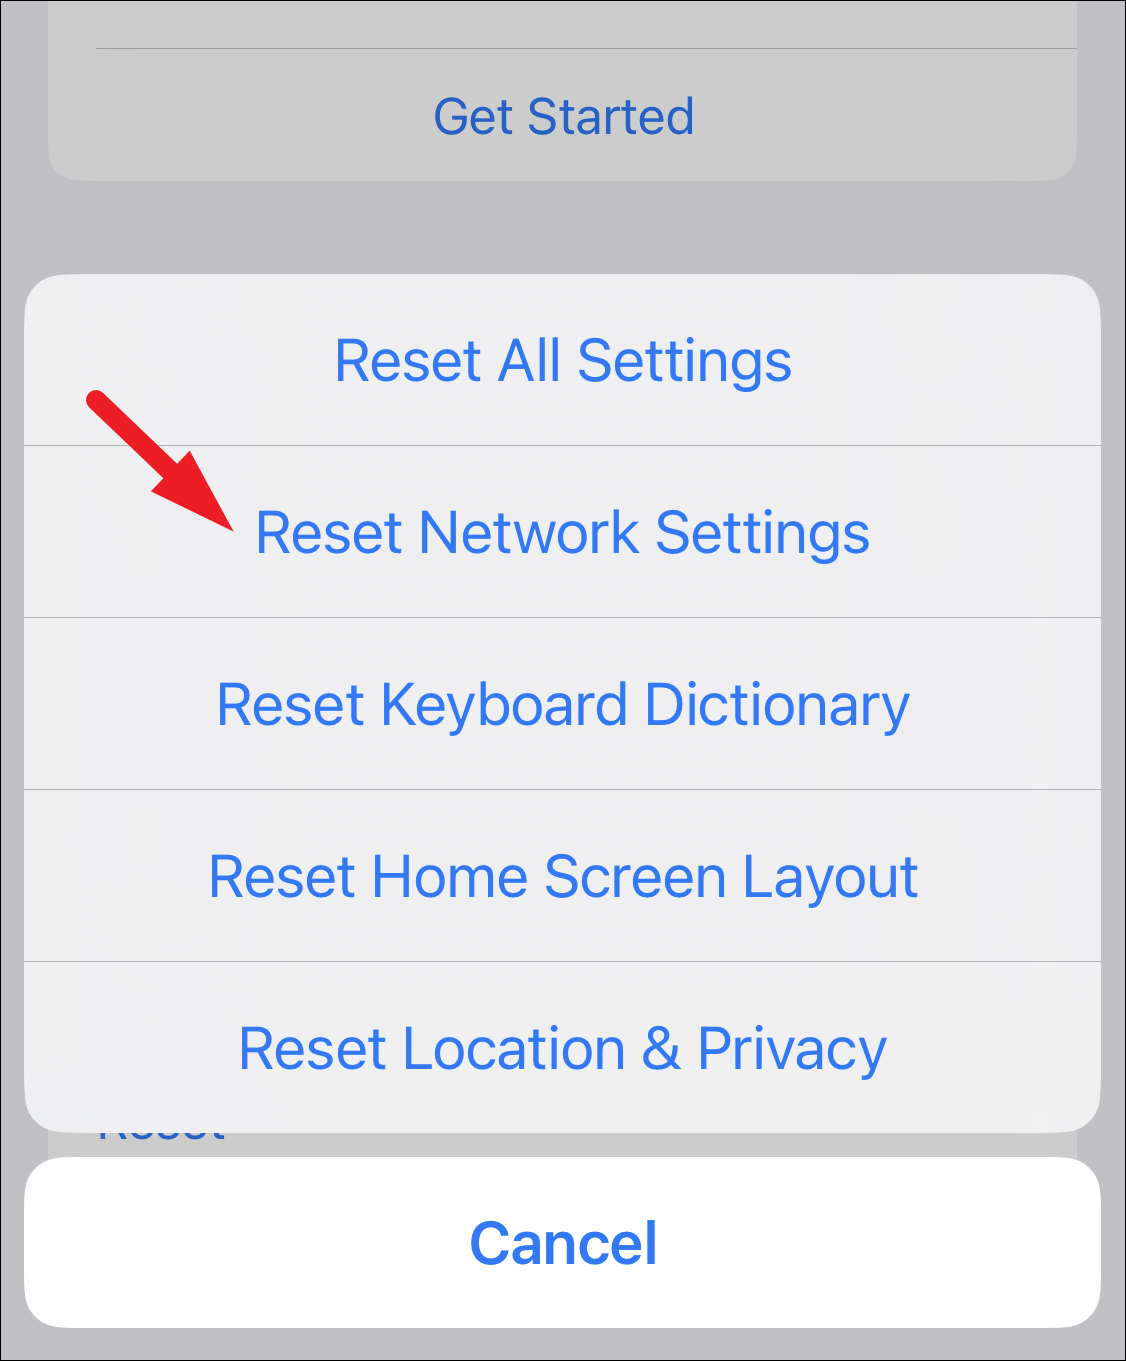
After that, tap on the ‘Reset Network Settings’ option. This will immediately restart your iPhone.
Not being able to receive messages might seem like a big problem. However, it can be resolved quickly using the simple and easy methods listed above. If none of the fixes above worked for you, contact your carrier to see if the problem is at their end.


