The error message “The program can’t start because dxgi.dll is missing from your computer” often blocks apps or games from launching on Windows 11. This issue points to a problem with the DirectX Graphics Infrastructure DLL, a file critical for graphics operations in many Windows applications. Missing or corrupted dxgi.dll files can result from accidental deletion, system file corruption, malware, or incomplete software installations.
Restore dxgi.dll from the Recycle Bin
Recycle Bin on your desktop. Accidental deletion is a common cause for missing DLLs, so check here first.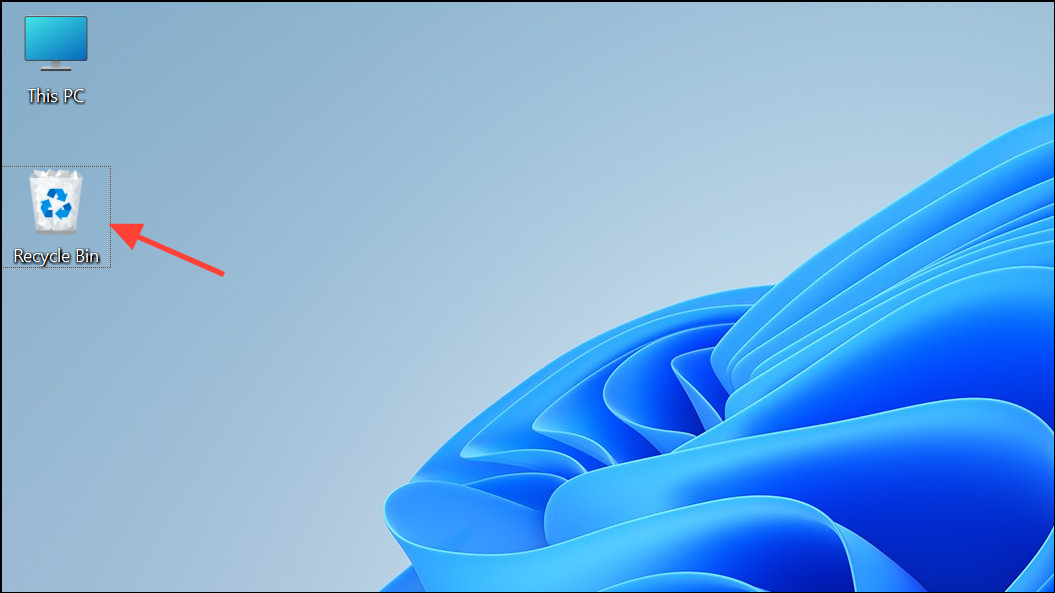
dxgi.dll in the Recycle Bin. If you find it, select the file and clickRestore the selected items at the top. This action moves the file back to its original location, often resolving the error immediately.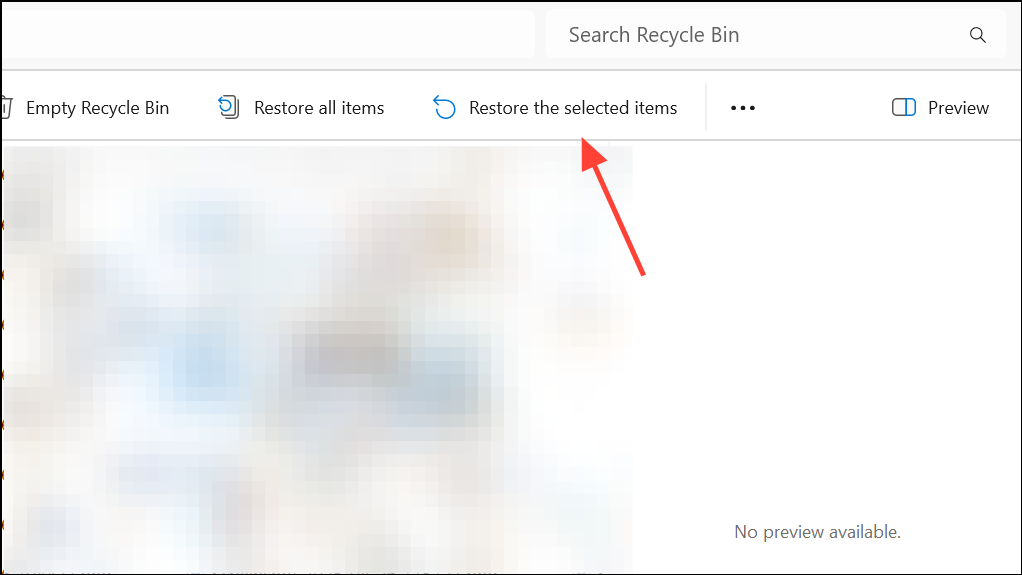
If the file isn’t in the Recycle Bin, you can try using a file recovery tool to attempt restoration, especially if you recently emptied the bin.
Run System File Checker (SFC) to Repair Corrupted System Files
Command Prompt as an administrator. Press Win + S, type “cmd,” right-click on Command Prompt, and select Run as administrator.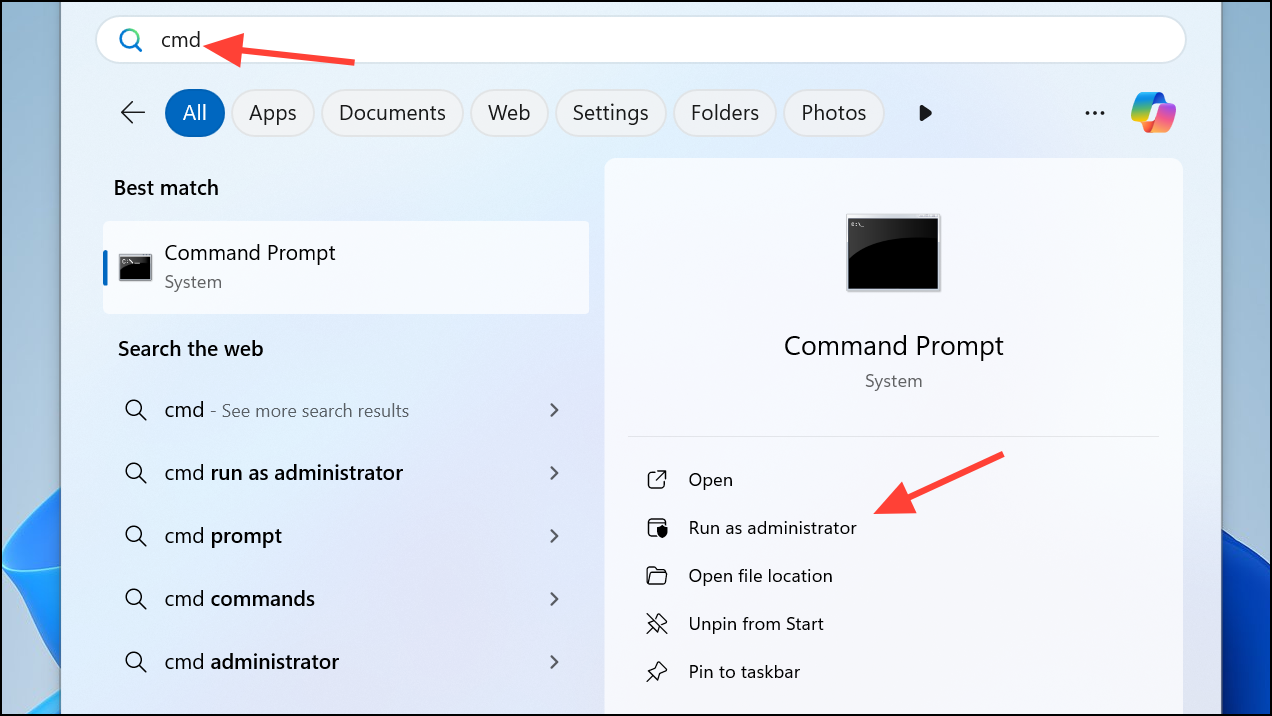
sfc /scannow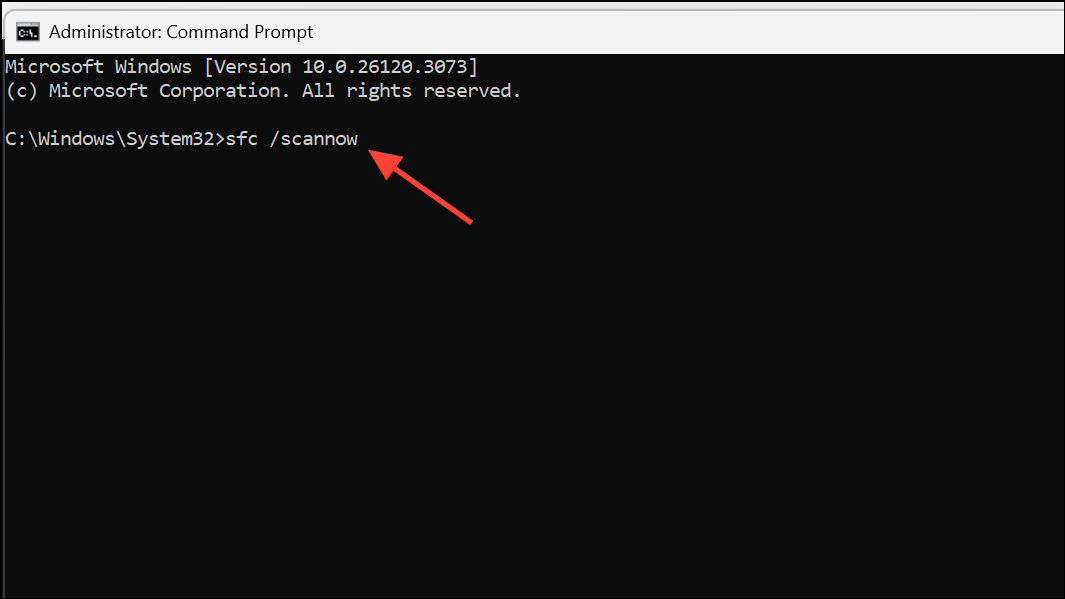
This command scans for missing or corrupted system files and replaces them with correct versions from Windows’ internal backup. If the dxgi.dll file is missing or damaged, SFC will attempt to restore it. Wait for the scan to complete, then restart your computer.
Scan for Malware and Viruses

Copy dxgi.dll from a Backup or Another System Folder
dxgi.dll across your system. On 64-bit Windows, you may find legitimate copies in these locations:%windir%\WinSxS\amd64_...\dxgi.dll%windir%\WinSxS\x86_...\dxgi.dll
- For 64-bit: Copy to
C:\Windows\System32 - For 32-bit or 32-bit applications on 64-bit Windows: Copy to
C:\Windows\SysWOW64
Reinstall Microsoft Visual C++ Redistributables
Some applications depend on Visual C++ runtime libraries, and issues with these can trigger DLL errors.
Uninstall.
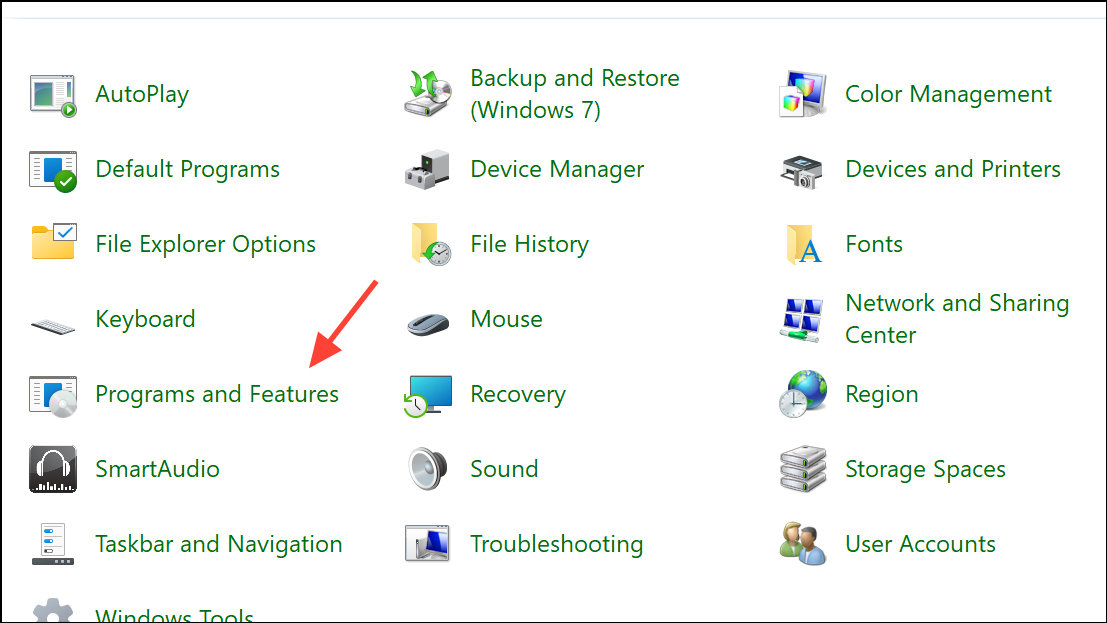
Update or Reinstall the Affected Application or Game
Settings > Apps > Installed apps or Control Panel.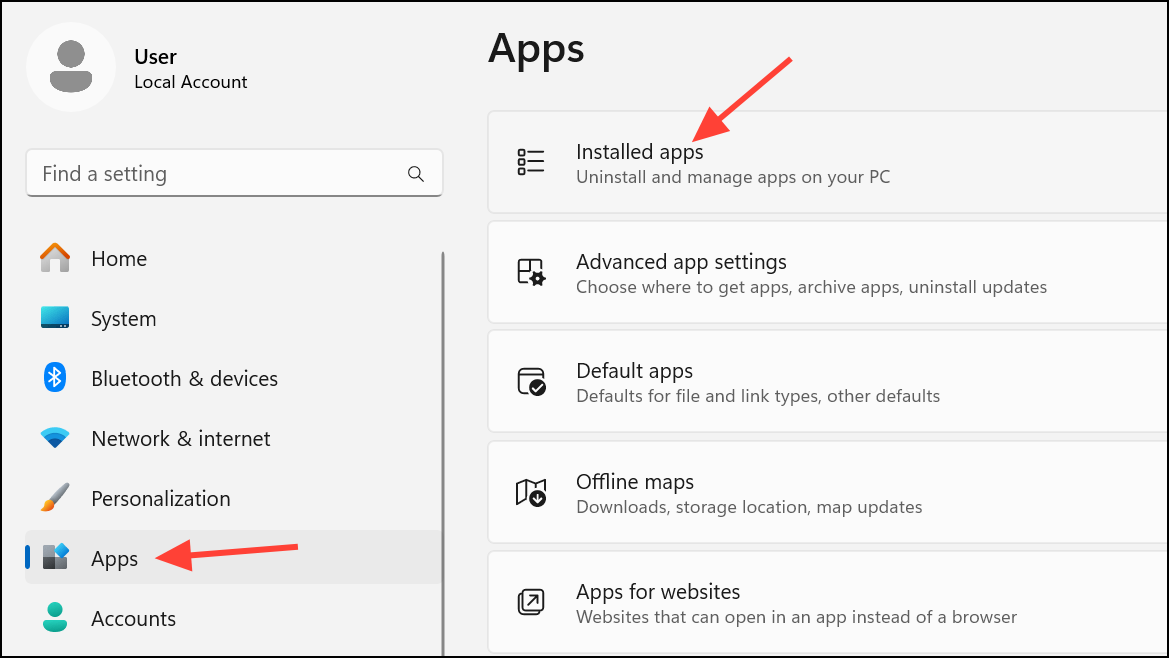
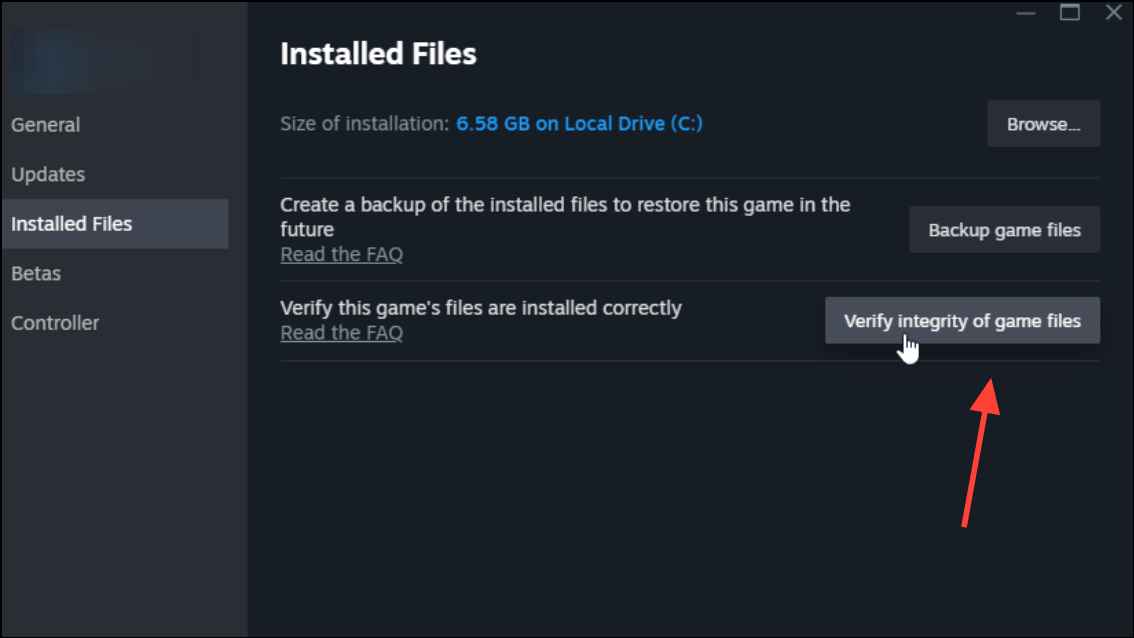
For games, especially those managed via Steam, Epic Games, or similar platforms, you can also use the “Verify integrity of game files” feature to automatically repair missing or corrupted files.
Update Graphics Drivers
Outdated or incompatible graphics drivers can cause DLL-related errors, particularly with DirectX components.
Device Manager (Win + X > Device Manager), expand Display adapters, right-click your graphics card, and select Update driver.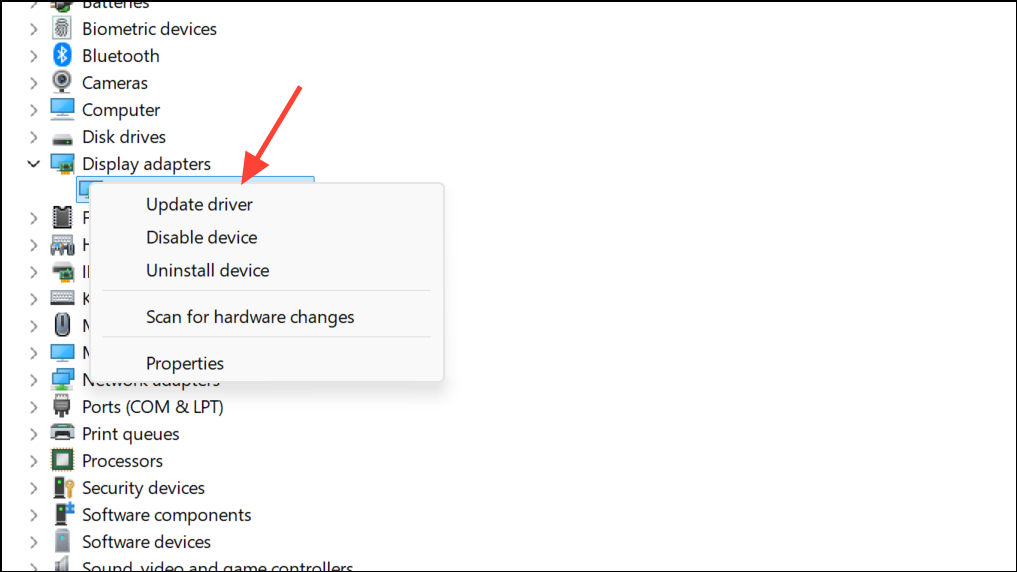
Search automatically for drivers to let Windows find the latest version. Alternatively, visit your GPU manufacturer’s website for the most up-to-date drivers and install them manually.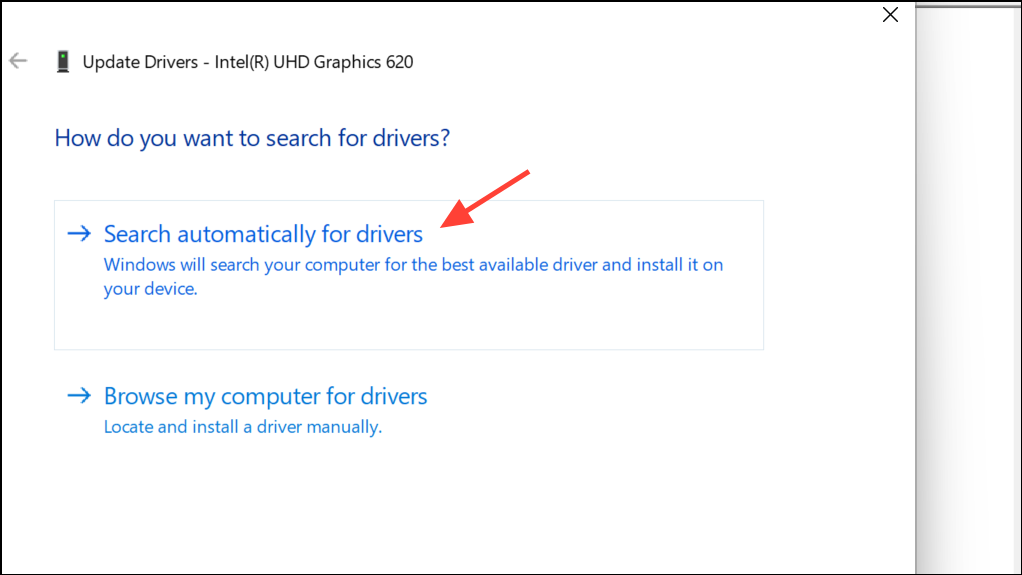
After updating, restart your computer and check if the error is resolved.
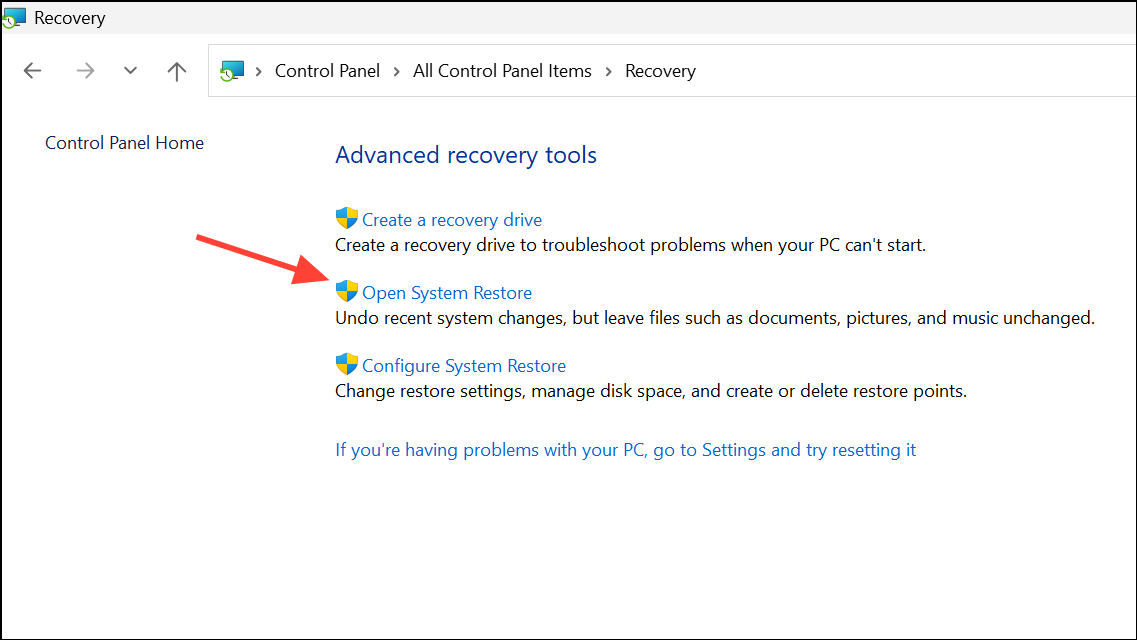
Use System Restore to Undo Recent Changes
If the dxgi.dll error started after a recent system update, driver change, or software installation, System Restore can revert your system to a previous working state.
Delete dxgi.dll from Game Folders (If Applicable)
Some games place their own copy of dxgi.dll in their installation directory, which can conflict with system versions or mods like ReShade. If the error occurs only with a specific game:
Do not delete dxgi.dll from C:\Windows\System32 or SysWOW64, as those are required by Windows.
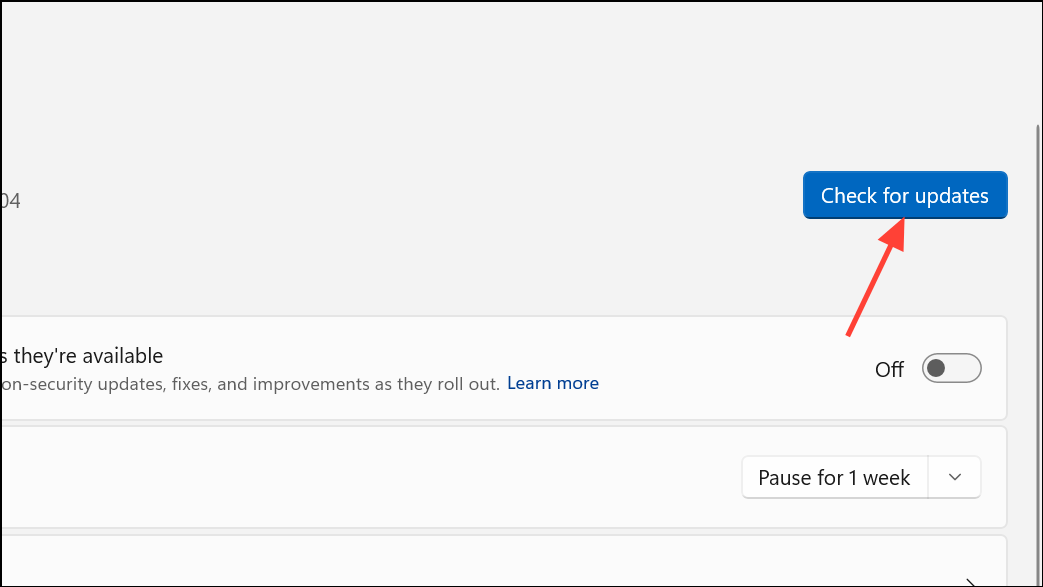
Install the Latest Windows Updates
Microsoft regularly issues updates that fix system file bugs and supply the latest DirectX components.
Advanced Options: Repair Install or Clean Install Windows
If none of the above methods resolve the dxgi.dll error, consider a repair installation (also known as an in-place upgrade) or, as a last resort, a clean install of Windows. These steps will restore all system files to their original state, but a clean install will erase all data—so back up important files first.
Resolving the dxgi.dll missing or not found error restores graphics functionality and allows your applications and games to run smoothly on Windows 11. If you’re unsure about any step, consult a trusted technician or Microsoft support for additional help.


