
The Hypervisor is a crucial component for running virtual machines on Windows, managing resource allocation. However, users may encounter Hypervisor errors that can render virtual machines unusable. These errors can stem from outdated drivers, storage drive issues, corrupted system files, interfering third-party applications, conflicting settings, or an outdated Windows version.
Fortunately, since the Hypervisor is software-based, you can resolve most issues using the methods outlined below. You may need to try multiple approaches to find the solution that works for your system.
Run Windows Memory Diagnostic
The Windows Memory Diagnostic tool can help identify issues with your computer’s RAM, which may be causing Hypervisor errors.
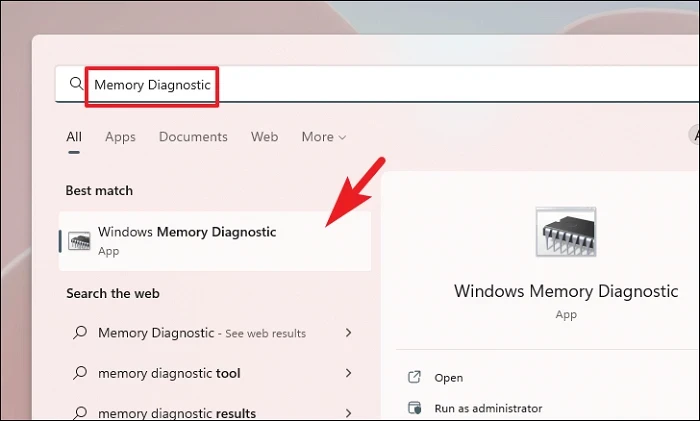
- Open the Start Menu and search for “Memory Diagnostic”
- Click on “Windows Memory Diagnostic” in the search results
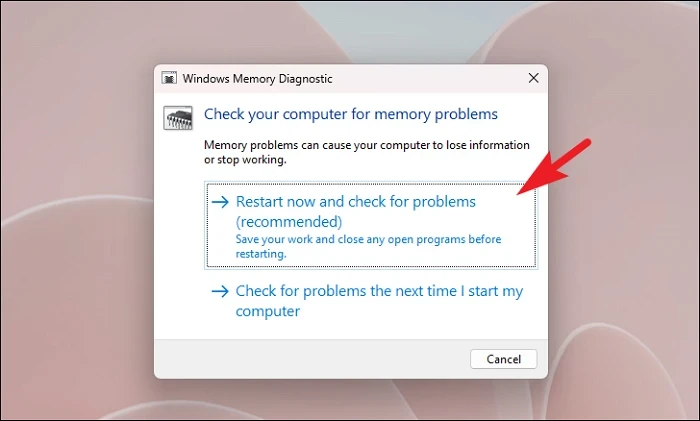
- Choose to either restart immediately and check for problems or check the next time you start your computer
Update or install missing device drivers
Outdated, missing, or corrupt drivers can cause Hypervisor errors. Updating your drivers may resolve the issue.
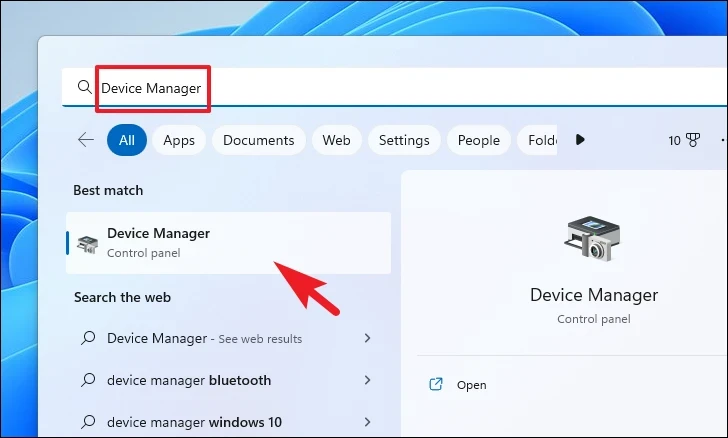
- Open the Start Menu and search for “Device Manager”
- Click on “Device Manager” in the search results
- Look for any devices with a yellow exclamation mark
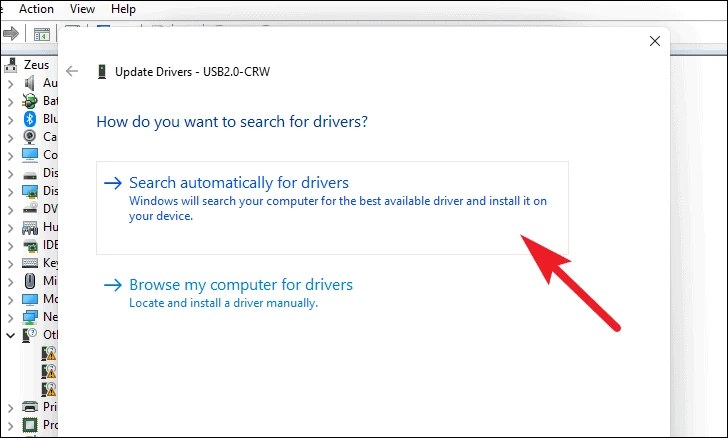
- Right-click on the device and select “Update driver”

- Choose to search automatically for drivers or browse your computer for driver software
- If Windows can’t find a driver, check for updates in Windows Update
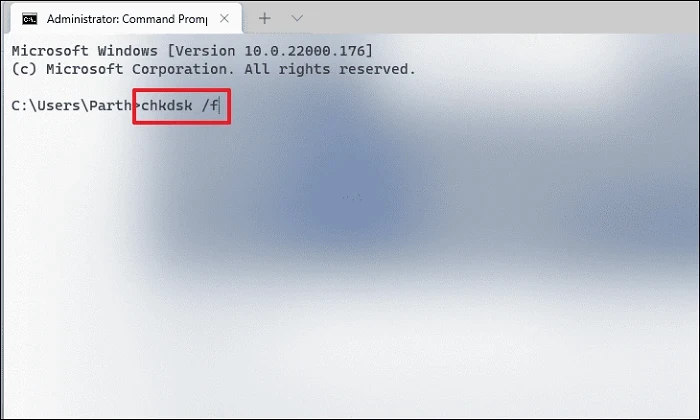
Run CHKDSK
The CHKDSK utility can identify and fix issues with your storage drives that may be causing Hypervisor errors.
- Open Command Prompt as administrator
- Type the following command and press Enter:
chkdsk /f
- Press Y to schedule the scan for the next restart
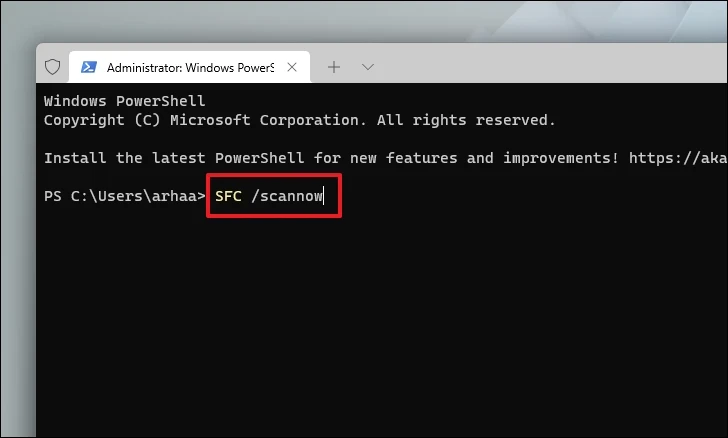
Run SFC and DISM scans
System File Checker (SFC) and Deployment Image Servicing and Management (DISM) can repair corrupted system files.
- Open Command Prompt as administrator
- Run the following command:
DISM /Online /Cleanup-Image /RestoreHealth
- After it completes, run:
SFC /scannow
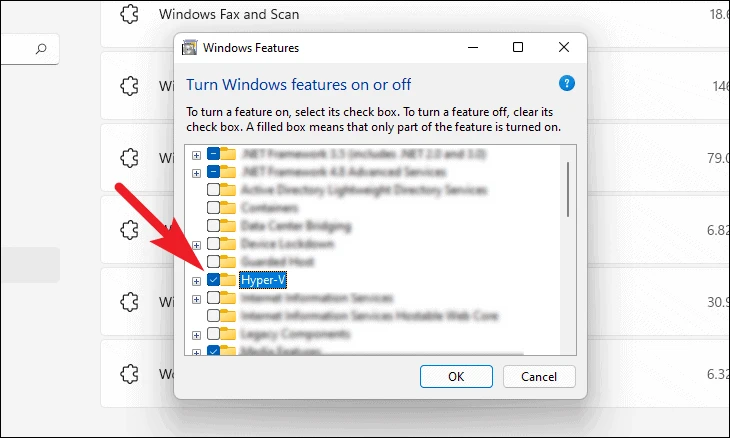
Disable and re-enable Hypervisor
Sometimes, simply turning Hypervisor off and on again can resolve issues.
- Open Control Panel
- Go to Programs > Turn Windows features on or off
- Uncheck “Hyper-V” and “Virtual Machine Platform”
- Click OK and restart your computer
- Repeat the process to re-enable these features
Update BIOS and chipset drivers
Downloading and installing the latest BIOS and chipset drivers from your computer manufacturer’s website can often resolve Hypervisor errors.
Disable overclocking
If you’ve overclocked your CPU, GPU, or system memory, try running everything at stock speeds. Disable XMP profiles or set them to Auto in your BIOS settings.
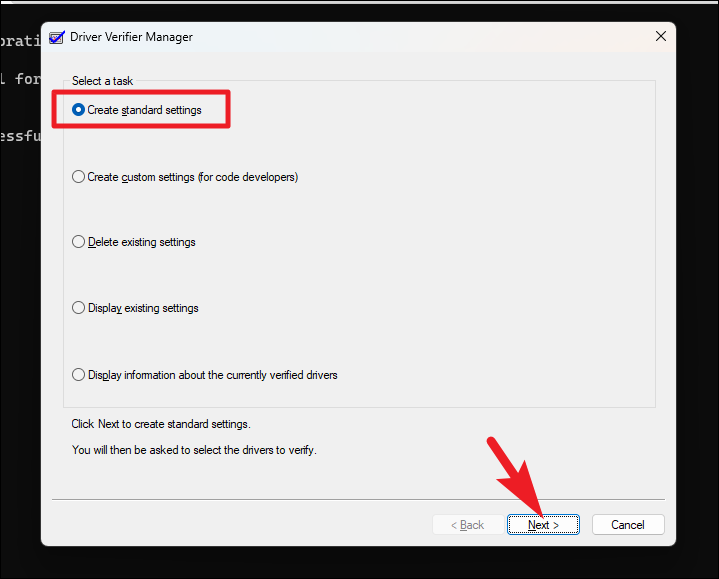
Run Driver Verifier
Driver Verifier can help identify driver-related issues causing Hypervisor errors.
- Open Command Prompt as administrator
- Type “verifier” and press Enter
- Choose “Create standard settings” and click Next
- Select “Automatically select all drivers installed on this computer”
- Click Finish and restart your computer
To stop Driver Verifier later, use the command:
verifier /reset
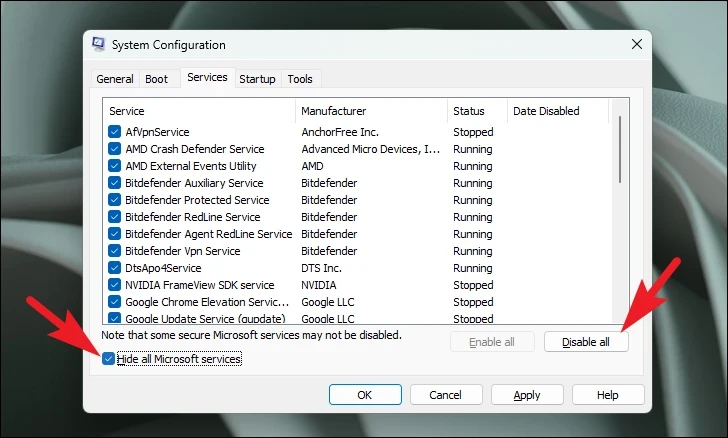
Perform a clean boot
A clean boot can help identify if third-party software is causing the Hypervisor error.
- Press Windows+R, type “msconfig”, and press Enter
- In the General tab, select “Selective startup” and uncheck “Load startup items”
- In the Services tab, check “Hide all Microsoft services” and click “Disable all”
- Click Apply, then OK, and restart your computer
Reset your PC
If all else fails, resetting your PC can often resolve persistent Hypervisor errors.
- Go to Settings > System > Recovery
- Click “Reset PC” under “Reset this PC”
- Choose to keep your files or remove everything
- Follow the on-screen instructions to complete the reset process
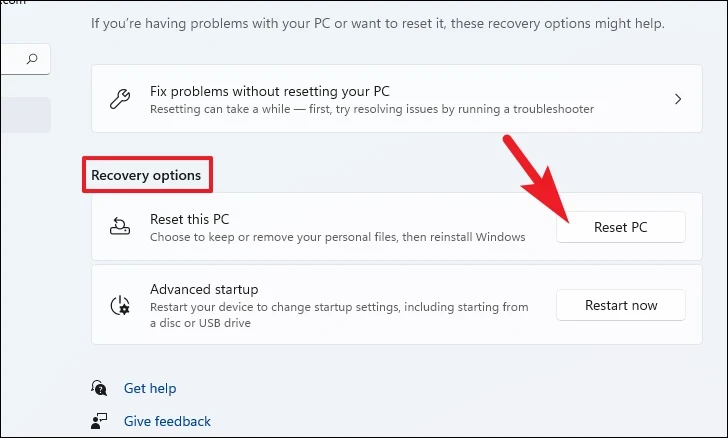
Remember to back up your important data before performing a reset.


