
Windows 11 provides a range of Optional Features that allow you to enhance your computer with additional functionalities like Hyper-V, Windows Subsystem for Linux, Windows Hello Face, and Windows Developer Mode. While installing these features is usually simple through the Settings app, sometimes you might encounter issues where these features fail to install or you receive an error message. Here are several methods you can try to resolve these issues.
Change Windows Module Installer Service Startup
Open the Start Menu and type
Services in the search bar. From the search results, click on the Services app to open it.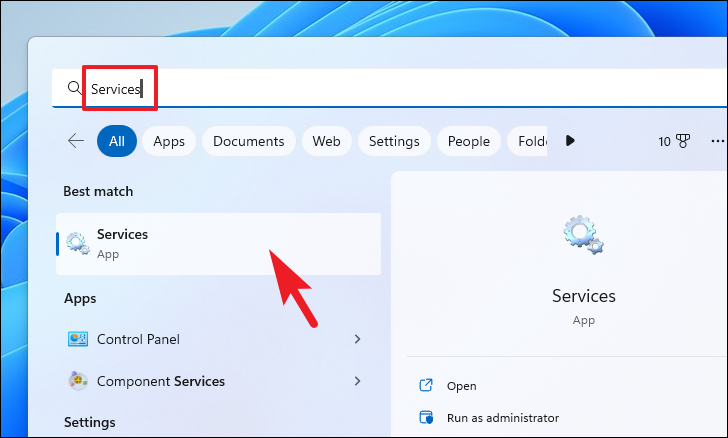
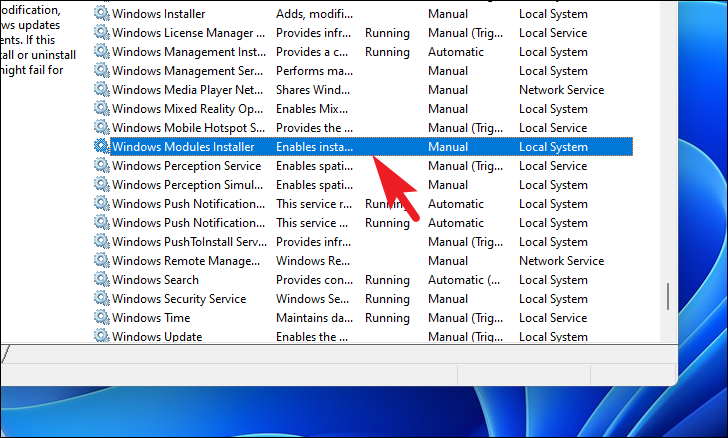
In the Services window, scroll down to find Windows Modules Installer. Double-click on it to open its properties.
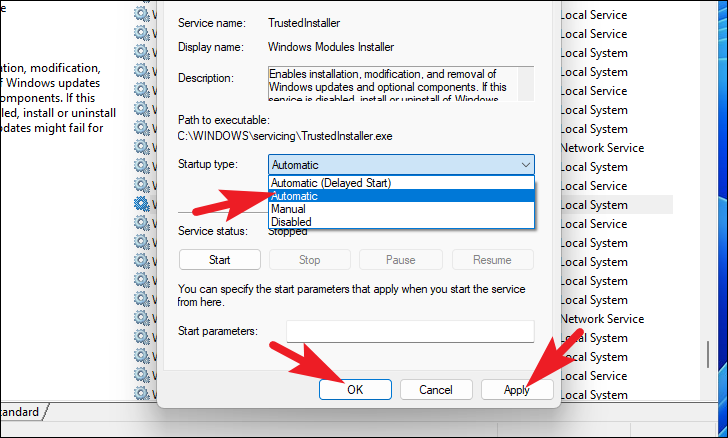
In the Properties window, locate the Startup type dropdown menu. Click on it and select Automatic. Then, click on the Apply button followed by OK to save the changes.
Restart your computer to ensure the changes take effect. After the restart, try installing the Optional Features again to see if the issue is resolved.
Run DISM and SFC Scans
Open the Start Menu and type
Terminal in the search field. Right-click on the Terminal app and select Run as administrator from the context menu.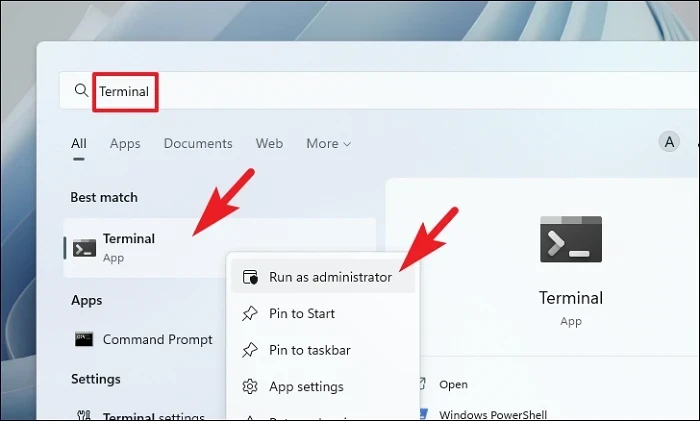
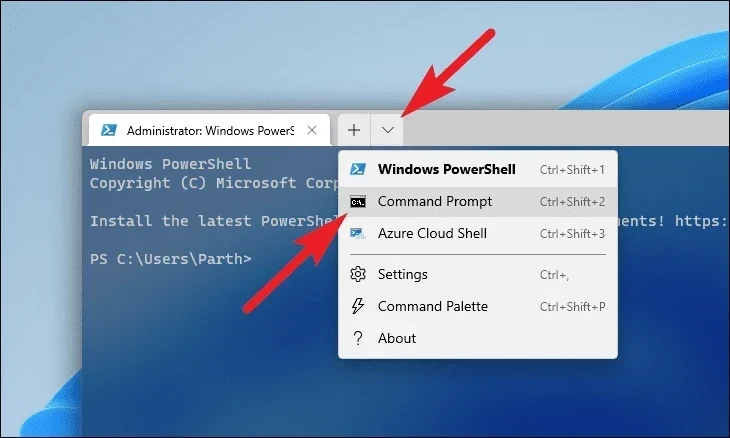
In the Terminal window, click on the downward arrow icon (also known as the chevron) and select Command Prompt from the dropdown menu.
DISM /Online /Cleanup-Image /RestoreHealth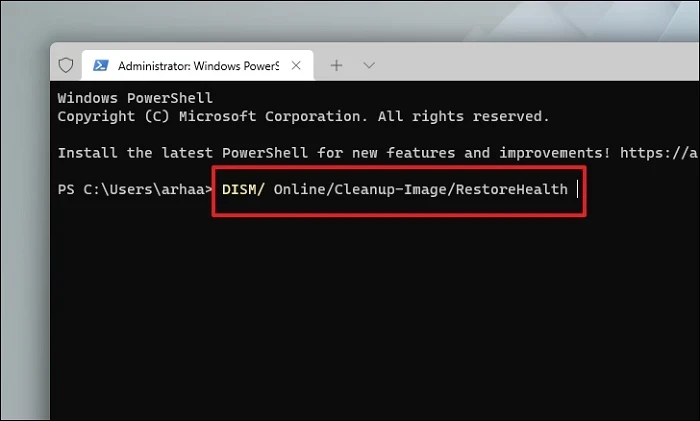
After the DISM scan is complete, type the following command and press
Enter to run the System File Checker:SFC /scannow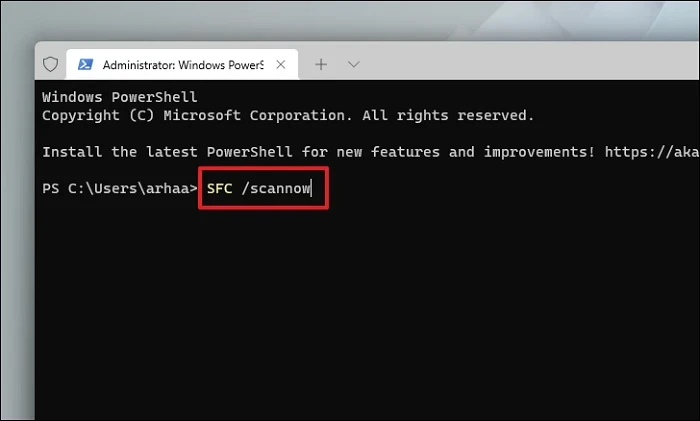
Once the scan is complete and repairs are made, restart your computer and attempt to install the Optional Features again.
Update Windows

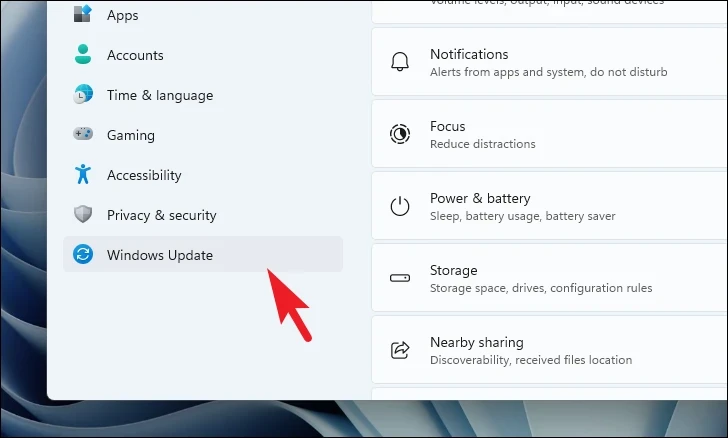
Click on Check for updates. If updates are available, click on Download & Install. After the updates are installed, click Restart Now to reboot your system and apply the updates.
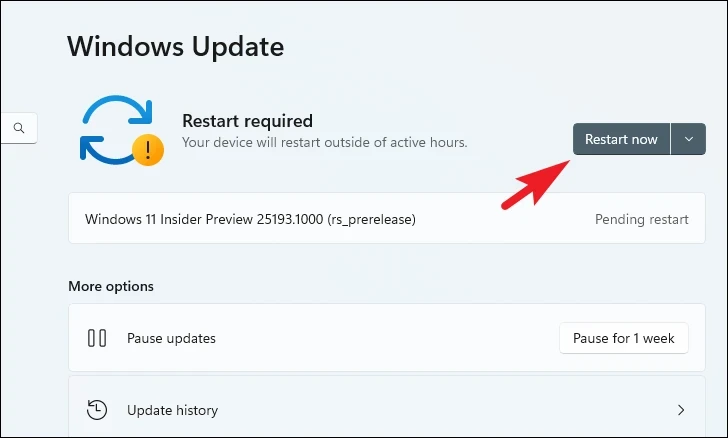
After your system restarts, try installing the Optional Features to see if the issue has been resolved.
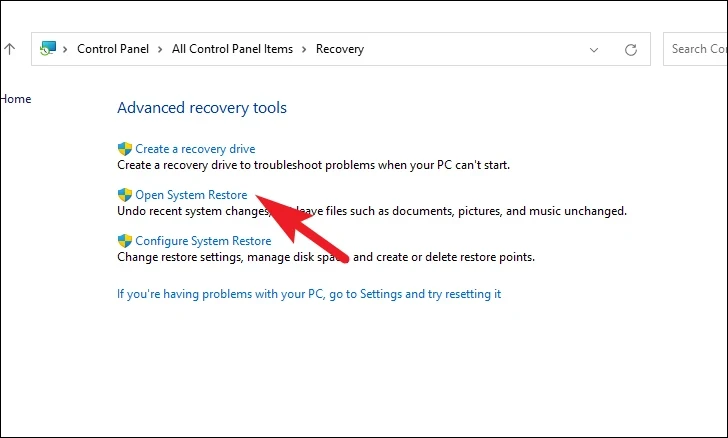
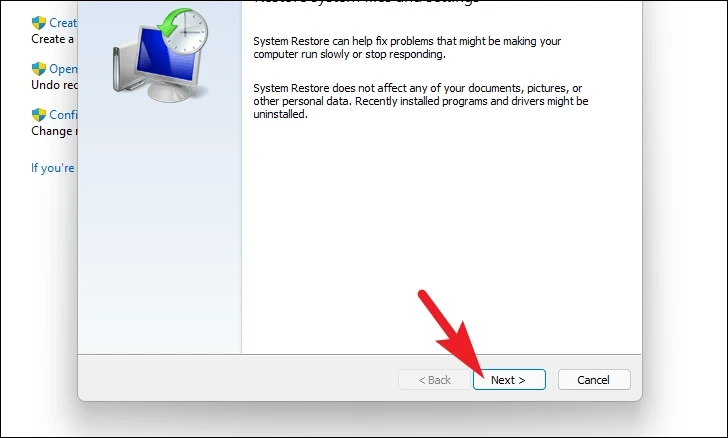
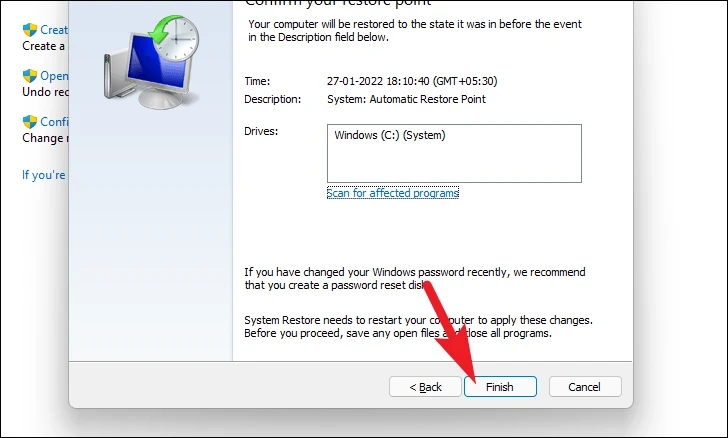
Roll Back to a System Restore Point
Open the Start Menu and type
Control into the search bar. Click on the Control Panel app from the search results.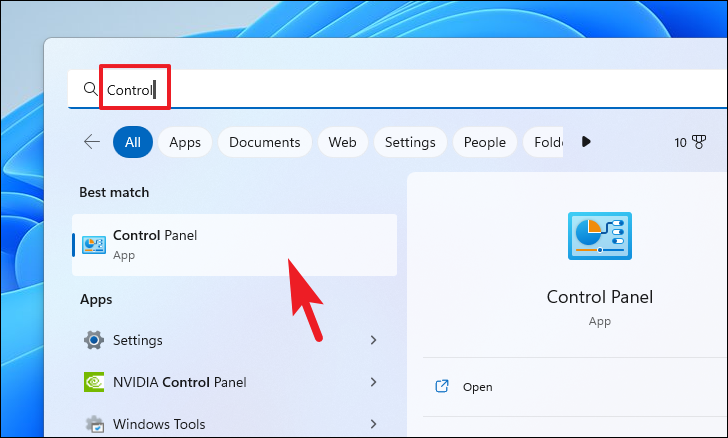
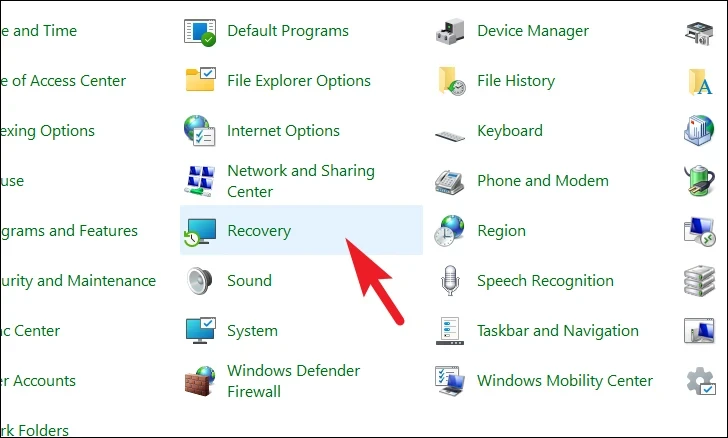
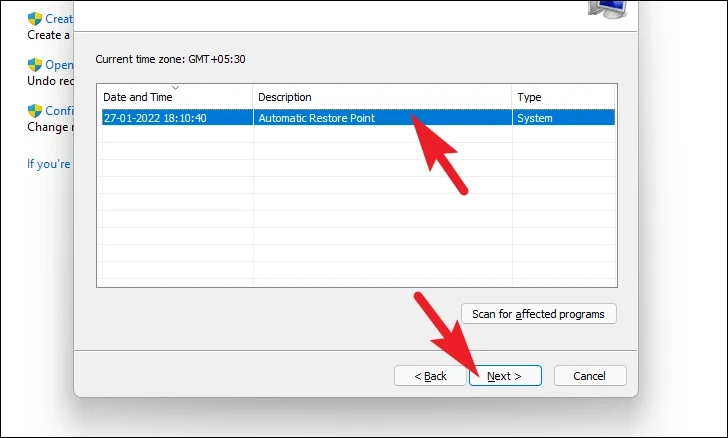
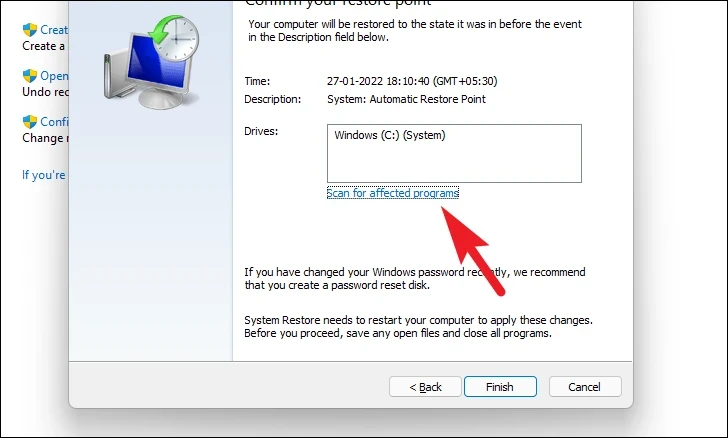
To see which programs and drivers will be affected, click on Scan for affected programs. After reviewing, click Close to return to the previous window.
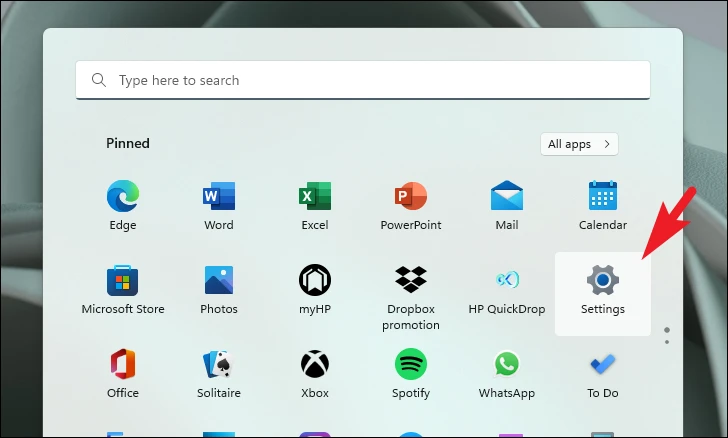
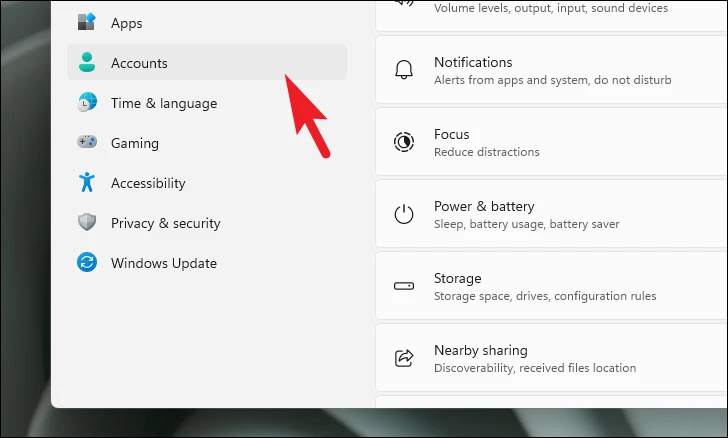
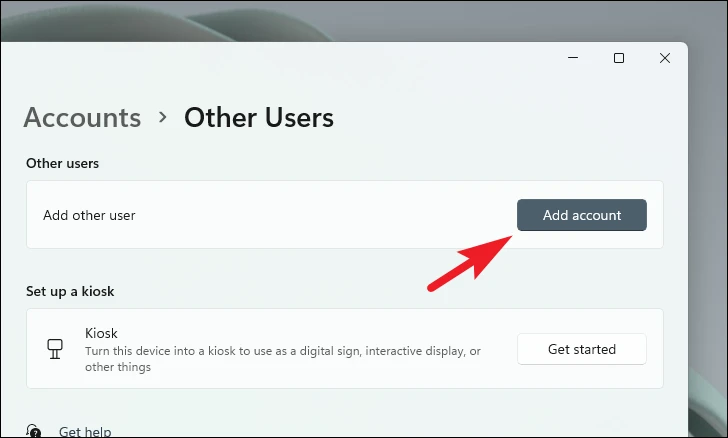
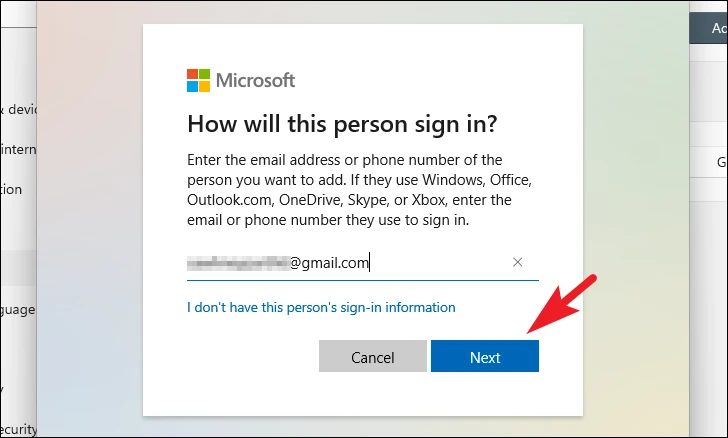
Create a New Administrator Account
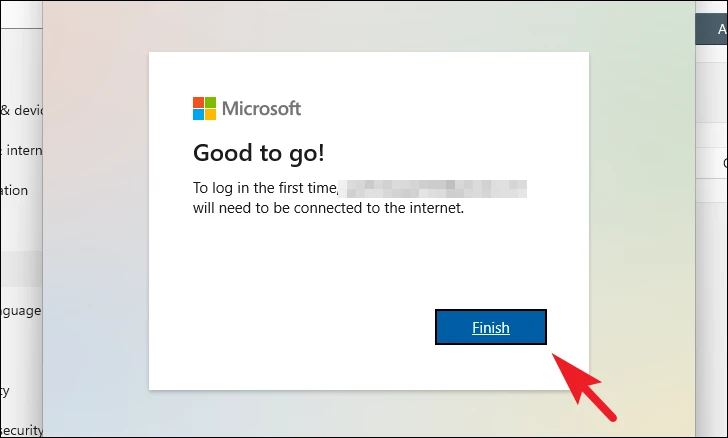
Click Finish to complete the account creation process. Ensure you have an active internet connection when logging into the new account for the first time.
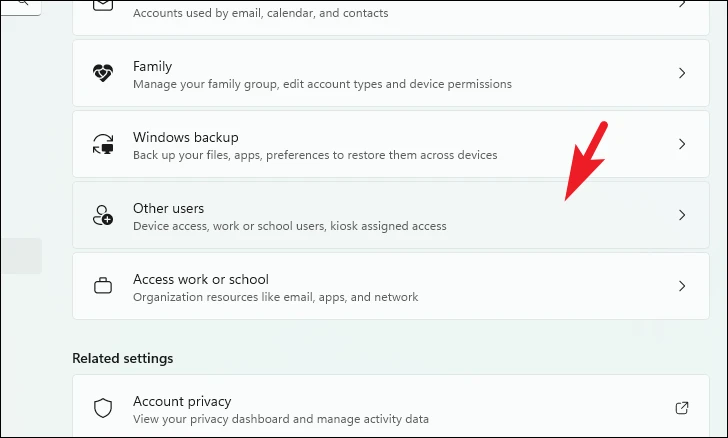
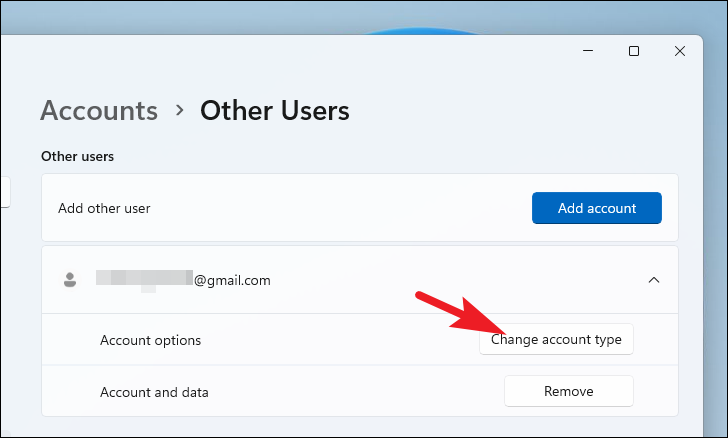
By default, new accounts are standard users. To change it to an administrator account, return to the Other users settings page, click on the account you just created, and select Change account type.
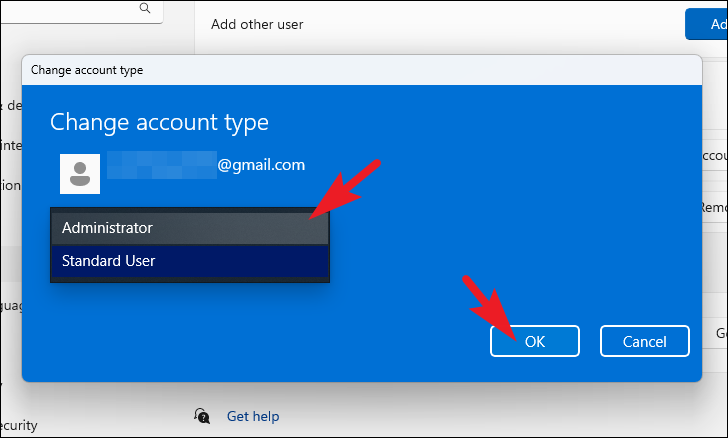
Log out of your current account and sign in with the new administrator account. Try installing the Optional Features again; they should now install successfully.
There you have it—several methods to help you resolve issues with installing Optional Features on Windows 11. By following these steps, you should be able to get your desired features up and running.


