Experiencing issues with Windows 11 File Explorer not responding can be quite frustrating, especially when you need to access files and folders promptly. Fortunately, there are several methods to resolve this problem and get your system running smoothly again.
Restart Windows File Explorer
If File Explorer has become unresponsive, a quick restart might temporarily resolve the issue. Keep in mind that this is a short-term solution and may not permanently fix the underlying problem.
- Press
Ctrl+Alt+Delon your keyboard to open the security screen. - Select the Task Manager option from the list.

- In the Task Manager window, click on More details to expand it.
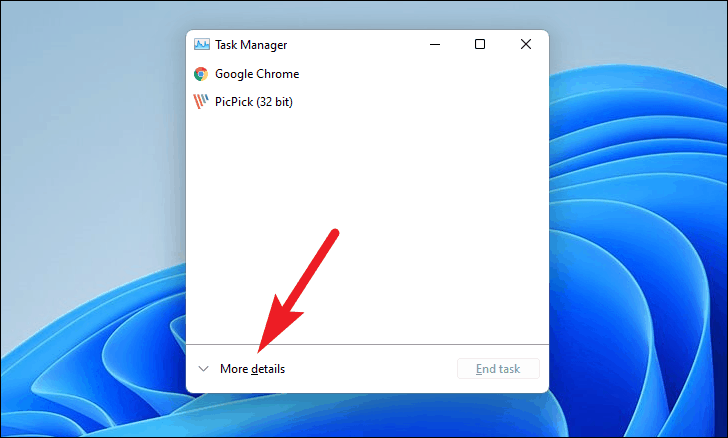
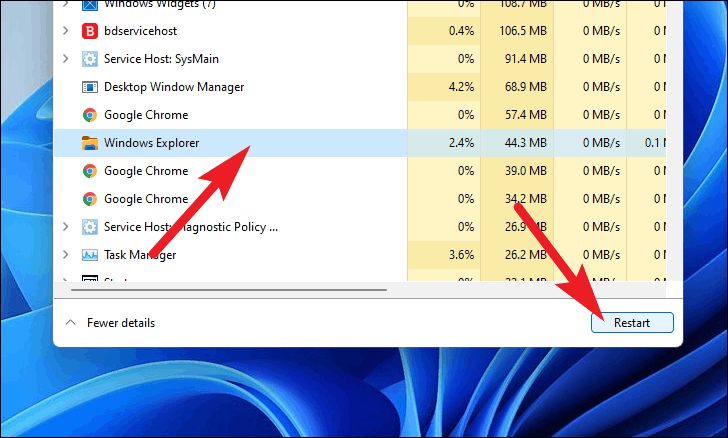
- Locate the Windows Explorer process in the list.
- Click on the Restart button at the bottom right corner of the Task Manager to restart the explorer.
Fix Windows File Explorer by Running an SFC Scan
System File Checker (SFC) scans your computer for system file errors and repairs them. This method can resolve issues if corrupted system files are causing File Explorer to be unresponsive.
- Press
Ctrl+Alt+Delon your keyboard to open the security screen. - Select the Task Manager option.

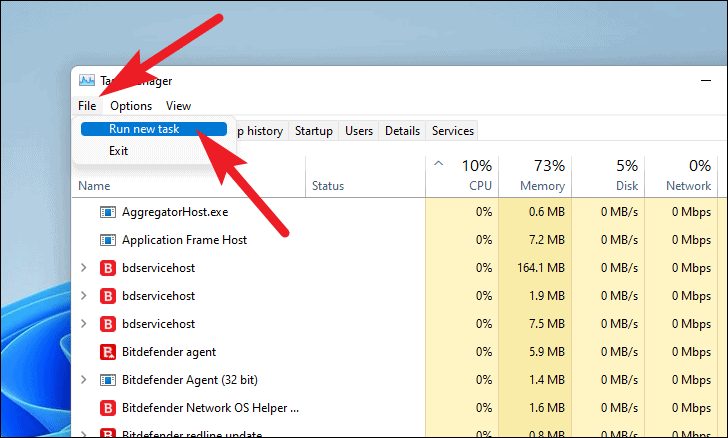
- Click on More details at the bottom left corner to expand Task Manager.

- Click on the File tab at the top left, then choose Run new task.

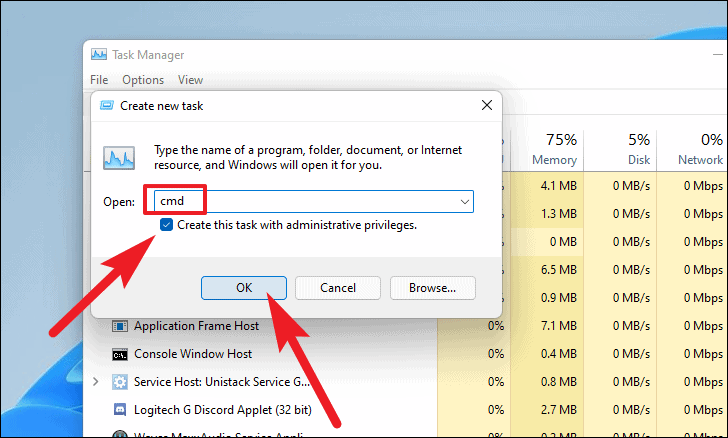
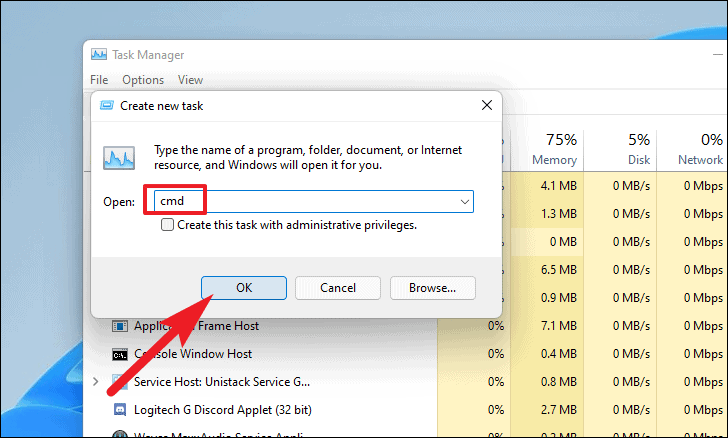
- In the Create new task window, type
cmdin the text box. - Check the box next to Create this task with administrative privileges.
- Click OK.
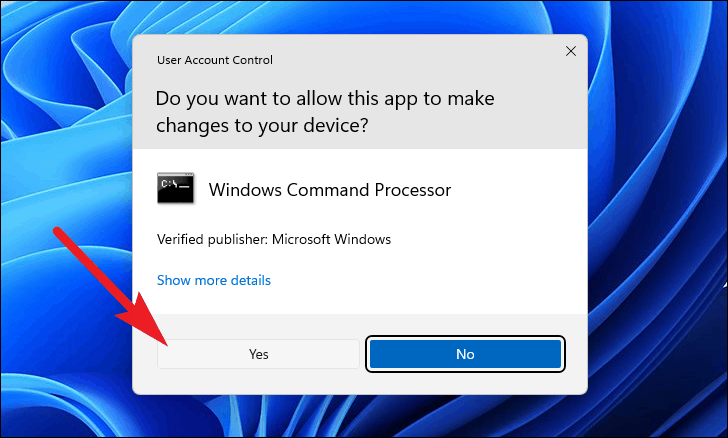
- If prompted by User Account Control (UAC), click Yes to allow.
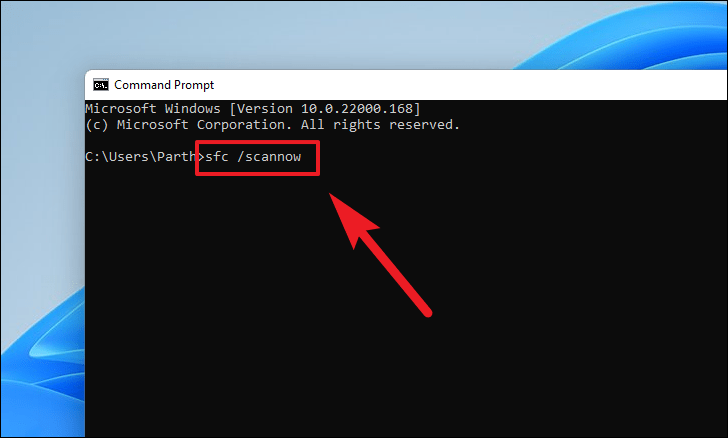
- In the Command Prompt window, type
sfc /scannowand pressEnterto start the scan.
The scan may take some time to complete. Once it’s done:
- Restart your computer to apply the changes.
To restart:
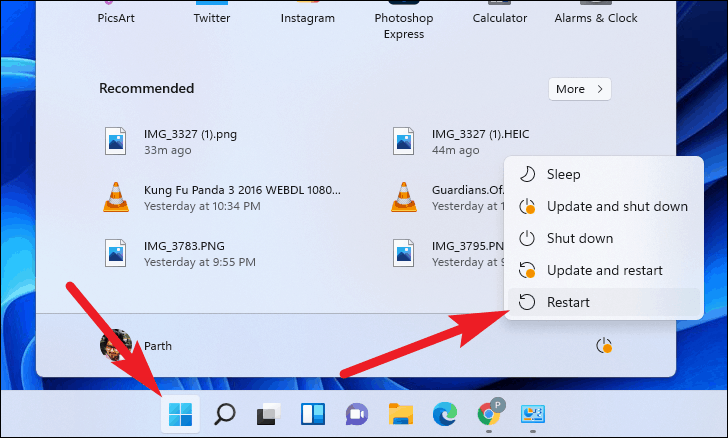
- Click the Start button on the taskbar.
- Click the Power icon, then select Restart.
If your taskbar is unresponsive:
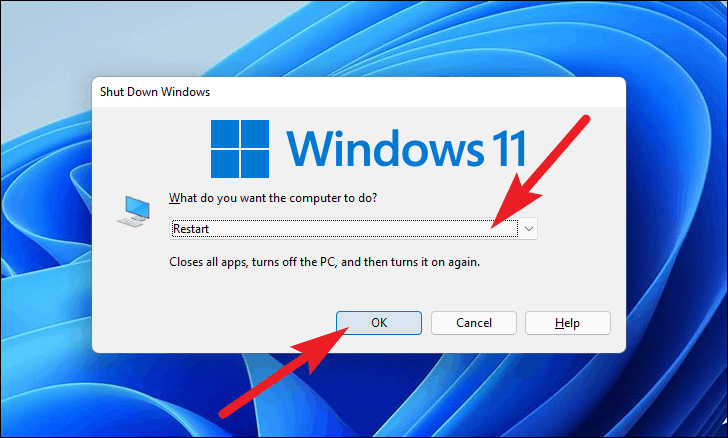
- Press
Alt+F4on your keyboard to open the shutdown dialog. - Use the arrow keys to select Restart.
- Press Enter or click OK to restart your PC.
After restarting, check if File Explorer is working properly.
Fix Windows File Explorer Using Command Prompt
Another method involves deleting a specific registry entry using Command Prompt. This can help restore the functionality of File Explorer.
- Press
Ctrl+Alt+Delto open the security screen. - Select Task Manager from the options.

- Click on More details at the bottom left to expand Task Manager.

- Go to the File tab and select Run new task.
- Type
cmdin the text box and click OK to open Command Prompt.
- In the Command Prompt window, paste the following command and press
Enter:
reg delete HKCU\SOFTWARE\Microsoft\Windows\CurrentVersion\IrisService /f && shutdown -r -t 0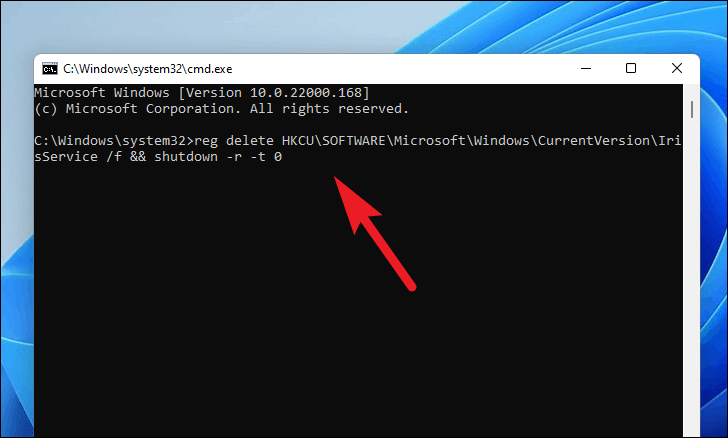
Your computer will restart automatically. After the reboot, check if the File Explorer issue is resolved.
Fix Windows File Explorer by Uninstalling Recent Updates
If the problem started after installing a Windows update, uninstalling the recent update might fix the issue.
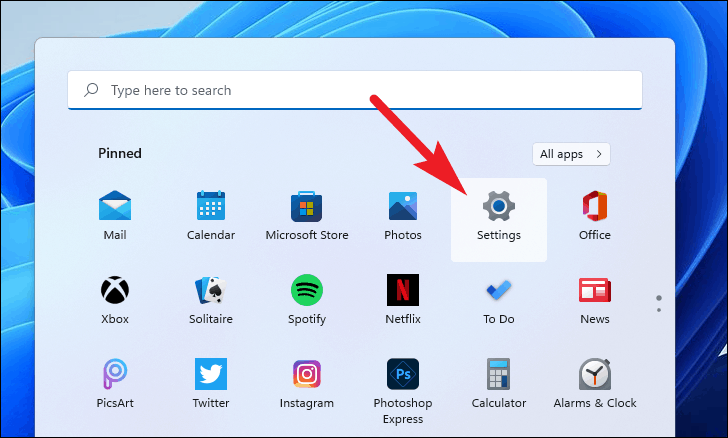
- Open the Settings app by clicking the Start button and selecting Settings, or by pressing
Windows+Ion your keyboard.
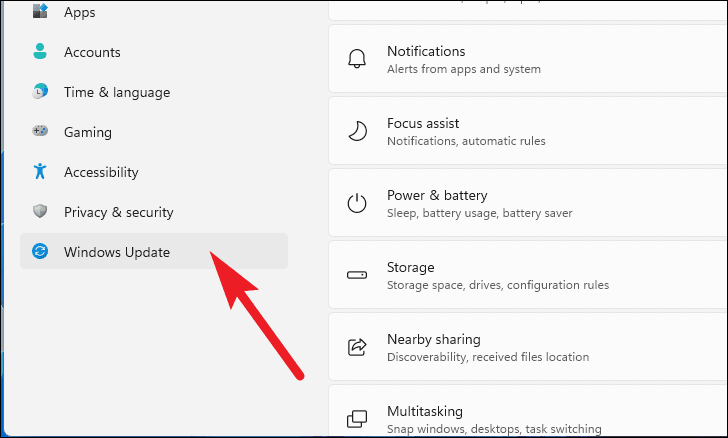
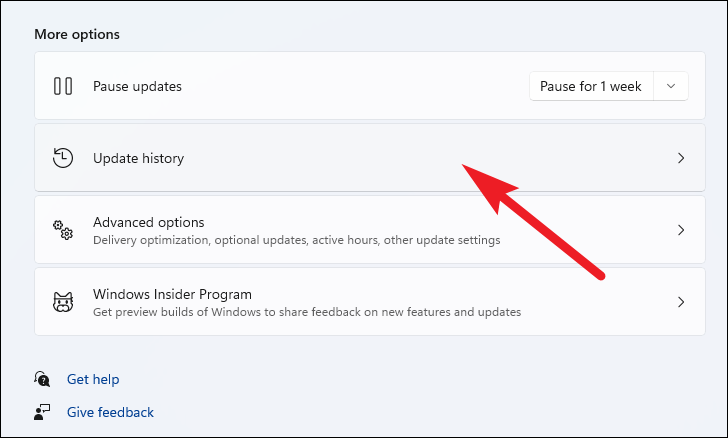
- In Settings, select Windows Update from the left sidebar.
- Click on Update history under the More options section.
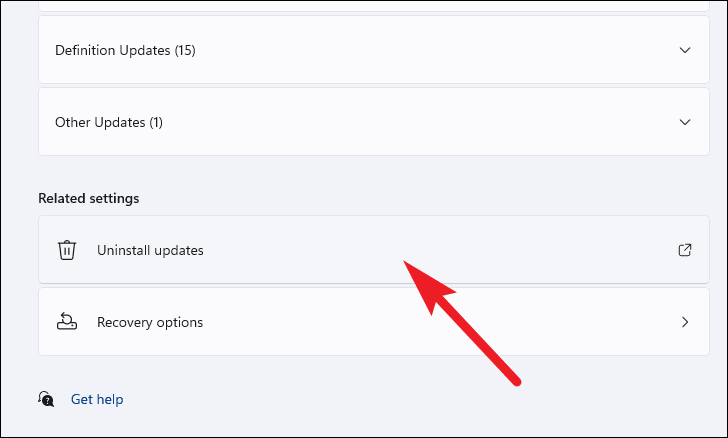
- Scroll down and click on Uninstall updates. This will open the Control Panel.
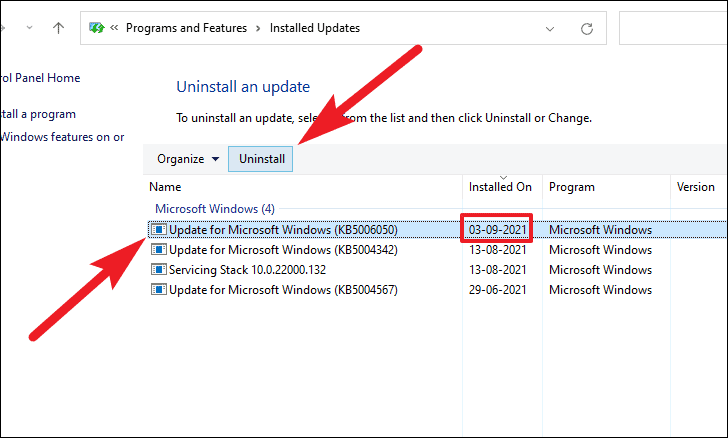
- In the Control Panel window, find the most recent update from the list.
- Click on it and select Uninstall.
- Confirm the action by clicking Yes when prompted.
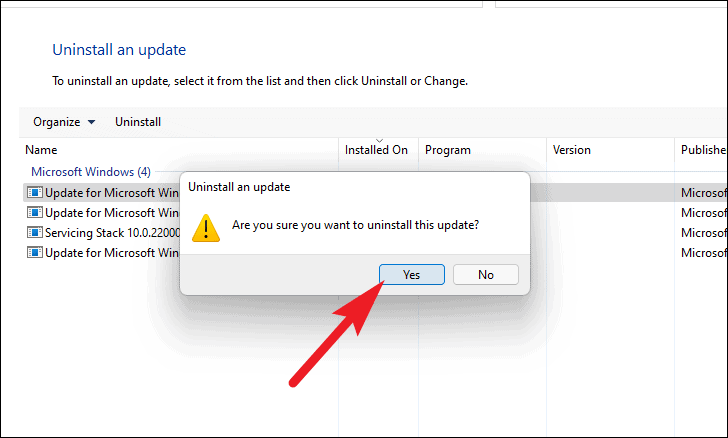
- Restart your computer to complete the uninstallation.
After your PC restarts, check to see if File Explorer is functioning correctly.
These methods should help you resolve any issues with Windows 11 File Explorer not responding. If the problem persists, consider seeking additional support or performing a system restore.


