The KMODE EXCEPTION NOT HANDLED error is a common Blue Screen of Death (BSOD) issue that Windows 11 users may encounter, often during or after system upgrades. This error can disrupt your workflow and cause concern, but there are several effective methods to resolve it.
This BSOD is typically associated with outdated BIOS versions, faulty drivers, or misconfigured system settings. Other potential causes include interference from third-party antivirus software, corrupt system files, or faulty RAM. Below are several methods you can follow to fix this error.
1. Update Your BIOS
An outdated BIOS is often a significant factor behind the KMODE EXCEPTION NOT HANDLED error. Early versions of Windows 11 encountered kernel mode crashes due to outdated BIOS firmware. Thankfully, most motherboard manufacturers have released updates to address this issue.
To resolve the error, updating your BIOS to the latest version is essential. Visit your motherboard manufacturer’s official website to download the latest BIOS firmware for your specific model.
Note: The process for updating BIOS varies significantly between different manufacturers and models. Be sure to consult the specific instructions provided by your motherboard manufacturer to avoid any potential issues.
After successfully updating the BIOS, restart your computer and check if the error persists.
2. Uninstall and Reinstall Graphics Card Driver
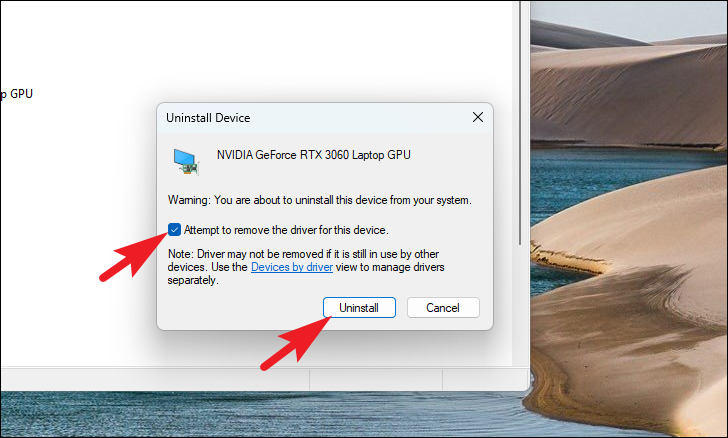
Uninstalling and reinstalling the graphics card driver can often resolve the KMODE EXCEPTION NOT HANDLED error.
Device Manager in the search bar. Click on the ‘Device Manager’ option from the search results.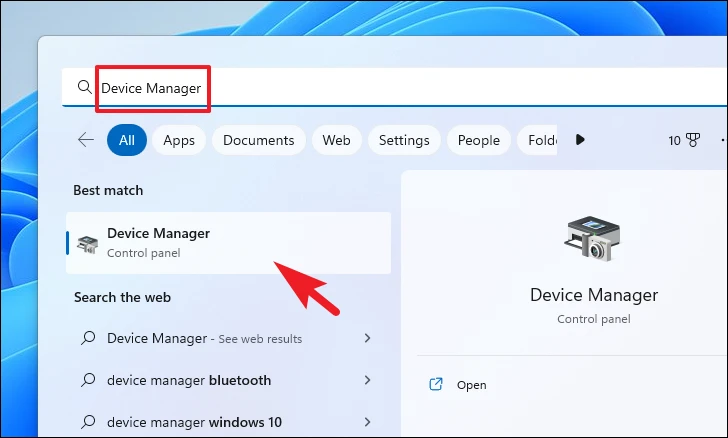
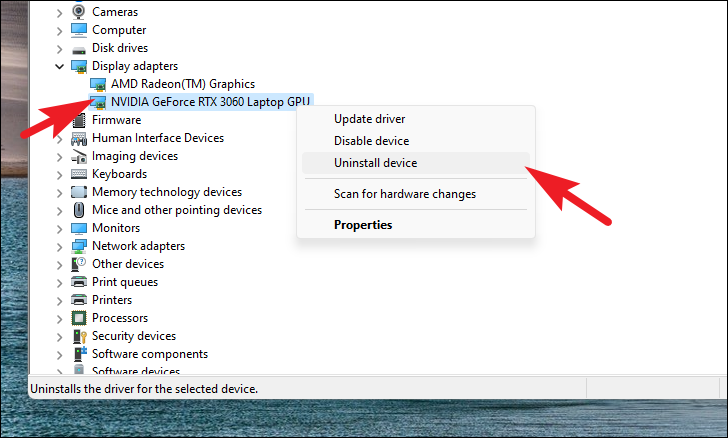
If you have multiple graphics cards installed, repeat these steps for each one.

After the driver installation is complete, restart your computer and verify if the issue has been resolved.
3. Run Windows Memory Diagnostic Tool
The Windows Memory Diagnostic Tool can detect and fix issues with your computer’s RAM, which may be causing the KMODE EXCEPTION NOT HANDLED error.
Memory Diagnostic. Select ‘Windows Memory Diagnostic’ from the search results.
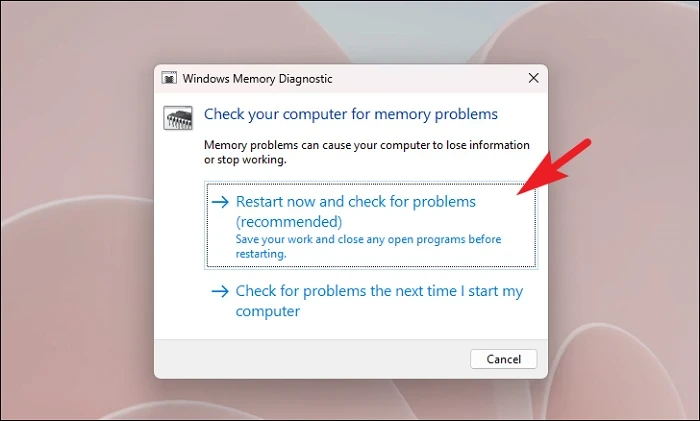
If the diagnostic tool finds any errors with your RAM, you may need to replace the faulty memory modules to resolve the issue.
4. Run SFC and DISM Scans
Running the System File Checker (SFC) and Deployment Image Servicing and Management (DISM) scans can repair corrupt system files that might be causing the error.
Terminal, right-click on the ‘Terminal’ app, and select ‘Run as administrator’.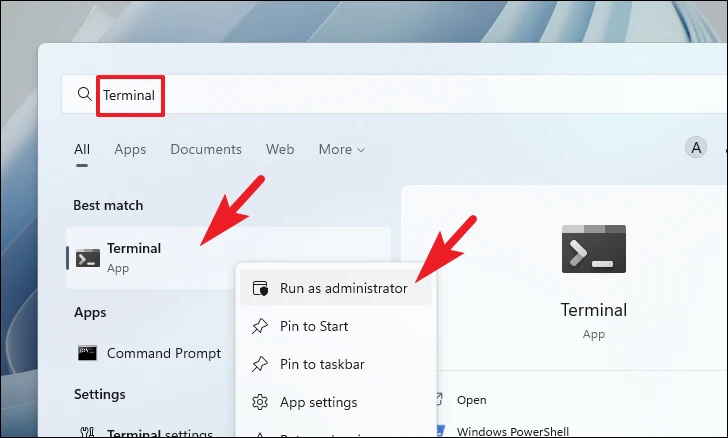
DISM /Online /Cleanup-Image /RestoreHealth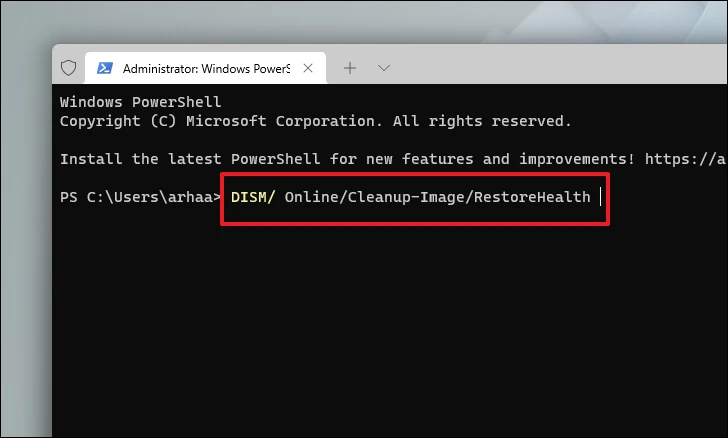
Enter:SFC /scannow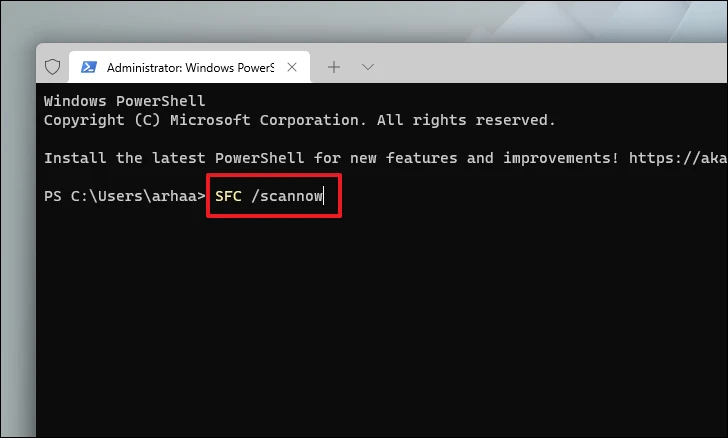
Once the scans are complete, restart your computer and check if the error has been resolved. If corrupted files were found and repaired, this should fix the issue.
5. Disable Third-Party Antivirus Software
Sometimes, third-party antivirus software can interfere with system processes, leading to the KMODE EXCEPTION NOT HANDLED error. Temporarily disabling your antivirus software may help identify if it’s the source of the problem.
If the error is resolved after disabling the antivirus, consider updating the software or switching to a different antivirus solution. Remember to re-enable your antivirus protection to keep your system secure.
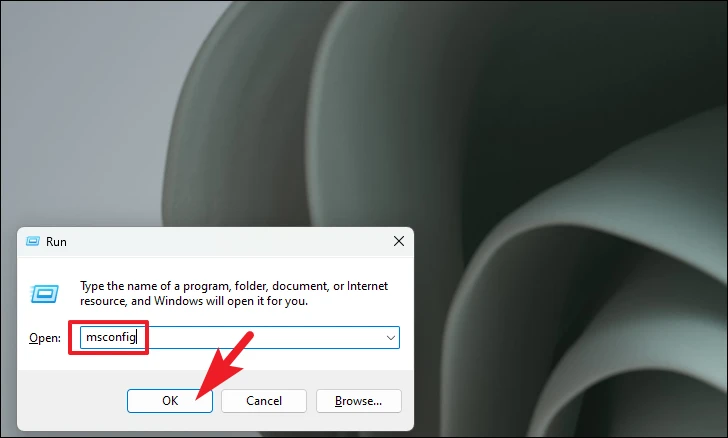
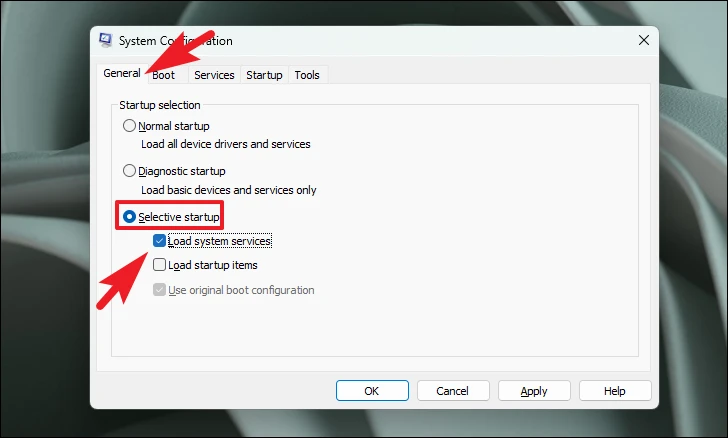
6. Perform a Clean Boot
Performing a clean boot starts Windows with a minimal set of drivers and startup programs, which can help identify if a background program is causing the error.
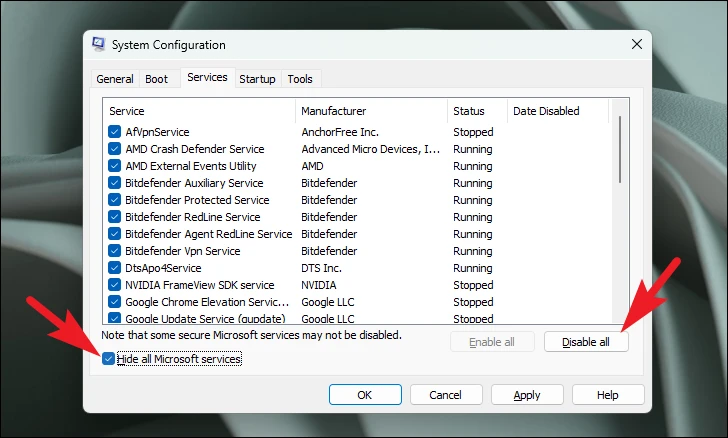
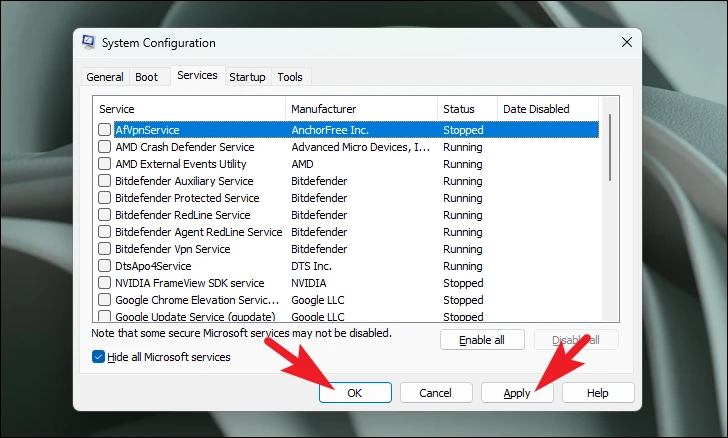
After the restart, check if the error still occurs. If the error is resolved, it indicates that one of the disabled services was causing the problem. You can re-enable the services one at a time to identify the culprit.
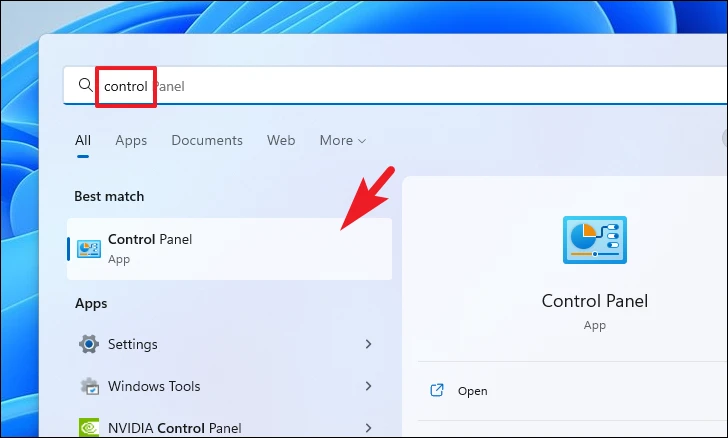
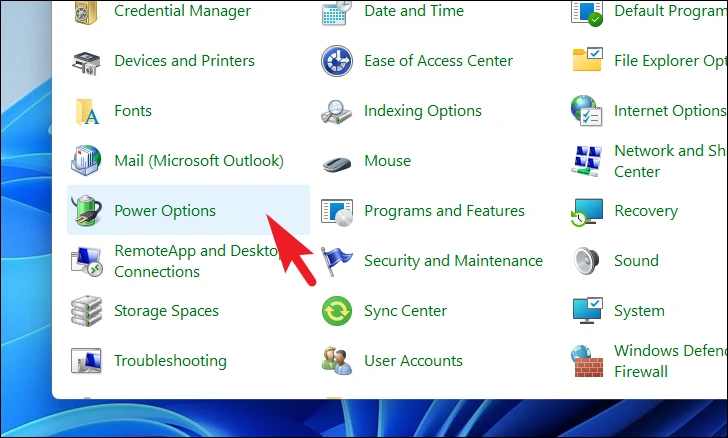
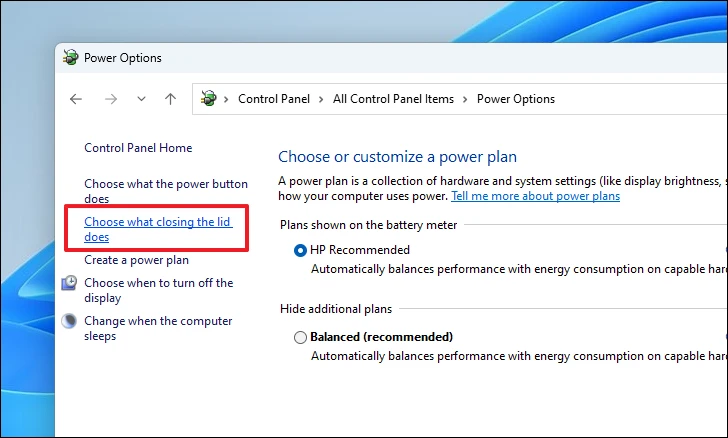
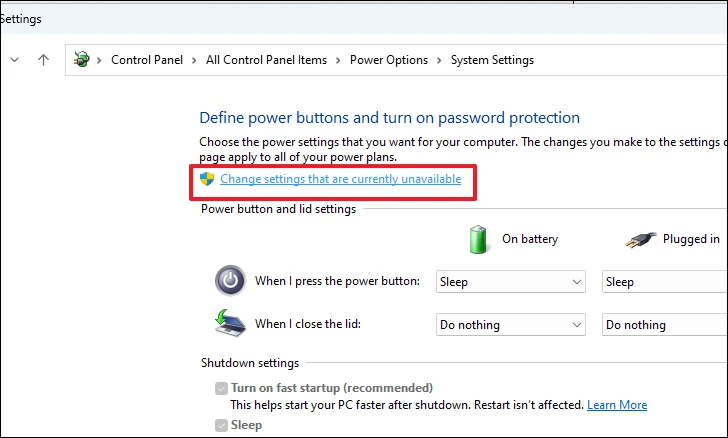
7. Disable Fast Startup
Disabling the Fast Startup feature can sometimes fix the KMODE EXCEPTION NOT HANDLED error, as this feature may interfere with the normal boot process.
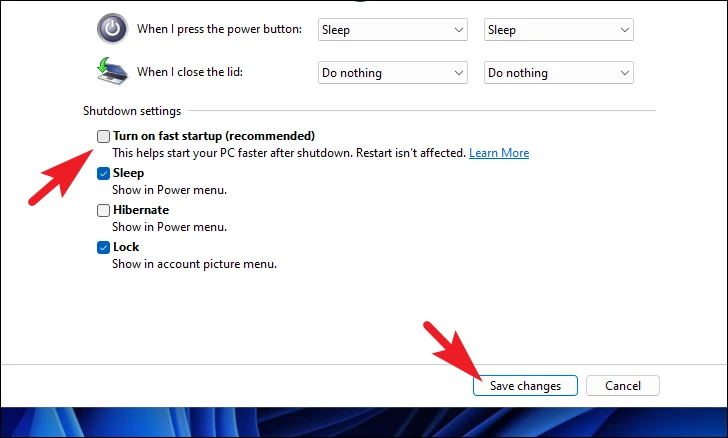
Restart your computer to see if the error has been resolved.
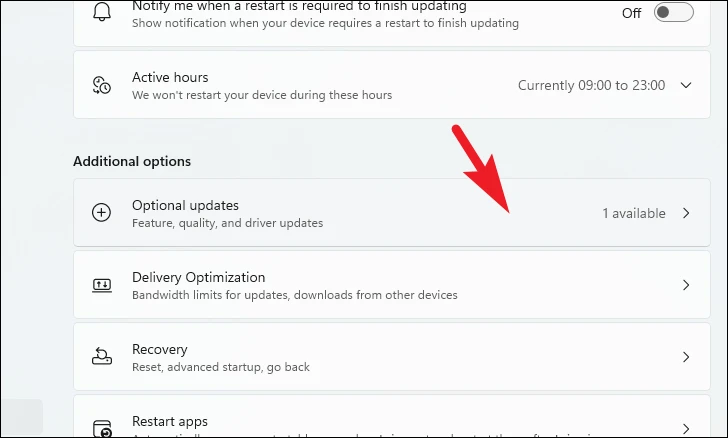
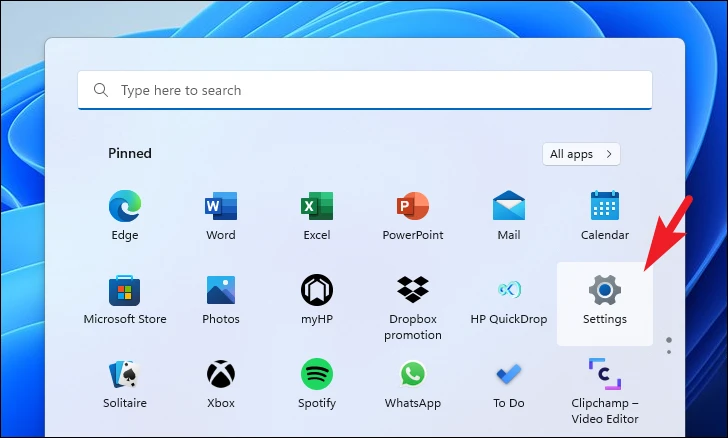
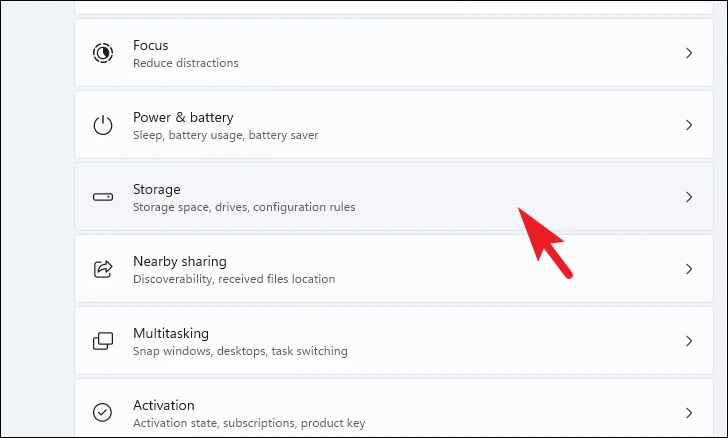
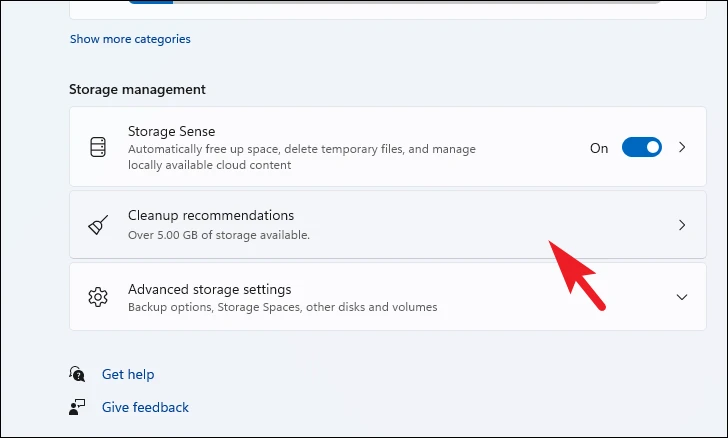
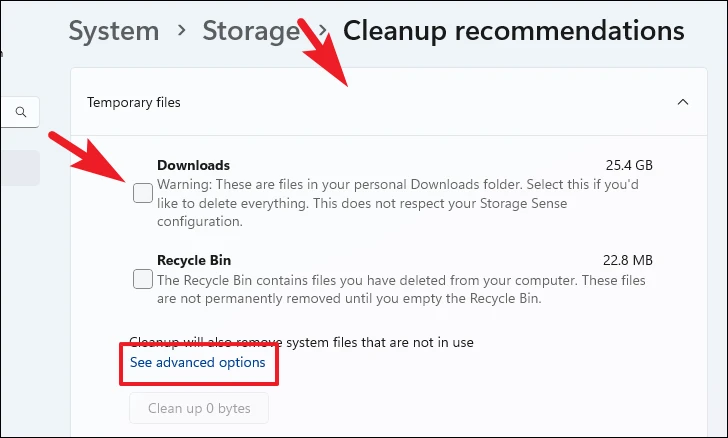
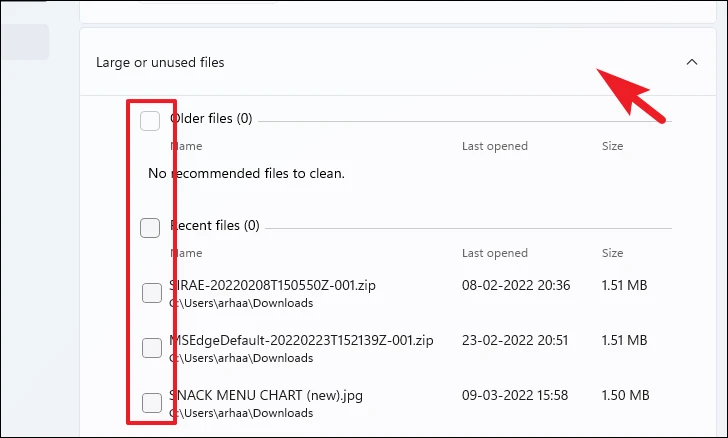
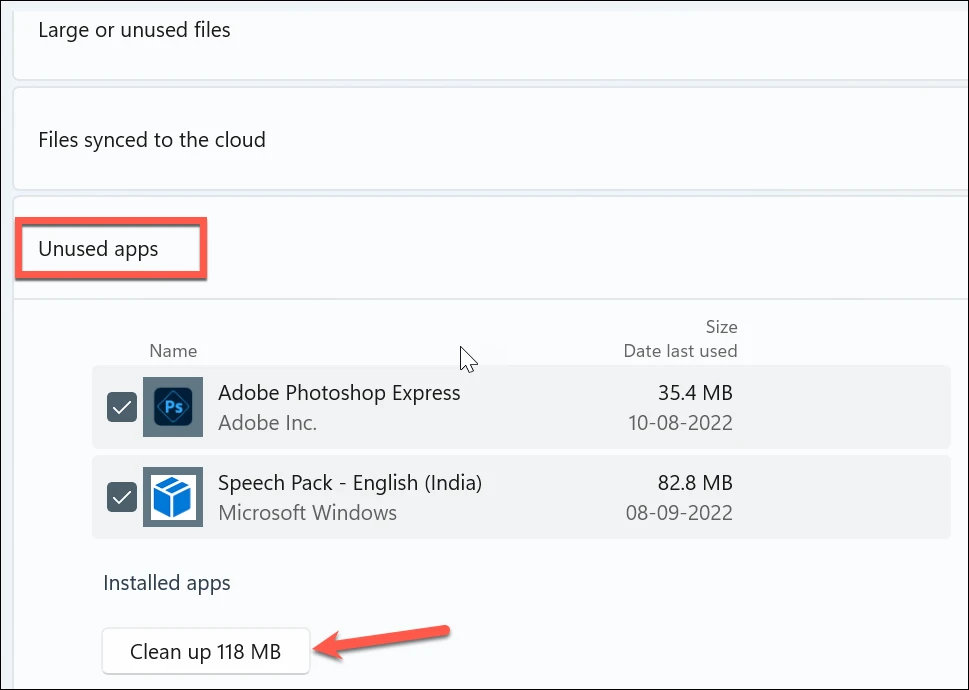
8. Free Up Disk Space
Lack of sufficient disk space can lead to various system issues, including the KMODE EXCEPTION NOT HANDLED error. Freeing up space using Windows 11’s built-in cleanup recommendations can help.

After freeing up disk space, restart your computer and see if the error continues.
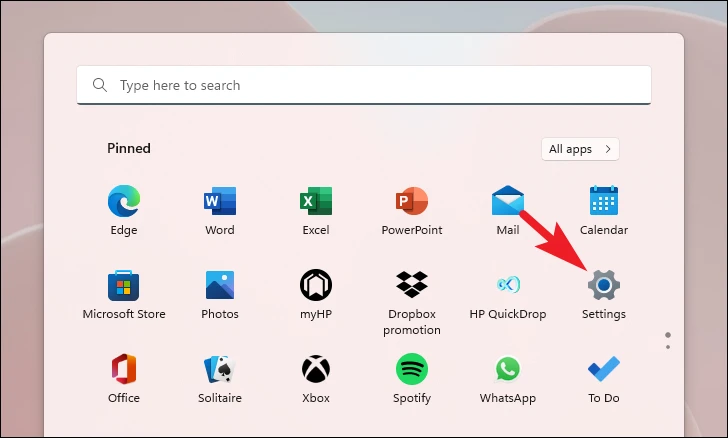
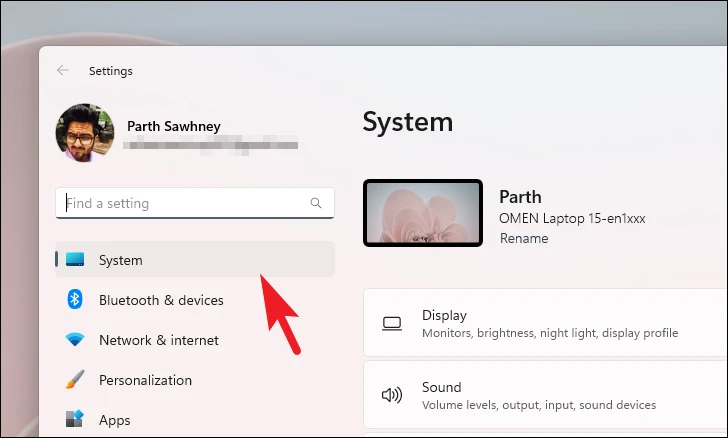
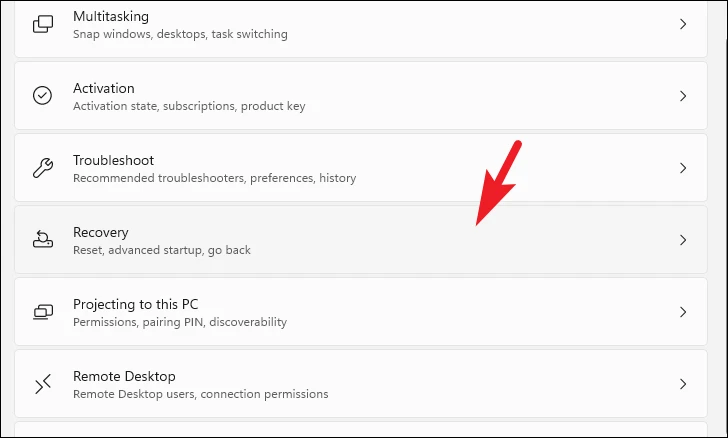
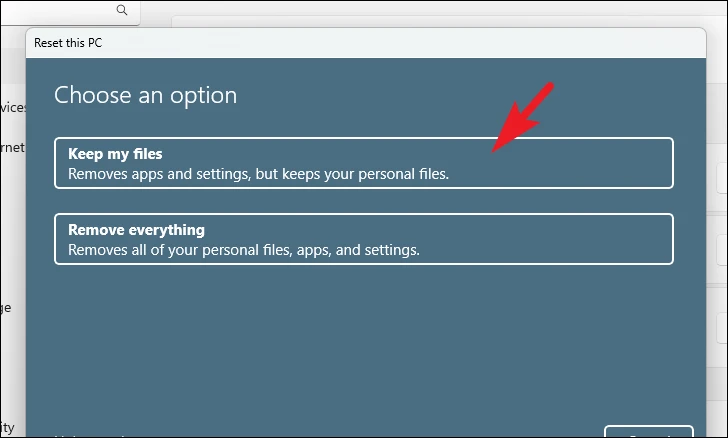
9. Reset Your PC
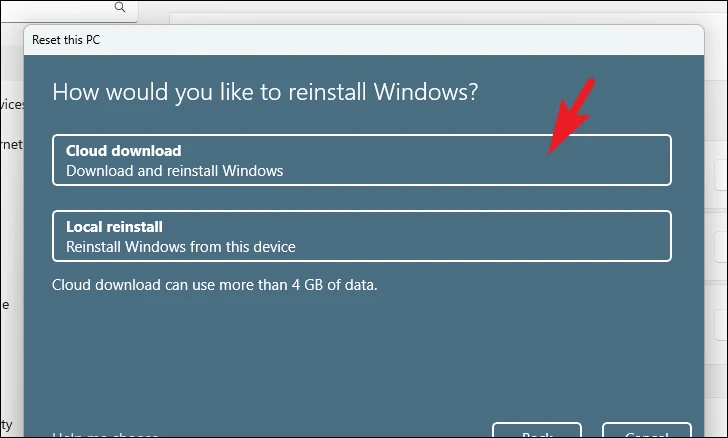
If none of the previous methods have resolved the error, resetting your PC might be necessary. This process reinstalls Windows 11, potentially fixing deep-rooted system issues. You can choose to keep your personal files, but all installed applications and settings will be removed.
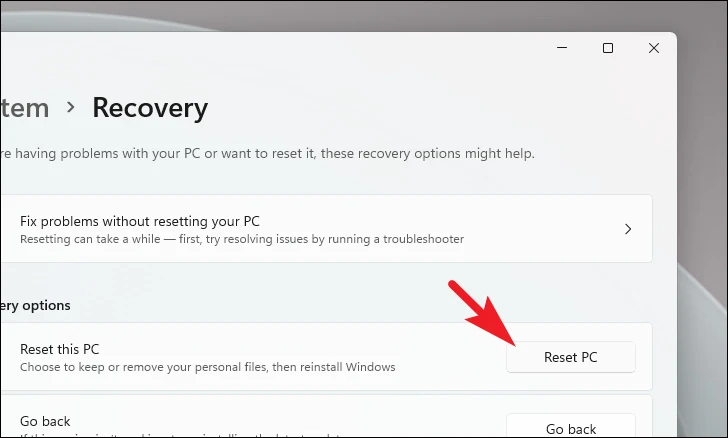
Note: ‘Cloud download’ requires an internet connection and will download approximately 4 GB of data.
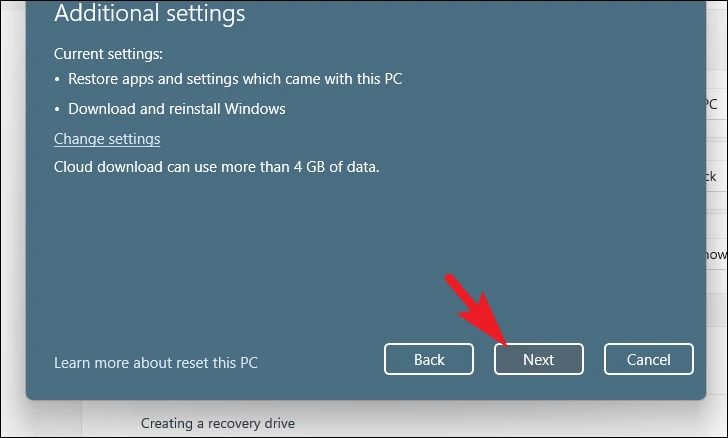
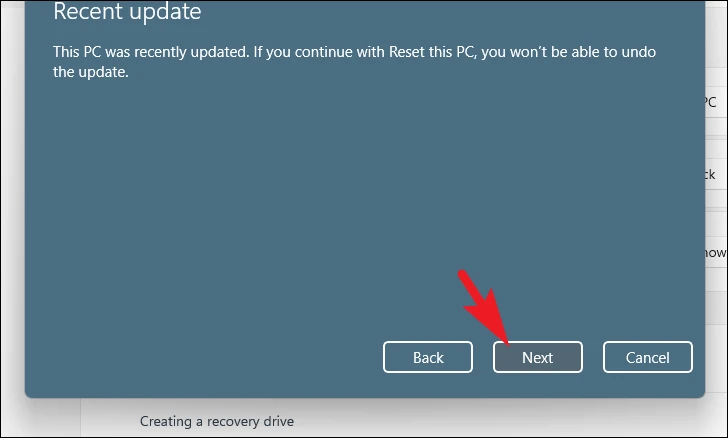
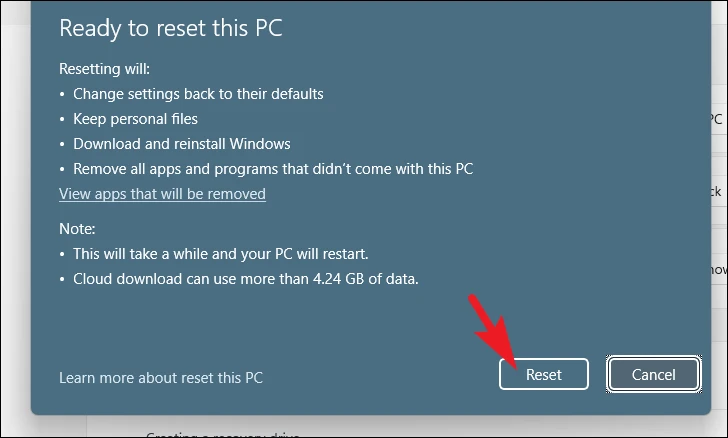
The reset process may take some time. Once completed, your system will restart, and you can check if the error has been resolved.
By following these methods, you should be able to resolve the KMODE EXCEPTION NOT HANDLED error on your Windows 11 PC. If the problem persists, consider seeking professional technical assistance to diagnose potential hardware issues.


