Easy fixes that will help you get rid of this annoying error on your Windows 11 PC.
Easy fixes that will help you get rid of this annoying error on your Windows 11 PC.
by Parth Sawhney
Experiencing mouse lag or stuttering in Windows 11 can be frustrating and impact your productivity. If your mouse isn’t responding smoothly, there are several methods you can try to resolve the issue. In this guide, we’ll walk you through effective solutions to fix mouse lagging problems in Windows 11.
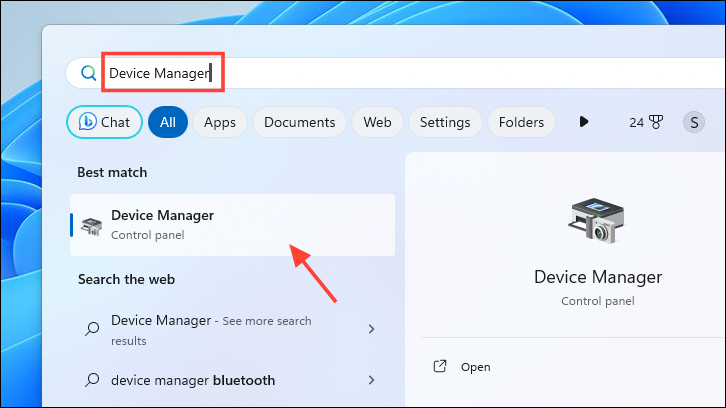
Update Mouse Drivers
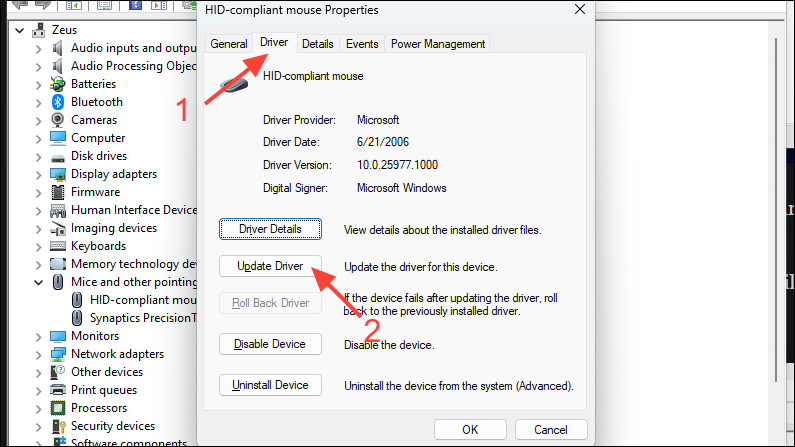
Outdated or corrupt mouse drivers can cause the mouse to lag or behave erratically. Updating the drivers can resolve such issues by replacing any corrupted files and ensuring compatibility with Windows 11.
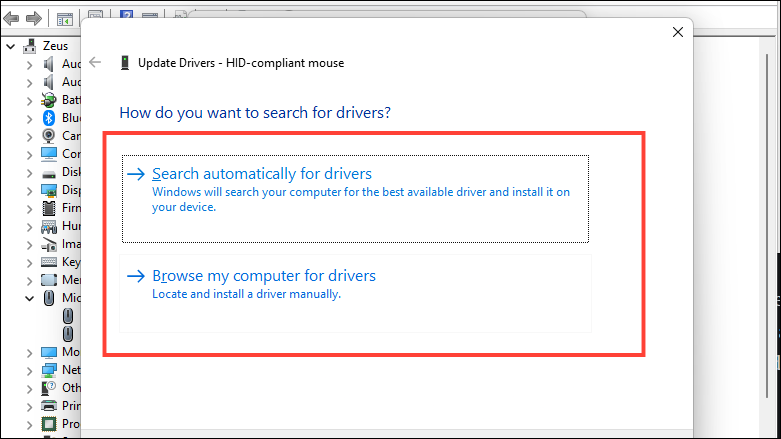
In the Update Driver window, select ‘Search automatically for drivers’ to allow Windows to search for the latest driver software. If you have already downloaded a driver, choose ‘Browse my computer for drivers’ and locate the driver file.
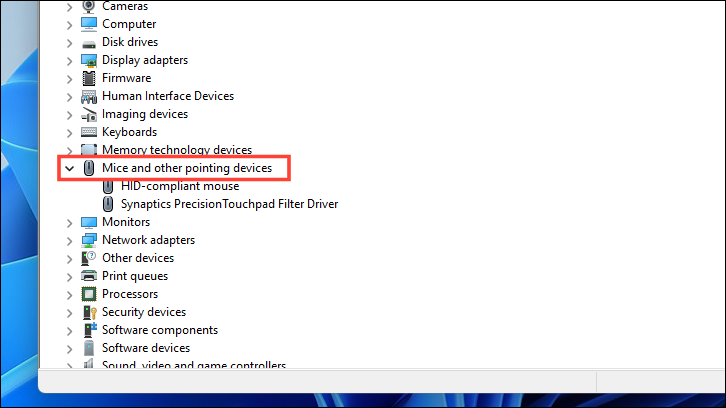
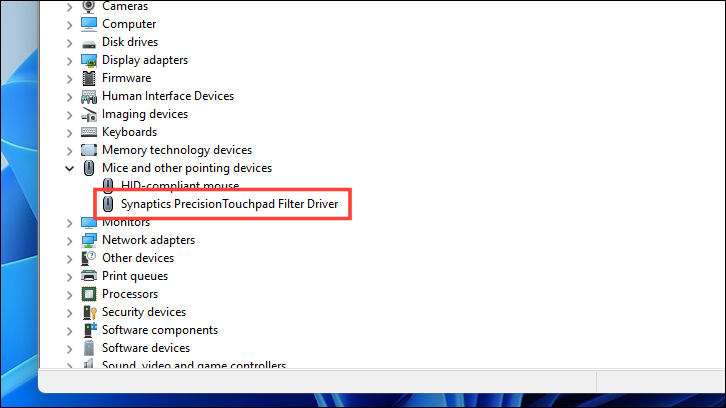
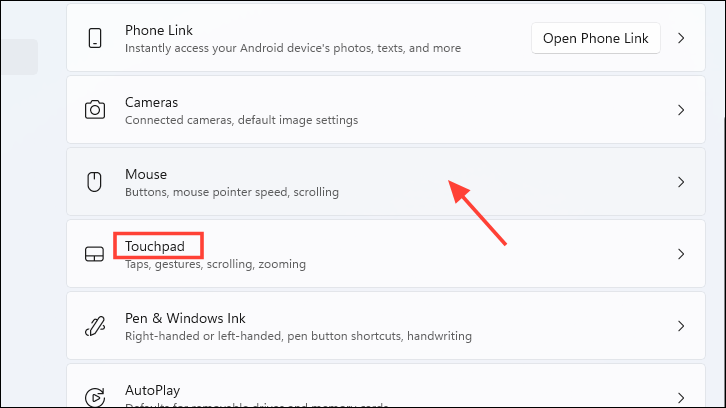
If Windows finds a new driver, it will install it automatically. If you are using a laptop, repeat these steps for the touchpad driver by updating the ‘Touchpad’ device under ‘Mice and other pointing devices’.
Force Install Mouse Drivers
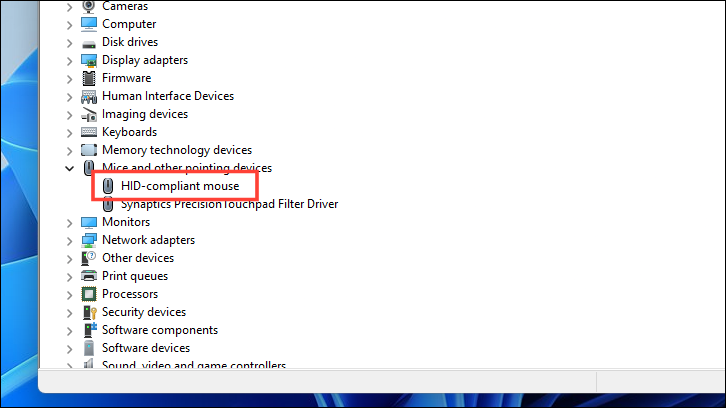
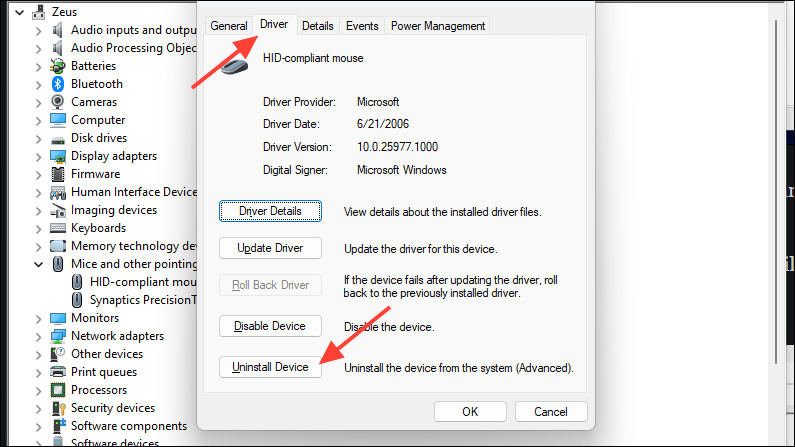
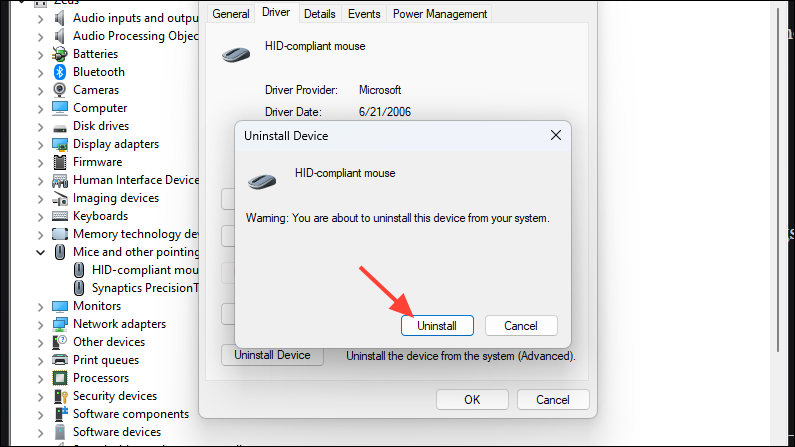
If updating the drivers doesn’t resolve the issue, you can uninstall the current mouse drivers to force Windows to reinstall them, which might fix any underlying problems.
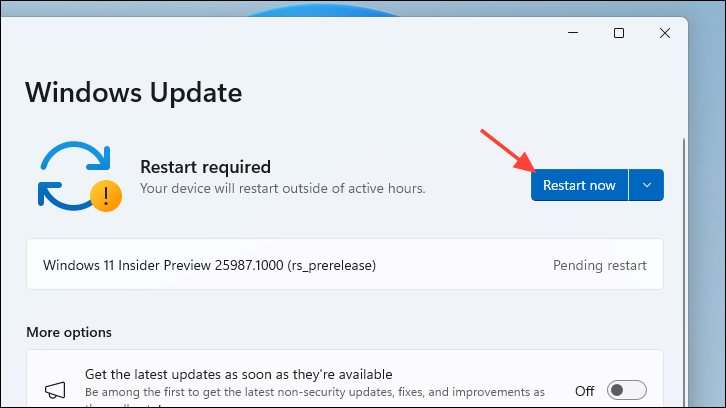
Install any available updates by clicking ‘Download & install’. This will reinstall the mouse drivers and may resolve the lagging issue.
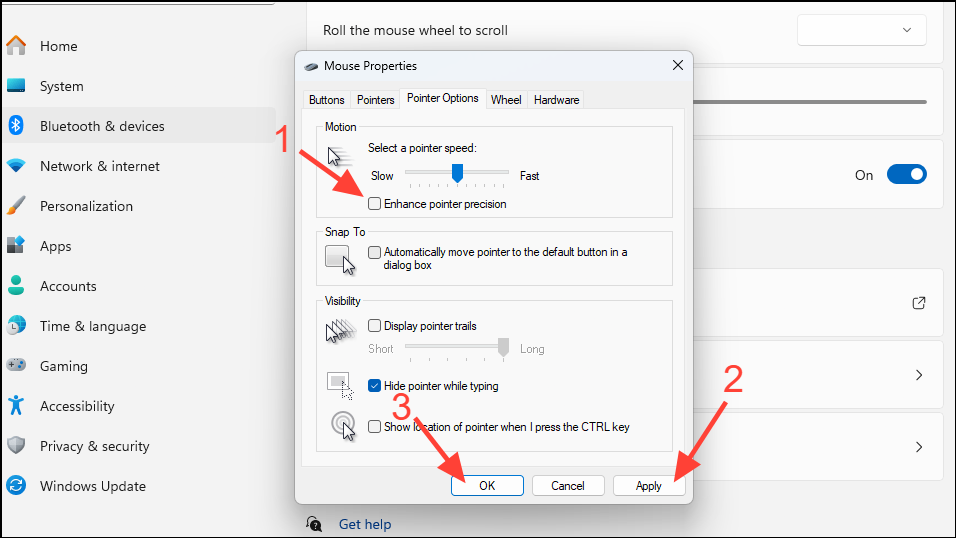
Disable Enhance Pointer Precision
The ‘Enhance pointer precision’ feature adjusts the mouse sensitivity based on your movement speed, which can sometimes cause lag or inconsistent cursor behavior.
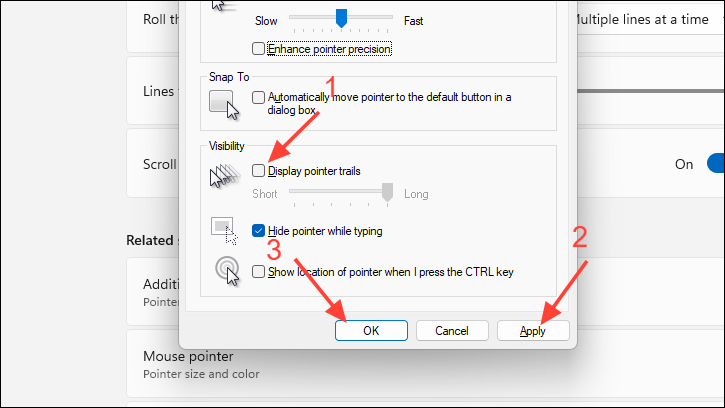
In the Mouse Properties window, go to the ‘Pointer Options’ tab. Uncheck the box next to ‘Enhance pointer precision’ to disable it. Click ‘Apply’ and then ‘OK’ to save the changes.
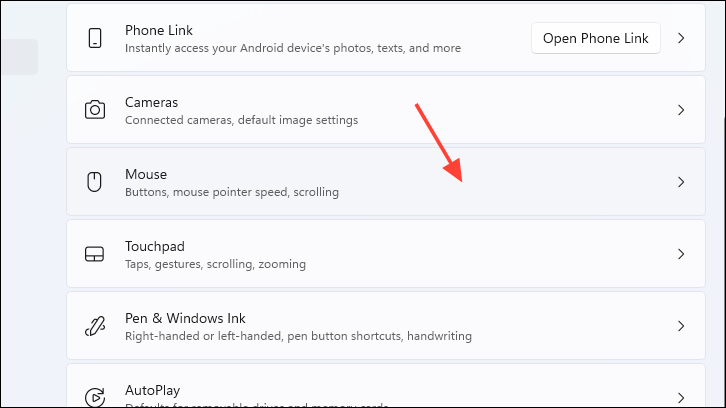
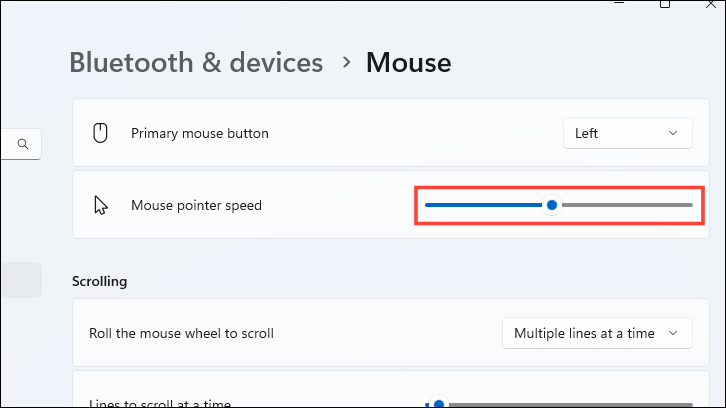
Check Mouse Speed and Sensitivity Settings
Adjusting the mouse speed and sensitivity settings can improve cursor responsiveness. If the settings are too low, the mouse may feel sluggish.
Adjust the ‘Mouse pointer speed’ slider to increase the cursor speed. Move it to the right to make the cursor move more quickly with less physical movement of the mouse.
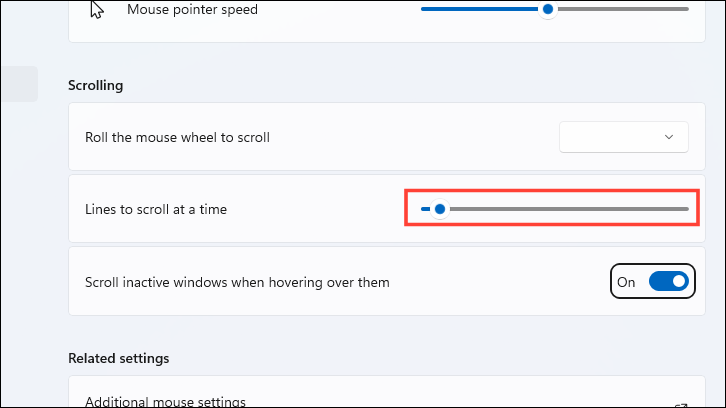
If scrolling feels slow, adjust the ‘Lines to scroll at a time’ slider to increase the scroll speed.
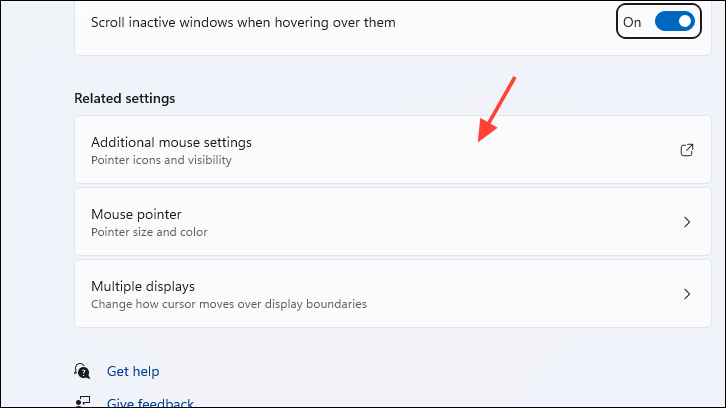
Turn Off ‘Scroll Inactive Windows’ Feature
The ‘Scroll inactive windows when hovering over them’ feature allows you to scroll in windows even if they are not active, but it can sometimes cause mouse lag or stuttering.
In the ‘Pointer Options’ tab, uncheck the ‘Display pointer trails’ option. Click ‘Apply’ and then ‘OK’ to save the changes.
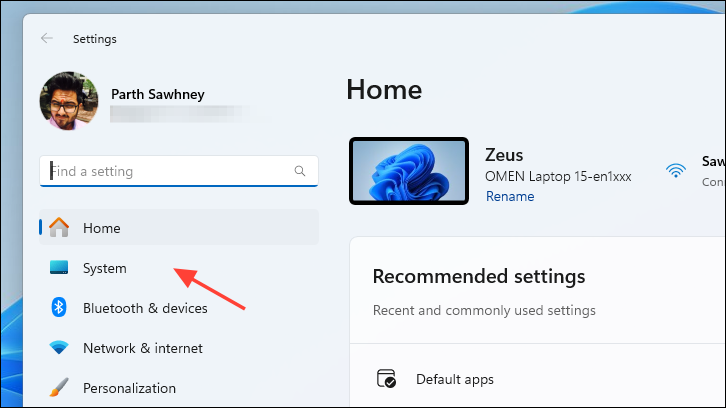
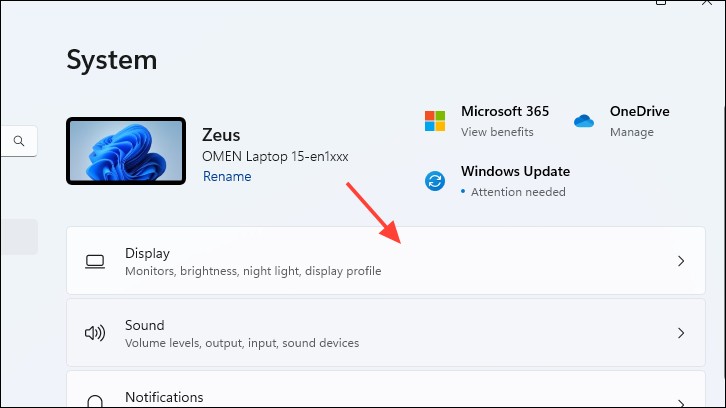
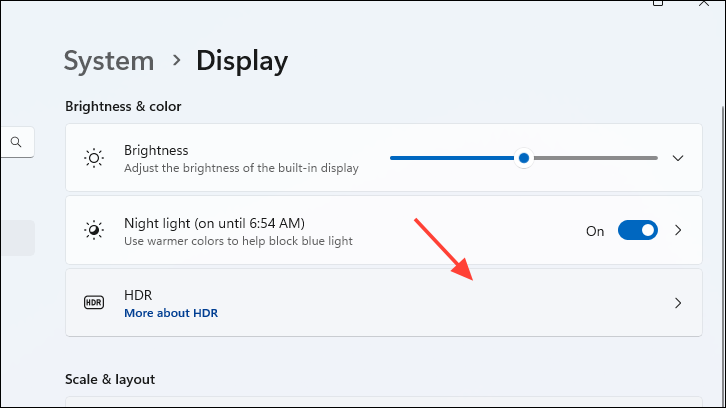
Turn Off HDR
The High Dynamic Range (HDR) feature enhances display quality but may interfere with mouse performance on some systems. Disabling HDR might resolve lagging issues.
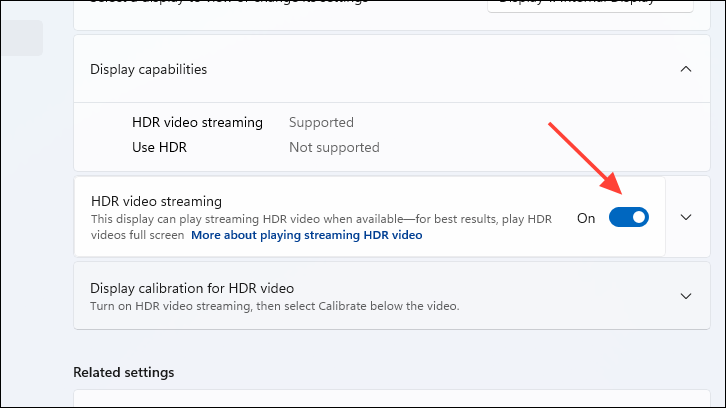
Turn off the toggles for ‘Use HDR’ and ‘Stream HDR video’ to disable HDR.
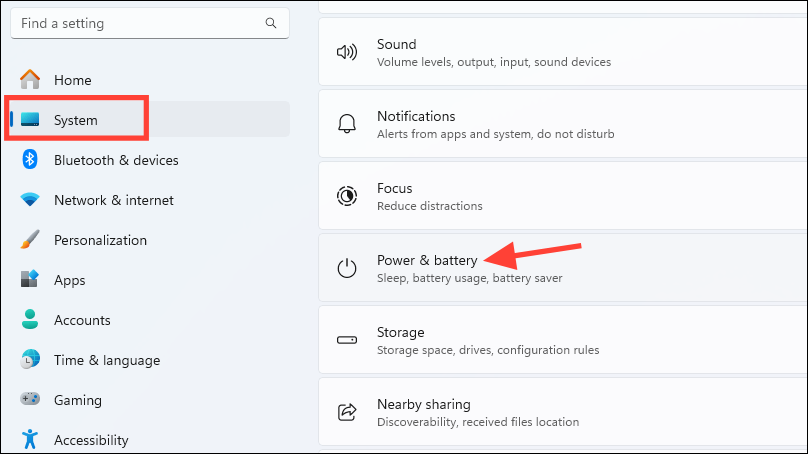
Turn Off Power Saver Mode
On laptops, the Power Saver mode can limit system performance to conserve battery life, which may cause mouse stuttering. Disabling Power Saver mode can improve mouse responsiveness.
Connect your laptop to a power source to automatically switch off Power Saver mode. If the issue persists, proceed to adjust the power settings manually.
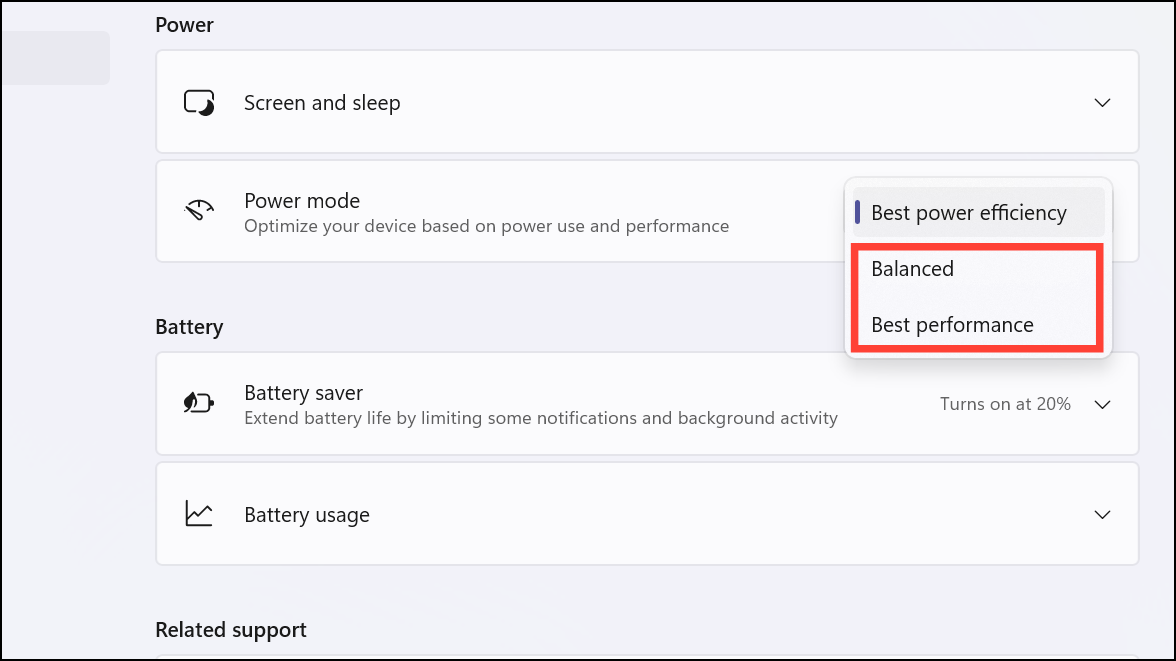
Select ‘Balanced’ or ‘Best performance’ to disable Power Saver mode and enhance system performance.
Remove and Reconnect the Mouse
Sometimes, reconnecting your mouse can resolve temporary glitches that cause lagging. This method can help reset the mouse’s connection to your computer.
For USB Mice: Unplug the mouse from the USB port and wait for a few minutes. Then, reconnect it to the computer.
For Wireless Mice with USB Receiver: Turn off the mouse using its physical power switch. Remove the USB receiver from the computer and wait for a few minutes. Reconnect the USB receiver and turn the mouse back on.
For Bluetooth Mice: Disable Bluetooth on your computer to disconnect the mouse, then enable it again to reconnect.