
Encountering the ‘mscoree.dll not found’ error on your Windows 11 computer can be frustrating, as it prevents programs from running properly. This issue usually arises due to problems with the Microsoft .NET Framework, which is essential for running many applications on Windows. Thankfully, there are several methods to resolve this error and get your system back on track.
Method 1: Re-enable the .NET Framework
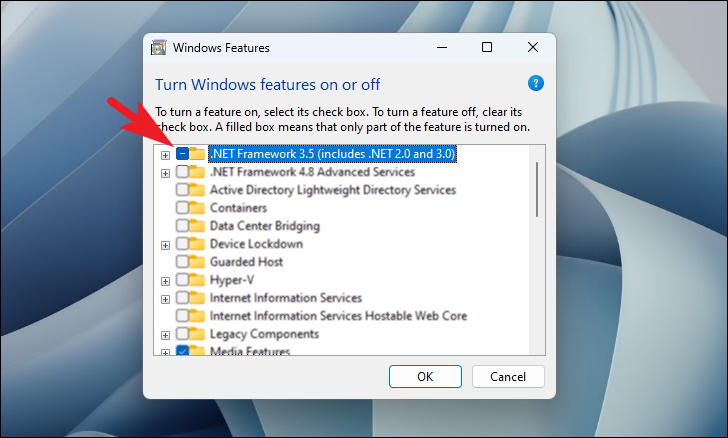
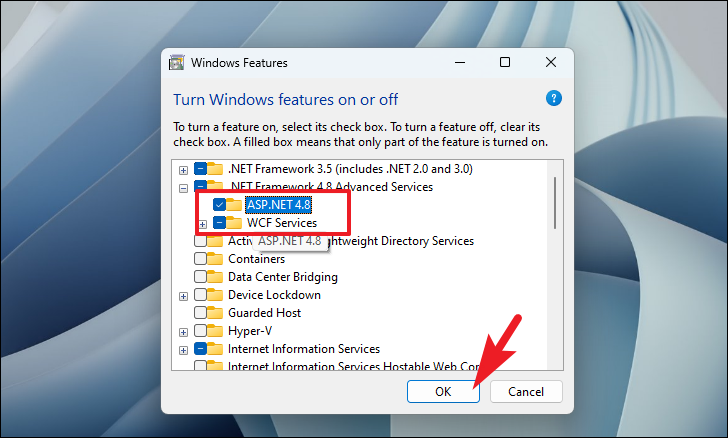
The ‘mscoree.dll’ file is part of the .NET Framework, and re-enabling the framework can often fix the issue. This process involves turning the .NET Framework features off and then back on again to repair any corrupted files.
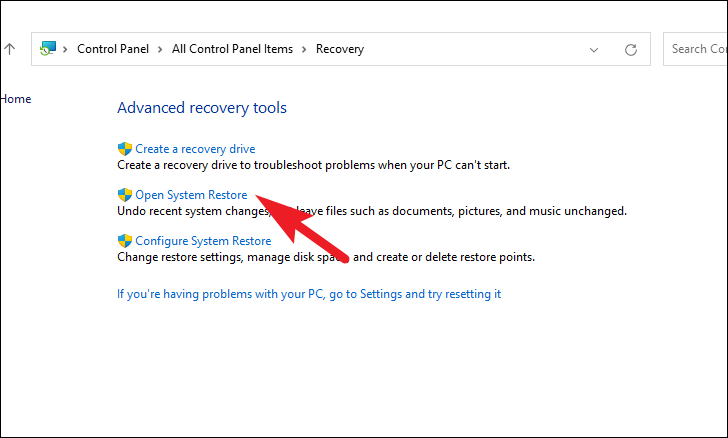
Windows Features in the search bar. From the search results, click on ‘Turn Windows features on or off’ to open the Windows Features dialog box.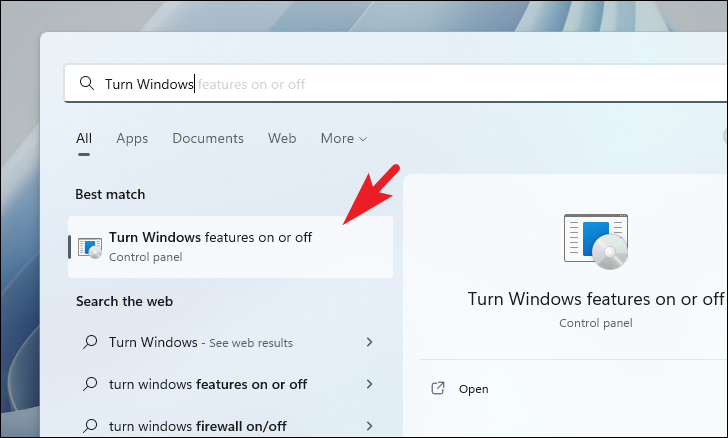

After restarting, try running the program that was showing the error to see if the issue has been resolved.
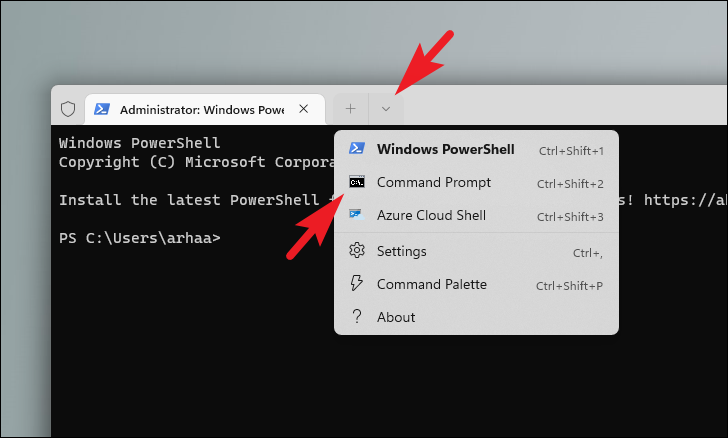
If you are unable to enable the .NET Framework through the graphical interface, you can use the Command Prompt to accomplish the same task.
Enable .NET Framework Using Command Prompt
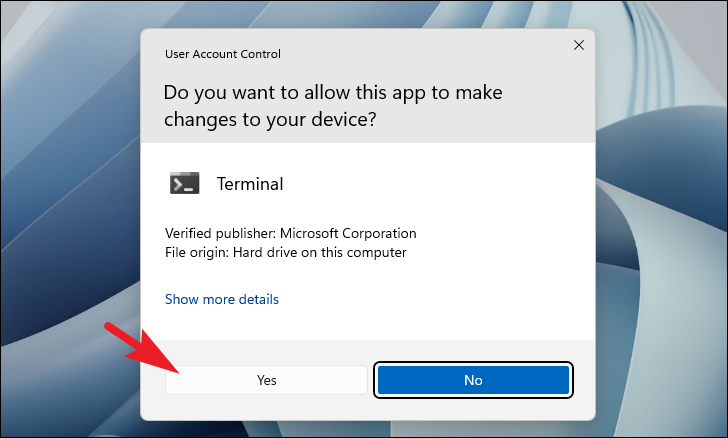
Terminal in the search bar. Right-click on the ‘Terminal’ app and select ‘Run as administrator’.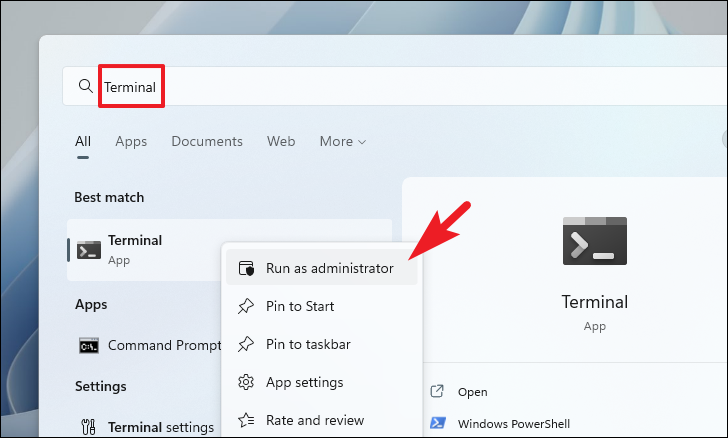
DISM /Online /Enable-Feature /FeatureName:NetFx3 /All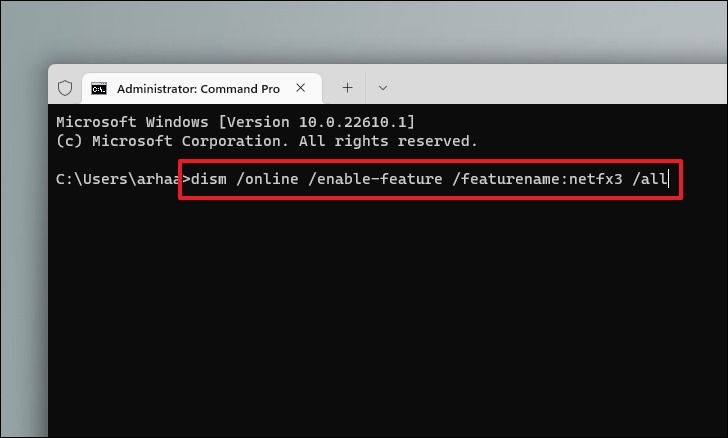
Enter after each:DISM /Online /Enable-Feature /FeatureName:WCF-HTTP-ActivationDISM /Online /Enable-Feature /FeatureName:WCF-NonHTTP-Activation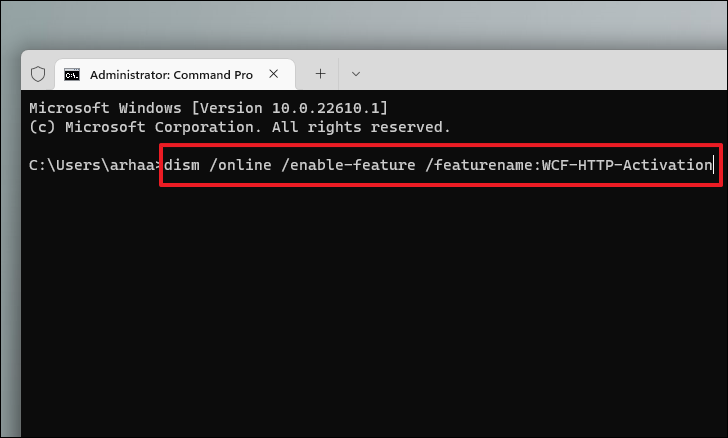
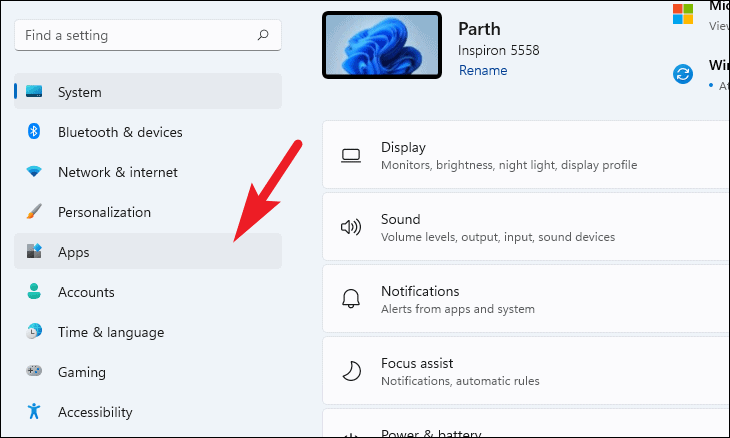
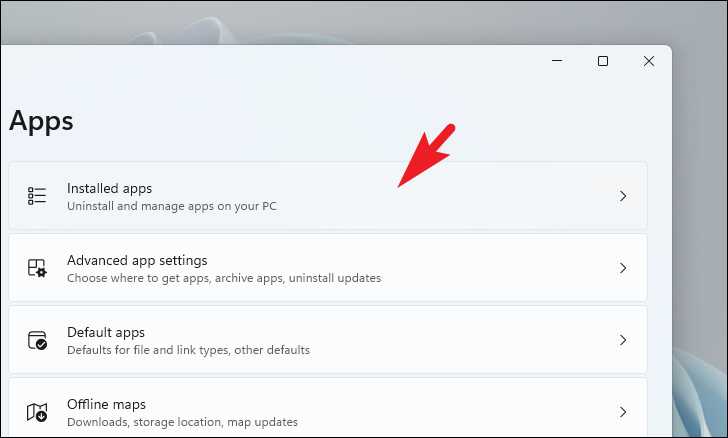
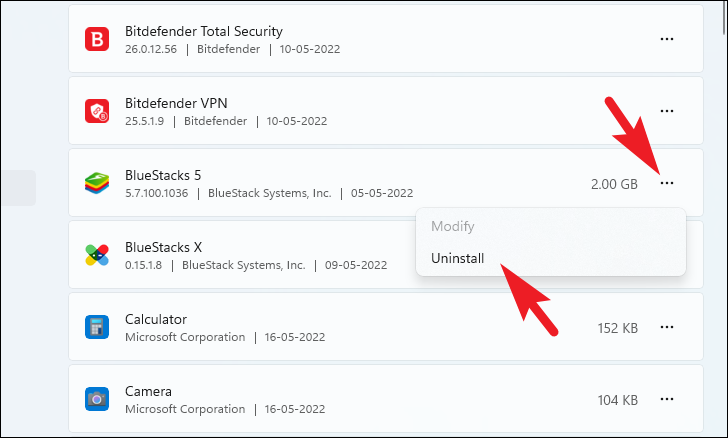
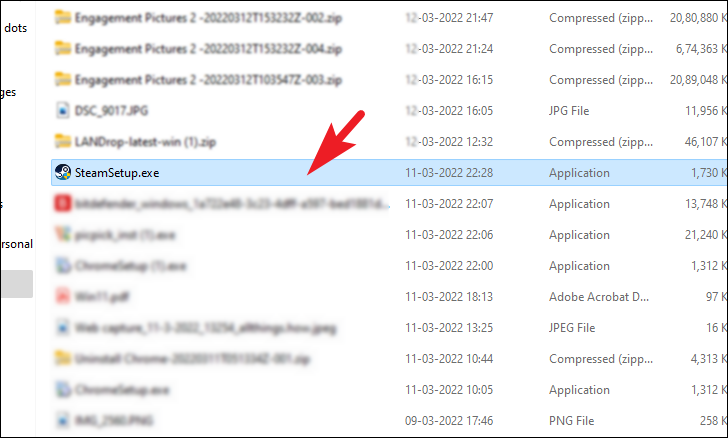
Method 2: Reinstall the Affected Program
If the error occurs with a specific application, reinstalling it can often resolve the problem. This process involves uninstalling the program completely and then installing it again to ensure all necessary files are properly configured.
Windows+I on your keyboard to open the Settings app.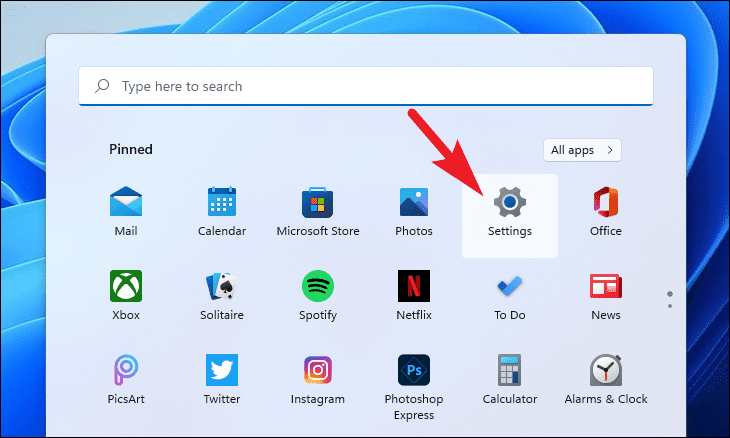
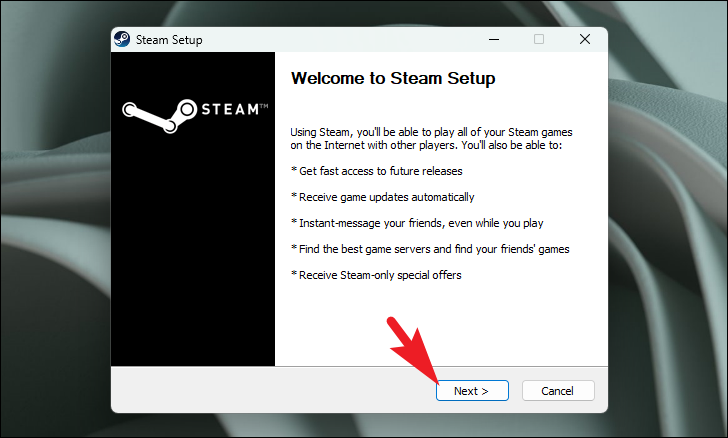
Once the program is reinstalled, launch it to check if the error has been resolved.
Method 3: Run a Malware Scan
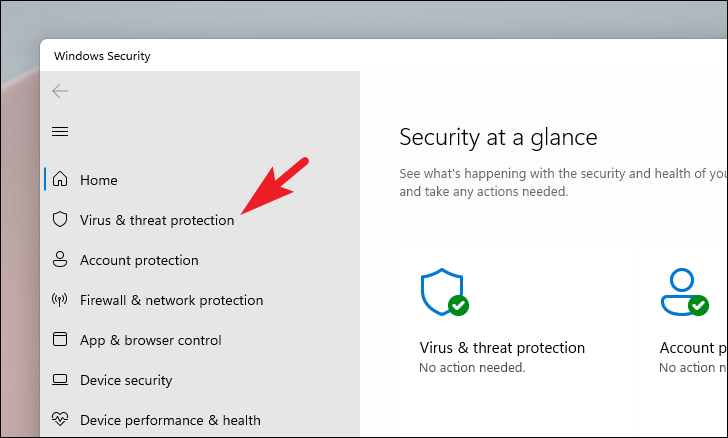
Malware or viruses can corrupt essential system files like ‘mscoree.dll’. Running a comprehensive malware scan can detect and remove any malicious software causing the issue.
Security in the search bar. Click on ‘Windows Security’ from the search results.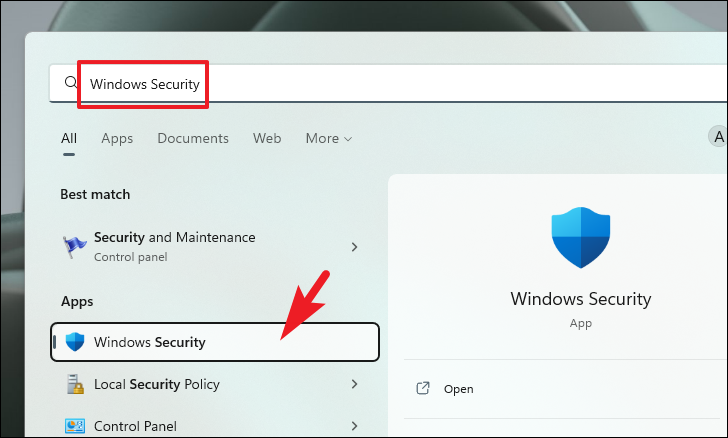
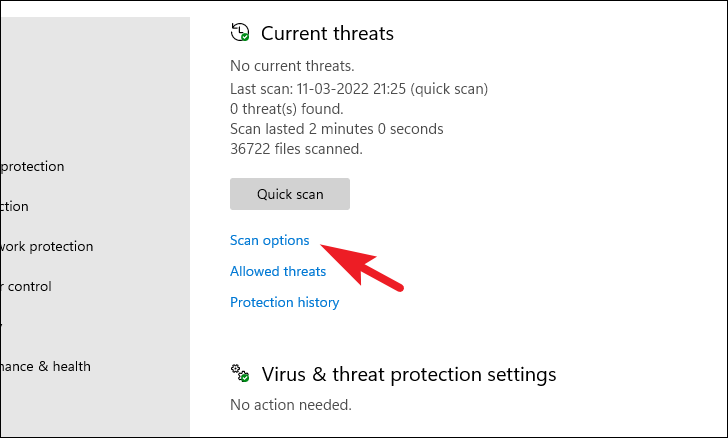

After the scan is complete and any threats are removed, check if the ‘mscoree.dll not found’ error still occurs.
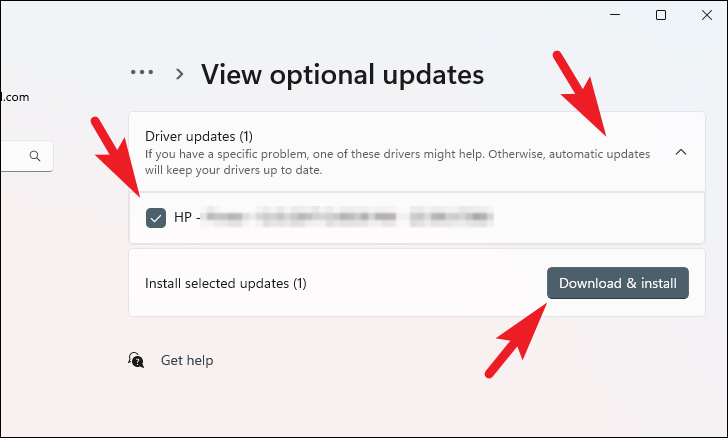
Method 4: Install or Update Missing Drivers
Outdated or missing drivers can cause various system errors, including issues with DLL files. Updating your drivers ensures that all hardware components interact correctly with your system.
Windows+I on your keyboard.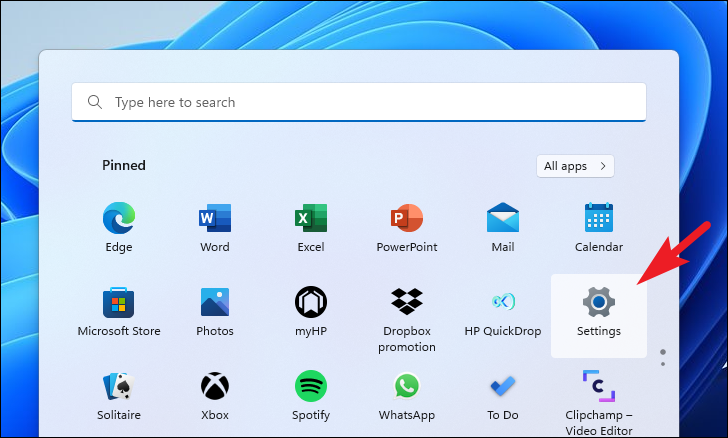
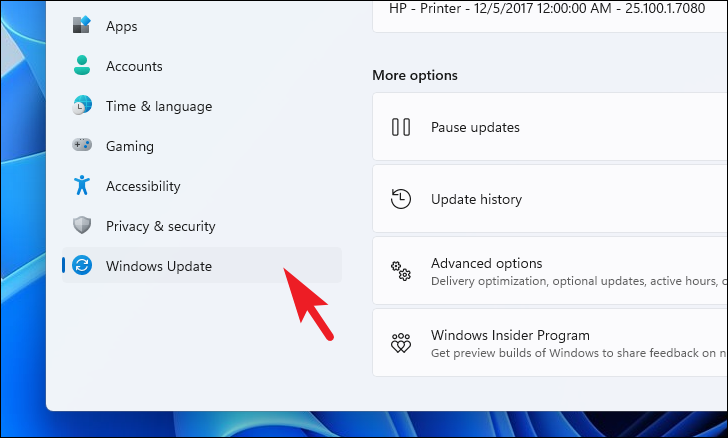
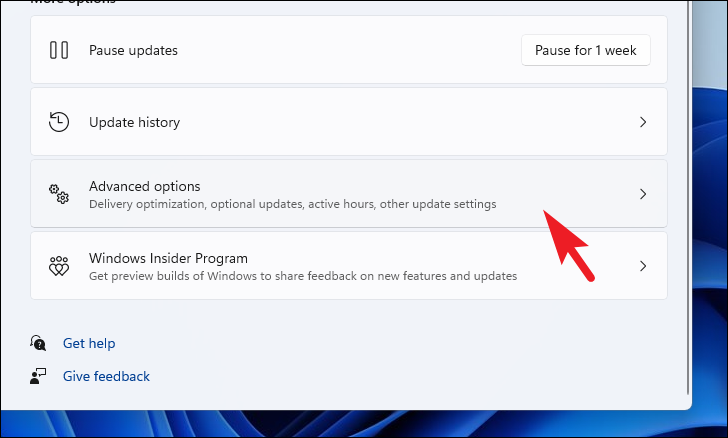
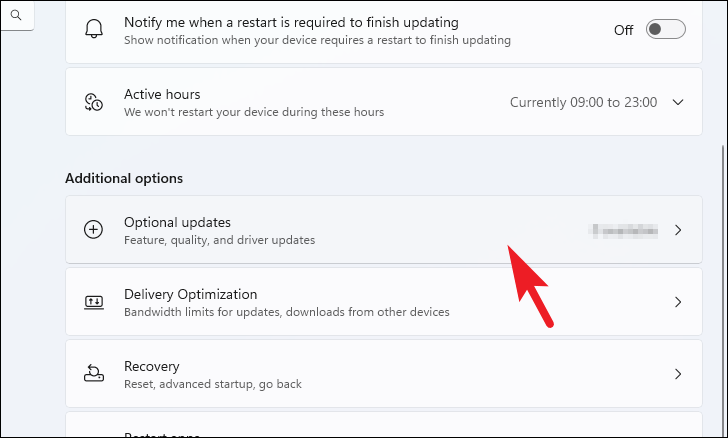
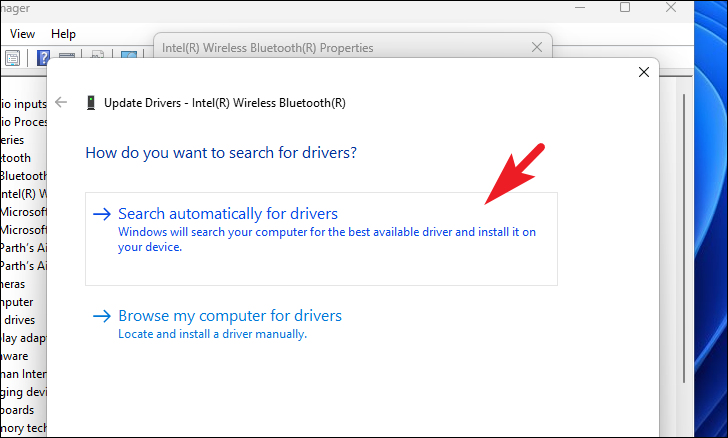
Alternatively, you can update drivers via Device Manager:
Update Drivers Using Device Manager
Device Manager. Click on the ‘Device Manager’ app from the search results.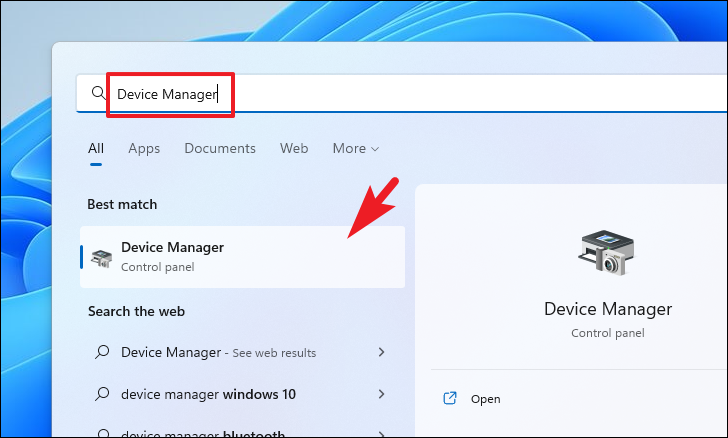
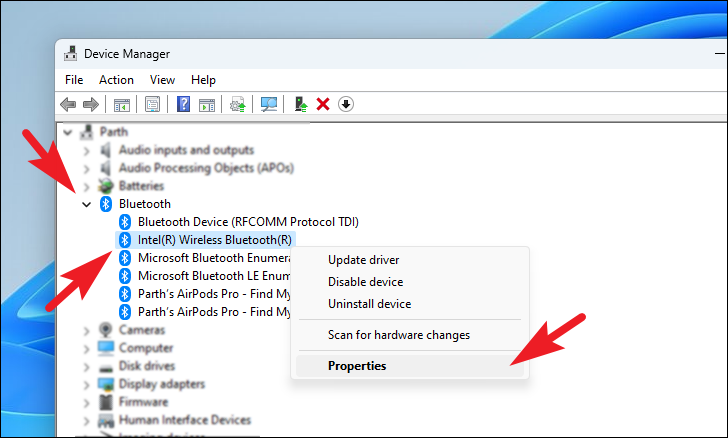
After updating the drivers, restart your computer and check if the error is resolved.
Method 5: Use a Registry Cleaner
Corrupt registry entries can lead to DLL errors. Using a reputable registry cleaner can help fix invalid ‘mscoree.dll’ entries in the Windows registry.
Tools like CCleaner or Wise Registry Cleaner can scan for and repair registry issues. Download and install a trusted registry cleaner, then follow the software’s instructions to clean the registry.
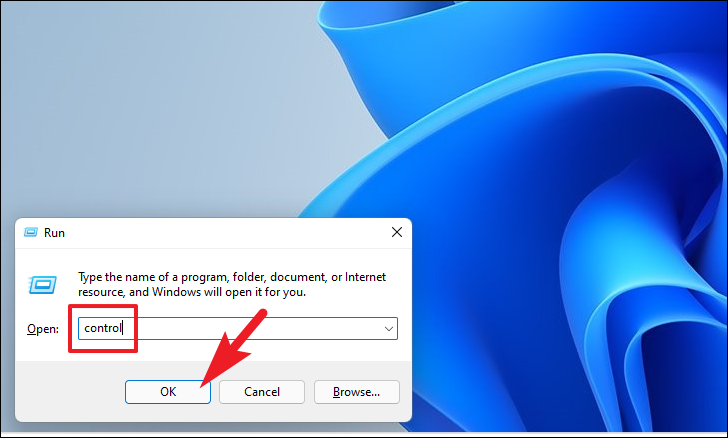
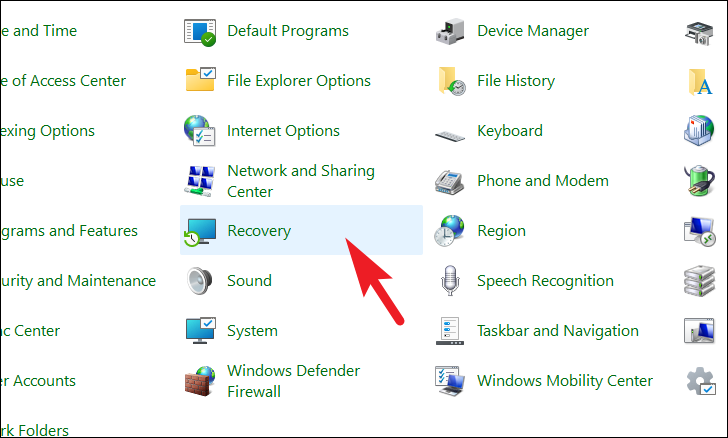
Method 6: Roll Back to a System Restore Point
If the error started occurring after a recent software installation or system update, rolling back to a previous restore point can undo recent changes that might be causing the problem.
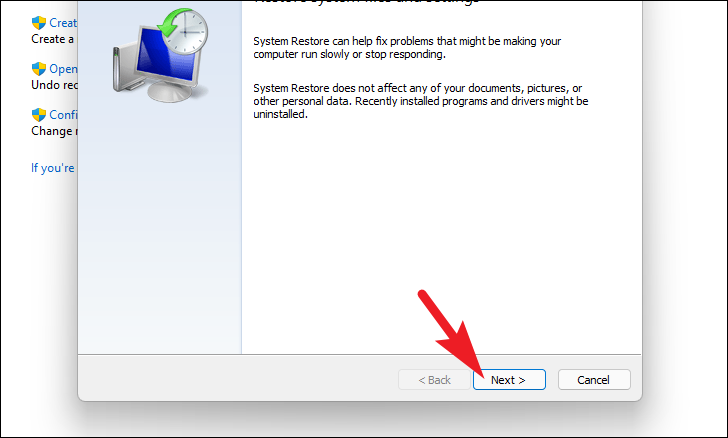
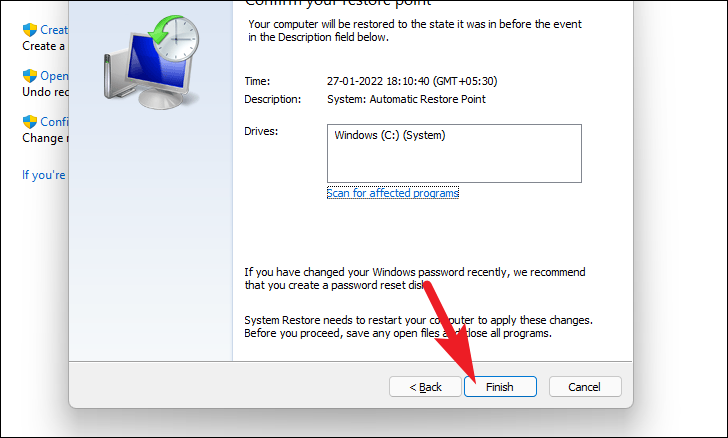
Your computer will restart and restore system files to the selected point in time. Once completed, check if the error has been resolved.
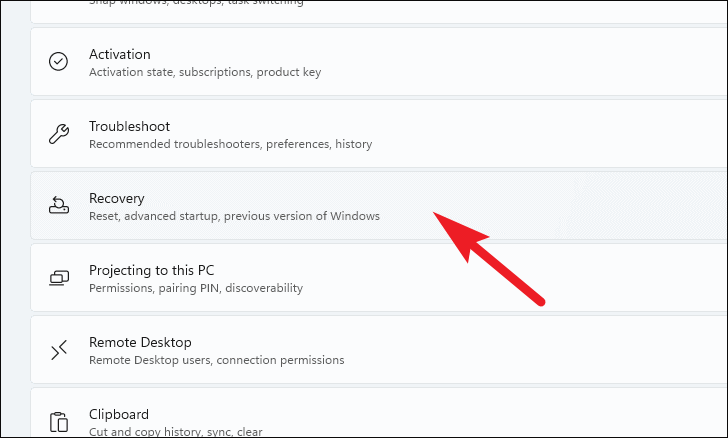
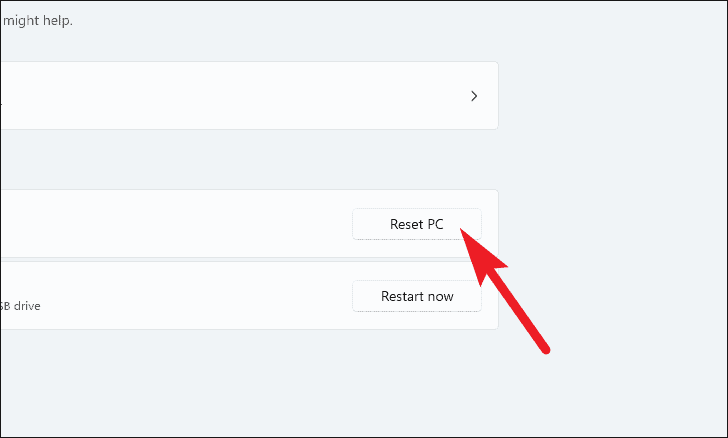
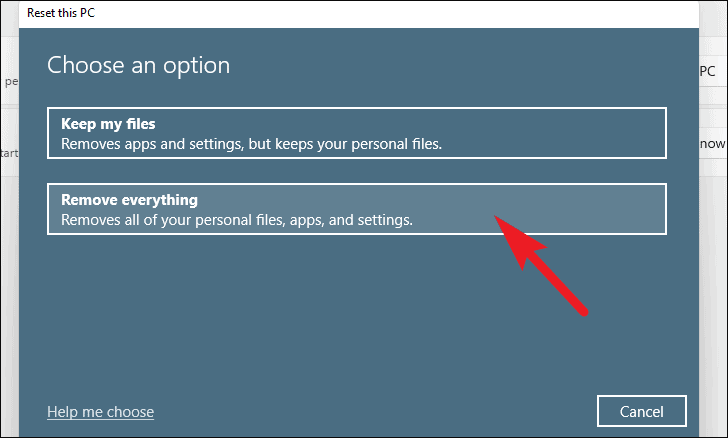
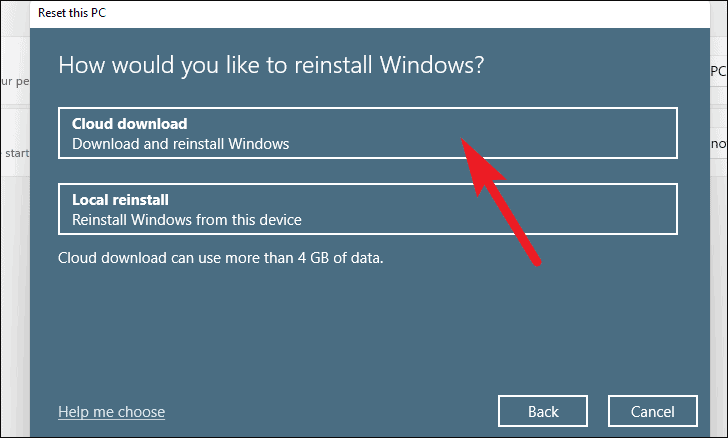
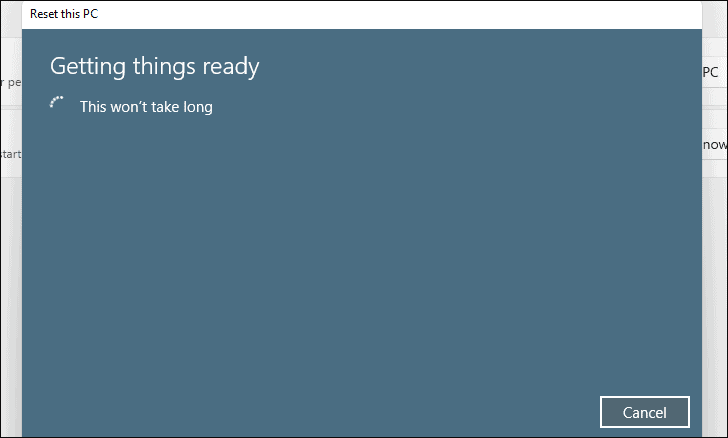
Method 7: Perform a Clean Install of Windows
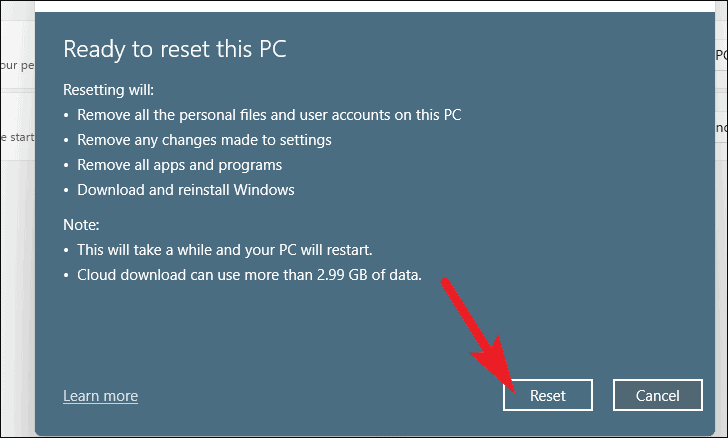
As a last resort, performing a clean install of Windows 11 can fix persistent errors by resetting your system to its default state. This process will erase all data, so ensure you have backed up important files.
Windows+I on your keyboard.
Note: The cloud download option requires an internet connection and will use approximately 4GB of data.
Once the clean install is complete, set up your system and check if the ‘mscoree.dll not found’ error persists.
By following these methods, you should be able to fix the ‘mscoree.dll not found’ error on your Windows 11 PC and restore normal functionality to your applications.


