How to Fix Preparing Automatic Repair Loop on a Windows 11 PC
5 quick and easy methods to break the Automatic Repair loop and gain back access to your Windows 11 PC.
5 quick and easy methods to break the Automatic Repair loop and gain back access to your Windows 11 PC.
by Parth Sawhney
Encountering a ‘Preparing Automatic Repair’ loop on your Windows 11 PC can be both frustrating and alarming. This issue prevents your system from booting properly, leaving you stuck on a black screen without access to your desktop. Thankfully, this is typically a software-related problem that can be resolved using several methods, which we’ll explore in this guide.
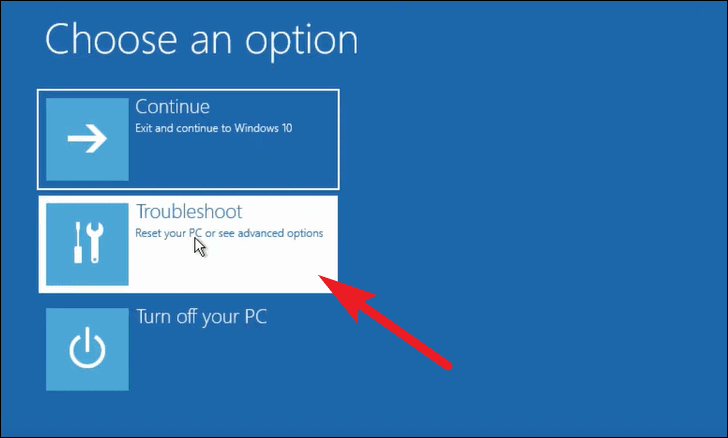
Before proceeding with the solutions, you’ll need to access the Windows Recovery Environment (WinRE) since most of the fixes require it. To do this, start by powering on your PC. As soon as it begins to boot, press and hold the power button for about 20 seconds to force a shutdown. Repeat this process three times. On the fourth attempt, allow your computer to boot without interruption; it should enter the WinRE automatically.
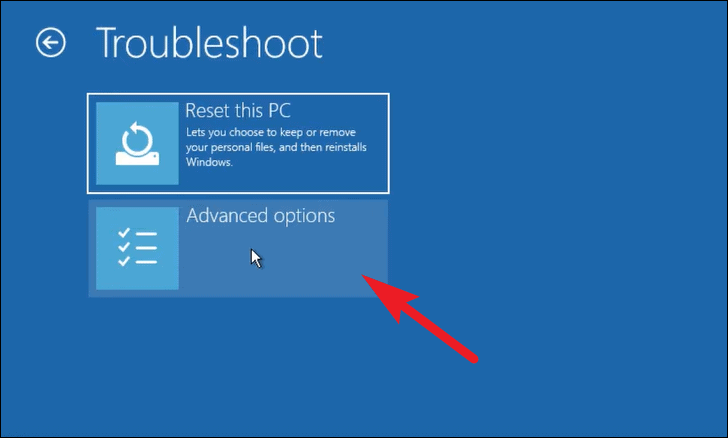
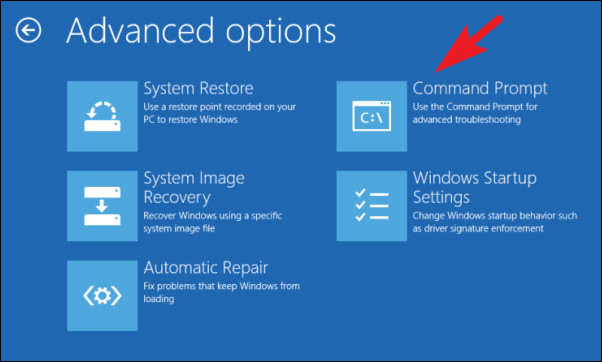
1. Rebuild the Boot Configuration Data and Run CHKDSK
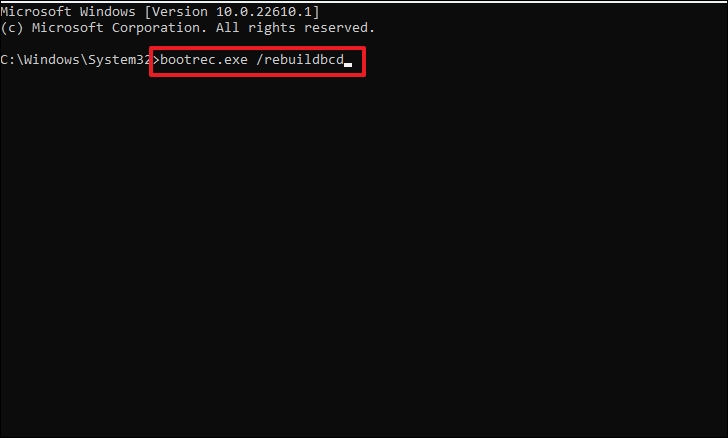
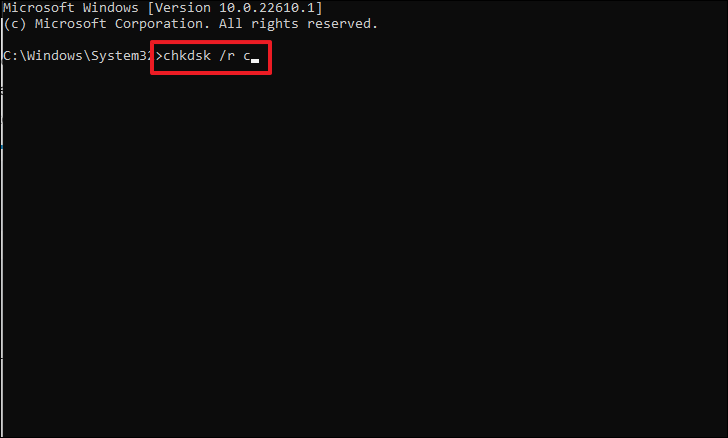
Corrupted Boot Configuration Data (BCD) can often cause the ‘Preparing Automatic Repair’ loop. Rebuilding the BCD and running the Check Disk utility may resolve the issue.
After completing the above commands, run the Check Disk utility to scan and fix bad sectors on your hard drive. Execute the following commands, pressing Enter after each:
Once the process completes, restart your PC by typing shutdown /r in the Command Prompt and pressing Enter, or simply close the Command Prompt window.
After restarting, check if the issue persists.
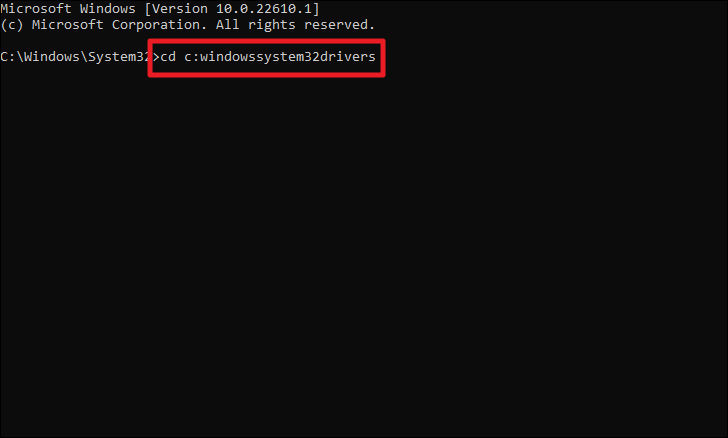
2. Delete the Corrupted or Damaged File
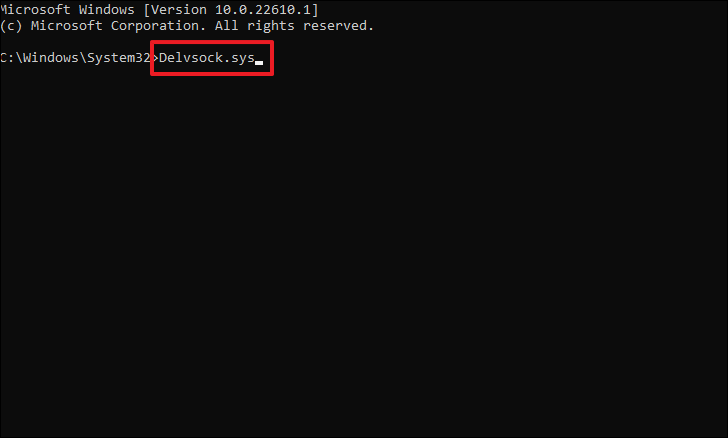
Sometimes, a critical boot file may be corrupted or damaged, preventing the Automatic Repair tool from functioning properly. Deleting this problematic file can help resolve the loop.
Restart your PC by typing shutdown /r and pressing Enter, or close the Command Prompt window.
After the restart, check if the ‘Preparing Automatic Repair’ loop persists.
3. Boot Your Device in Safe Mode
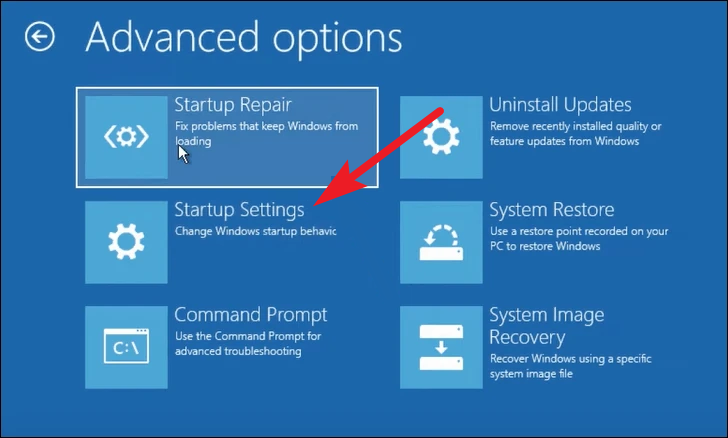
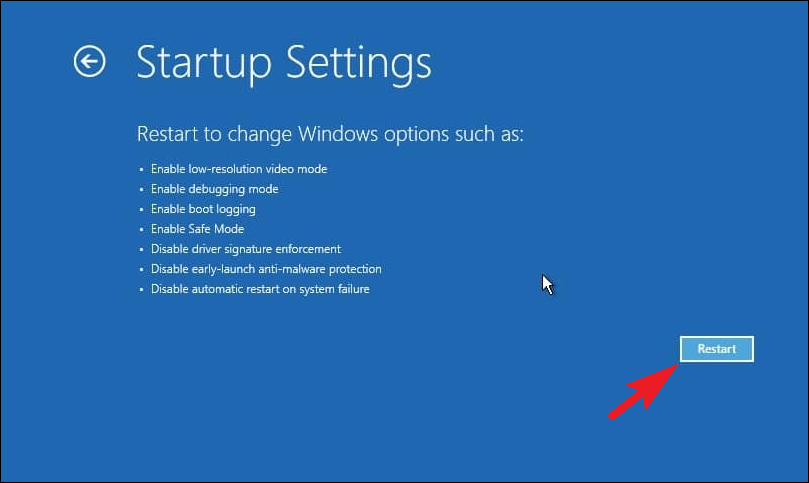
A corrupted third-party service or software interference might be causing the loop. Booting into Safe Mode can help you identify and resolve such issues by loading only essential Microsoft services.
After your PC restarts, you’ll see a list of options. Press the appropriate key to select Safe Mode. Usually, this is F4 for Safe Mode or F5 for Safe Mode with Networking.
Once in Safe Mode, you can uninstall any recently installed software or drivers that might be causing the issue.
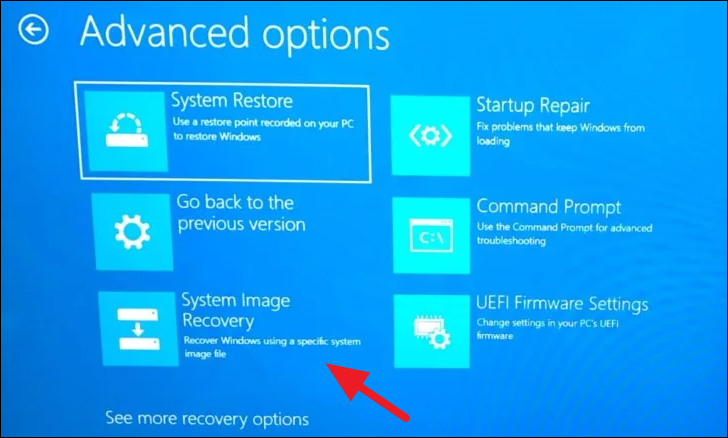
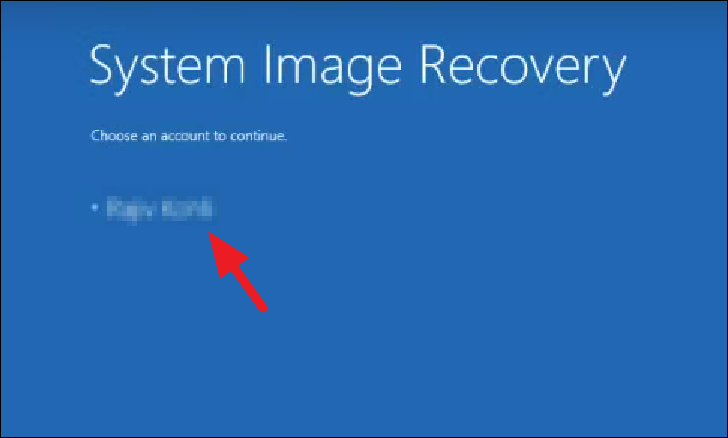
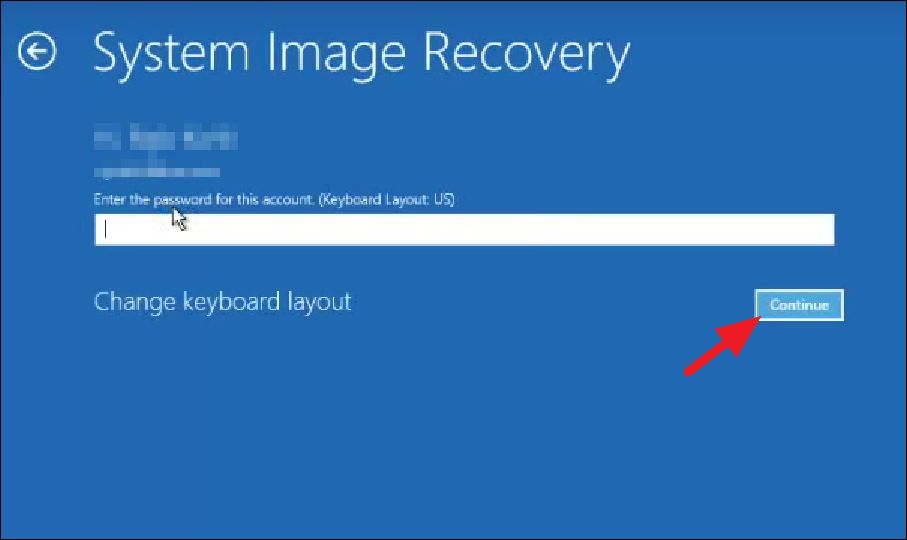
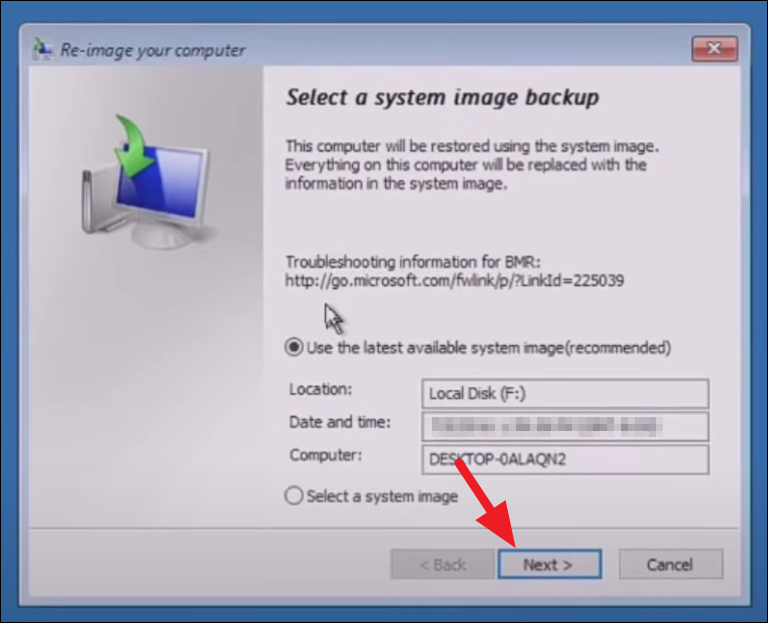
4. Restore Your Device Using System Image Recovery
If the issue started after installing new software or a major system update, restoring your PC to an earlier point might resolve the problem.
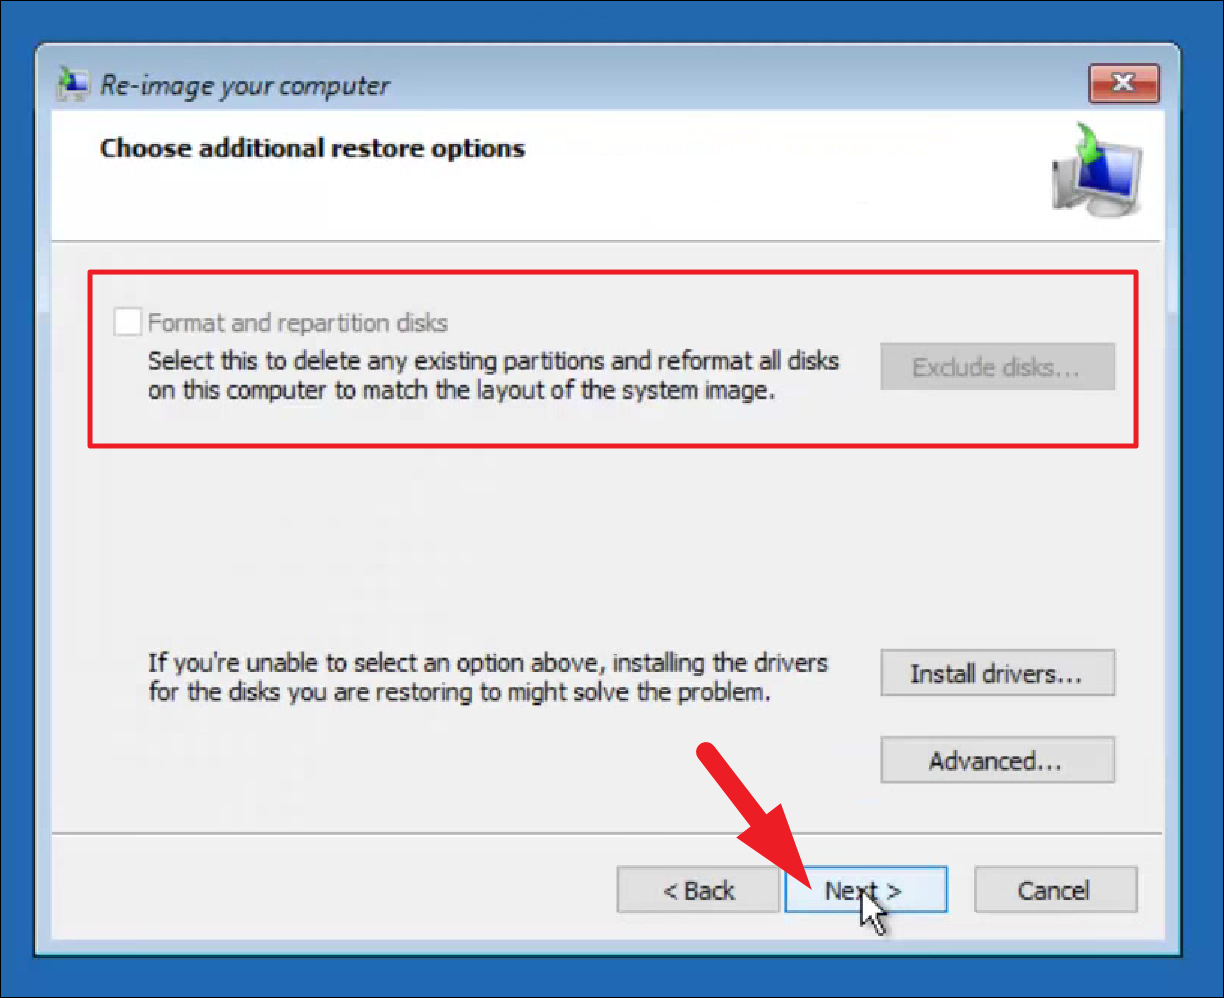
If restoring to a different machine or after changing disk configurations, you may need to format and partition disks. Click on Exclude disks under ‘Format and repartition the disk’, or click Install drivers if necessary. Then click Next.
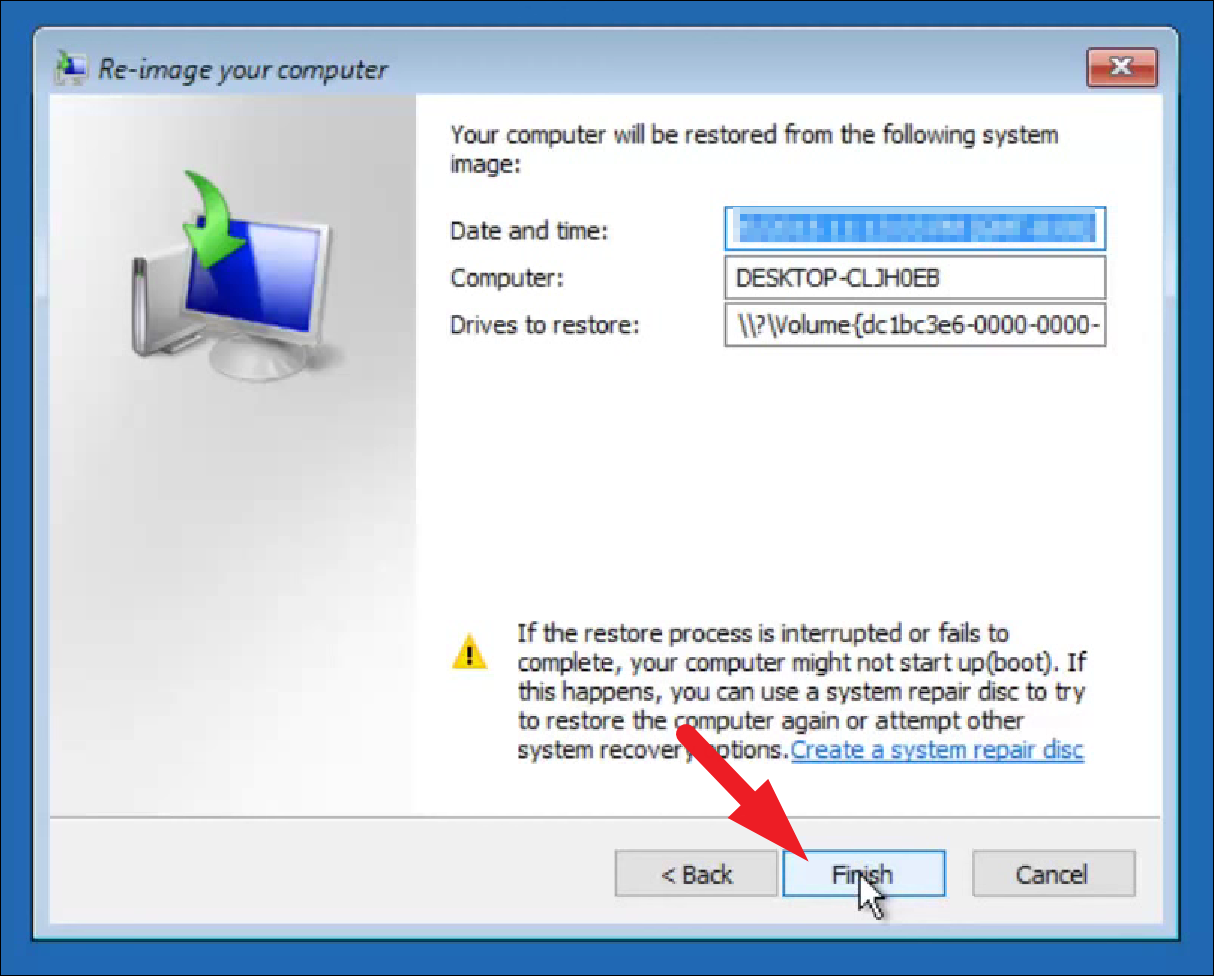
Once the process completes, restart your PC and check if the issue is resolved.
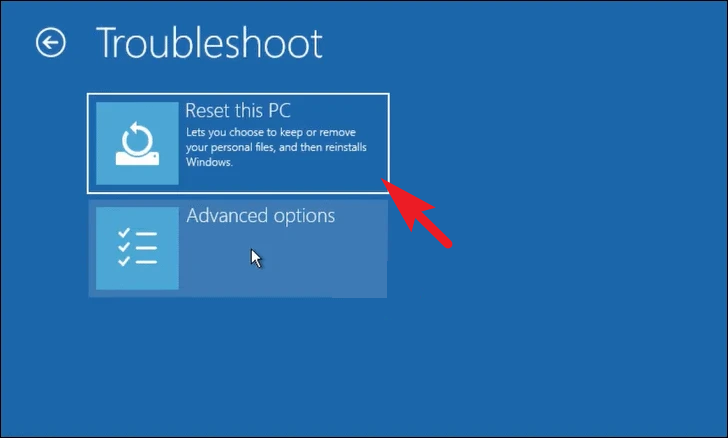
5. Factory Reset Your PC
If all else fails, performing a factory reset may be the solution. This will reinstall Windows and remove all files, applications, and settings, bringing your PC back to its original state.
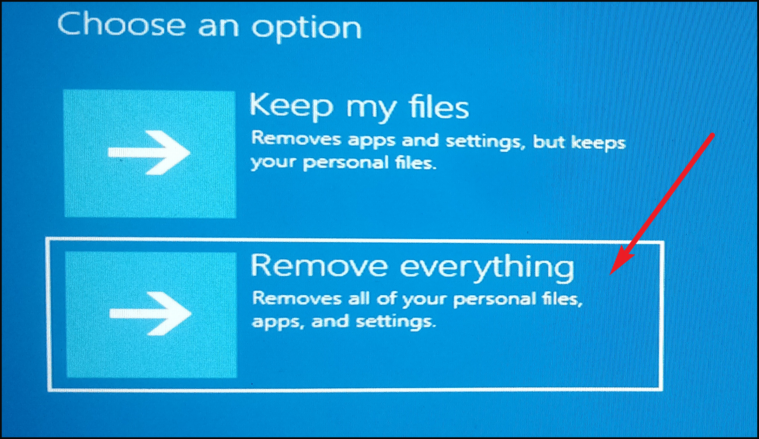
Choose whether to Keep my files or Remove everything. The first option resets system settings and removes apps while keeping personal files; the second option removes everything.
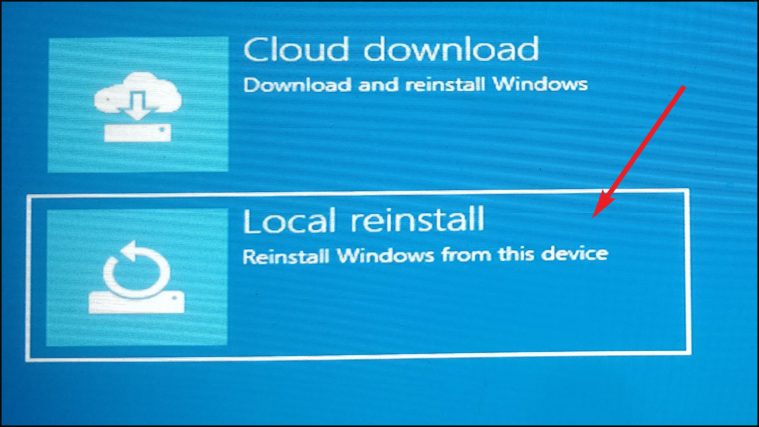
Select the method for reinstalling Windows: Cloud download or Local reinstall. The ‘Cloud download’ option retrieves fresh files from Microsoft servers, while ‘Local reinstall’ uses existing files on your PC.
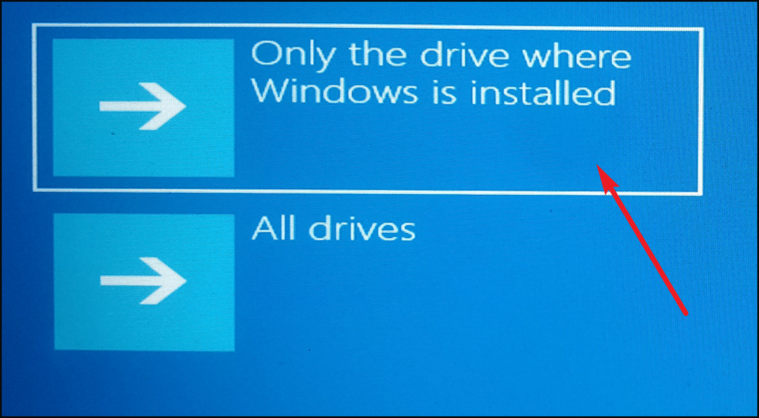
Decide if you want to erase data from only the drive where Windows is installed or from all drives. Click on Only the drive where Windows is installed or All drives accordingly.