How to Fix ‘Page Fault in Nonpaged Area’ Error in Windows 11
10 ways to fix this annoying error in Windows 11
10 ways to fix this annoying error in Windows 11
by Parth Sawhney
Experiencing the ‘Page Fault in Nonpaged Area’ Blue Screen of Death (BSOD) error on your Windows 11 system can be quite frustrating. This error typically occurs when a system service, application, or driver tries to access a memory page that isn’t available. Fortunately, several effective methods can help you resolve this issue and get your computer running smoothly again.
What causes the ‘Page Fault in Nonpaged Area’ error?
This error usually occurs when a system service, application, or driver attempts to access a memory page that should be present in the nonpaged area but isn’t. Memory faults can be classified as hard or soft faults. A hard fault happens when the memory page has been moved to the hard disk and needs to be retrieved, impacting performance. A soft fault occurs when the memory page is on standby and can be quickly loaded. Common causes include outdated or corrupt drivers, outdated Windows updates, or damaged system files.
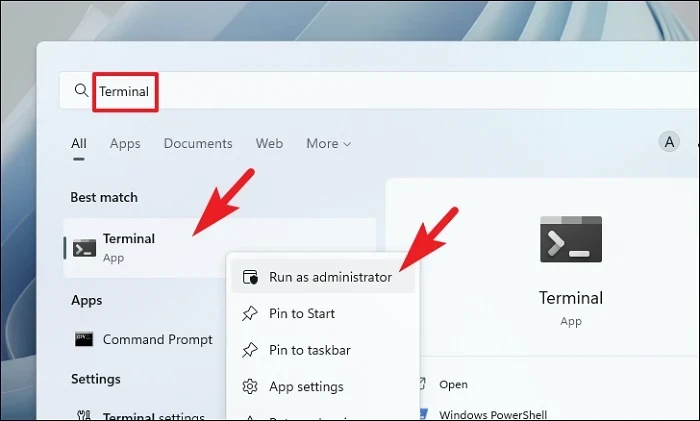
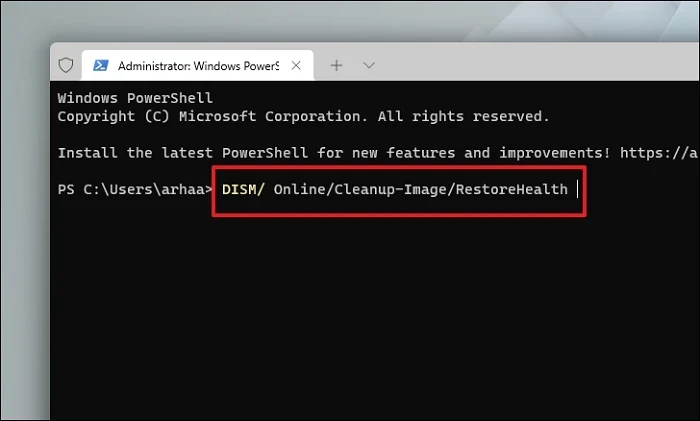
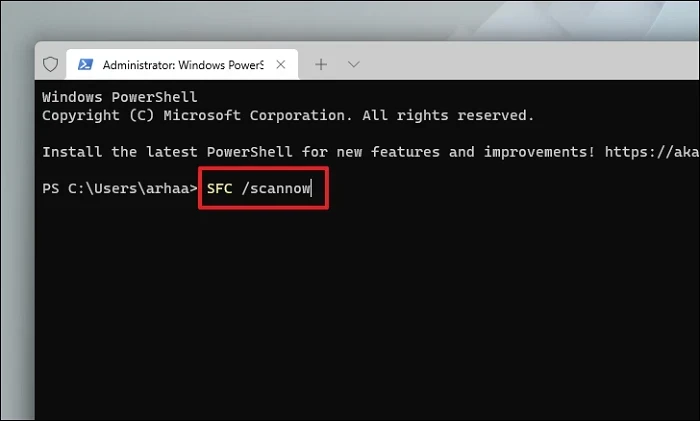
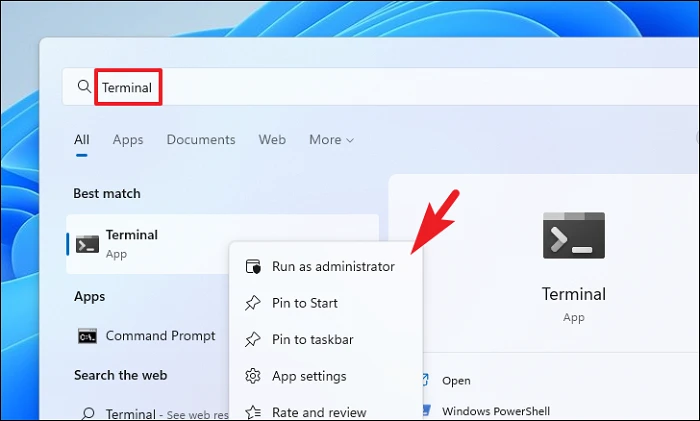
1. Repair system files with SFC and DISM
Corrupted system files can lead to the ‘Page Fault in Nonpaged Area’ error. Running the System File Checker (SFC) and Deployment Image Servicing and Management (DISM) tools can repair these files.
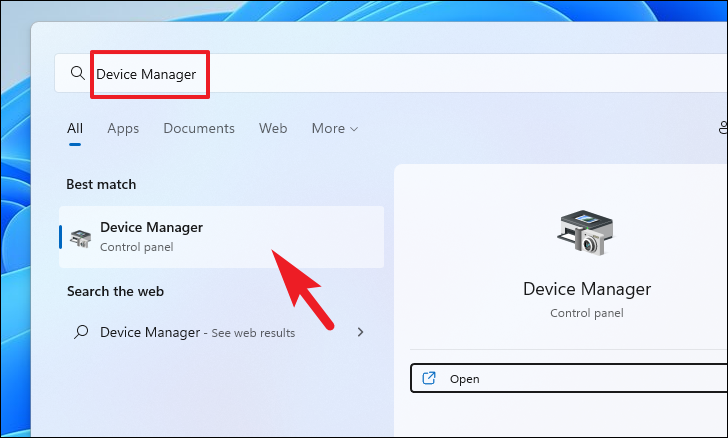
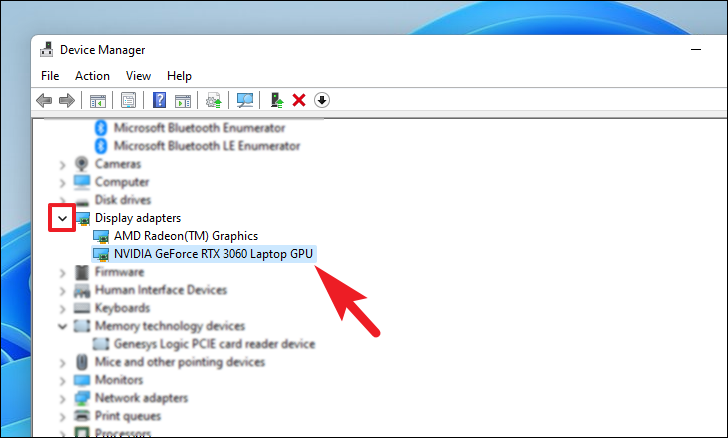
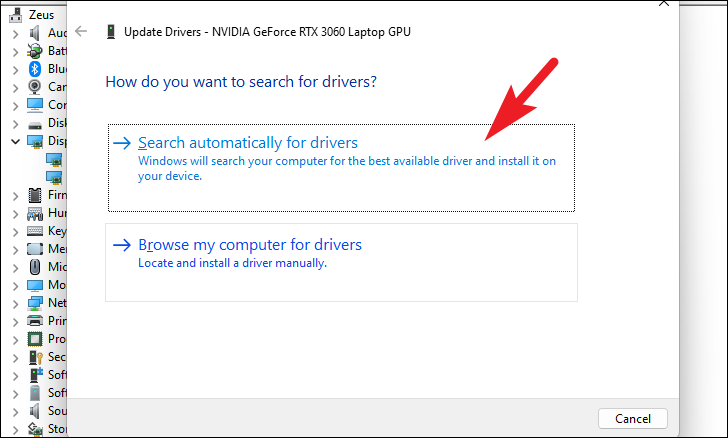
Locate the device category of the driver you recently updated. Double-click the category to expand it, then double-click the specific device to open its properties.
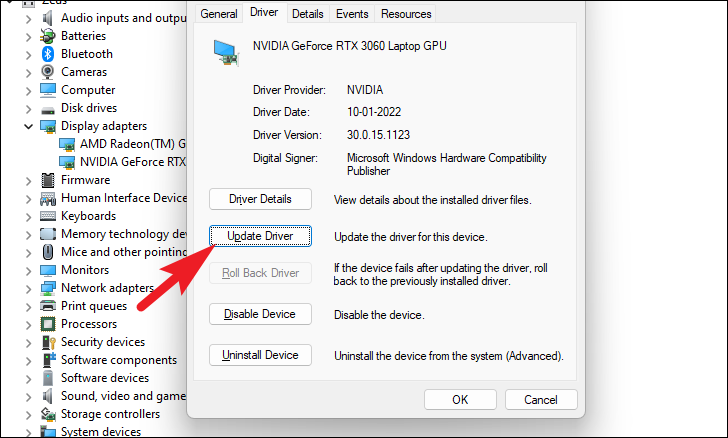
Choose Search automatically for drivers to let Windows find the latest driver. If you have the driver file on your computer, select Browse my computer for drivers and locate it.
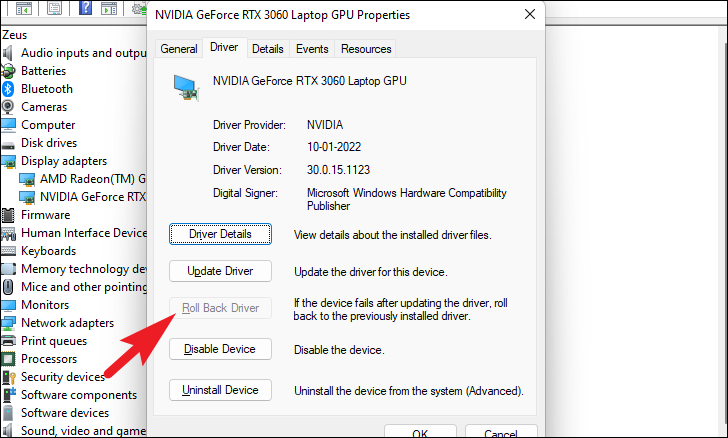
Ensure you update or roll back drivers for NVMe storage, Wi-Fi, Bluetooth, webcam, and graphics devices, as these are common sources of this error.
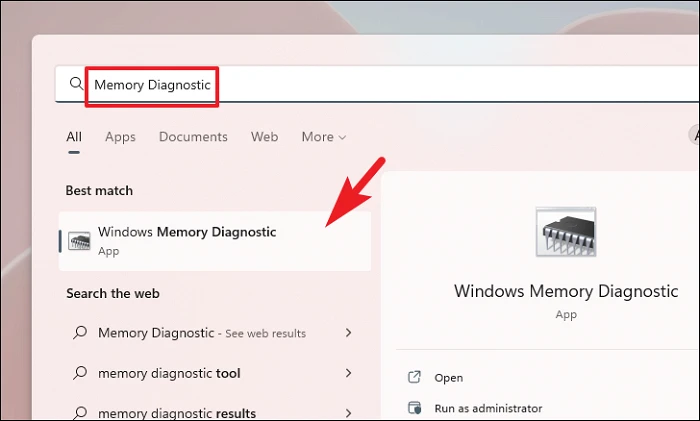
3. Run Windows Memory Diagnostics
Faulty RAM can cause this error. Running a memory diagnostic can help identify and fix memory issues.
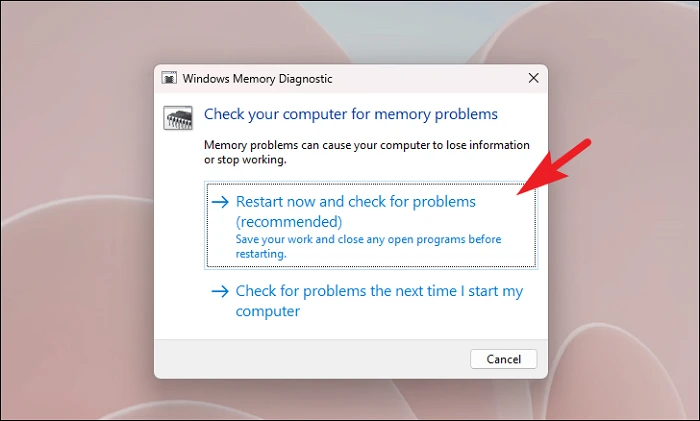
Click on Restart now and check for problems to begin the scan immediately, or select Check for problems the next time I start my computer to schedule it for later.
Your computer will restart, and the memory diagnostic tool will check your RAM for errors.
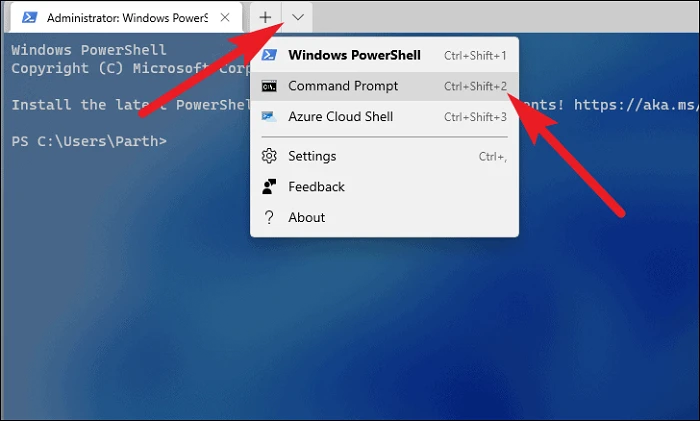
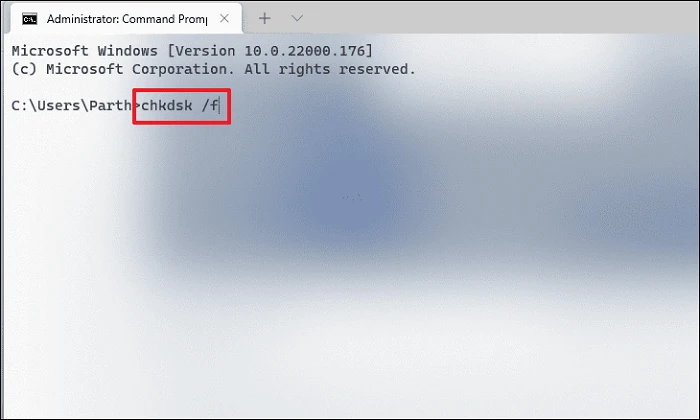
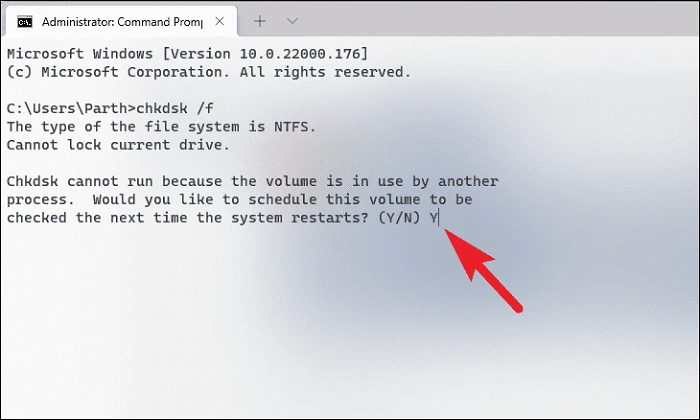
4. Run CHKDSK
Disk errors can contribute to the ‘Page Fault in Nonpaged Area’ error. Running CHKDSK can detect and fix disk-related issues.
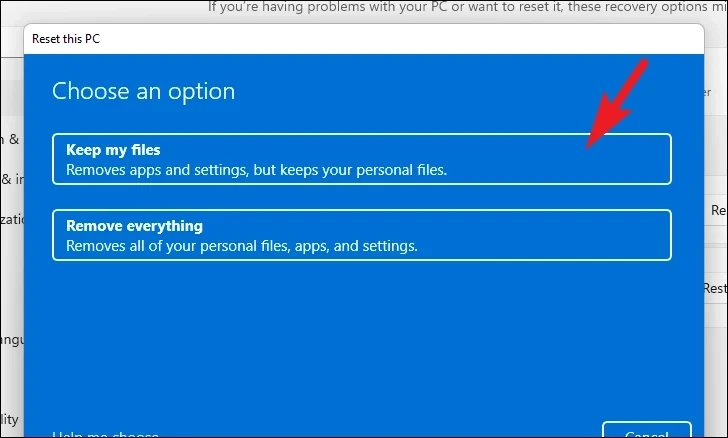
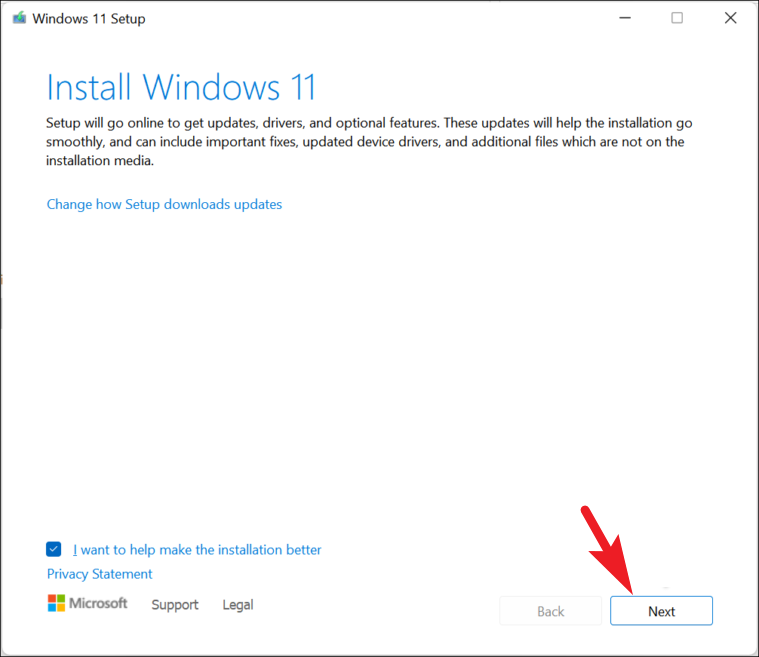
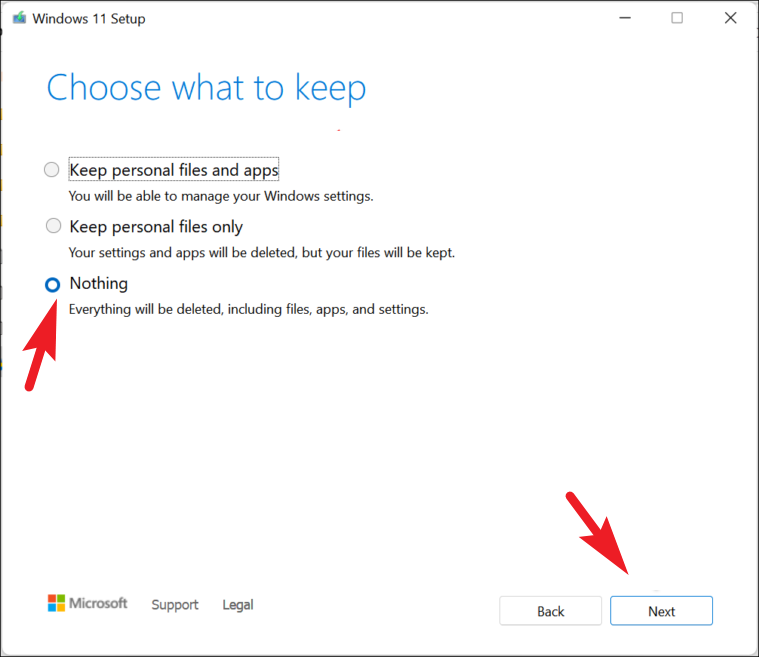
Follow the on-screen instructions to complete the installation. After the installation, you’ll need to go through the initial setup process (OOBE).
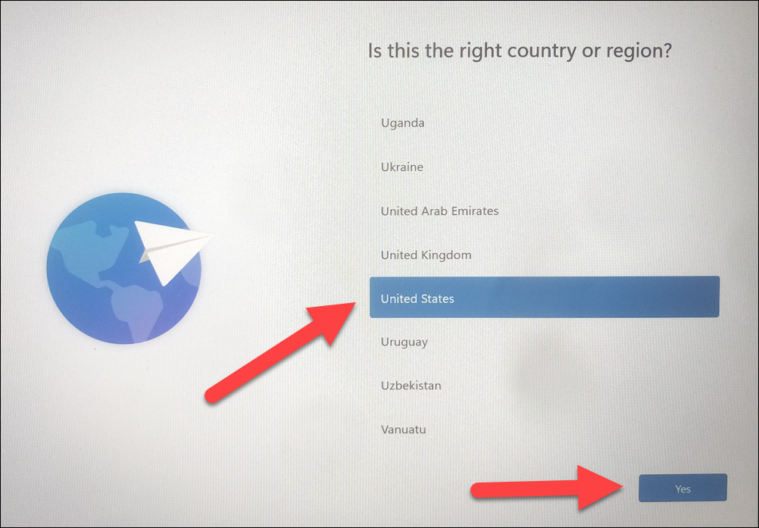
During setup, you’ll select your region, keyboard layout, connect to the internet, and sign in with your Microsoft account.
By following these methods, you should be able to resolve the ‘Page Fault in Nonpaged Area’ error on your Windows 11 computer and restore your system’s stability.