Connecting an additional monitor to your Windows 11 computer can greatly enhance your multitasking abilities by extending your desktop space. However, sometimes Windows 11 might fail to recognize the secondary display. If you’re experiencing this issue, there are several solutions you can try to fix it.
1. Rule out connection or cable issues
Before making changes to your system settings, it’s important to ensure that the issue isn’t caused by a physical connection problem or a faulty cable.
- Confirm that the secondary monitor is properly connected to a power source and turned on.
- Check that the monitor is connected to the correct input port, and that the input source is correctly selected on the monitor.
- Try connecting the monitor to a different computer to verify if the issue is with the monitor or the cable.
- Ensure that you’re using the correct cables (e.g., HDMI or DisplayPort) and that they are fully inserted into the appropriate ports.
- Disconnect any unnecessary external devices like printers, USB devices, or cameras that might interfere with the display connection.
- If you’re attempting to connect to a wireless display, make sure that both your computer and the display are connected to the same Wi-Fi network.
If after checking these points the problem persists, it’s likely that the issue is software-related. Proceed to the next methods to troubleshoot further.
2. Update your graphics driver
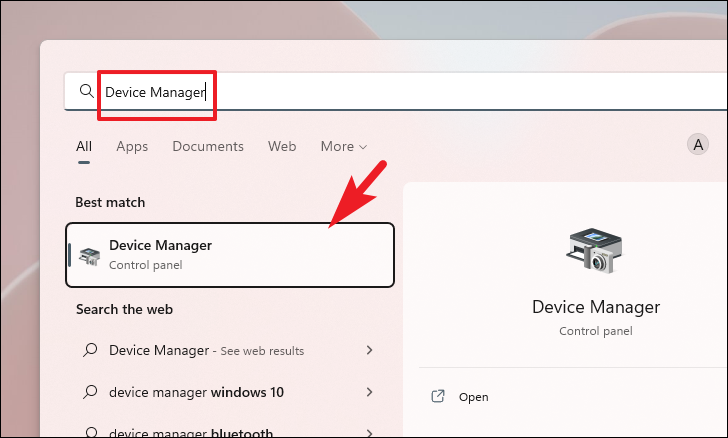
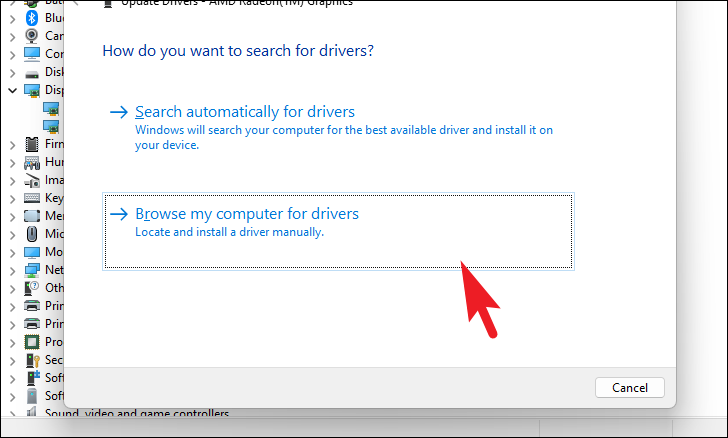
An outdated or corrupted graphics driver can prevent Windows 11 from detecting a second monitor. Updating the driver can often resolve this issue. Step 1: Open the Start menu and type Device Manager in the search bar. Click on the Device Manager app from the search results to open it.
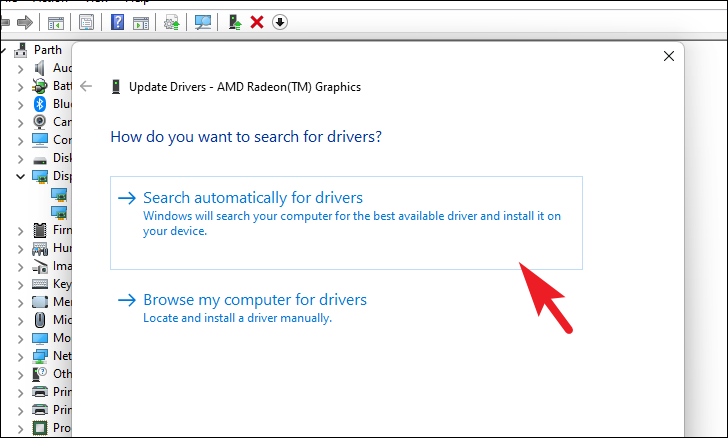
If you have a driver package downloaded from the manufacturer’s website, select Browse my computer for drivers and navigate to the location of the driver package.
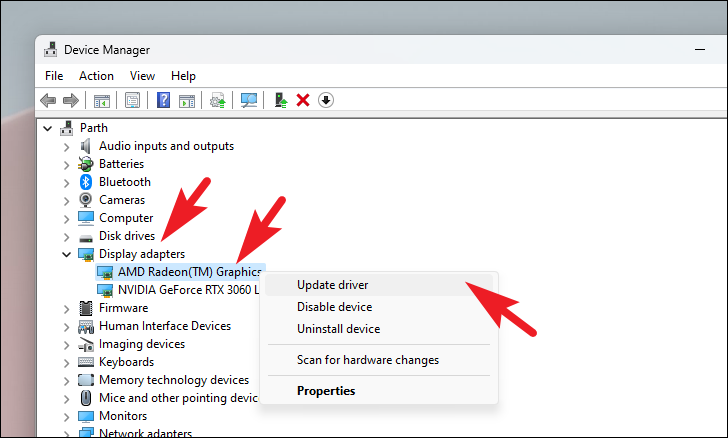
Note: Some devices may have more than one graphics card installed. We recommend updating both drivers using the steps above.
After updating the drivers, restart your computer and check if the second monitor is detected.
3. Roll back graphics driver
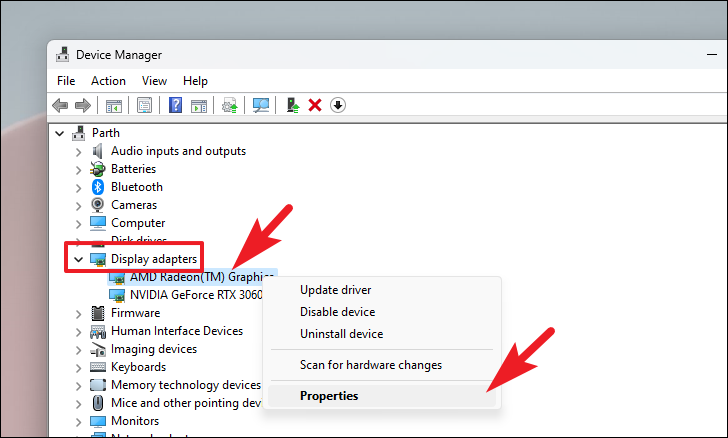
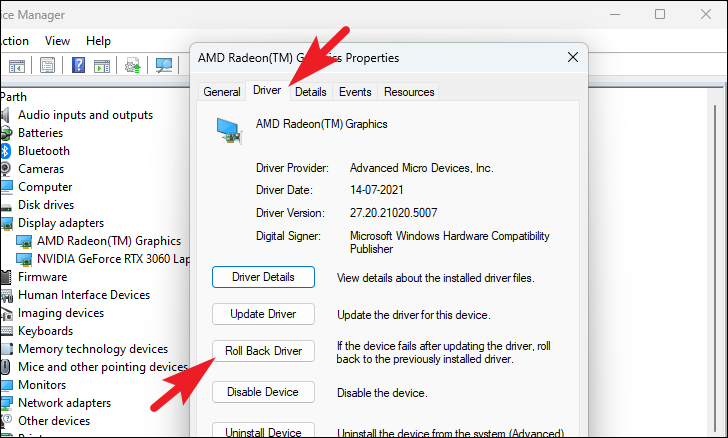
If the issue started after updating your graphics driver, rolling back to the previous version might resolve the problem. Step 1: Open Device Manager by searching for it in the Start menu.

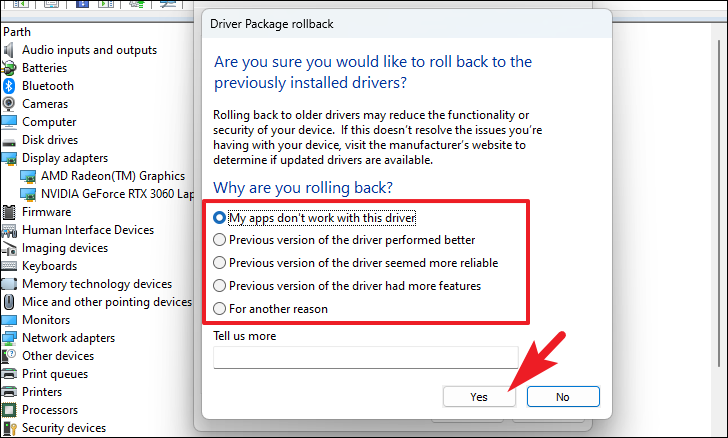
After rolling back the driver, restart your computer and see if the second monitor is now detected.
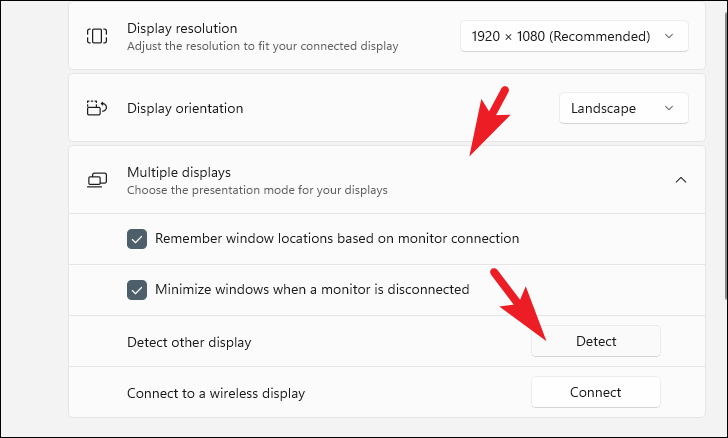
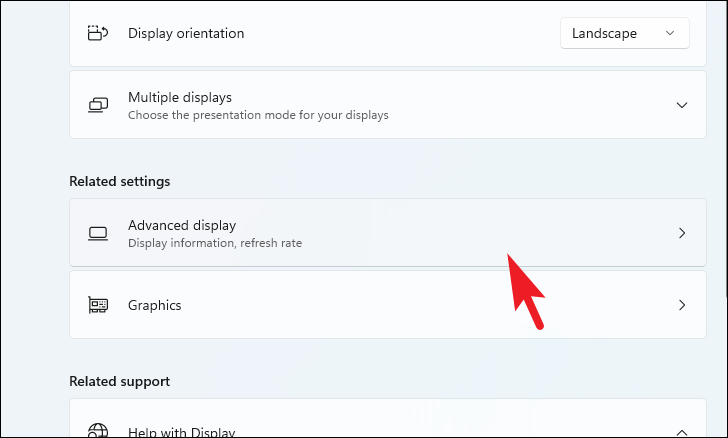
4. Force detect the secondary screen
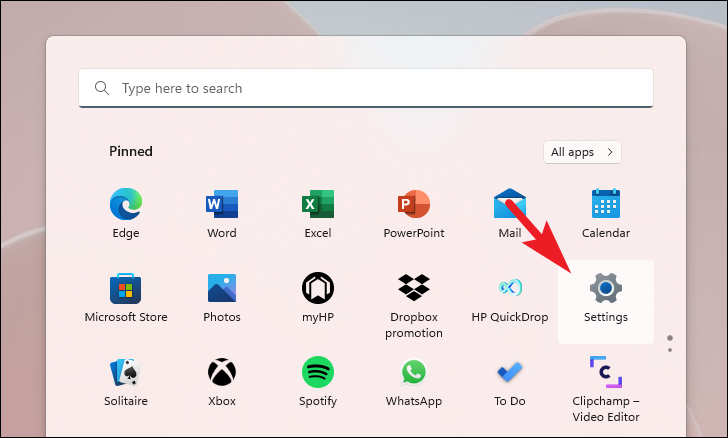
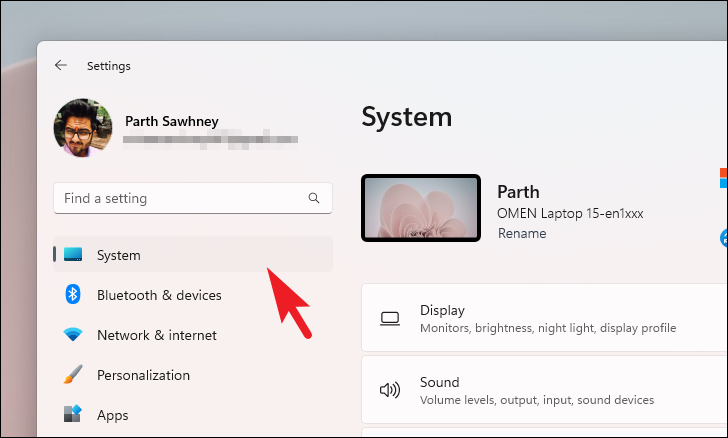
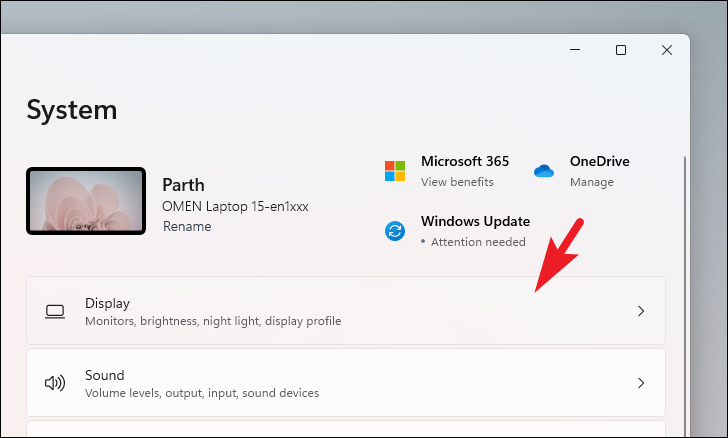
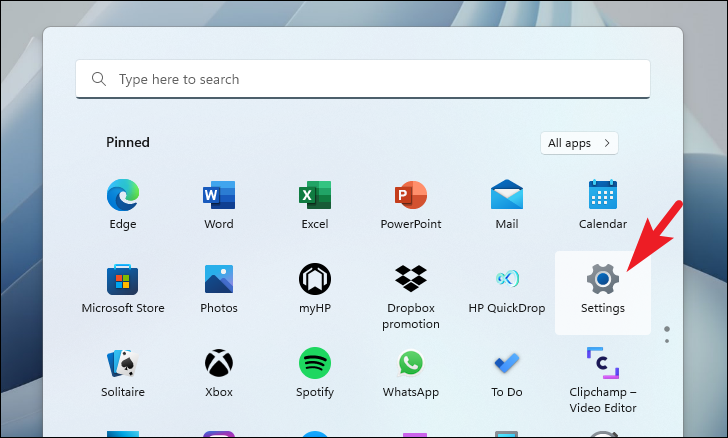
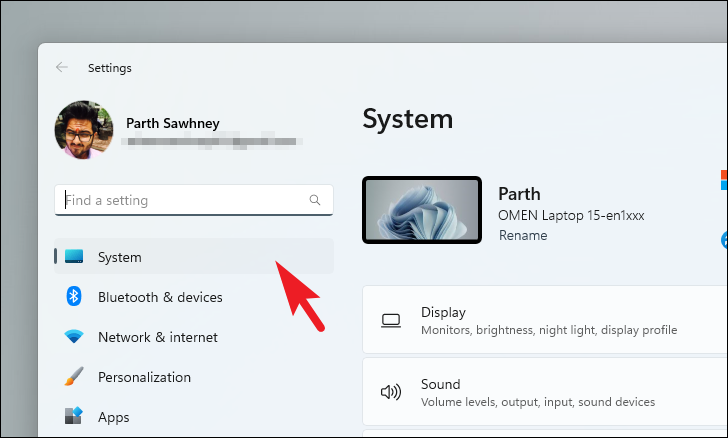
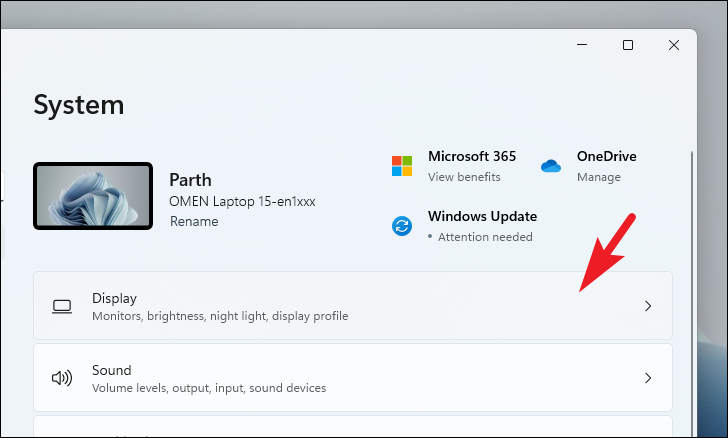
If Windows doesn’t automatically recognize your second monitor, you can try to force it to detect the display through the Settings app. Step 1: Open the Start menu and select Settings. You can also press Windows + I on your keyboard to open the Settings app.
Note: Before proceeding, ensure that your secondary monitor is connected to your computer.
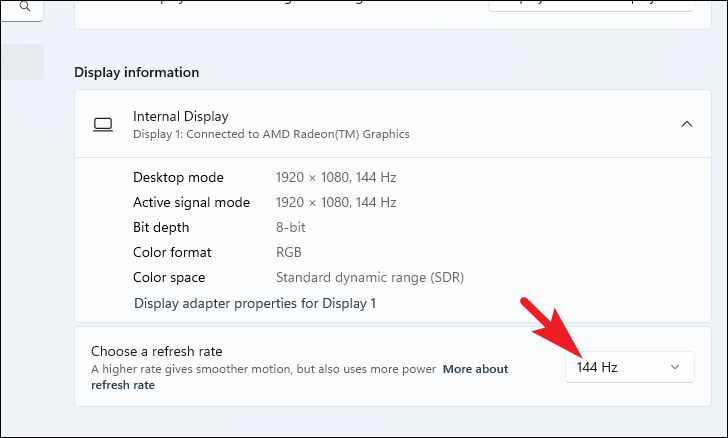
5. Make sure both of your screens have the same refresh rate
Using monitors with different refresh rates can sometimes cause detection issues. Adjusting the refresh rates so they match might solve the problem. Step 1: Open the Settings app by pressing Windows + I or by selecting it from the Start menu.
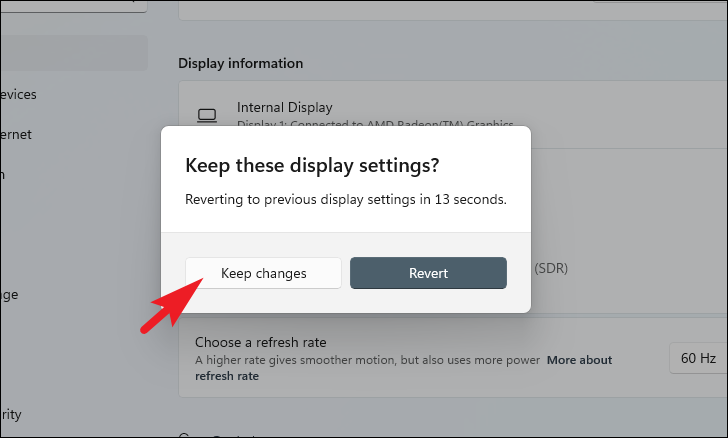
After adjusting the refresh rate, disconnect and reconnect your secondary monitor to see if it is now detected.
If none of these methods resolve the issue, there might be a hardware problem with your monitor or computer, and you may need to consult with technical support.


