Securing your Windows 11 computer is essential to protect your personal information and maintain privacy. One of the most effective ways to enhance security is by using Windows Hello, a feature that allows for quick and secure sign-in using methods like facial recognition, fingerprint recognition, or a PIN. This guide provides detailed instructions on setting up Windows Hello, as well as options for setting passwords for both local and Microsoft accounts.
Set up Windows Hello on Windows 11
Windows Hello offers a convenient and secure way to sign in to your Windows 11 device using biometric data or a PIN. By leveraging facial recognition, fingerprints, or a personal identification number, you can enhance your device’s security beyond traditional passwords. Follow these steps to set up Windows Hello on your system.
- Open the Windows Settings by pressing the
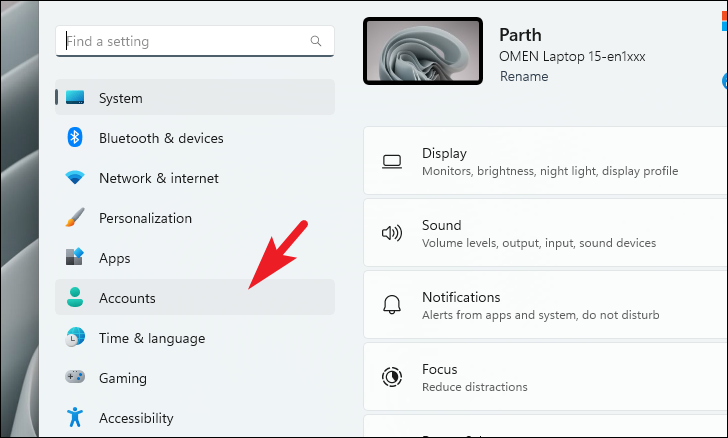
Windows + Ikeys together. - In the Settings window, select ‘Accounts’ from the menu to access your account settings.
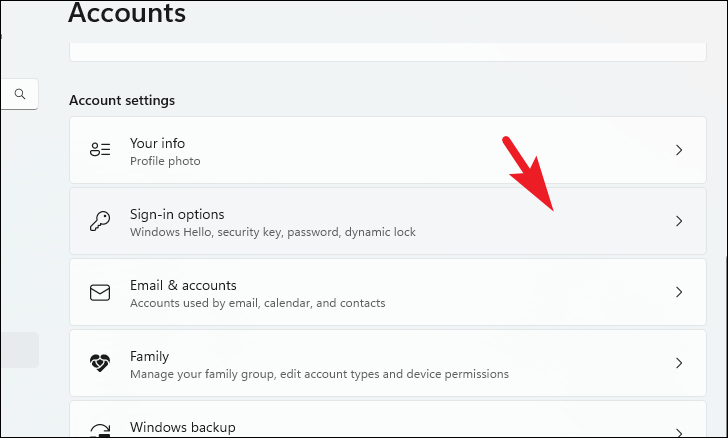
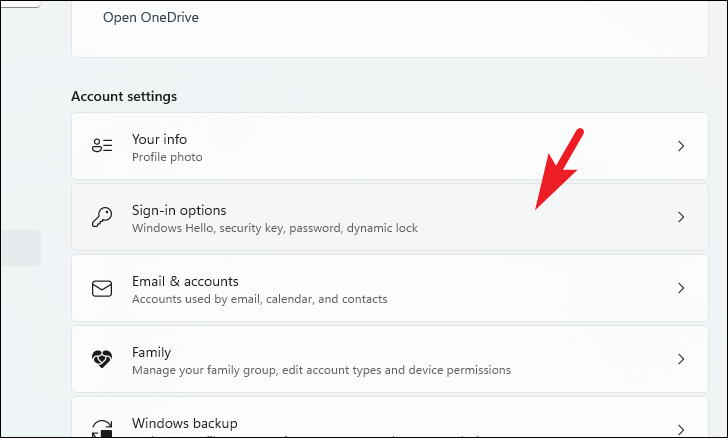
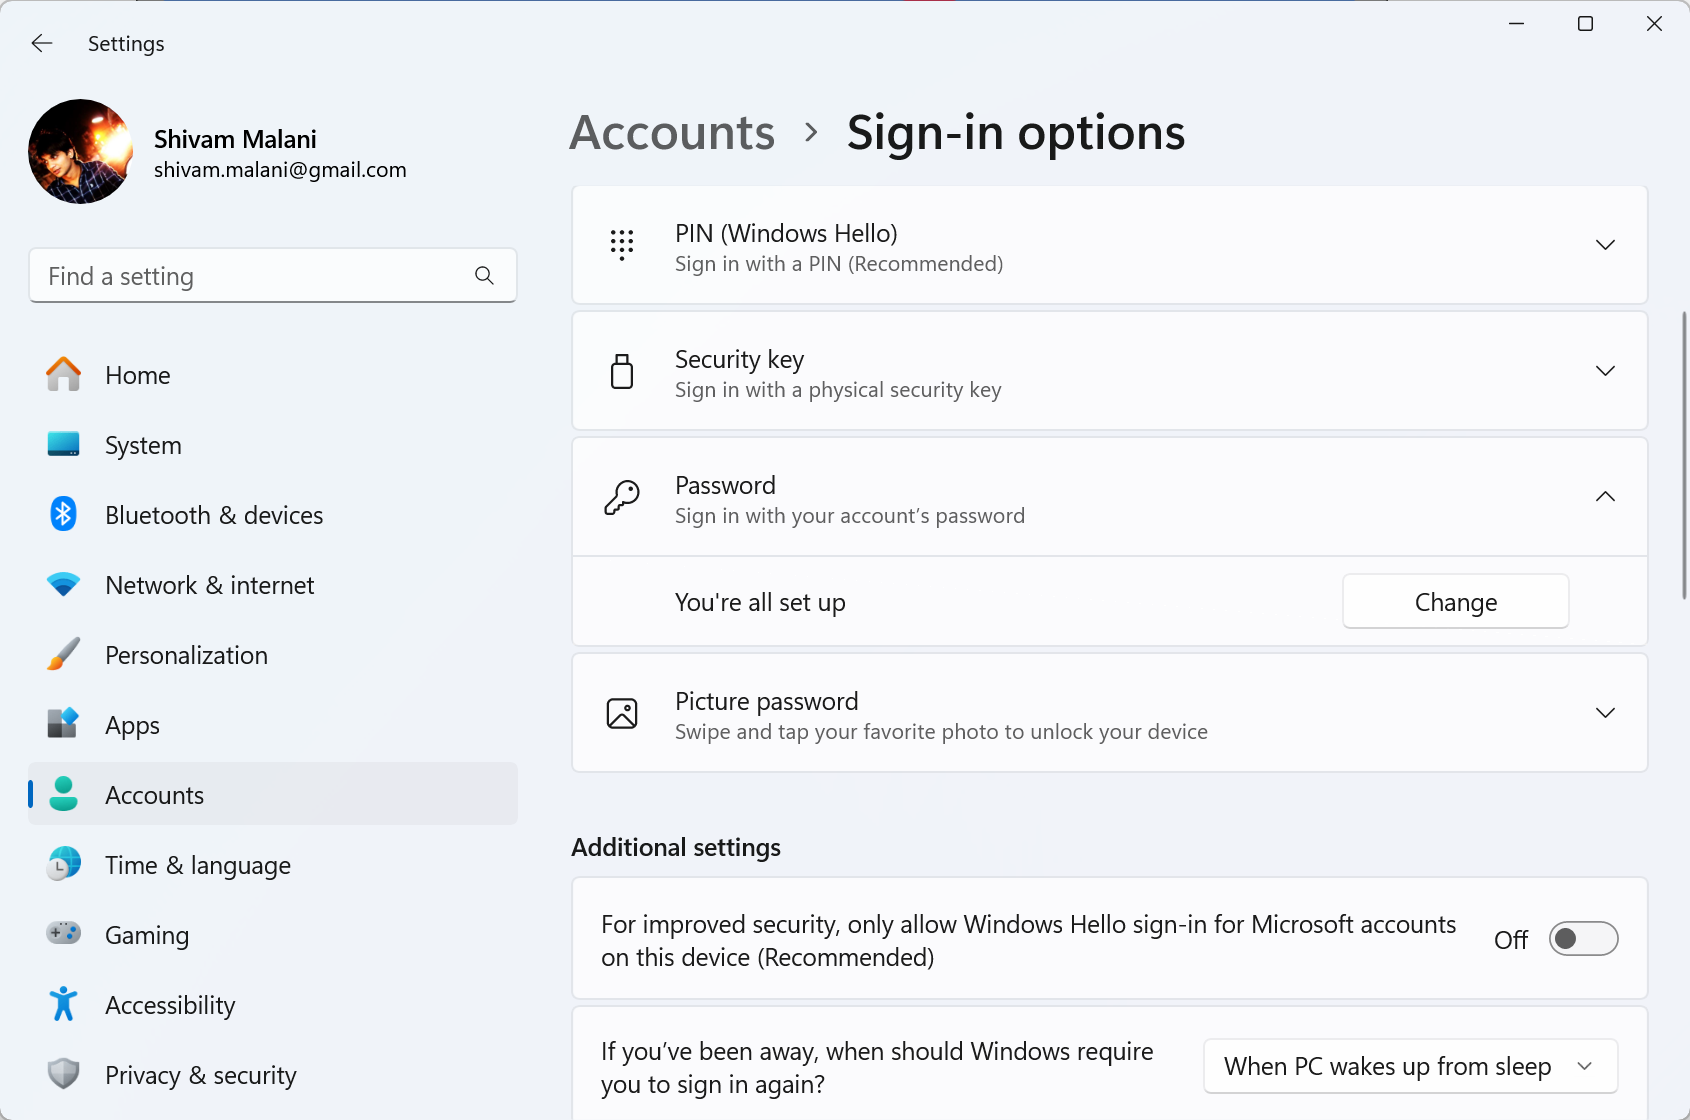
- On the right pane, click on ‘Sign-in options’ to view different sign-in methods.
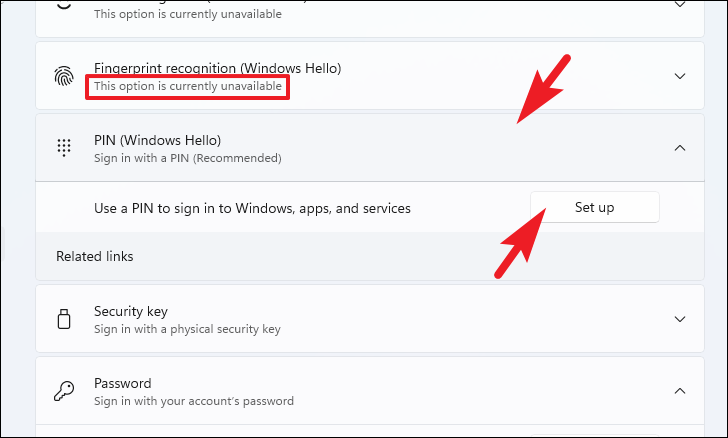
- Under ‘Ways to sign in’, locate the ‘PIN (Windows Hello)’ option. Expand it and click on the ‘Set up’ button to begin the configuration.
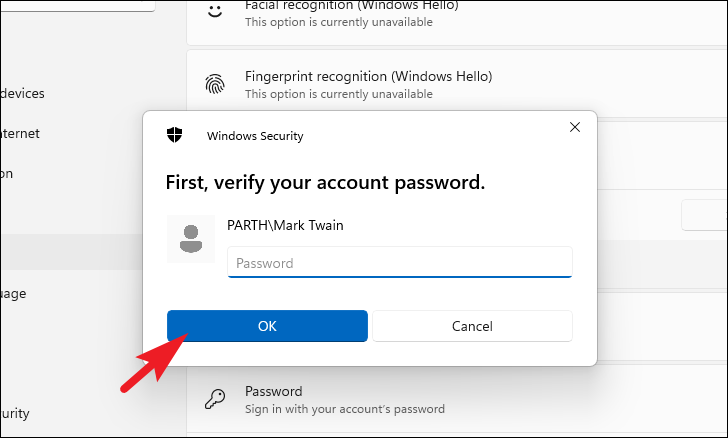
- A Windows Security window will prompt you to verify your identity. Enter your current user account password and click ‘OK’.
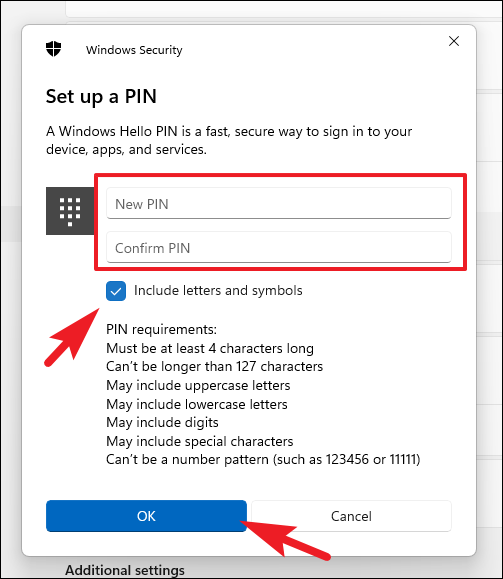
- In the ‘Set up a PIN’ window, type your desired PIN in both the ‘New PIN’ and ‘Confirm PIN’ fields. Click ‘OK’ to finalize the setup.
Set a password for local accounts
If you are using a local account on your Windows 11 computer, setting or changing your password is a straightforward process. Follow these steps to secure your account with a strong password.
- Press the
Windows + Ikeys at the same time to open the Windows Settings app. - In the Settings window, click on ‘Accounts’ to access your account settings.
- On the right side, select ‘Sign-in options’ to view the available sign-in methods.
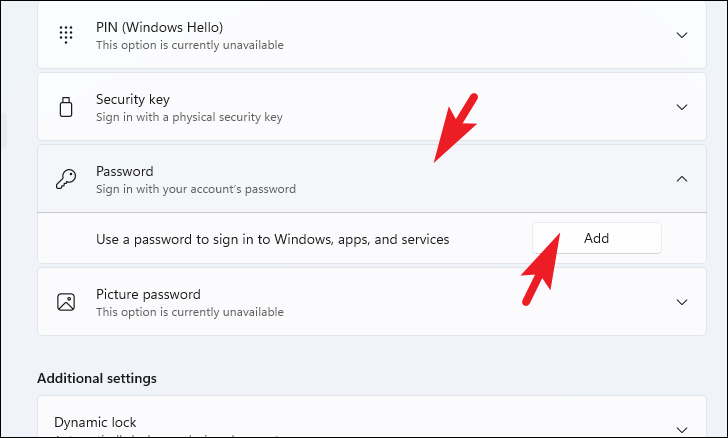
- Scroll down to the ‘Password’ section. If you haven’t set a password before, click on ‘Add’. If you’re updating an existing password, click on ‘Change’ and follow the prompts.
- Enter your new password in the provided field. Ensure it’s strong by including a mix of uppercase and lowercase letters, numbers, and symbols. Confirm the password by typing it again.
(Optional) Provide a password hint to help you remember it. Make sure the hint isn’t too obvious to others.
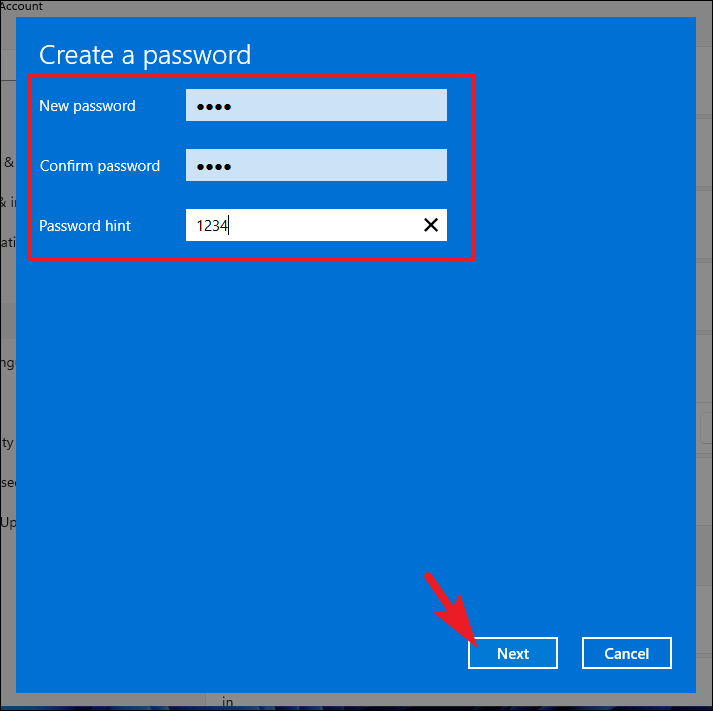
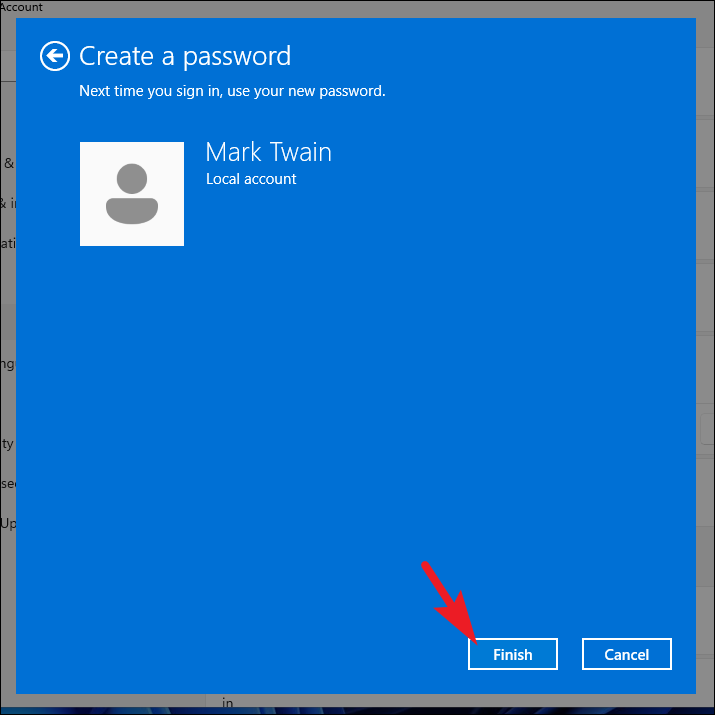
- A confirmation window will display your user account. Click the ‘Finish’ button at the bottom left corner to complete the process.
Set a password for Microsoft accounts
If you sign in to Windows 11 using a Microsoft account, changing your password involves updating your online account credentials. Here’s how to modify your Microsoft account password.
- Open the Windows Settings by pressing
Windows + Ikeys simultaneously. Navigate to ‘Accounts’ to access your account settings. - Click on ‘Sign-in options’ on the right side to view different sign-in methods.
- Scroll down to the ‘Password’ section, expand it, and click the ‘Change’ button.
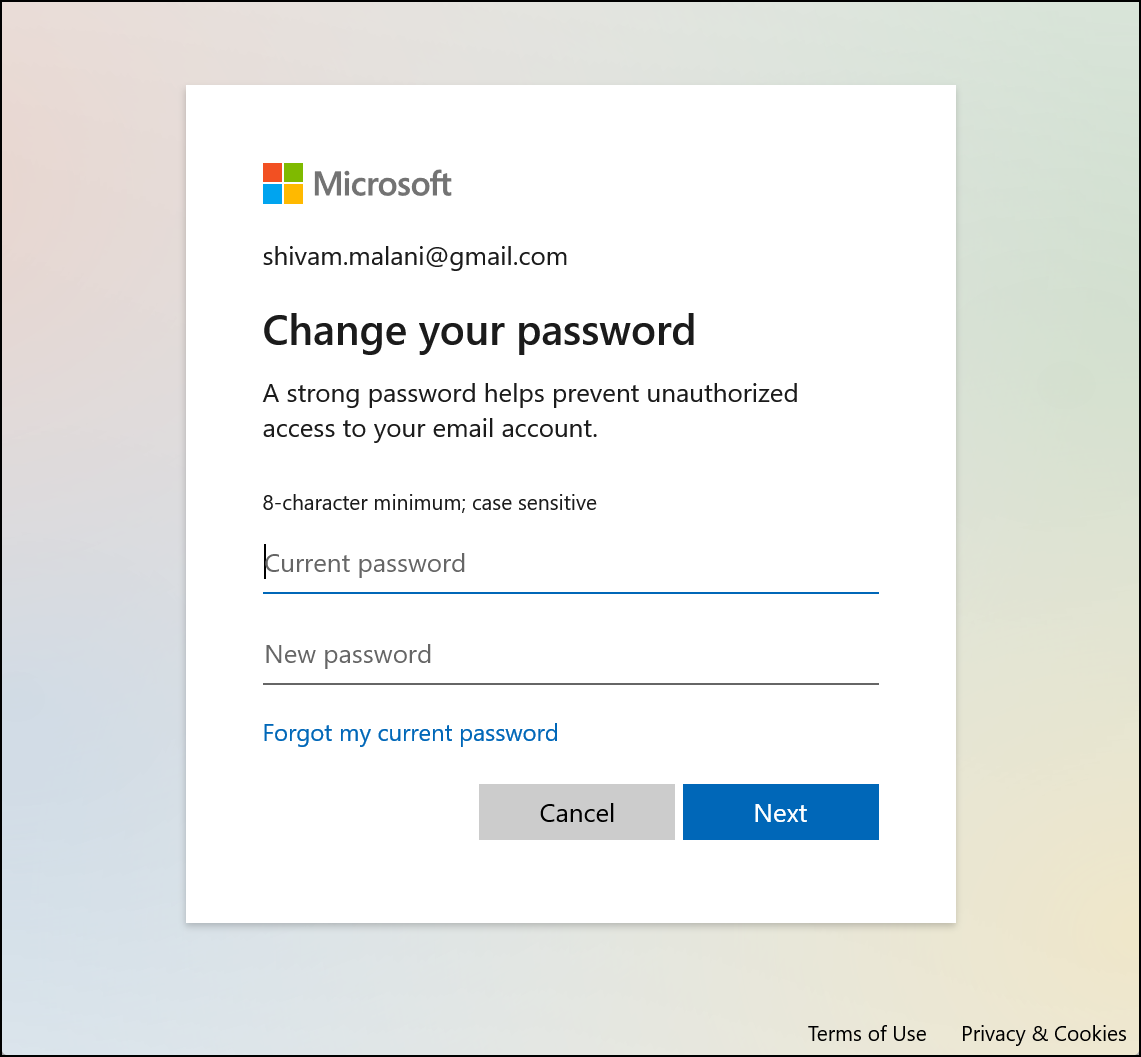
- A web window will pop up prompting you to change your Microsoft account password. Enter your current password, then provide a new password and confirm it.
- Follow the on-screen instructions to verify your identity, which may involve entering a code sent to your associated email or phone number.
By following these methods, you can effectively enhance the security of your Windows 11 device, ensuring that your personal data remains protected from unauthorized access.