
Sleep mode is a vital feature in Windows 11 that conserves energy by putting your computer into a low-power state after a period of inactivity. It allows you to quickly resume your work without restarting your system. However, if your PC isn’t entering sleep mode as expected or wakes up unexpectedly, it can be frustrating and may lead to unnecessary power consumption. Here are several methods to fix the sleep timer not working issue in Windows 11.
Stop devices from waking up your computer
Certain devices connected to your computer, such as your mouse or network adapter, can cause your PC to wake up from sleep mode. Disabling this feature for these devices can help resolve sleep timer issues.
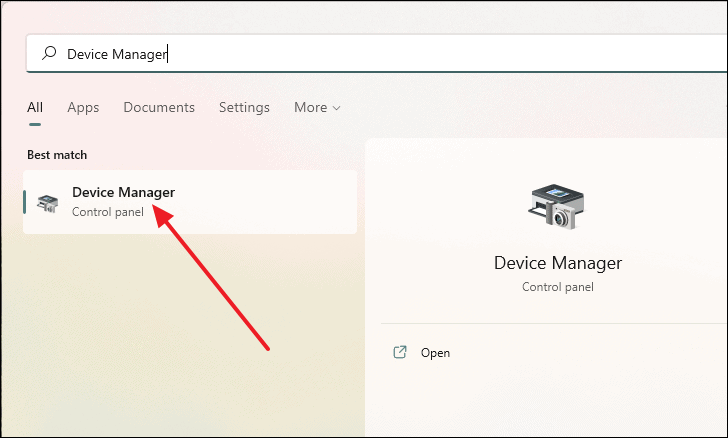
- Open the Device Manager by typing “Device Manager” into the Windows search bar and selecting it from the results.
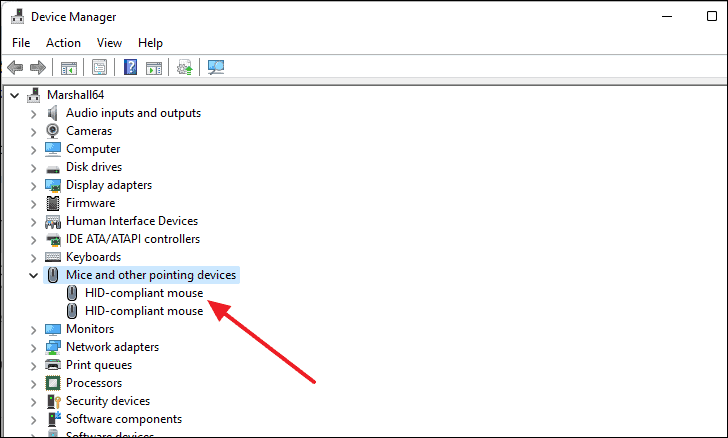
- In the Device Manager window, expand Mice and other pointing devices, right-click on your mouse device, and select Properties.
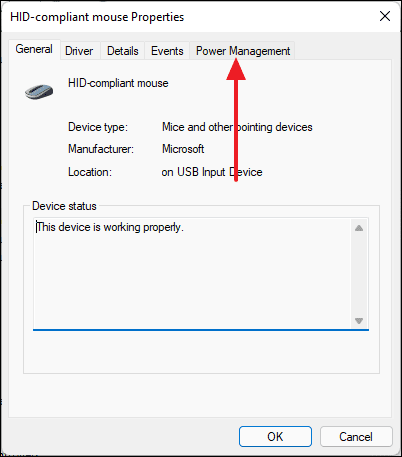
- Navigate to the Power Management tab in the Properties window.
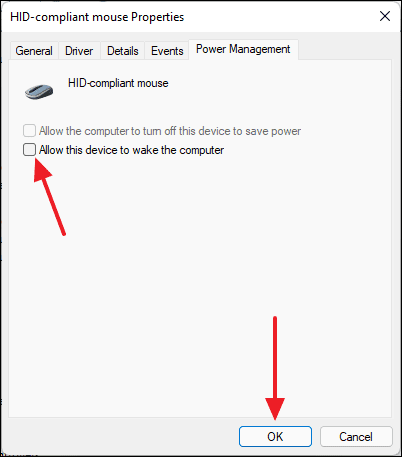
- Uncheck the option Allow this device to wake the computer and click OK.
Repeat these steps for other devices like your keyboard or network adapters to ensure they aren’t waking your computer unexpectedly.
Check the sleep mode settings
If your sleep timer isn’t working properly, it’s important to verify that your sleep settings are configured correctly.
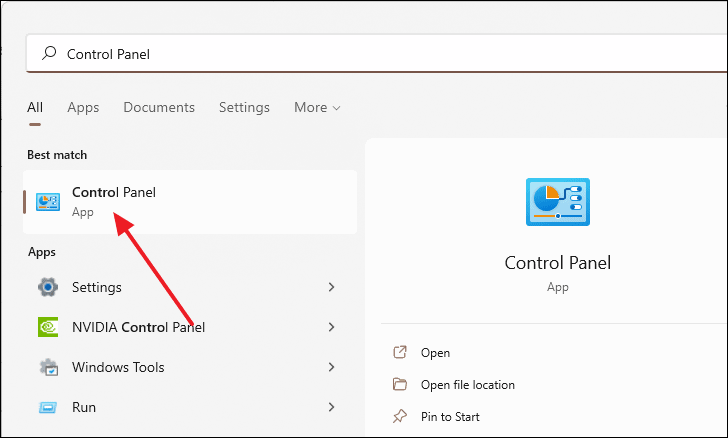
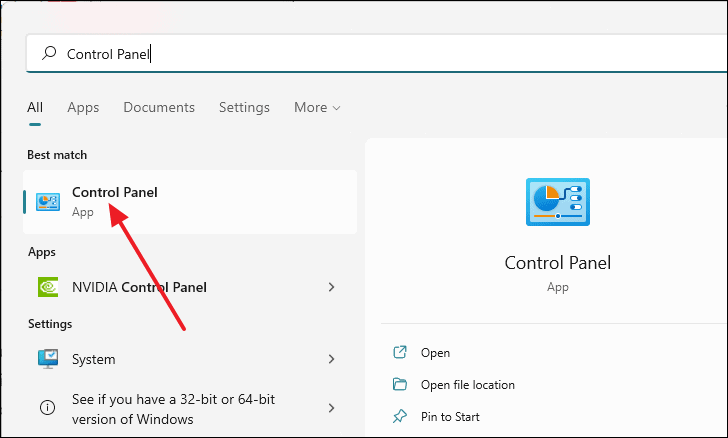
- Open the Control Panel by searching for it in the Windows search bar.
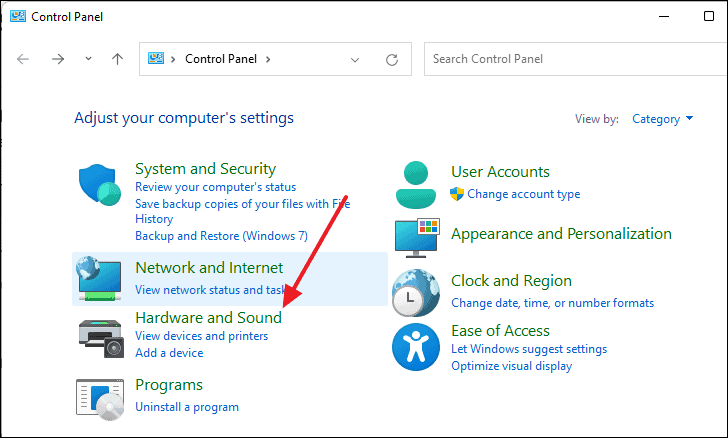
- Click on Hardware and Sound.
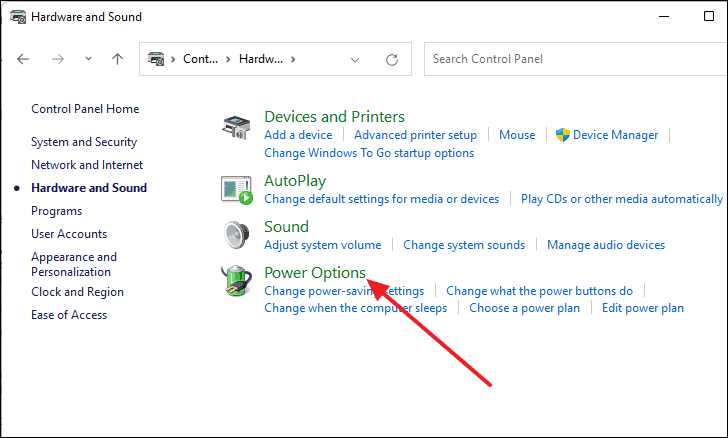
- Select Power Options.
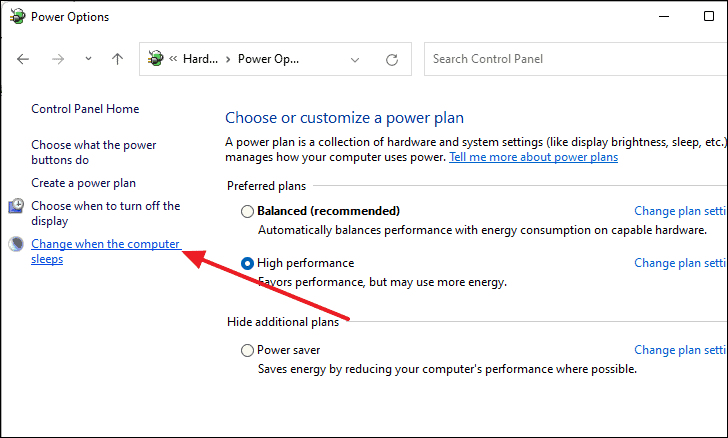
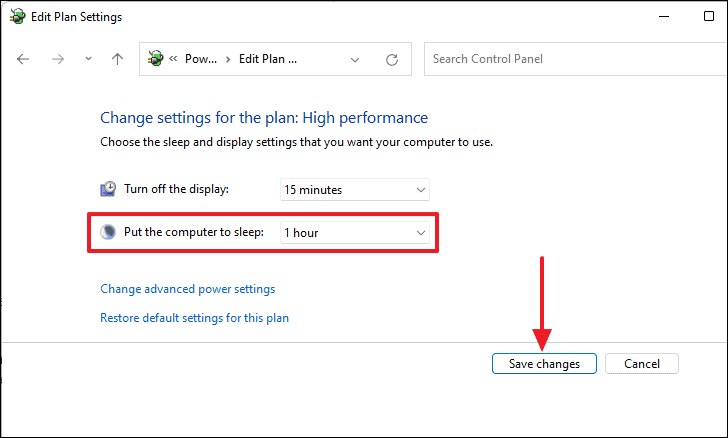
- On the left side, click on Change when the computer sleeps.
- Ensure that the dropdown menu next to Put the computer to sleep is not set to Never. Select a suitable time interval and click Save changes.
- Click on Change advanced power settings.
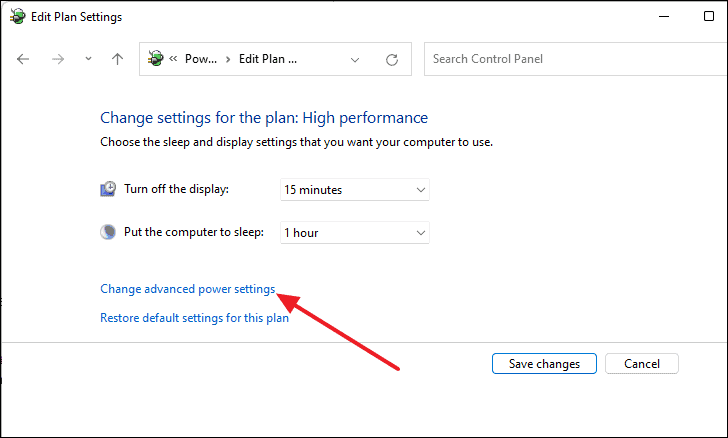
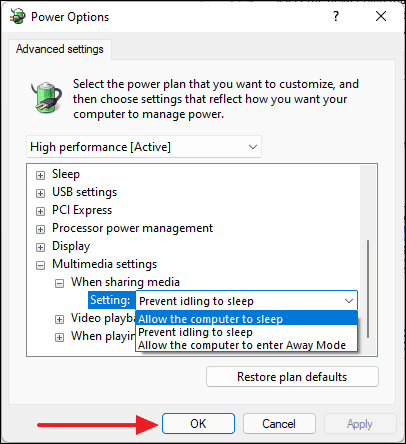
- In the Power Options window, expand Multimedia settings, then expand When sharing media, and set it to Allow the computer to sleep. Click OK to apply the changes.
Disable fast startup
Fast Startup is a feature that helps your PC start up faster after shutdown. However, it might interfere with sleep mode on some systems, especially older hardware. Disabling Fast Startup may resolve sleep timer issues.
- Open the Control Panel by searching for it in the Windows search bar.
- Click on Hardware and Sound, then select Power Options.

- On the left, click on Choose what the power buttons do.
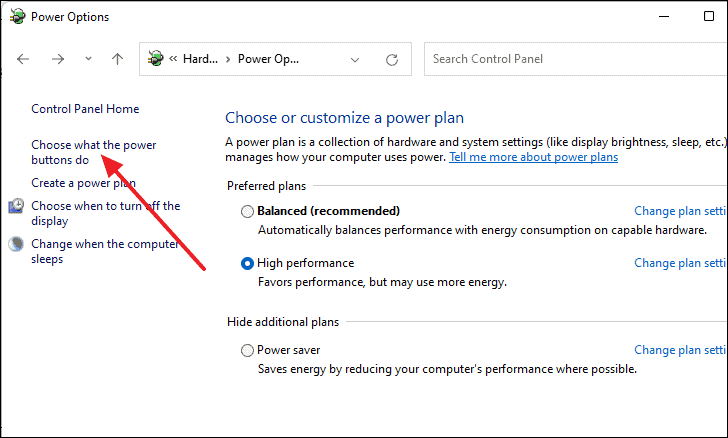
- Click on Change settings that are currently unavailable.
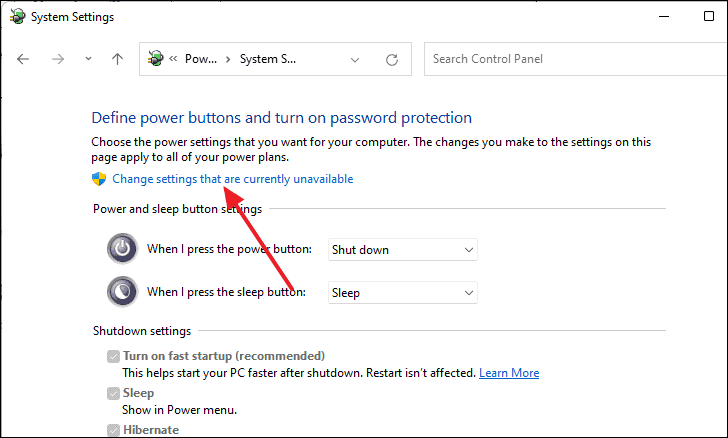
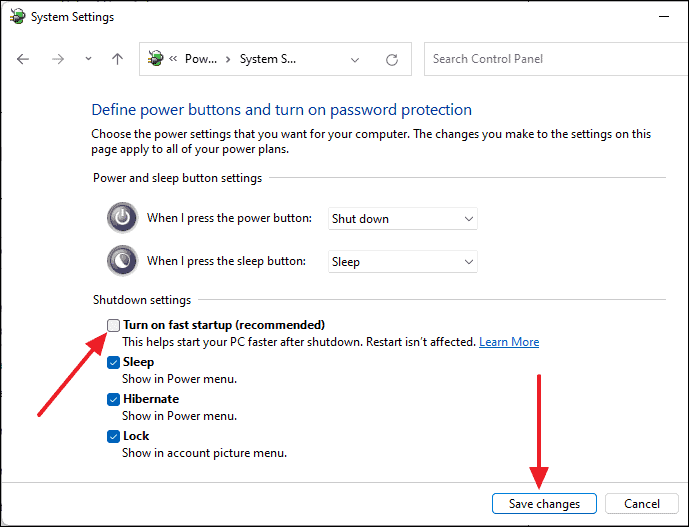
- Under Shutdown settings, uncheck Turn on fast startup (recommended) and click Save changes.
Troubleshoot using the power troubleshooter
Windows 11 includes a built-in troubleshooter for power-related issues. Running this tool can automatically detect and fix problems affecting sleep mode.
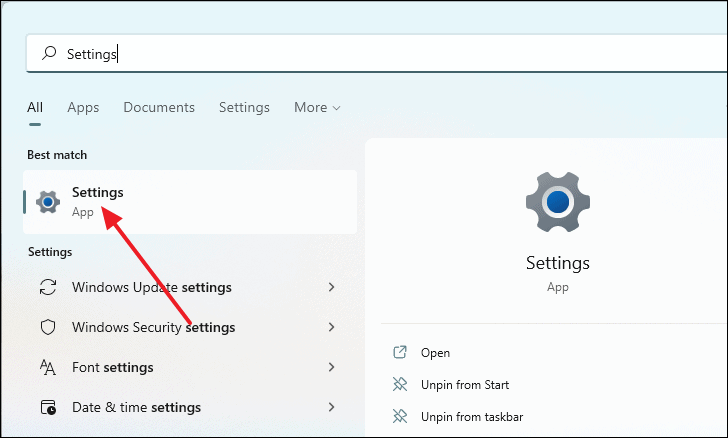
- Open Settings by pressing
Windows+ion your keyboard.
- Scroll down on the right panel and select Troubleshoot.
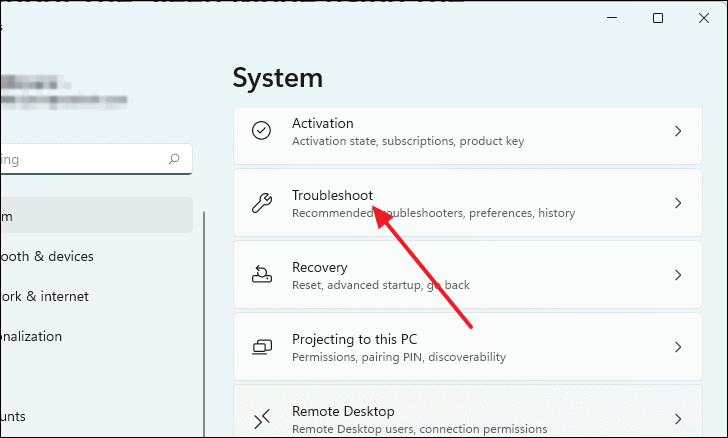
- Click on Other troubleshooters.
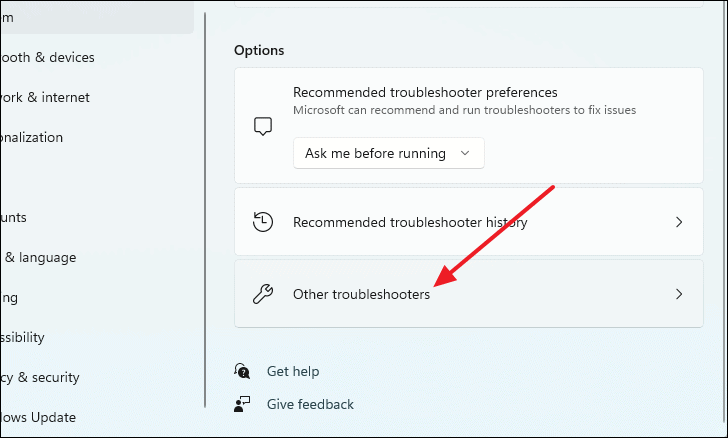
- Scroll down to find Power and click the Run button next to it.
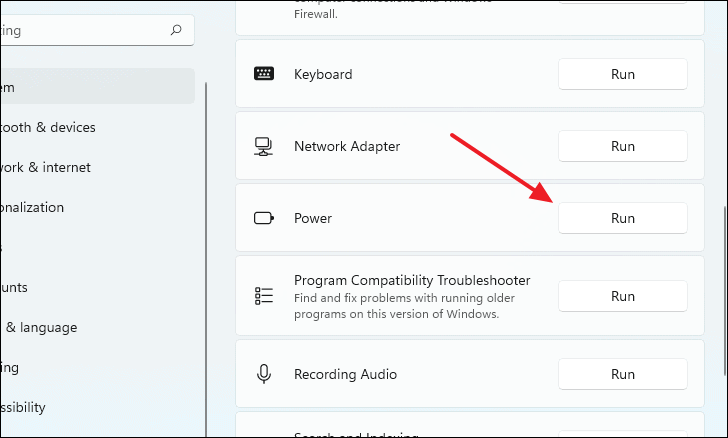
The troubleshooter will scan for issues and suggest fixes that you can apply.
Disable Wake-on-LAN (WoL)
Wake-on-LAN allows your computer to be turned on remotely over a network connection. Disabling this feature can prevent your PC from waking up unexpectedly.
- Open Settings by pressing
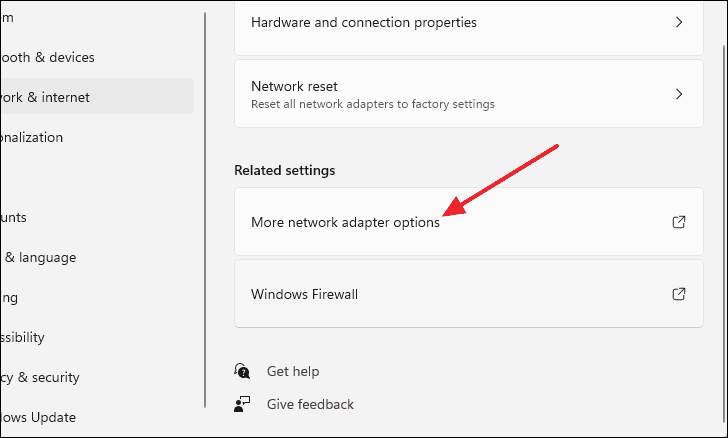
Windows+ion your keyboard. - Select Network & Internet from the left panel and click on Advanced network settings on the right.
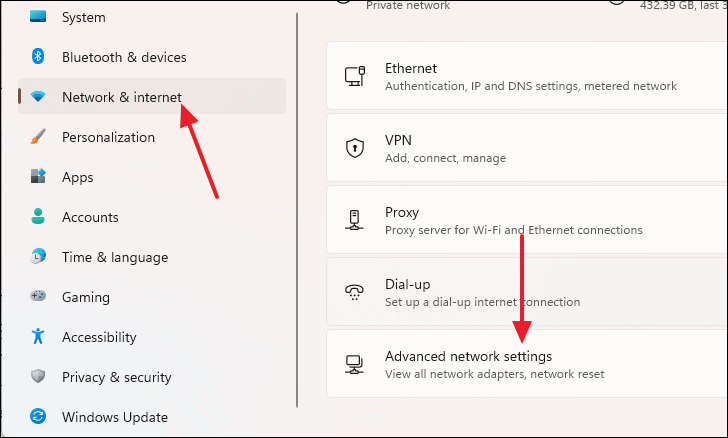
- Click on More network adapter options.
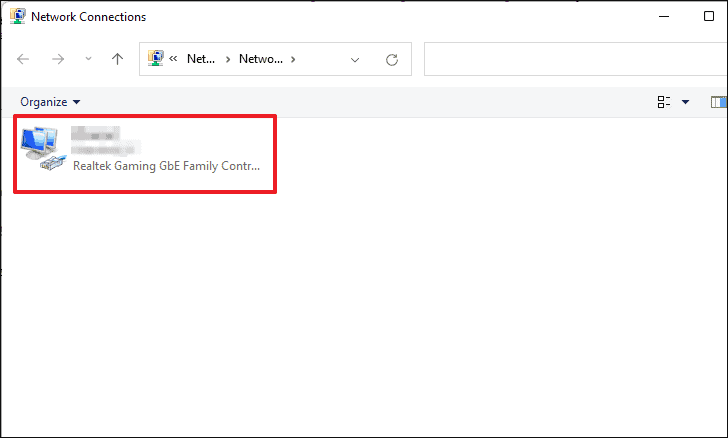
- In the Network Connections window, double-click on your network adapter.
- In the Status window, click on Properties.
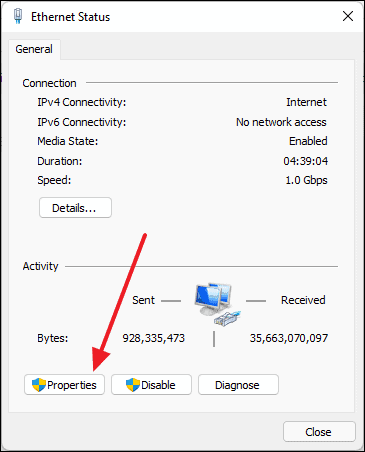
- Click on Configure.

- In the Properties window, navigate to the Power Management tab and uncheck Allow this device to wake the computer.

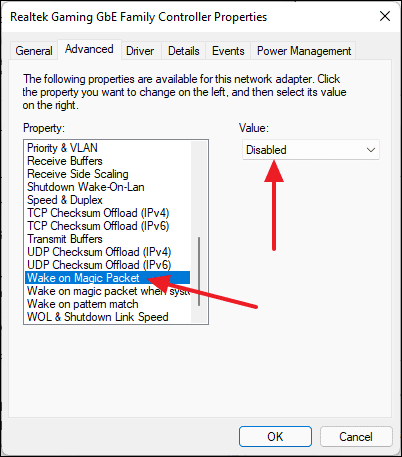
- Switch to the Advanced tab, select Wake on Magic Packet, and set the value to Disabled. Click OK to save the changes.
Manually check for power requests using Command Prompt
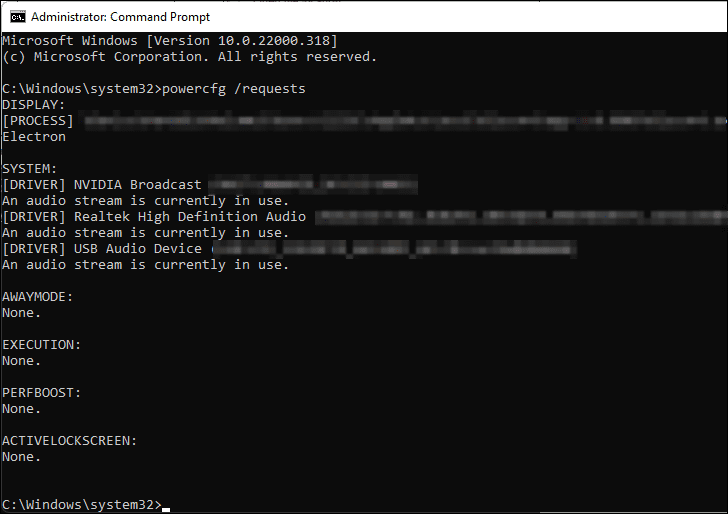
Sometimes, applications or services may prevent your computer from entering sleep mode. You can identify these processes using Command Prompt.
- Open Command Prompt as an administrator by searching for it in the Windows search bar, right-clicking on it, and selecting Run as administrator.

- In the Command Prompt window, type the following command and press
Enter:
powercfg /requests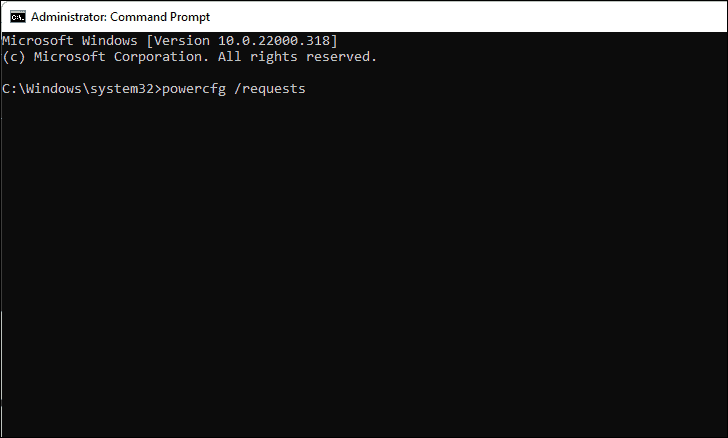
This command will display a list of processes and devices that are preventing your computer from sleeping. You can address these by disabling or configuring the offending applications or services.
Manually check for driver updates
Outdated or faulty drivers can cause issues with sleep mode. Updating your drivers may resolve the problem.
- Open the Run dialog by pressing
Windows+R, typedevmgmt.msc, and pressEnterto open Device Manager.

- In Device Manager, right-click on any device (such as your network adapter or graphics card) and select Update driver.
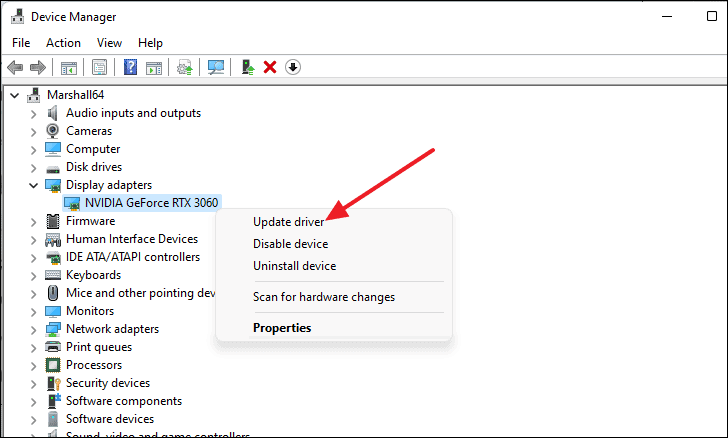
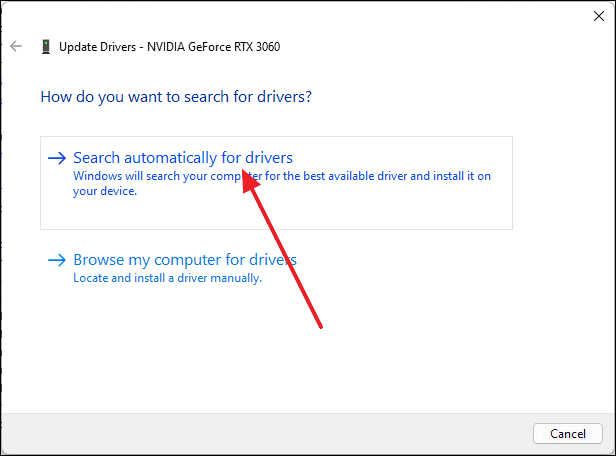
- Choose Search automatically for drivers to let Windows find and install any available updates.
Repeat this process for other devices that may affect sleep mode.
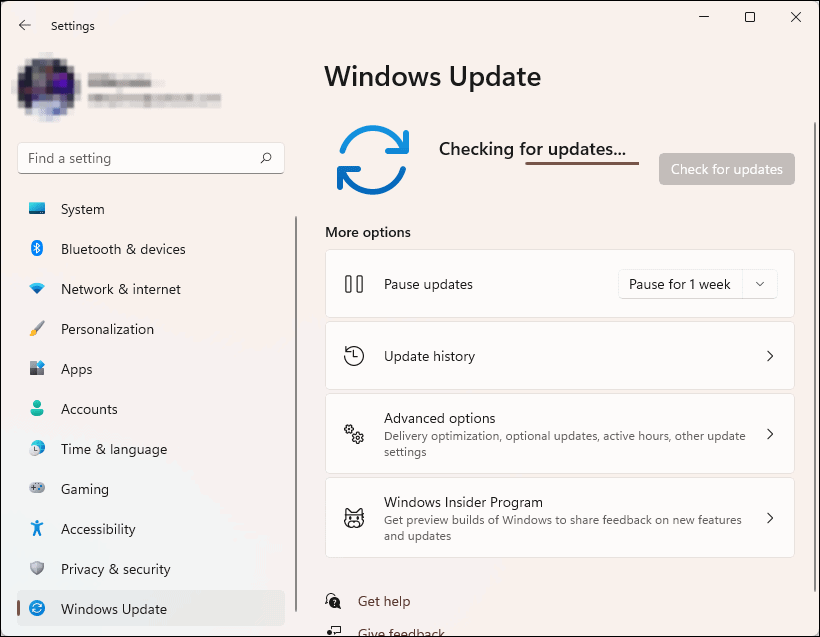
Check for Windows updates
Keeping your operating system up to date can resolve known issues and improve system stability.
- Open Settings by pressing
Windows+i. - Select Windows Update from the left panel and click on Check for updates.
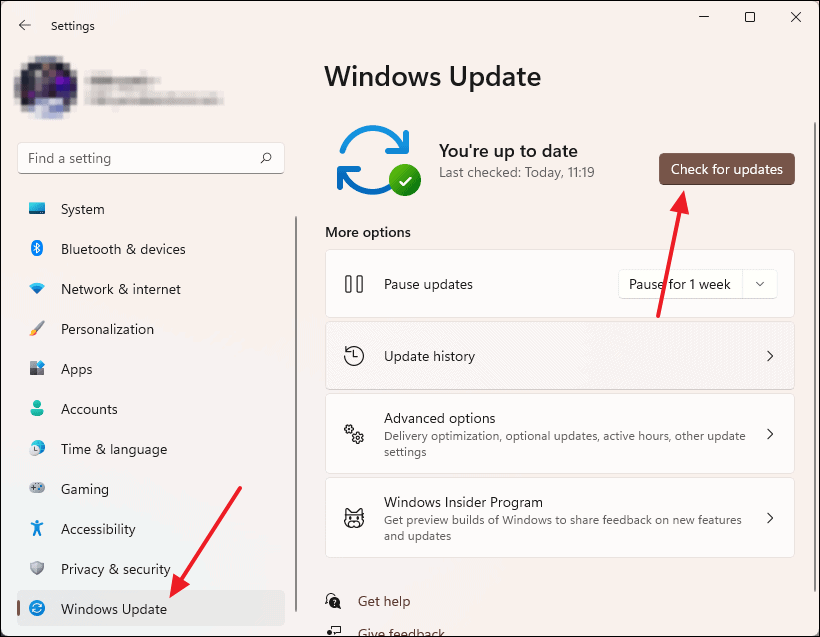
Windows will search for available updates and install them automatically. You may need to restart your computer to complete the installation.
By following these methods, you should be able to fix the sleep timer not working issue on your Windows 11 computer.


