Keeping your Windows 11 PC secure is essential, especially if you often work in shared environments or public spaces. Locking your computer when you’re away prevents unauthorized access to your sensitive information. Windows 11 offers several methods to lock your screen, whether you prefer quick shortcuts, automatic locking after inactivity, or advanced features like Dynamic Lock.
Lock your Windows 11 computer with a keyboard shortcut
A fast and convenient way to lock your PC is by using a simple keyboard shortcut. You don’t need to navigate through menus or click on any options—just a quick key combination, and your screen is locked.
No matter what you’re doing—browsing the web, working on documents, or watching a video—you can lock your screen instantly. Simply press Windows key + L on your keyboard, and your PC will lock immediately.
Lock your PC after a predefined inactivity period
This method is useful if you want your PC to lock automatically after a certain period of inactivity. By setting a predefined time, you ensure that your computer secures itself even if you forget to lock it manually.
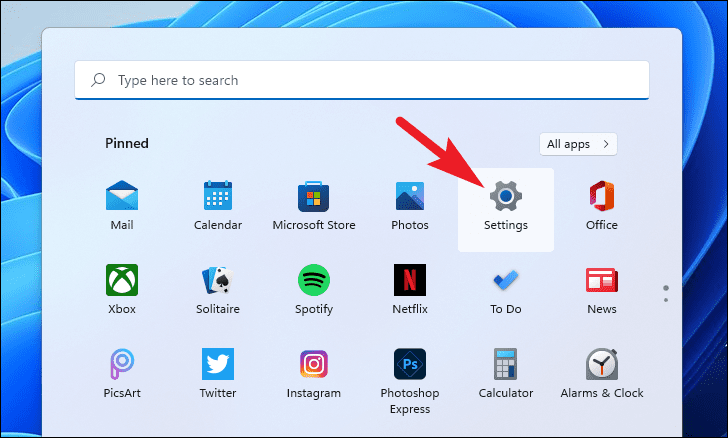
- Open the
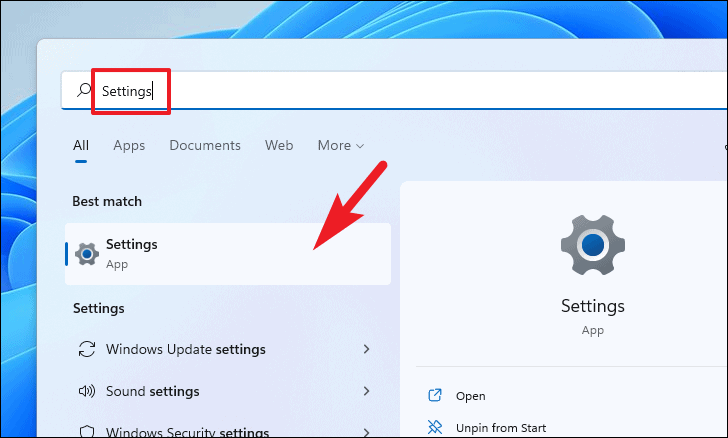
Settingsapp by clicking on the Start menu and selecting Settings, or by pressingWindows key + I.
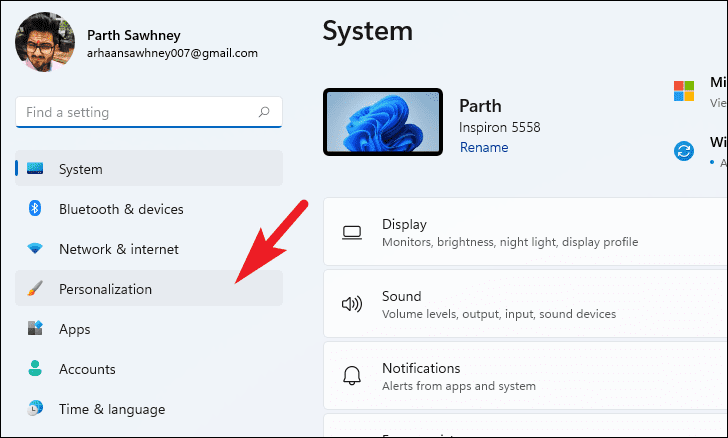
- In the Settings window, select Personalization from the left sidebar.
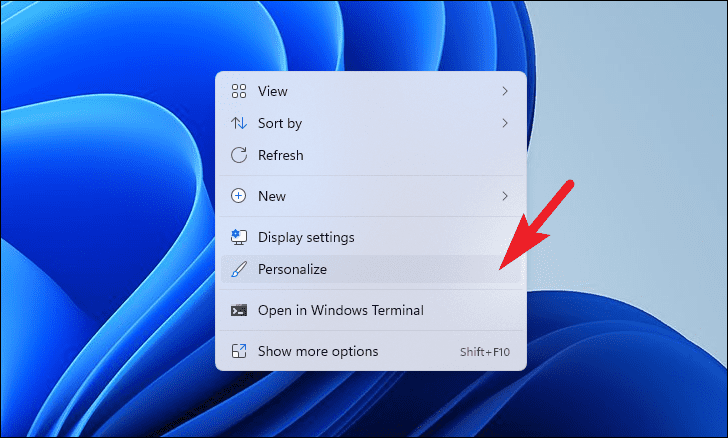
Alternatively, you can right-click on your desktop and select Personalize from the context menu to access the personalization settings directly.
- Under Personalization settings, click on Lock screen.
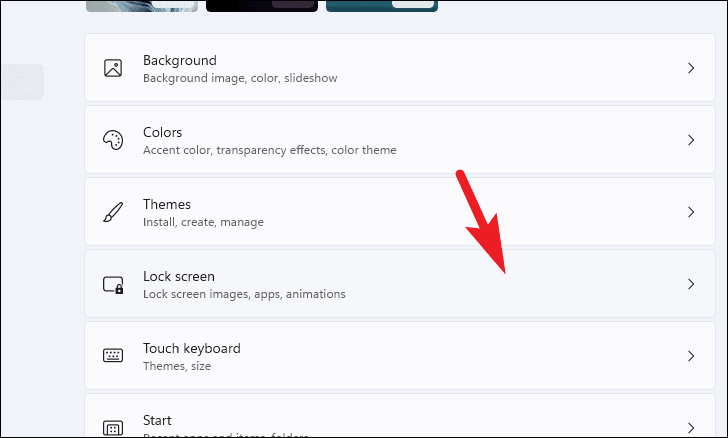
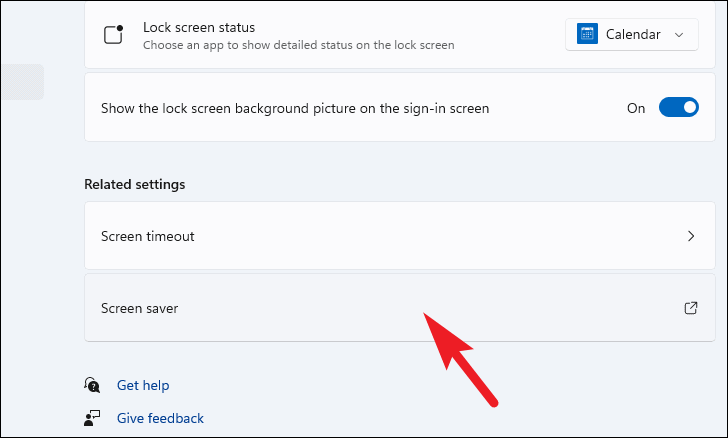
- Scroll down to the Related settings section and click on Screen saver. The Screen Saver Settings window will open.
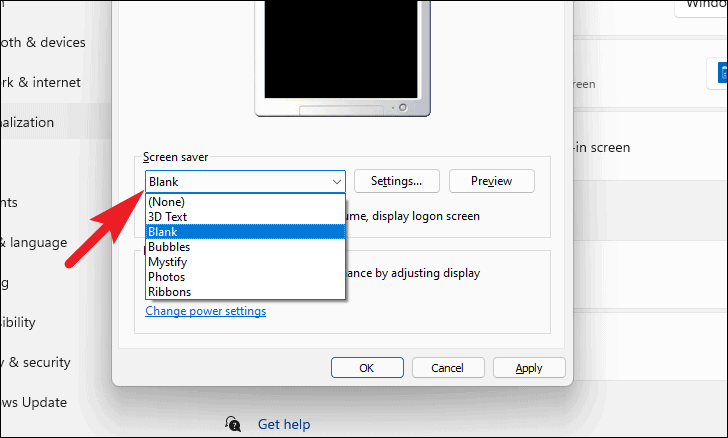
- In the Screen Saver Settings window, choose a screen saver from the Screen saver drop-down menu. If you prefer not to use a screen saver, select Blank.
- Set the time after which the screen saver activates by entering the number of minutes next to Wait:. Check the box next to On resume, display logon screen to require a password when resuming. Click Apply, then OK to save your changes.
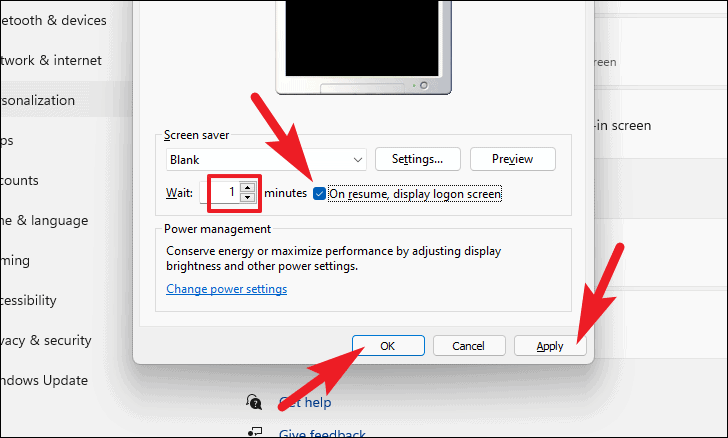
Your PC will now automatically lock after the specified period of inactivity.
Lock your PC when you move away using Dynamic Lock
Dynamic Lock allows your Windows 11 PC to lock automatically when you step away by detecting the proximity of your paired smartphone. By connecting your phone via Bluetooth, Windows can automatically secure your PC when your phone is out of range.
Pair your phone via Bluetooth with your PC
Before using Dynamic Lock, you need to pair your smartphone with your PC via Bluetooth. If your phone is already paired, you can skip this section.
- Open the
Settingsapp by clicking on the Start menu and selecting Settings, or by pressingWindows key + I.
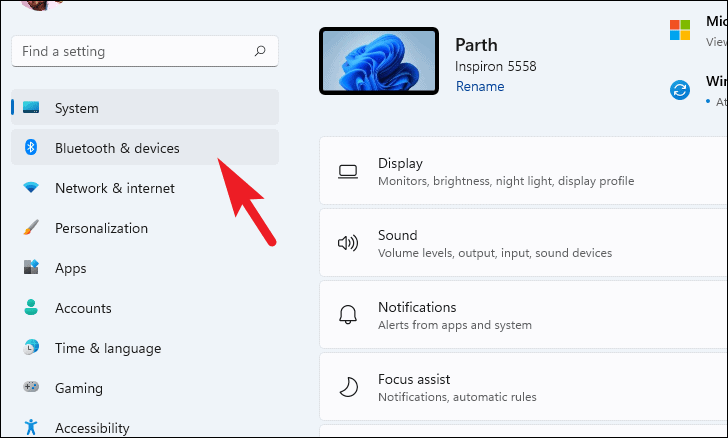
- Click on Bluetooth & devices from the left sidebar.
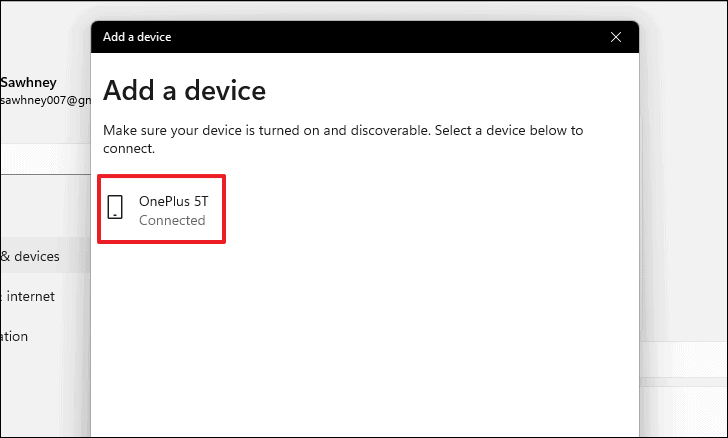
- Click on Add device on the right pane. A new window will open.
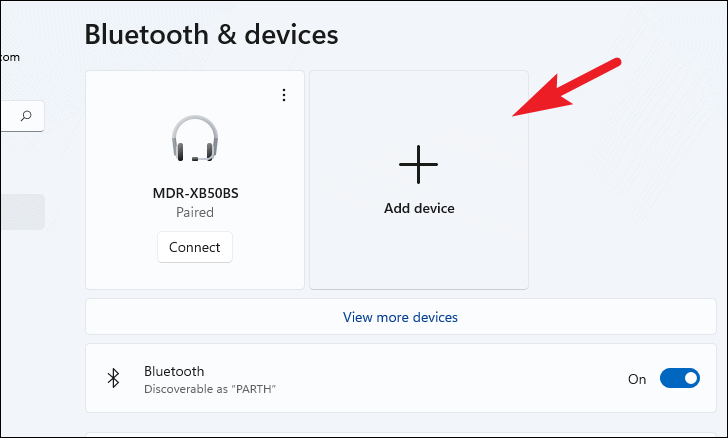
- In the Add a device window, select Bluetooth.
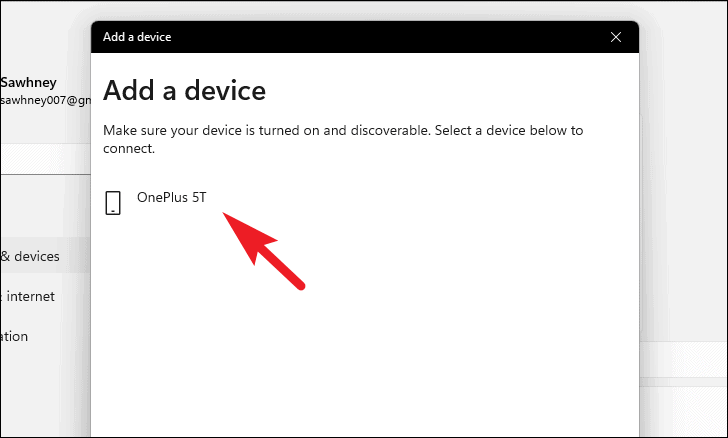
Note: Make sure your smartphone’s Bluetooth is turned on and set to discoverable mode.

- Windows will search for available devices. When your phone appears in the list, click on it to initiate pairing.
- Follow any on-screen instructions on both your PC and smartphone to complete the pairing process.
Set up and use Dynamic Lock from the settings
After pairing your phone, you can enable Dynamic Lock to have your PC lock automatically when you step away.
- Open the
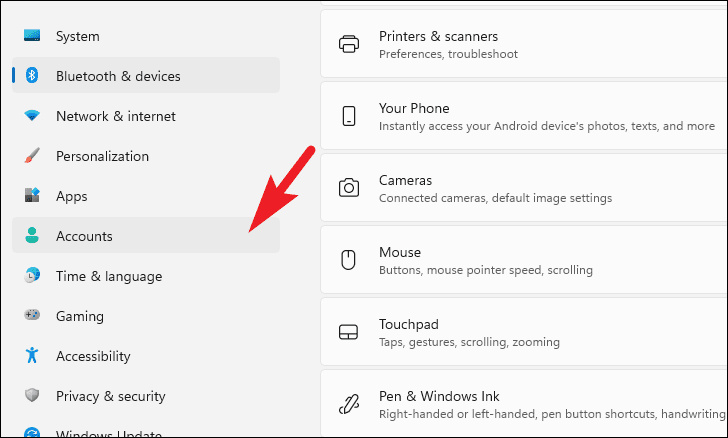
Settingsapp and click on Accounts from the left sidebar.
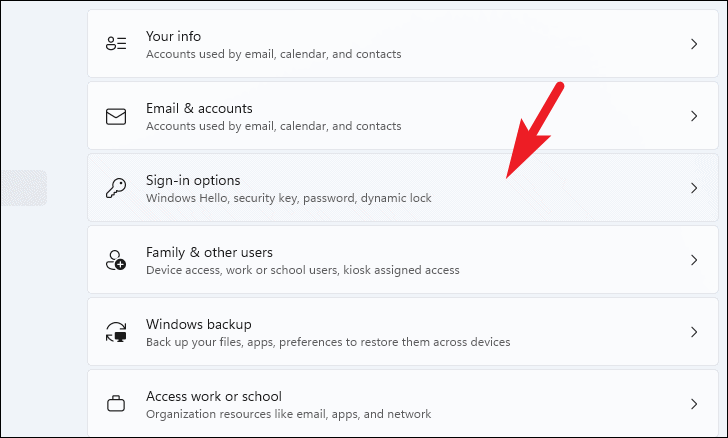
- Select Sign-in options on the right pane.
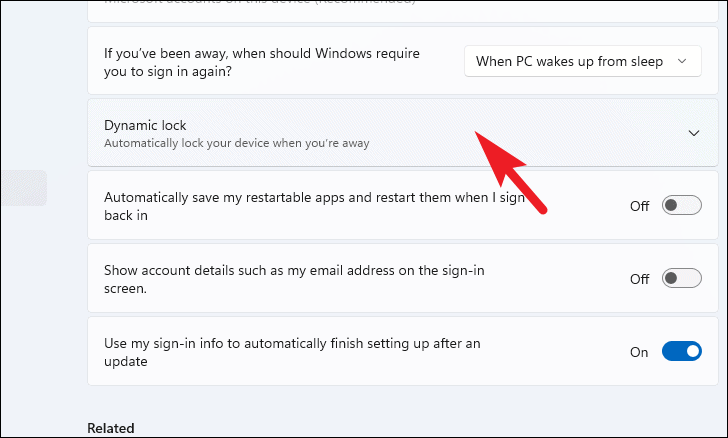
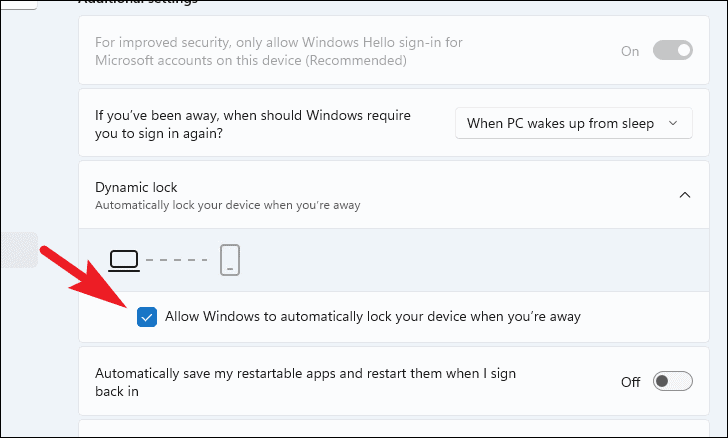
- Scroll down to the Additional settings section and click on Dynamic lock.
- Check the box next to Allow Windows to automatically lock your device when you’re away.
- Windows will automatically detect your paired phone and display it under the Dynamic Lock settings.
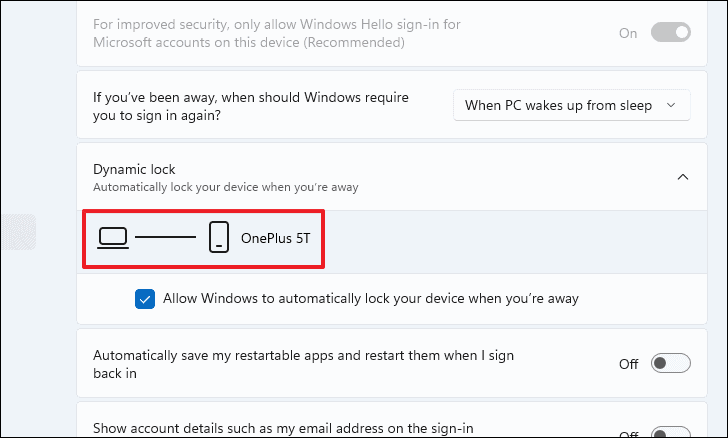
Dynamic Lock is now enabled. Your PC will automatically lock when your paired device is out of Bluetooth range.
Some more ways to lock your Windows 11 PC
If you prefer alternative methods, here are a couple more ways to lock your Windows 11 PC.
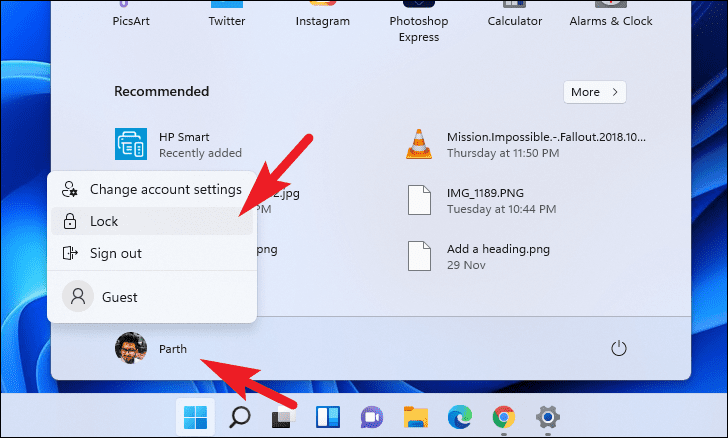
To lock your PC from the Start menu:
- Click on the Start button on the taskbar.
- Click on your account name or picture at the bottom left corner of the Start menu.
- Select Lock from the menu.
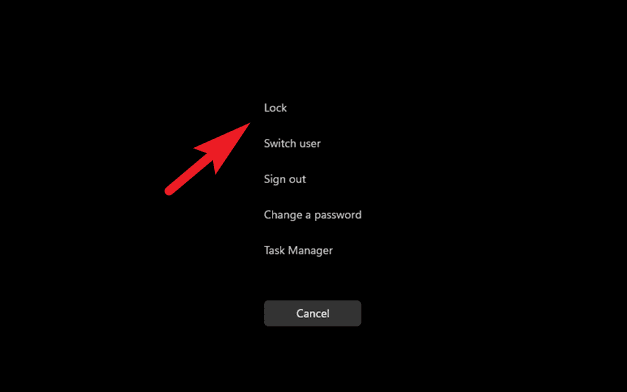
To lock your PC from the Windows Security screen:
- Press
Ctrl + Alt + Deleteon your keyboard. - On the screen that appears, click on Lock.
These methods provide convenient ways to lock your Windows 11 PC and keep your information secure. Choose the one that best fits your workflow and security needs.


