Experiencing a stretched or distorted screen on your Windows 11 computer can be frustrating and hinder productivity. The display may appear stretched horizontally or vertically, making content difficult to read and affecting overall usability. This issue often arises due to incorrect screen resolution settings or outdated graphics drivers. In this guide, we’ll explore several effective methods to resolve the stretched screen problem and restore your display to its normal state.
Update or reinstall the graphics card driver
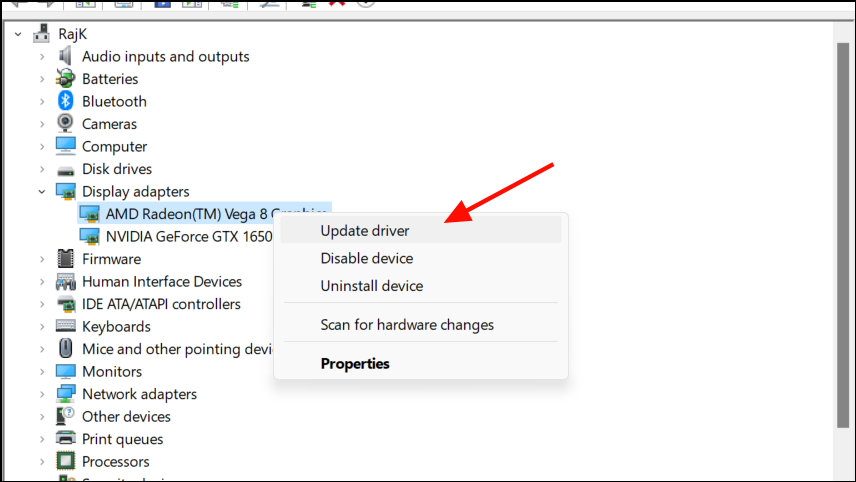
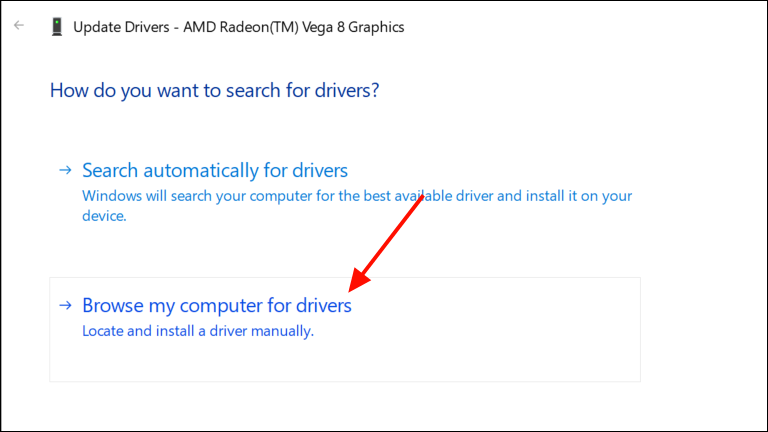
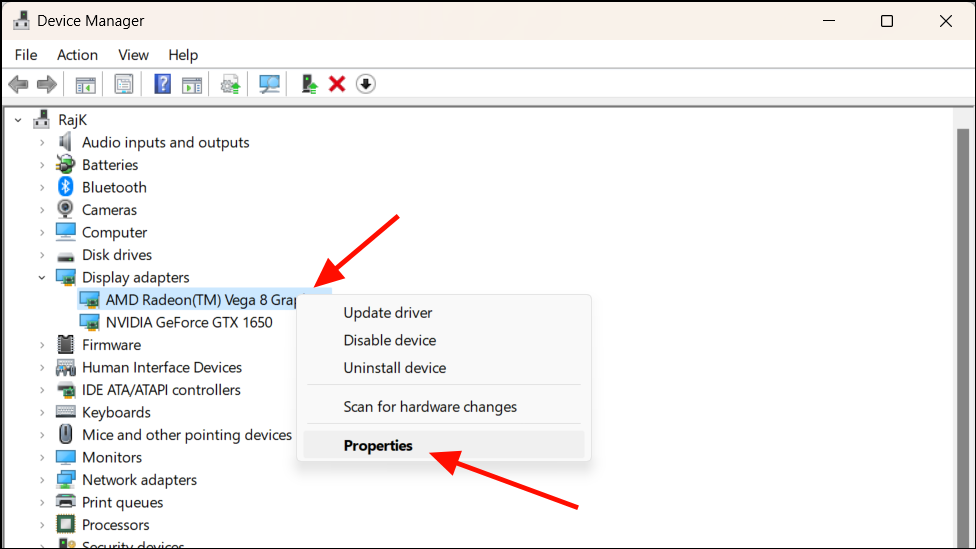
An outdated or faulty graphics card driver can often cause display issues like a stretched screen. Updating or reinstalling the driver can resolve these conflicts and restore your display to normal.
Windows key + R. In the Run window, type devmgmt.msc and press Enter to launch Device Manager.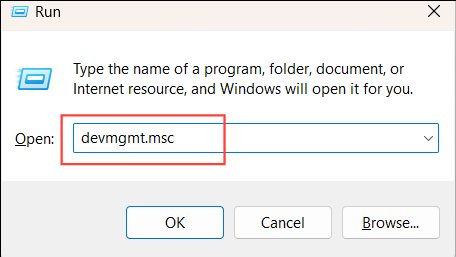
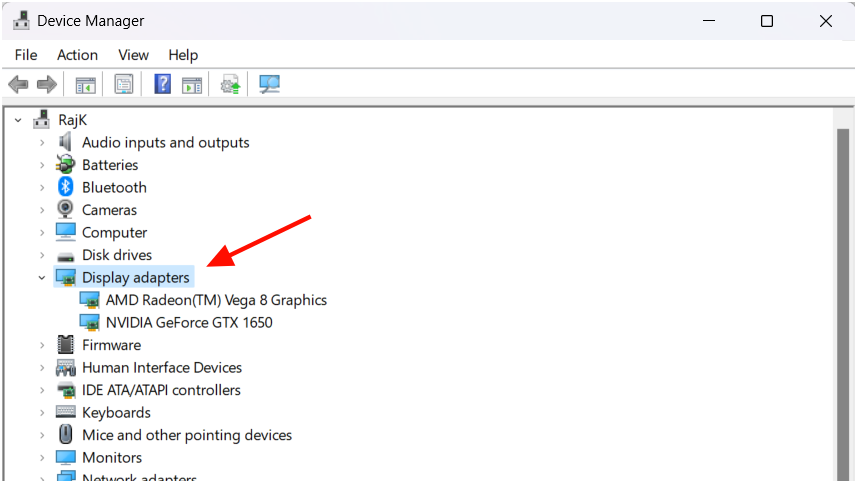
If your system uses both integrated and dedicated graphics cards, it’s advisable to update the drivers for both. For regular tasks such as browsing or video playback, the integrated graphics are often used by default, so ensuring both drivers are up to date can help resolve display issues.
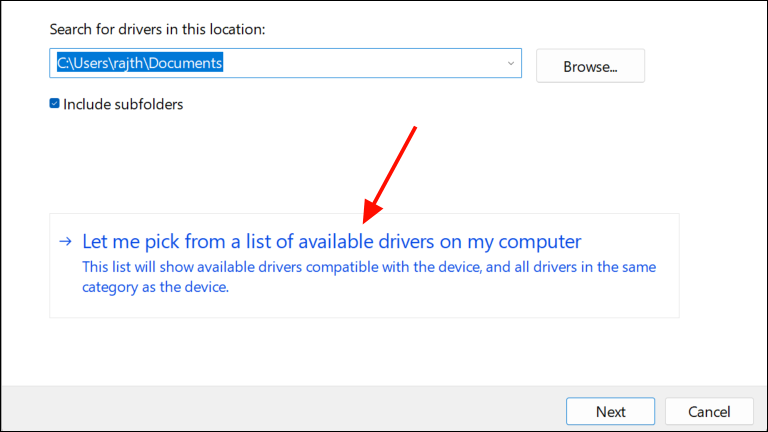
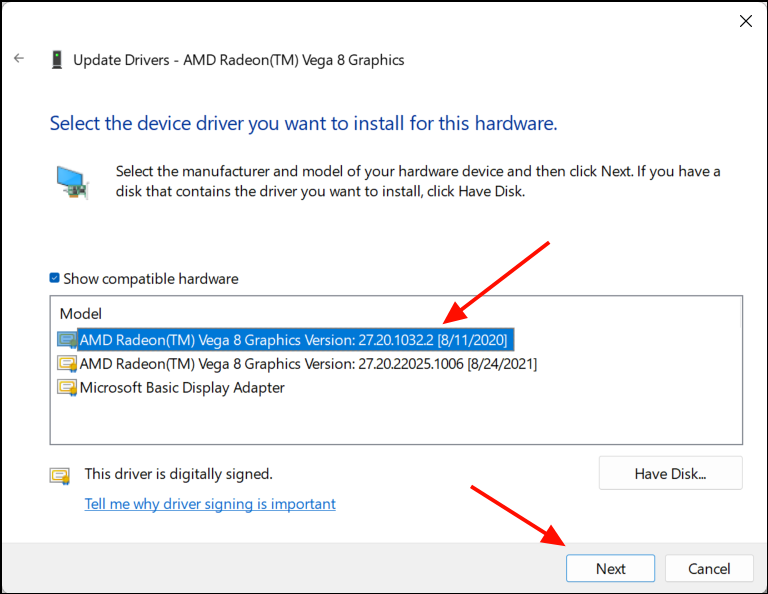
If updating the drivers doesn’t fix the problem, consider downloading the latest drivers directly from the manufacturer’s website:
Change the display resolution on Windows 11
Incorrect display settings can cause your screen to appear stretched or distorted. Adjusting the screen resolution to the recommended settings can often resolve this issue.
Windows key + I and navigate to the System section, then select Display. Alternatively, right-click on an empty area of your desktop and choose Display settings from the context menu.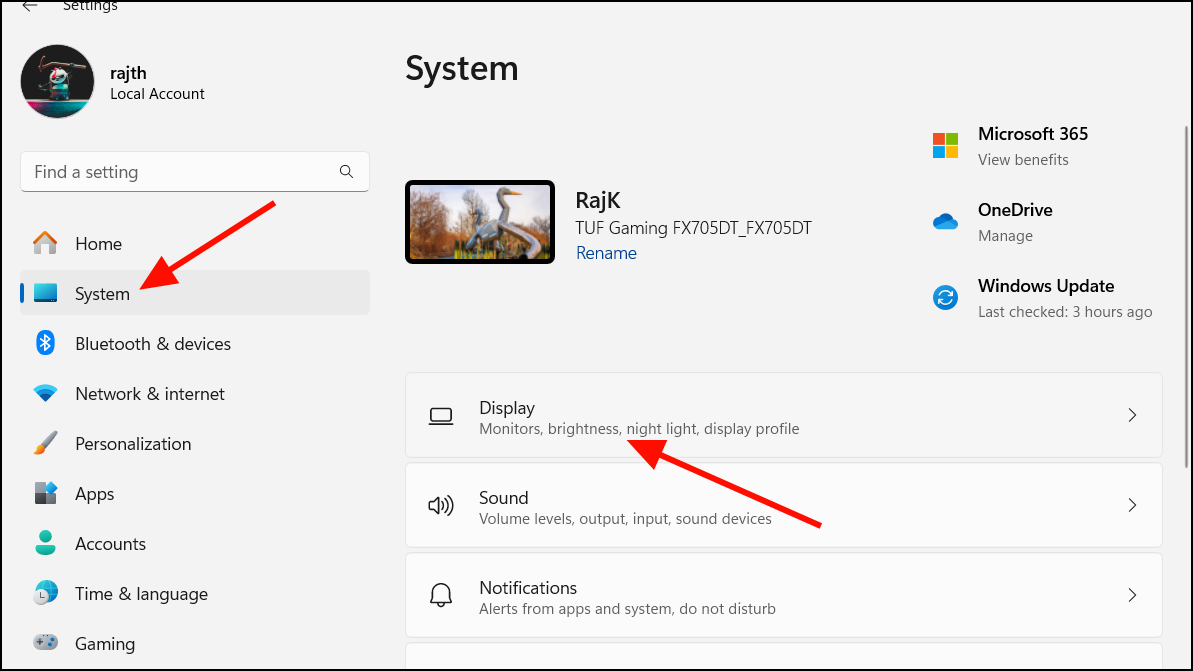

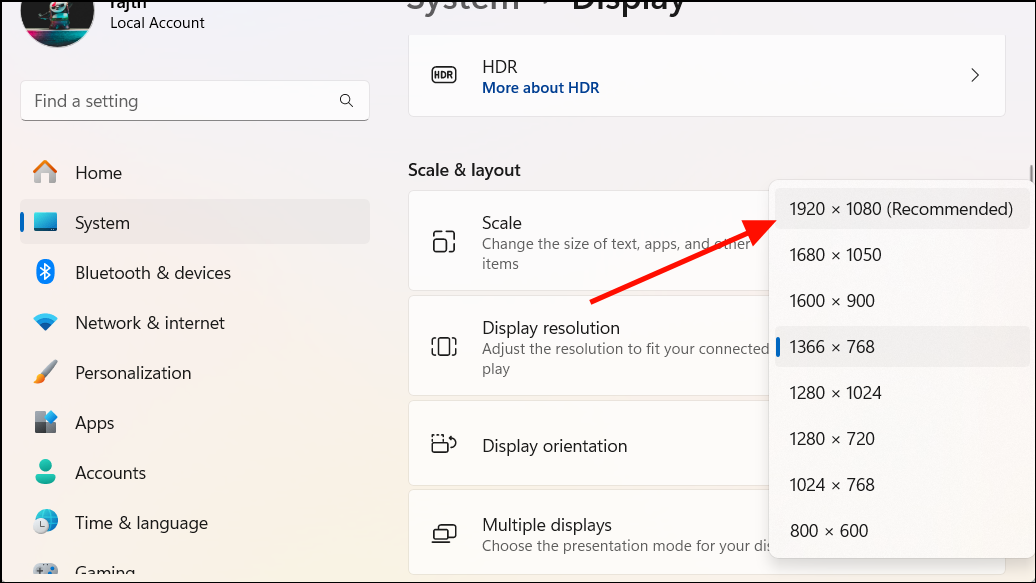
By setting your screen to its optimal resolution, you can eliminate distortion and ensure that all on-screen elements display correctly.
If you’re using an external monitor, you may need to adjust the resolution directly on the monitor using its built-in controls, often found on the bottom or side of the screen.
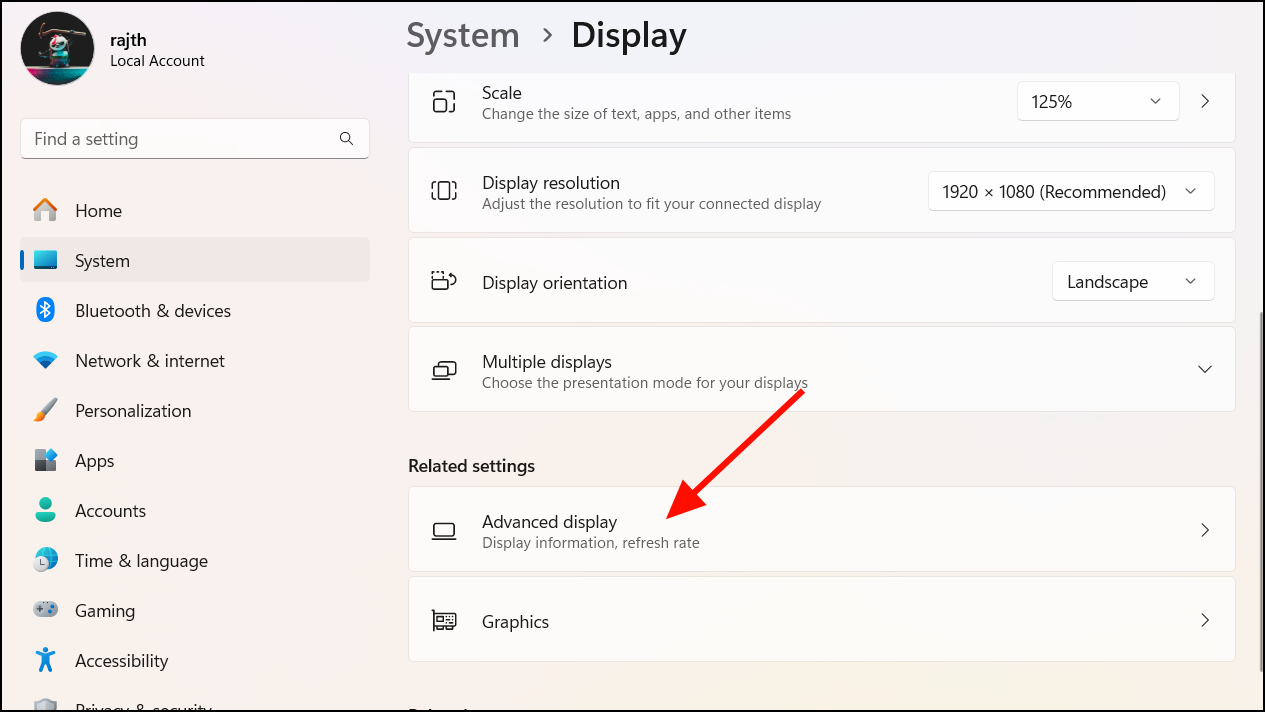
Find resolutions supported by your monitor
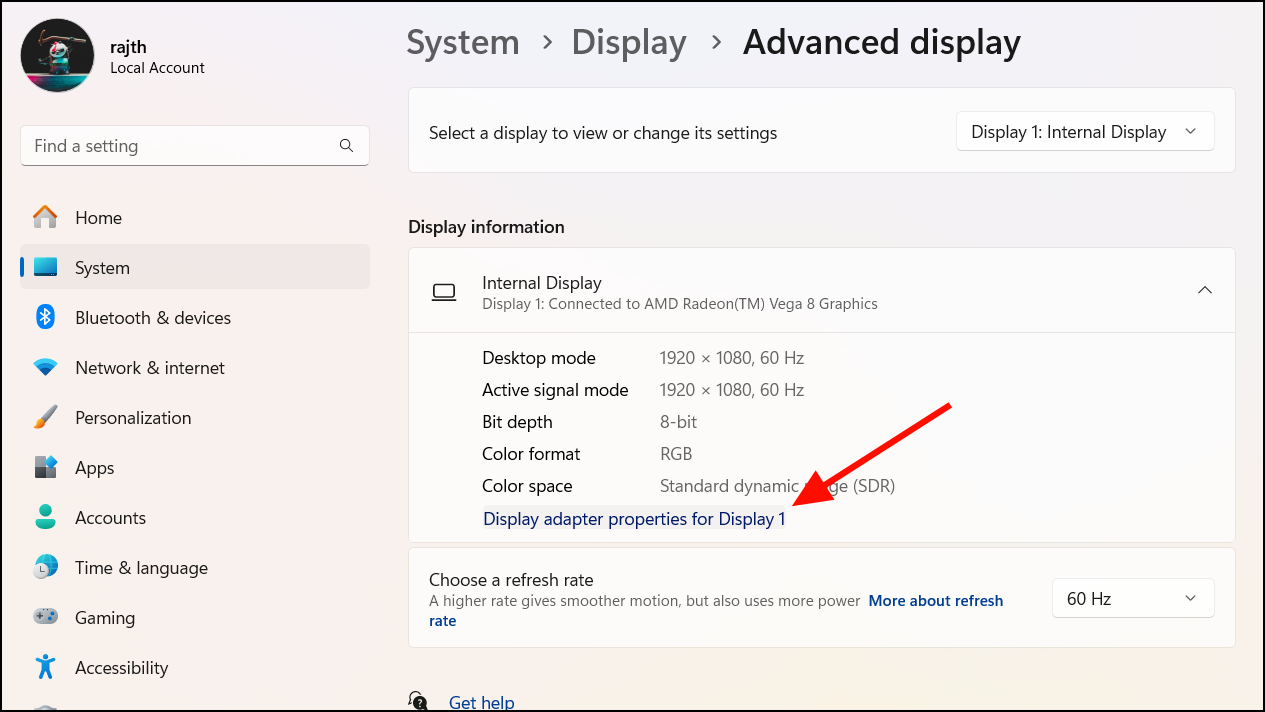
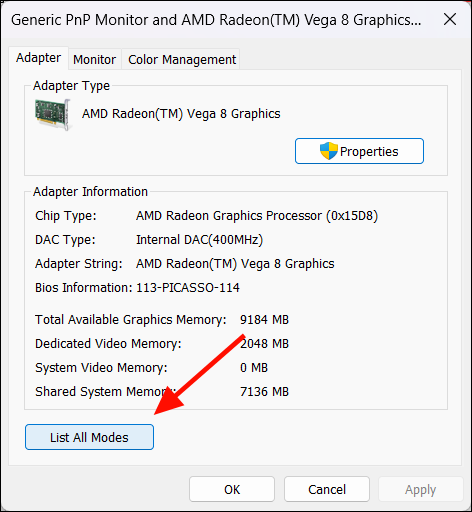
If you’re uncertain about which resolutions your monitor supports, you can view a list of compatible modes through the advanced display settings.
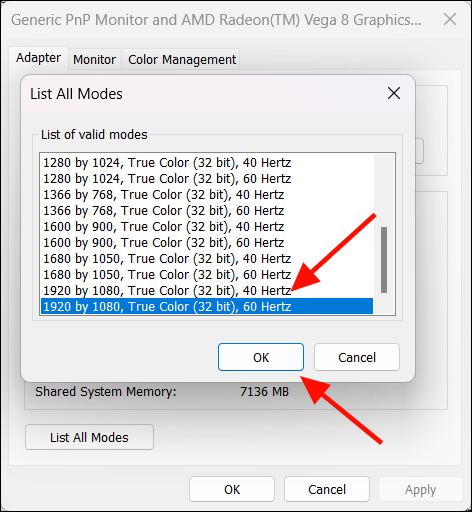
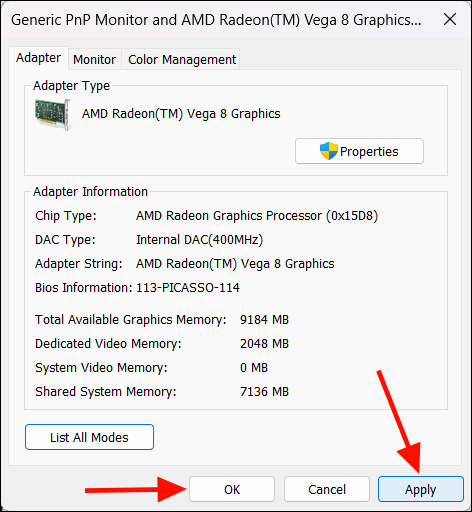
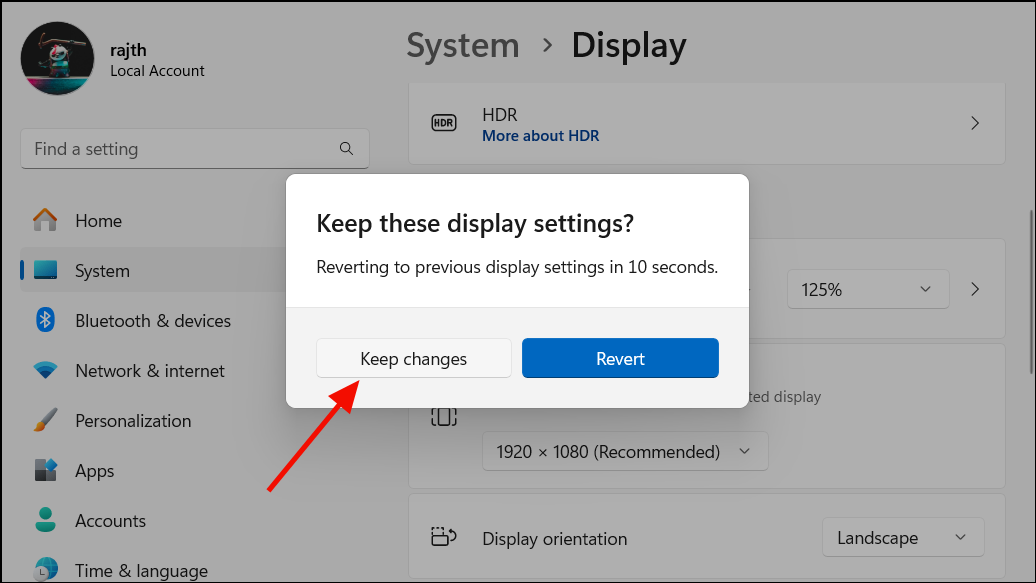
Your display should now adjust to the selected resolution, potentially resolving the stretched screen issue.
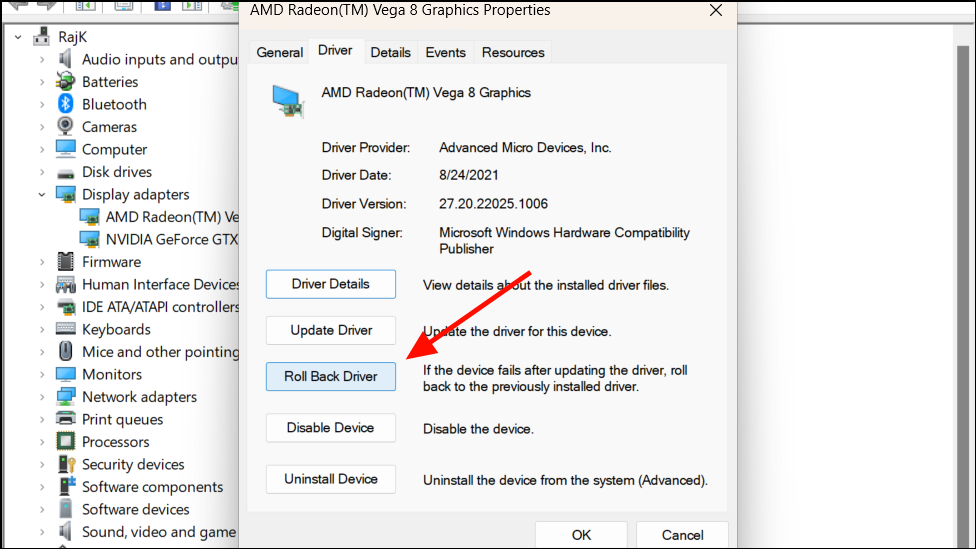
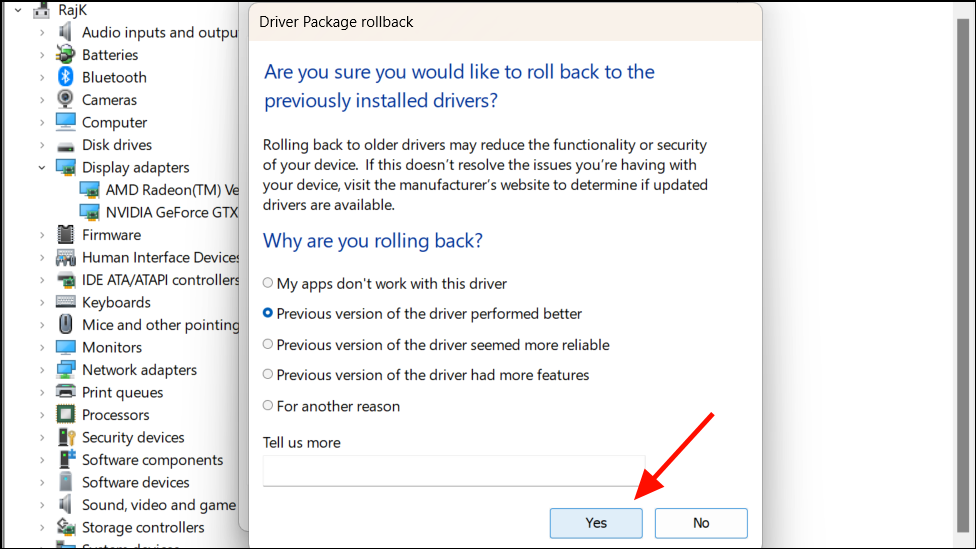
Rollback the graphics driver
Sometimes, a recent graphics driver update can introduce issues like a stretched screen due to compatibility problems. Rolling back to a previous driver version may resolve the issue.
Reinstall the GPU drivers
If updating or rolling back the graphics driver doesn’t fix the stretched screen, reinstalling the driver can help eliminate any corrupted files causing the issue.


You can also use dedicated software like Display Driver Uninstaller to completely remove the graphics driver and its associated files, ensuring a clean installation.
Use a different monitor to fix stretched screen
If the issue persists after trying the above solutions, testing your computer with a different monitor can help determine whether the problem is with your PC or the original monitor. Connect your computer to another monitor or even a TV using an HDMI cable.
If the display appears normal on the second monitor, the issue may lie with your original monitor, possibly due to hardware faults. Conversely, if the problem continues, it may indicate an issue with your computer’s hardware or software configurations.
Try using a different port or cable
A faulty or incompatible cable can also cause display problems. Try using a different cable to connect your monitor to your computer. For instance, if you’re using HDMI, consider switching to a DisplayPort or VGA cable if your devices support it.
Additionally, try connecting your monitor to a different port on your computer. Sometimes, specific ports may have issues or incompatibilities leading to display problems. Switching ports can help identify if a particular port is causing the issue.
By following these methods, you should be able to fix the stretched screen issue on your Windows 11 computer and restore your display to its proper appearance.


