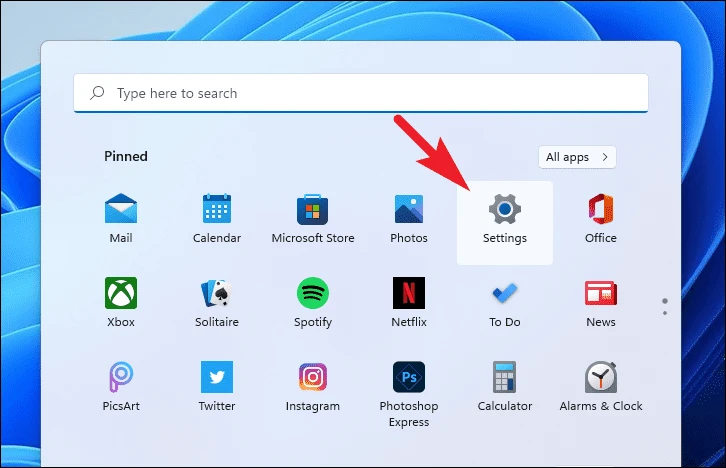
The Tab key is essential for smooth navigation and formatting within Windows 11 applications. If this key stops responding, it can disrupt your workflow significantly. Fortunately, there are several solutions to address this problem. This guide provides detailed methods to help you fix the issue of the Tab key not working on your Windows 11 device.
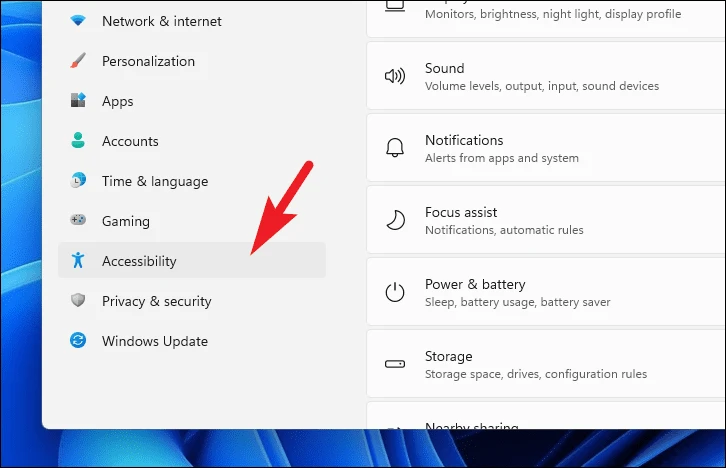
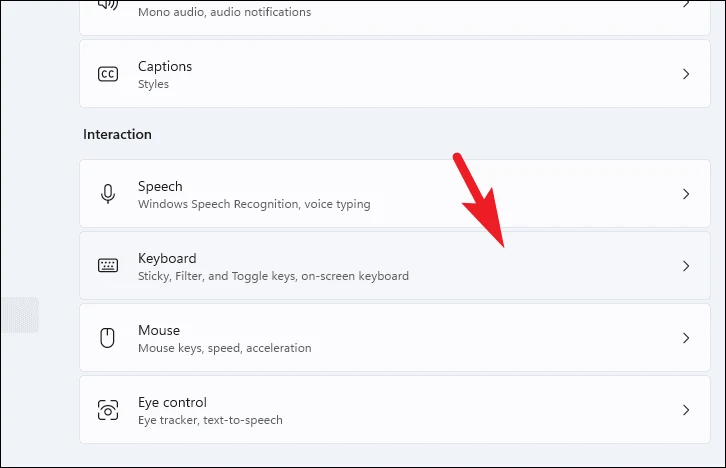
Turn Off Sticky and Filter Keys
Windows accessibility features like Sticky Keys and Filter Keys can sometimes interfere with keyboard functionality, including the Tab key. Disabling these features may resolve the issue.

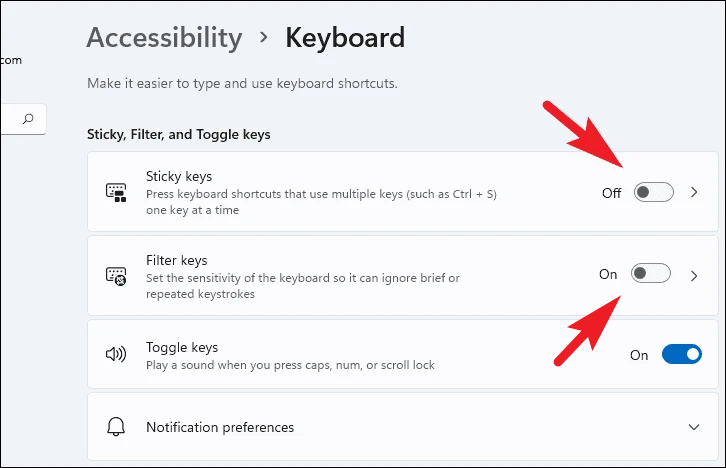
After disabling these features, test your Tab key to see if it functions correctly.
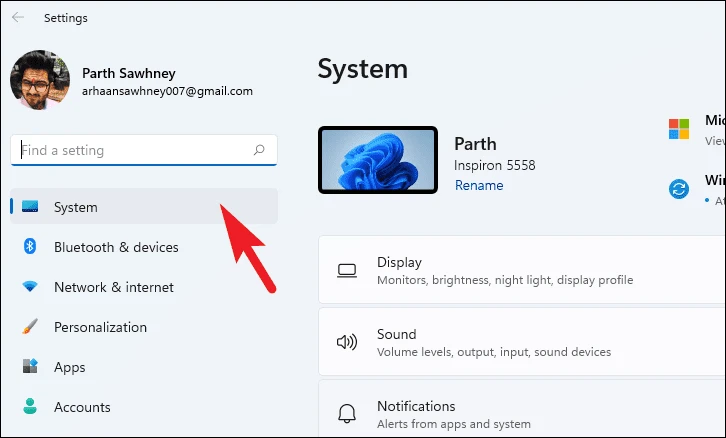
Run the Keyboard Troubleshooter
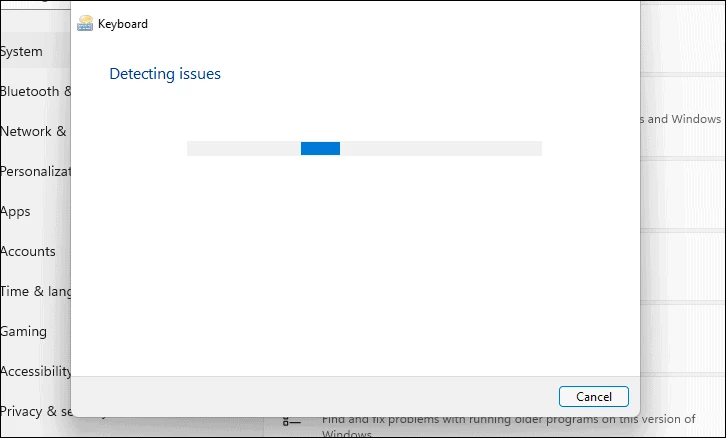
Windows 11 offers a built-in troubleshooter that can automatically detect and fix keyboard issues.
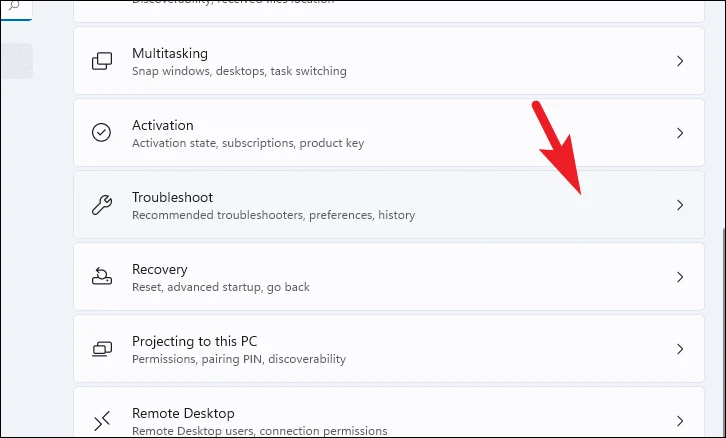
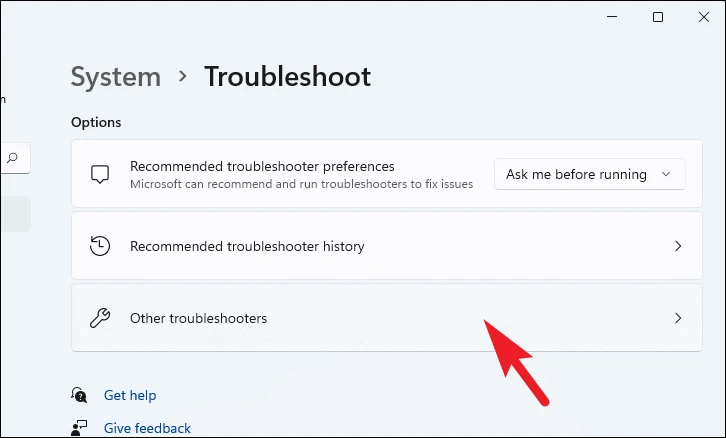
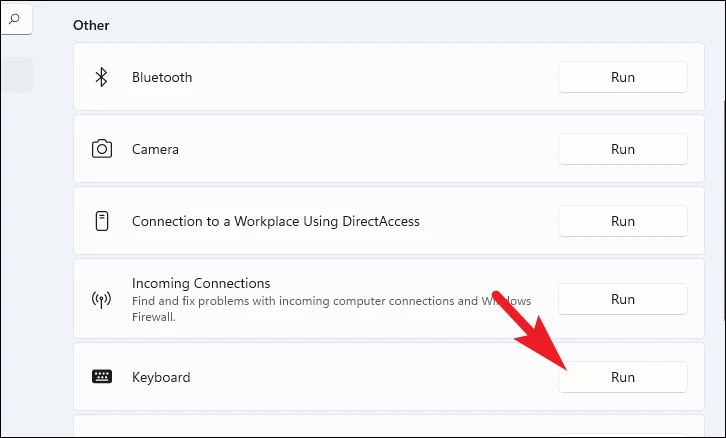
The troubleshooter will scan for any keyboard-related issues and provide solutions. Follow the on-screen instructions to complete the troubleshooting process.
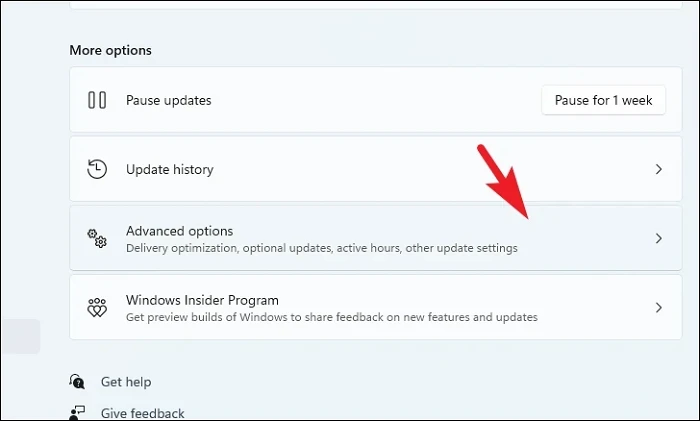
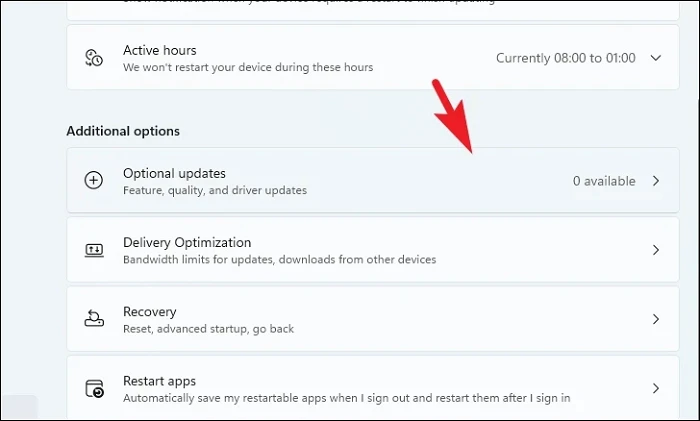
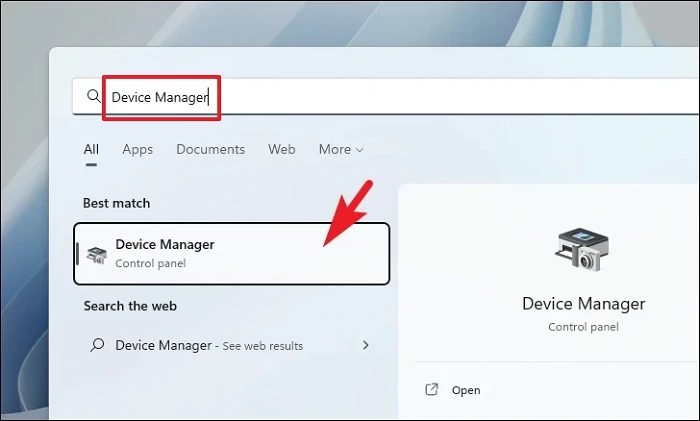
Update the Keyboard Driver
Outdated or corrupt keyboard drivers can prevent keys from working properly. Updating the driver may fix the issue.
Method 1: Update via Settings

After the updates are installed, restart your computer and check if the Tab key is working.
Method 2: Update via Device Manager
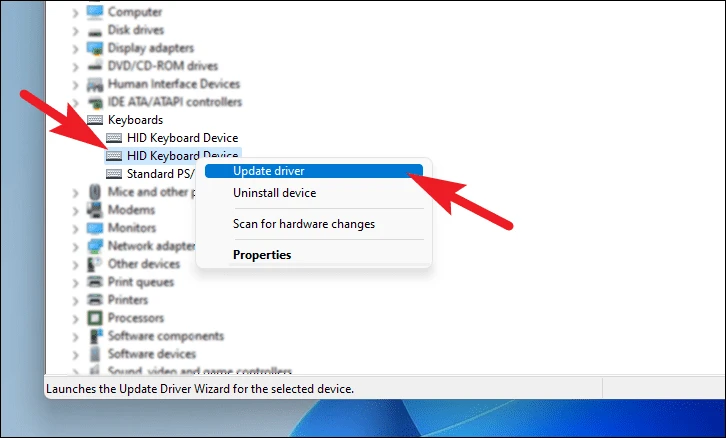
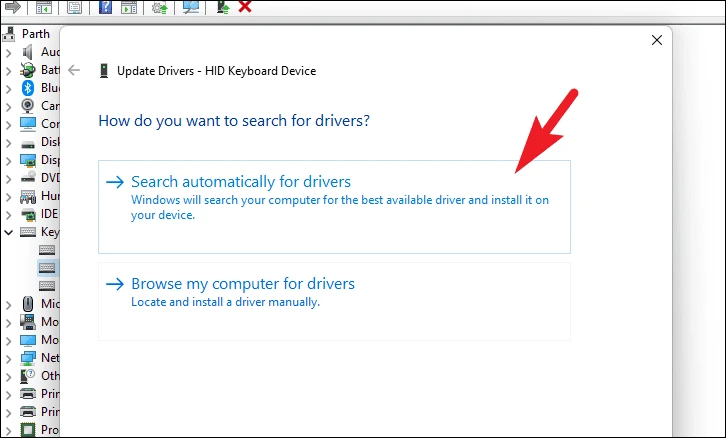
Once the driver is updated, restart your computer and test the Tab key.
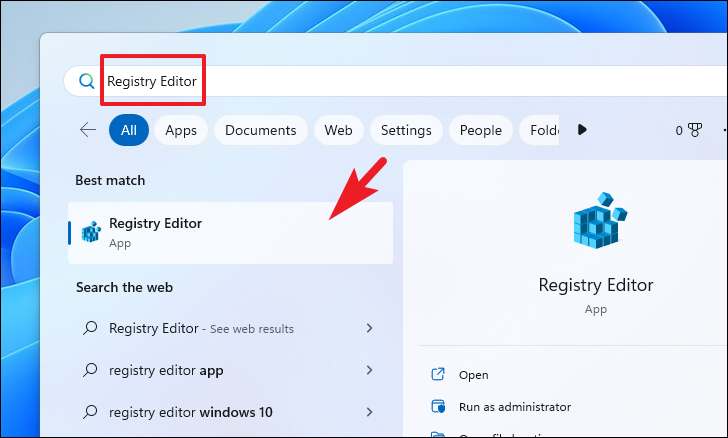
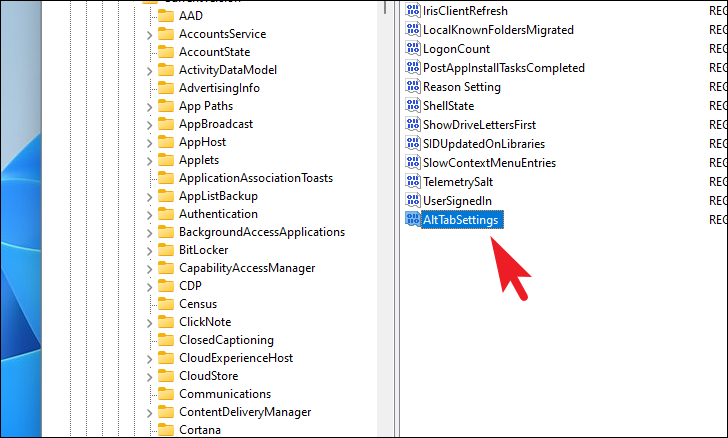
Tweak the Registry File
If you’re experiencing issues with the Alt+Tab shortcut, modifying the registry might help. This tweak reverts the Alt+Tab interface to display thumbnails, which could resolve the problem.
Enter:HKEY_CURRENT_USER\Software\Microsoft\Windows\CurrentVersion\Explorer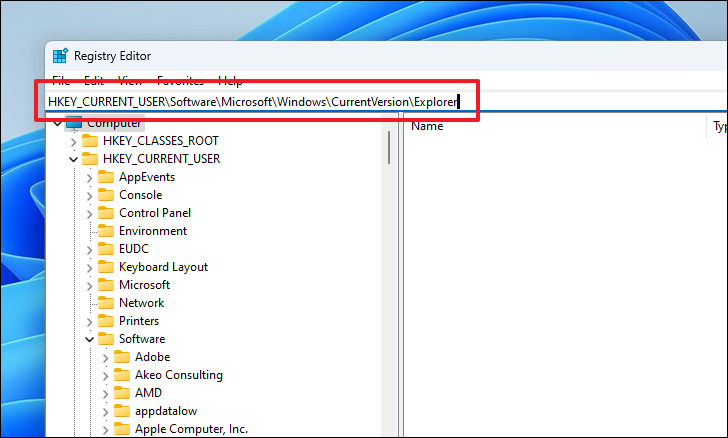
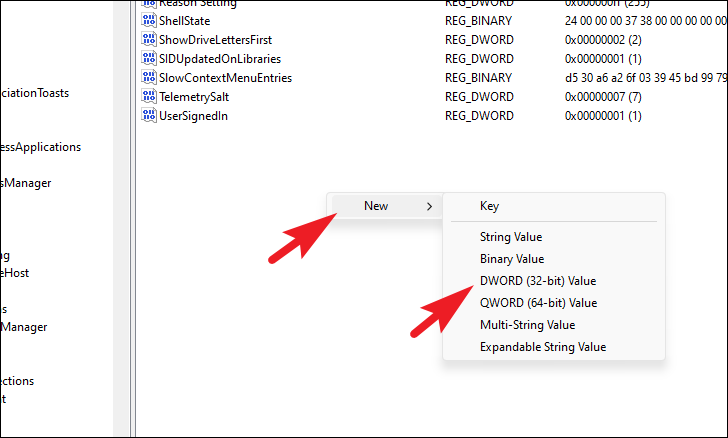
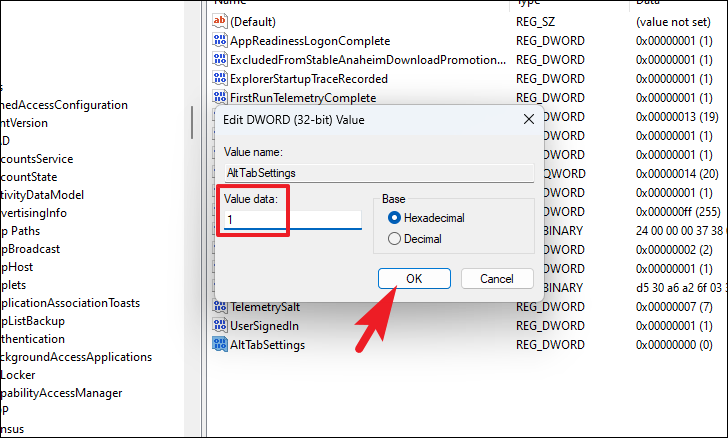
Restart your computer and check if the Alt+Tab functionality is restored.
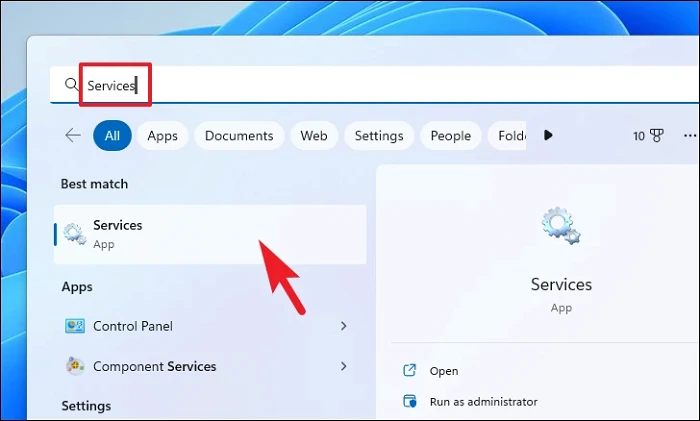
Enable Keyboard and Tablet Input Service
The keyboard might not work properly if certain Windows services are disabled. Enabling the necessary services can fix the issue.
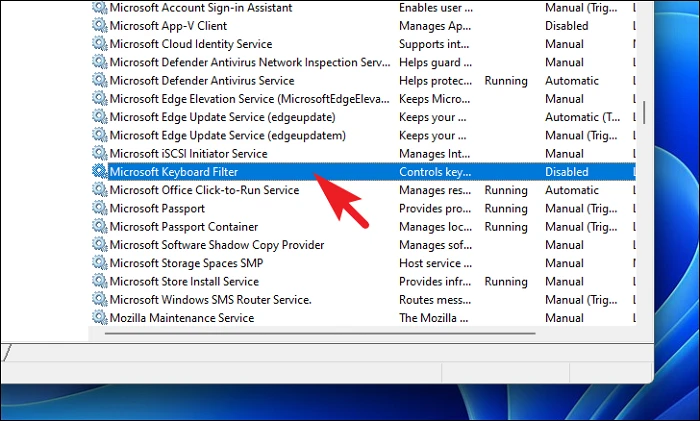
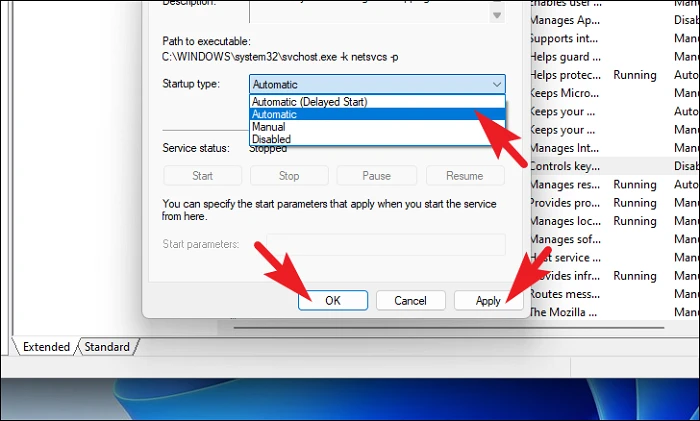
After ensuring these services are enabled, restart your computer and test the Tab key.
Run DISM and SFC
Corrupted system files can cause keyboard issues. Running DISM and SFC scans can repair these files.
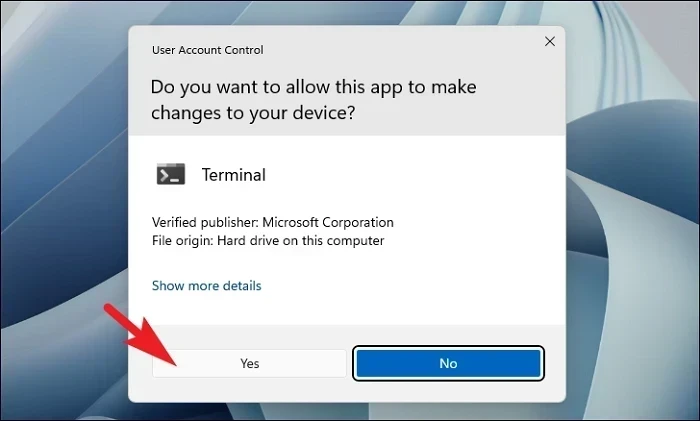
Start menu, type Terminal, right-click on the ‘Terminal’ app, and select ‘Run as administrator’.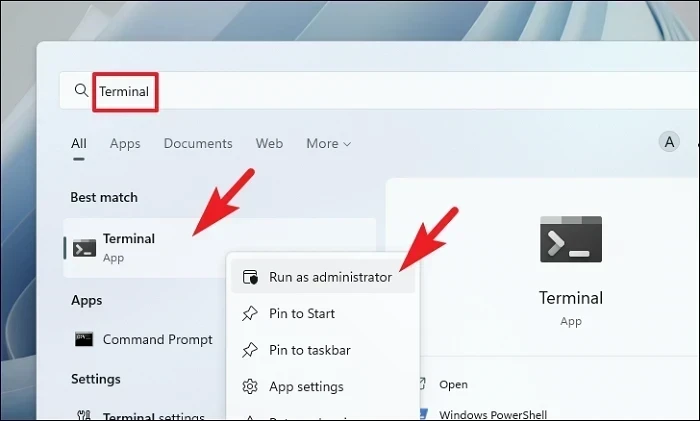
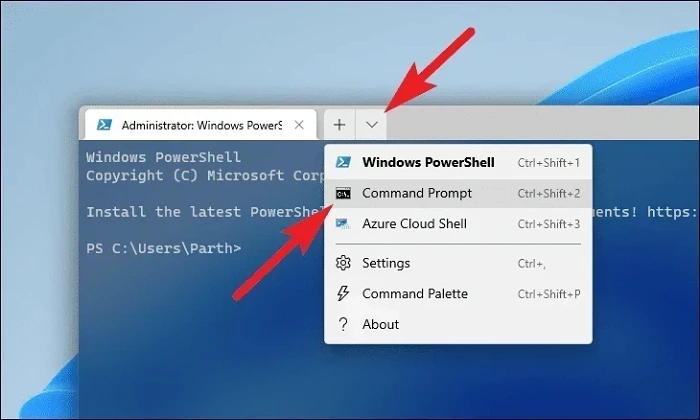
DISM /Online /Cleanup-Image /RestoreHealth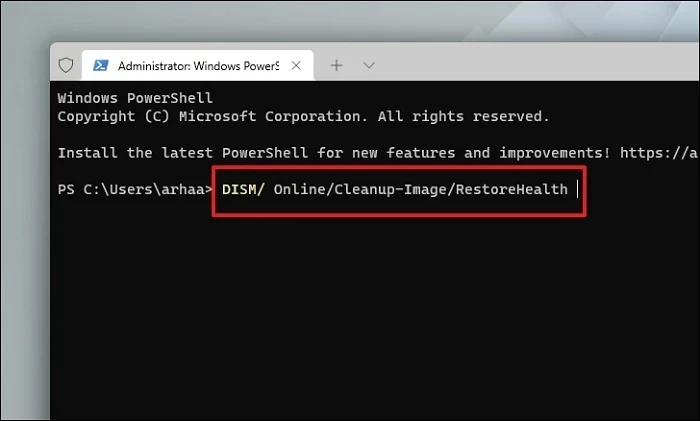
SFC /scannow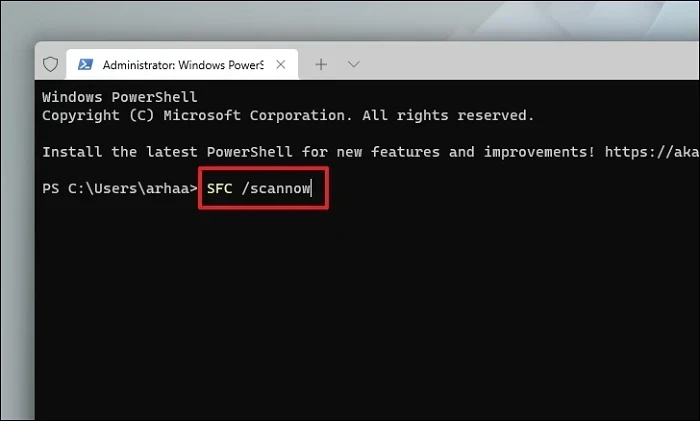
Once the scans finish, restart your computer and check if the Tab key issue is resolved.
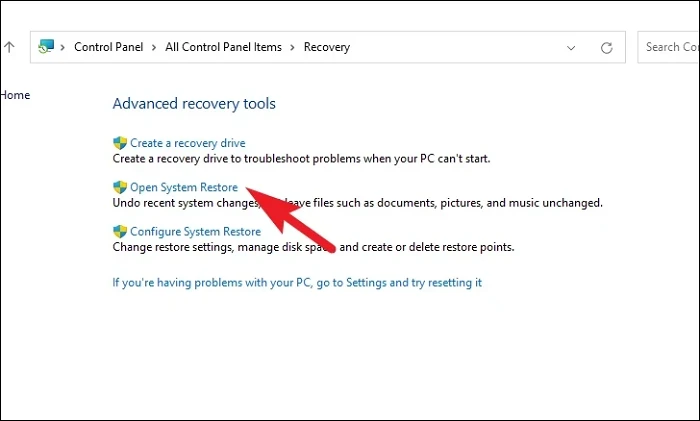
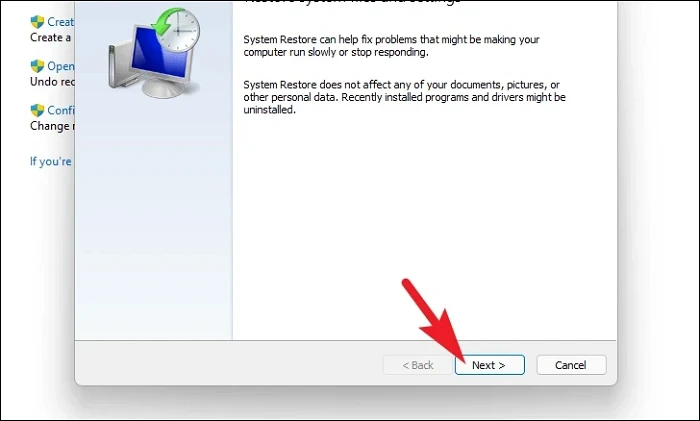
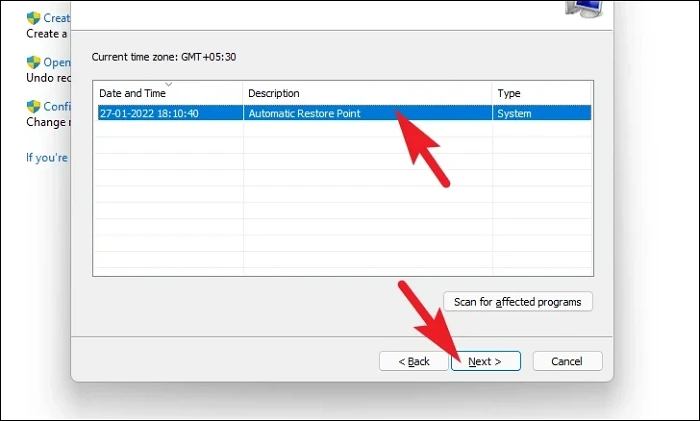
Roll Back to a System Restore Point
If the problem started after a recent change, restoring your system to an earlier point may fix it.
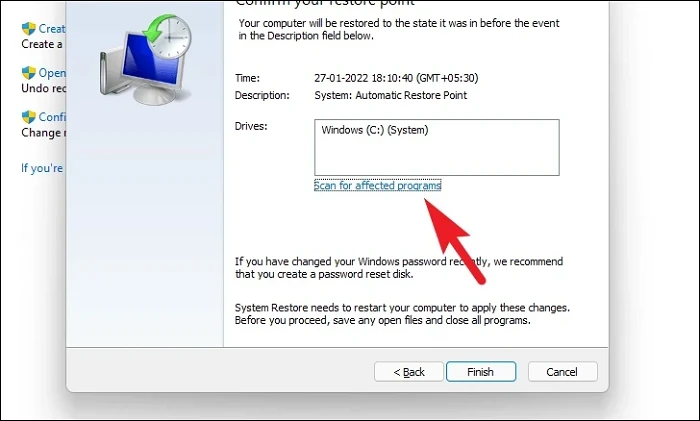
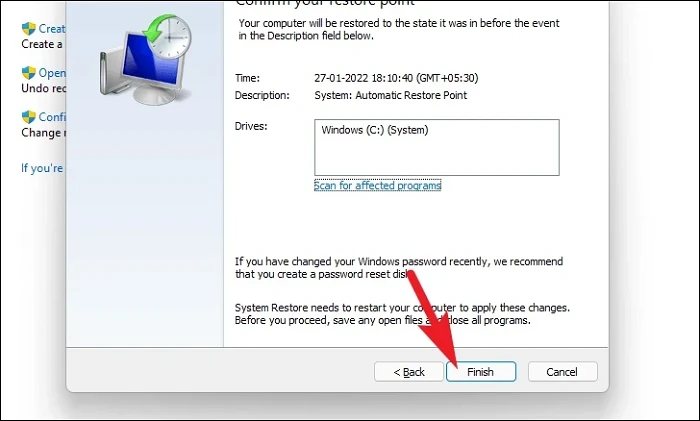
Once the restoration is complete, check if the Tab key is functioning properly.
Check the Hardware
Physical issues with the keyboard can cause keys to stop working. Inspecting the Tab key can help identify hardware problems.
Connect an External Keyboard
Testing with an external keyboard can determine if the issue is with the keyboard hardware or the system.
Tab key on the external keyboard. If it works, the original keyboard may need repair or replacement.By applying these methods, you should be able to resolve the issue of the Tab key not working on your Windows 11 system.


