The taskbar in Windows 11 offers quick access to your favorite apps and essential system features. When set to auto-hide, it provides a cleaner desktop and maximizes screen space. However, there are times when the taskbar refuses to hide, disrupting your workflow. This guide outlines several methods to resolve the taskbar not hiding issue on your Windows 11 system.
How to Automatically Hide the Taskbar in Windows 11
Before troubleshooting, ensure that the auto-hide feature is enabled:
- Open the Settings app by clicking the Start button and selecting Settings, or press
Win+I. - In Settings, select Personalization from the left pane, then click on Taskbar.
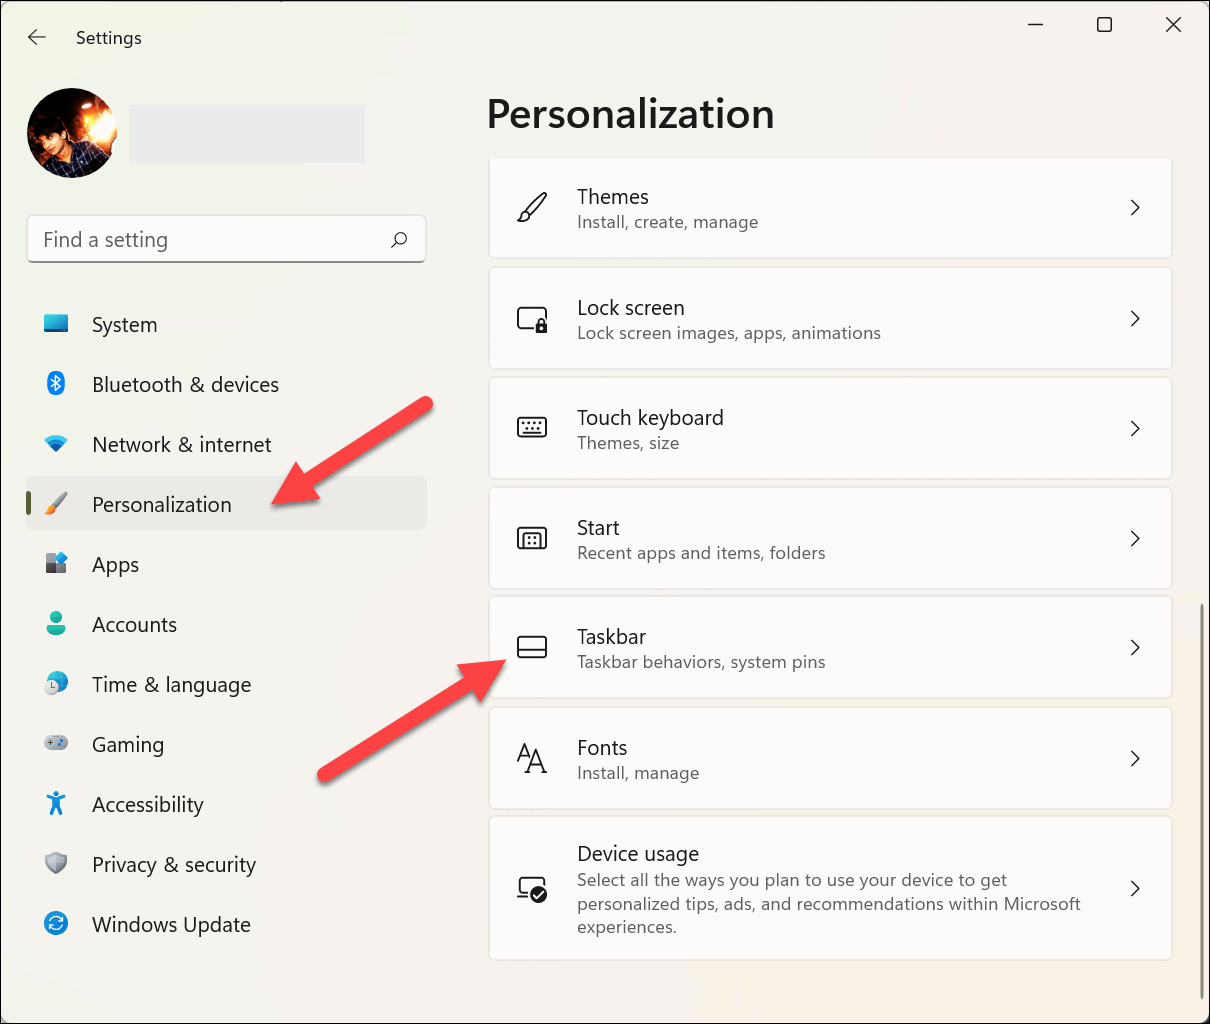
- Scroll down and expand Taskbar behaviors.

- Check the box next to Automatically hide the taskbar.

The taskbar will now hide when not in use. To make it reappear, move your cursor to the bottom of the screen.
Note: After some Windows updates, this setting might reset. Ensure the Automatically hide the taskbar option remains enabled.
Fixing the Taskbar Not Hiding Issue
If the taskbar still doesn’t hide automatically, try the following solutions to resolve the issue.
1. Check for Unread App Notifications
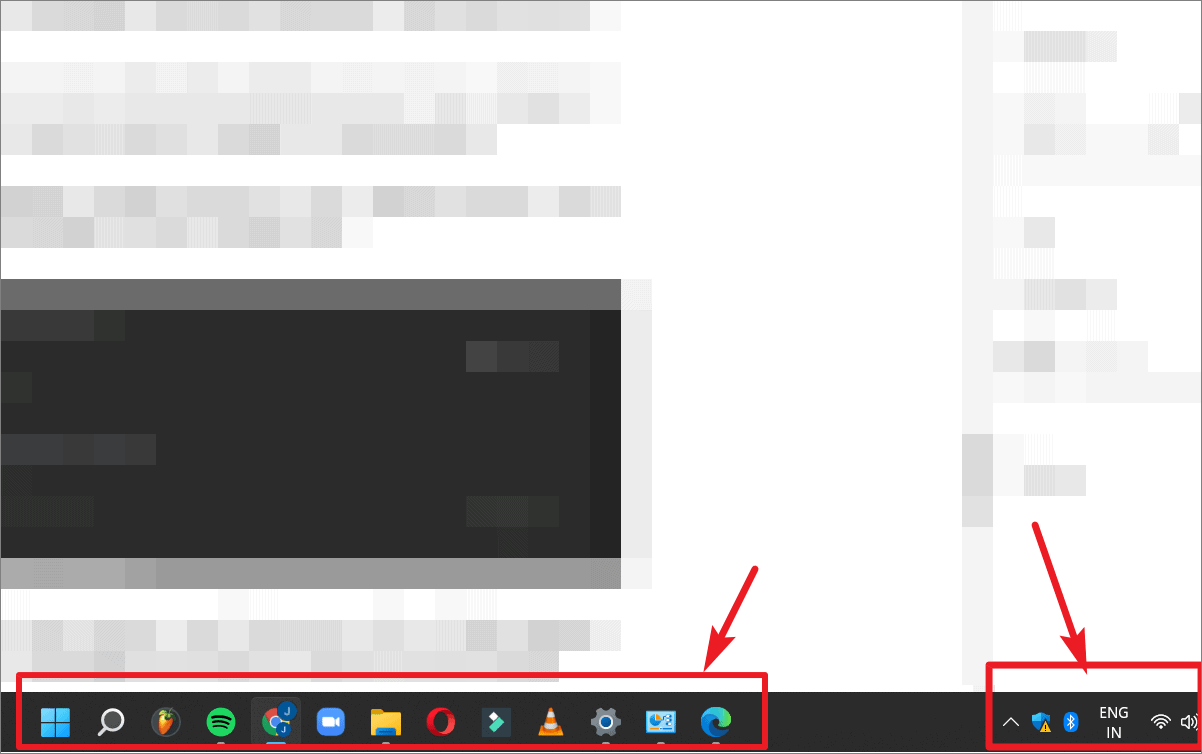
New notifications from apps can prevent the taskbar from hiding. Look for app icons with notification badges and clear any unread alerts.
Also, check the system tray on the right side of the taskbar for background apps with notifications.
2. Restart Windows Explorer
Restarting Windows Explorer can refresh the taskbar:
- Press
Ctrl+Shift+Escto open the Task Manager. - If the Task Manager opens in compact view, click More details to expand it.
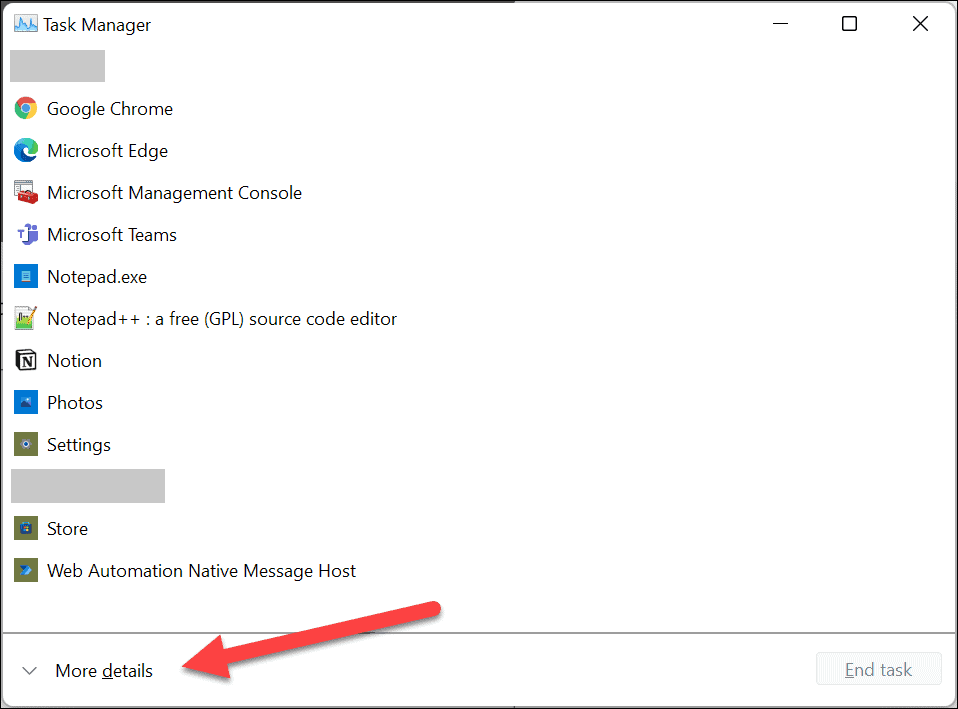
- In the Processes tab, locate and right-click on Windows Explorer, then select Restart.
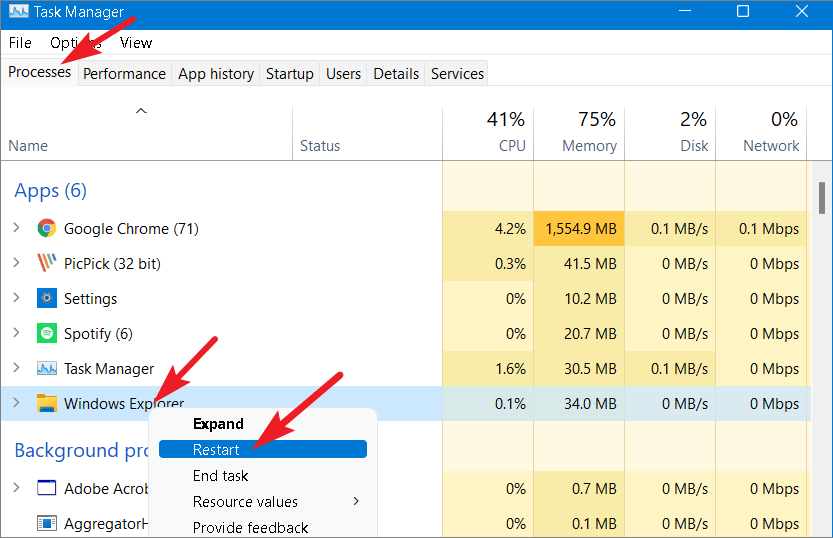
This action will refresh the taskbar and may resolve the issue.
3. Disable Taskbar Badge Notifications
Badge notifications can keep the taskbar visible. To disable them:
- Open Settings by pressing
Win+Iand select Personalization, then click on Taskbar.

- Expand Taskbar behaviors and uncheck Show badges (unread messages counter) on taskbar apps.
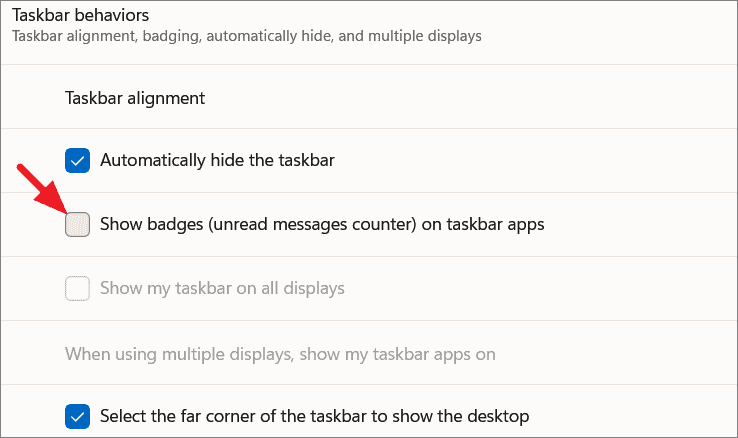
Disabling badges may allow the taskbar to hide properly.
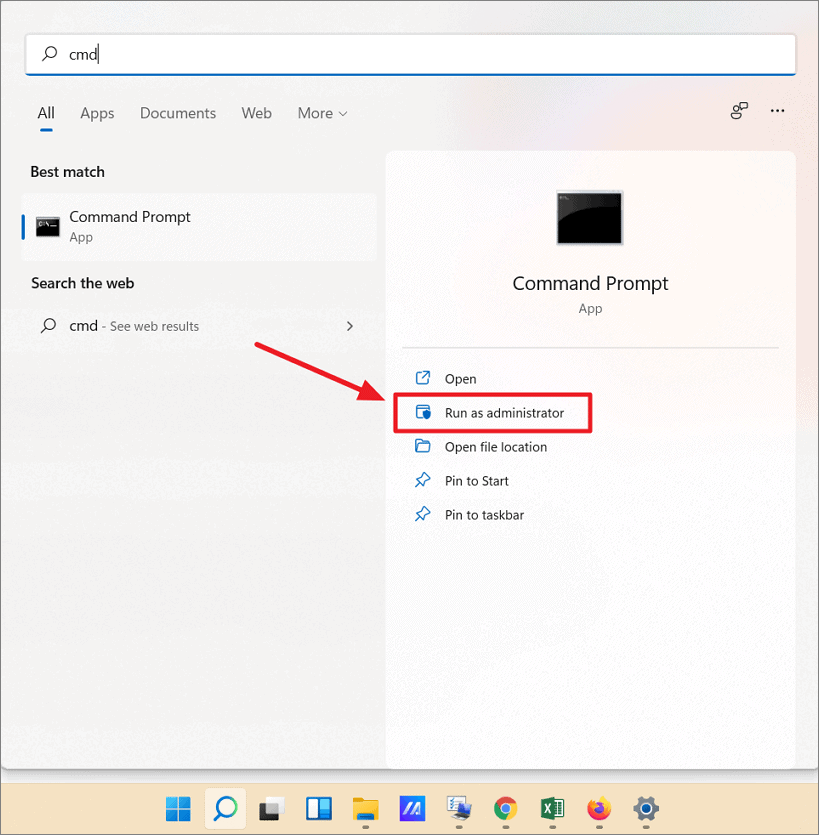
4. Run System File Checker (SFC) Scan
Corrupted system files can cause taskbar issues. Use SFC to scan and repair them:
- Click the search icon, type cmd, right-click on Command Prompt, and select Run as administrator.
In the Command Prompt, type:
sfc /scannowand press Enter.
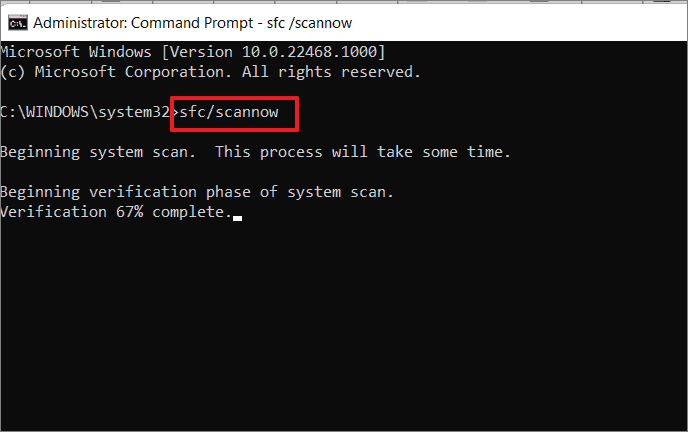
Wait for the scan to complete, then restart your PC.
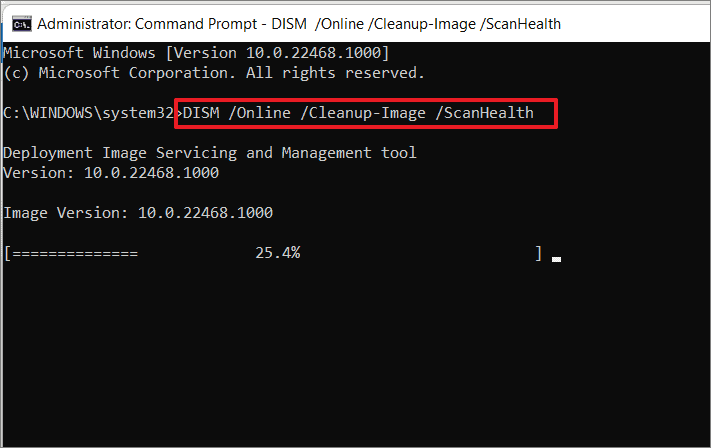
5. Repair System Image with DISM
If SFC doesn’t fix the issue, use DISM:
- Open Command Prompt as an administrator.
Type:
DISM /Online /Cleanup-Image /ScanHealthand press Enter.
After the scan, type:
DISM /Online /Cleanup-Image /RestoreHealthand press Enter.
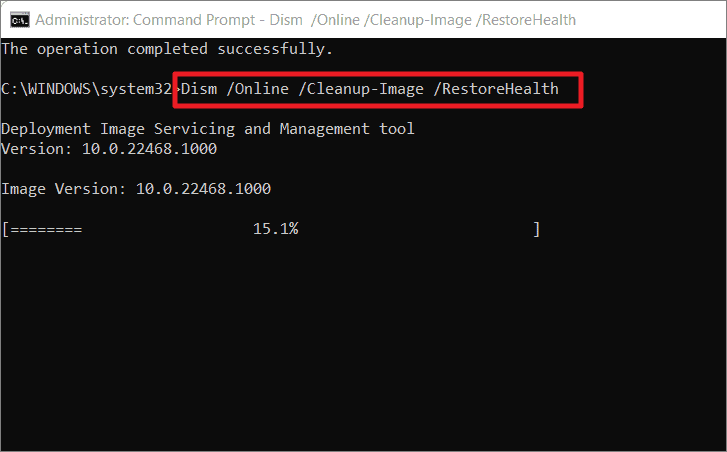
Once completed, restart your computer.
6. Update or Reinstall Graphics Drivers
Updating Graphics Drivers
Outdated graphics drivers can affect the taskbar:
- Right-click the Start button and select Device Manager.
- Expand Display adapters.
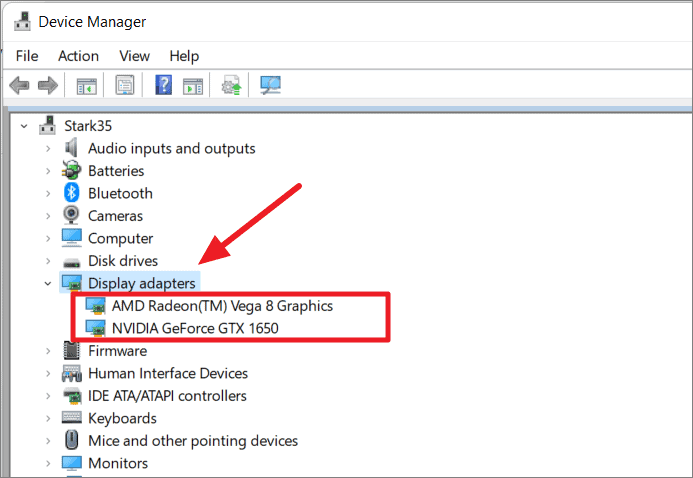
- Right-click your graphics card and choose Update driver.
- Select Search automatically for drivers.
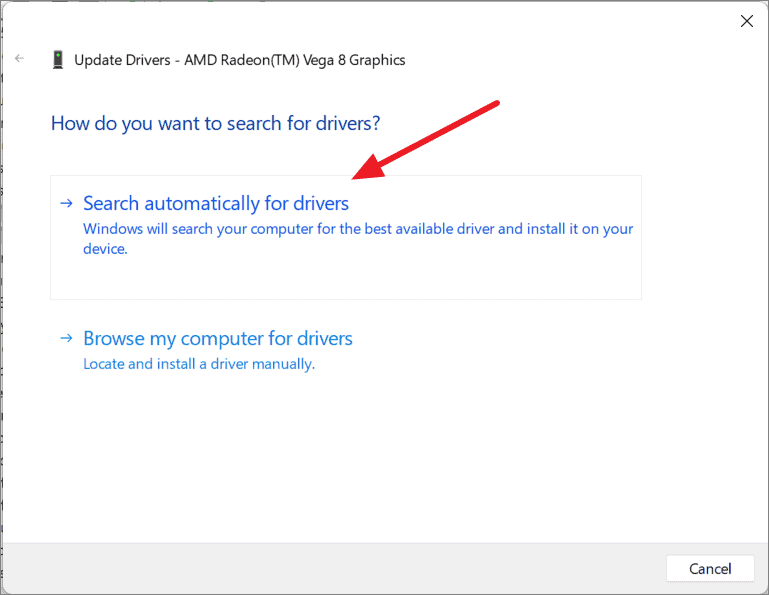
Follow the prompts to install any available updates.
Reinstalling Graphics Drivers
- In Device Manager, right-click your graphics card and select Uninstall device.
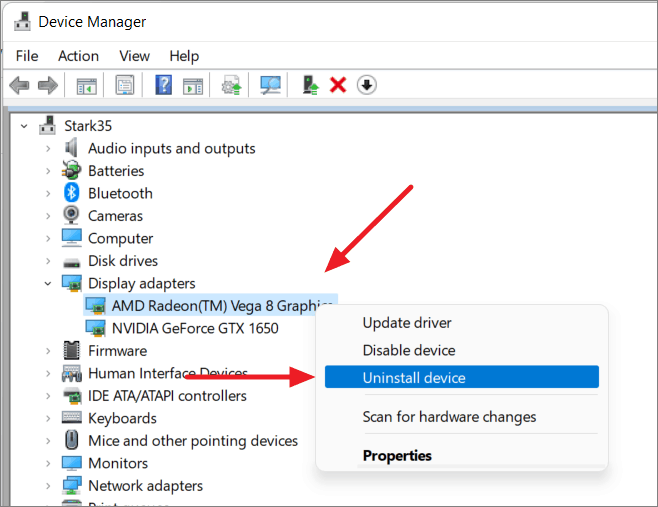
- Restart your PC. Windows should reinstall the driver automatically.
7. Manage Windows Updates
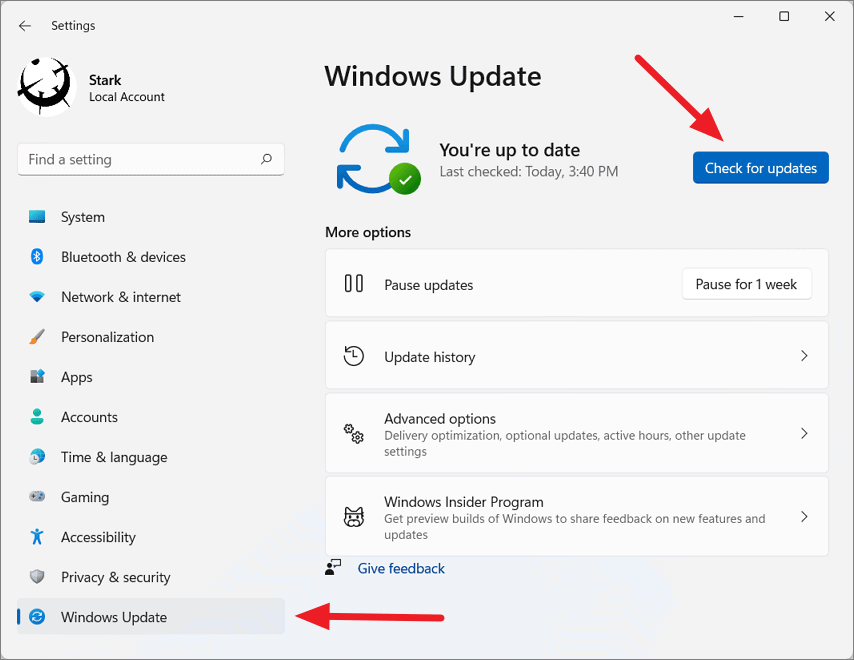
Install Updates
- Open Settings and click on Windows Update.
- Click Check for updates and install any found.
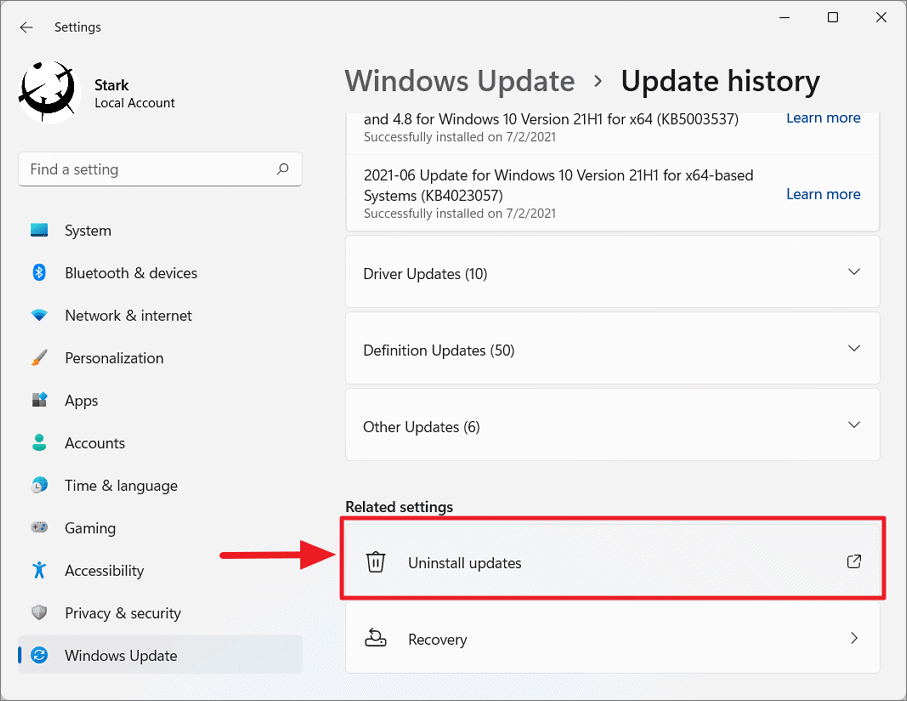
Uninstall Updates
- In Windows Update settings, select Update history.
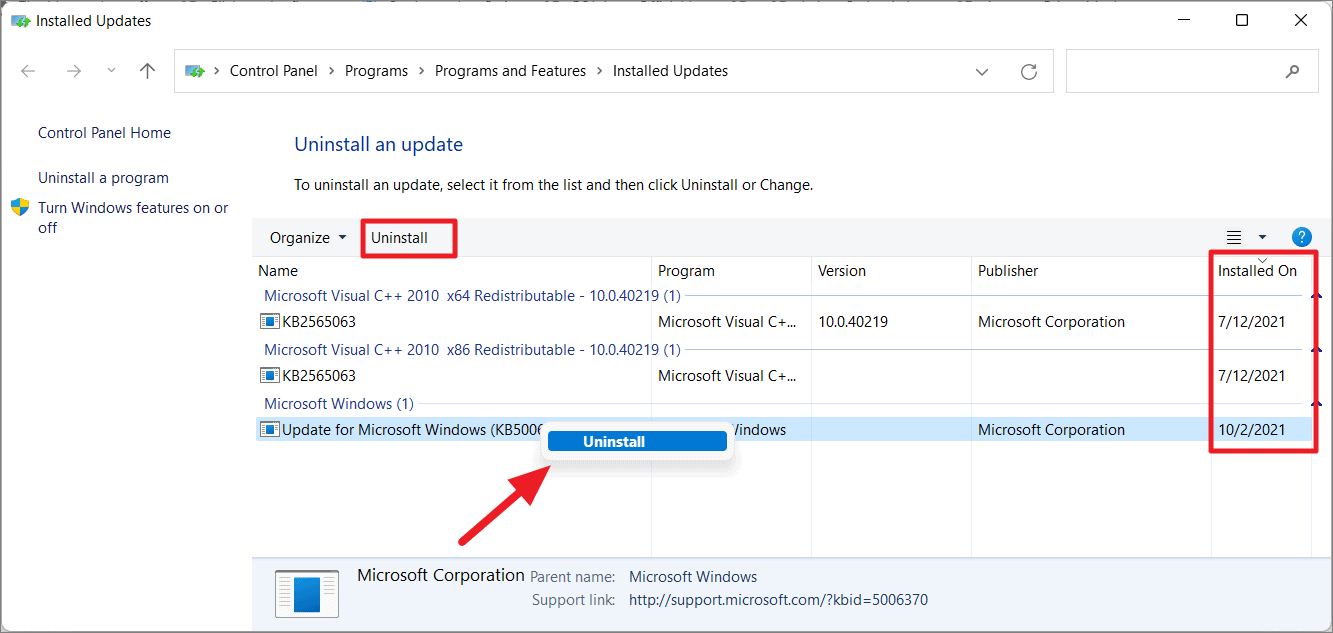
- Scroll down and click on Uninstall updates.
- Select the recent update to uninstall and click Uninstall.
8. Delete Corrupted Registry Keys
Warning: Editing the registry can be risky. Proceed with caution.
- Press
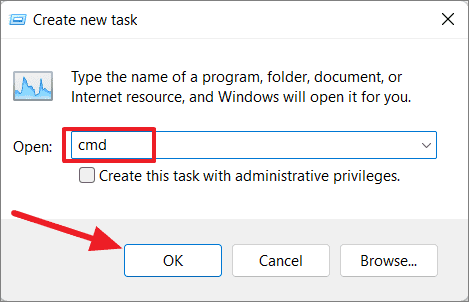
Ctrl+Alt+Deleteand select Task Manager. - Go to File > Run new task and type
cmd, then click OK.
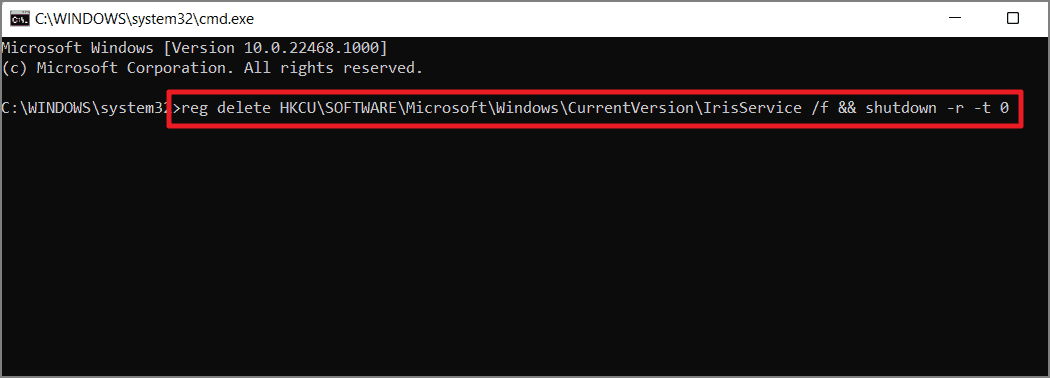
In Command Prompt, enter:
reg delete HKCU\SOFTWARE\Microsoft\Windows\CurrentVersion\IrisService /f && shutdown -r -t 0and press Enter.
Your PC will restart after deleting the registry key.
9. Re-register Taskbar Package
Re-registering system apps can fix issues:
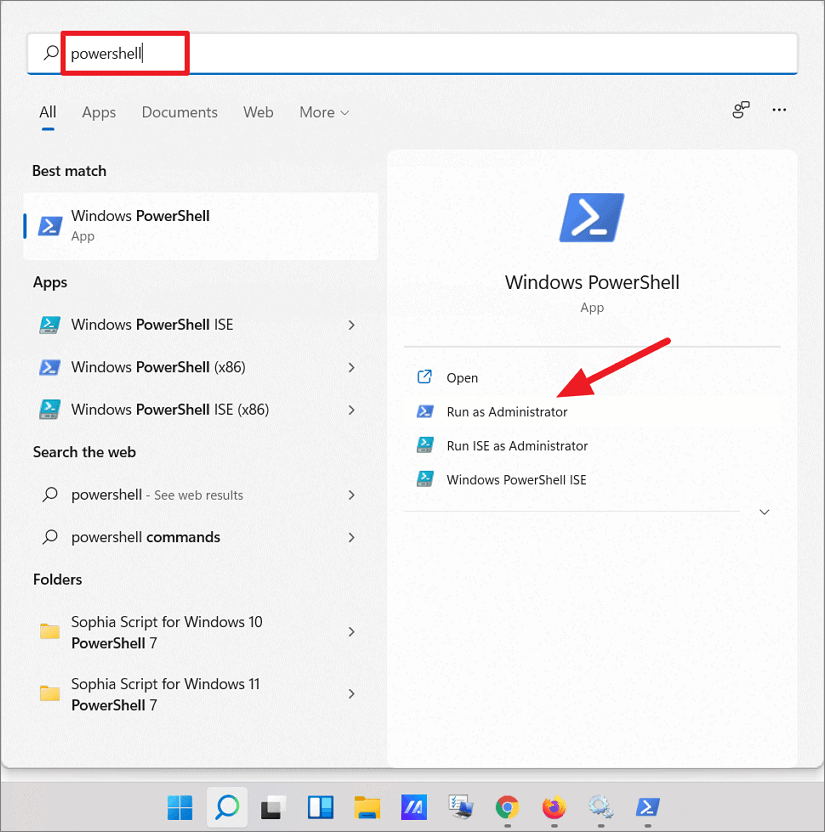
- Search for PowerShell, right-click it, and choose Run as administrator.
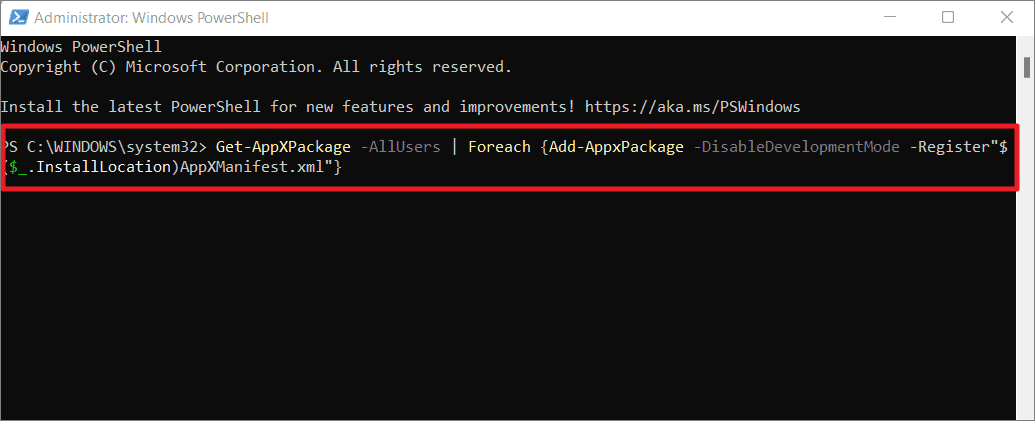
In PowerShell, type:
Get-AppXPackage -AllUsers | Foreach {Add-AppxPackage -DisableDevelopmentMode -Register "$($_.InstallLocation)\AppXManifest.xml"}and press Enter.
Wait for the process to finish, then restart your computer.
10. Disable UI Customization Apps
Third-party UI tools can interfere with the taskbar. Disable or uninstall apps like Winaero Tweaker or Rainmeter to see if the issue resolves.
11. Restart or Reinstall Affected Apps
If the taskbar doesn’t hide while using certain apps, try restarting or reinstalling those apps. For full-screen applications, press F11 to enter full-screen mode.
12. Uninstall Third-Party Toolbars
Third-party toolbars can conflict with the taskbar. Uninstall them and restart Windows Explorer as described earlier.
By applying these solutions, you should be able to resolve the taskbar not hiding issue on Windows 11, restoring functionality and improving your user experience.


