When attempting to update macOS, an error message like “Unable to Verify MacOS Update” or “macOS (version) could not be verified” might halt the process. This issue can stem from various sources, but fortunately, there are effective solutions to resolve it and get your Mac back on track.
1. Delete and Redownload the macOS Installer
Corrupted installer files can prevent macOS from verifying the update. Removing the existing installer and downloading a fresh copy often resolves the issue.
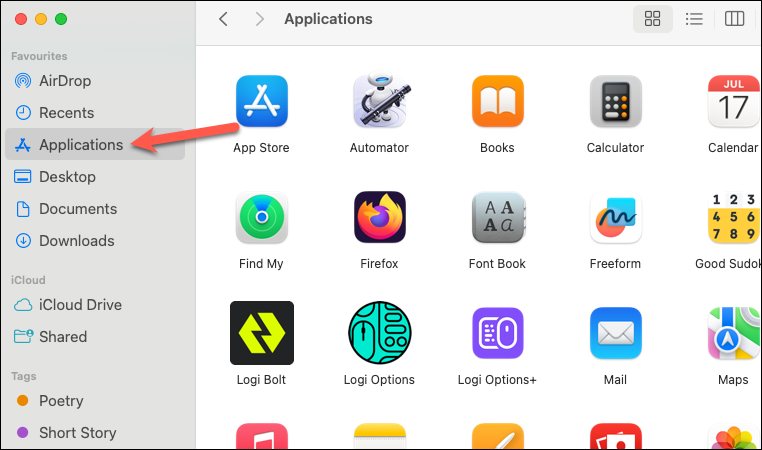
Open the ‘Applications’ folder on your Mac. Locate the installer file, which might be named something like “Install macOS Ventura.app” depending on the version you’re updating to.
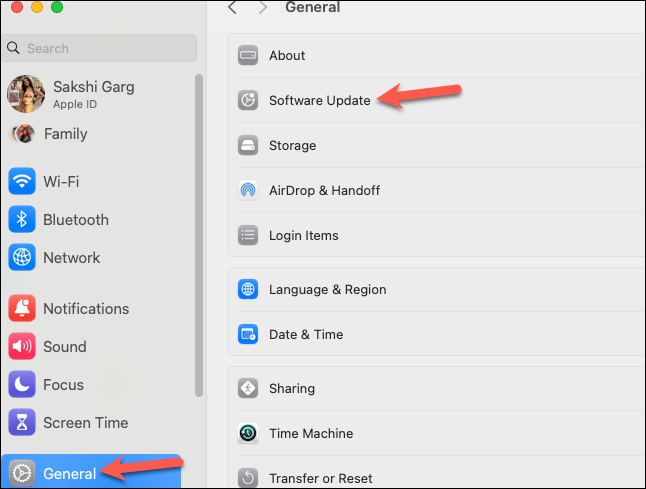
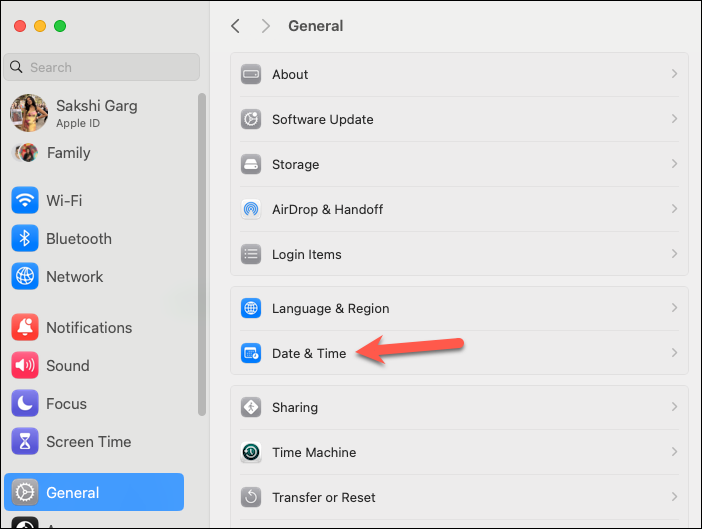
Go to ‘Settings’ (or ‘System Preferences’ on older macOS versions). Navigate to ‘General’ in the sidebar and select ‘Software Update’ to download the update again.
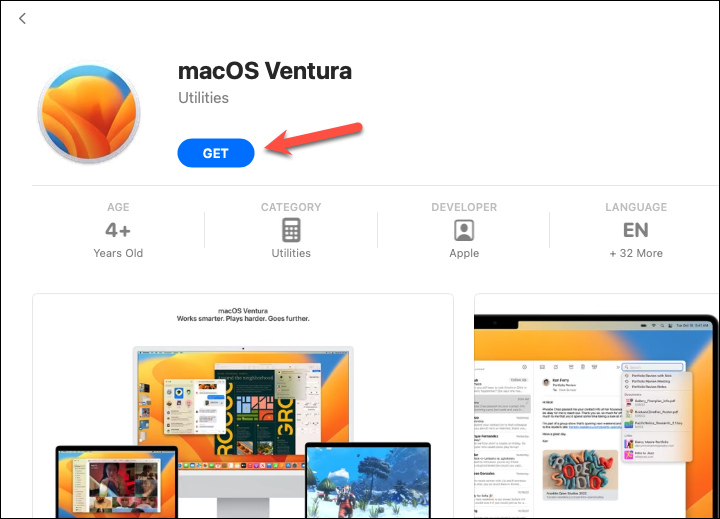
If the update isn’t available there, open the App Store and search for the macOS version you wish to install (e.g., macOS Ventura). Download the installer directly from the App Store.
With a fresh installer, the verification process should proceed without any hitches.
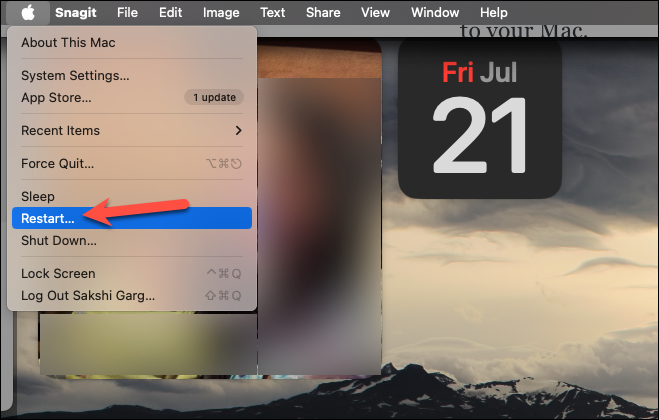
2. Restart Your Mac
Often, a simple reboot can clear temporary glitches that prevent the macOS update from verifying.
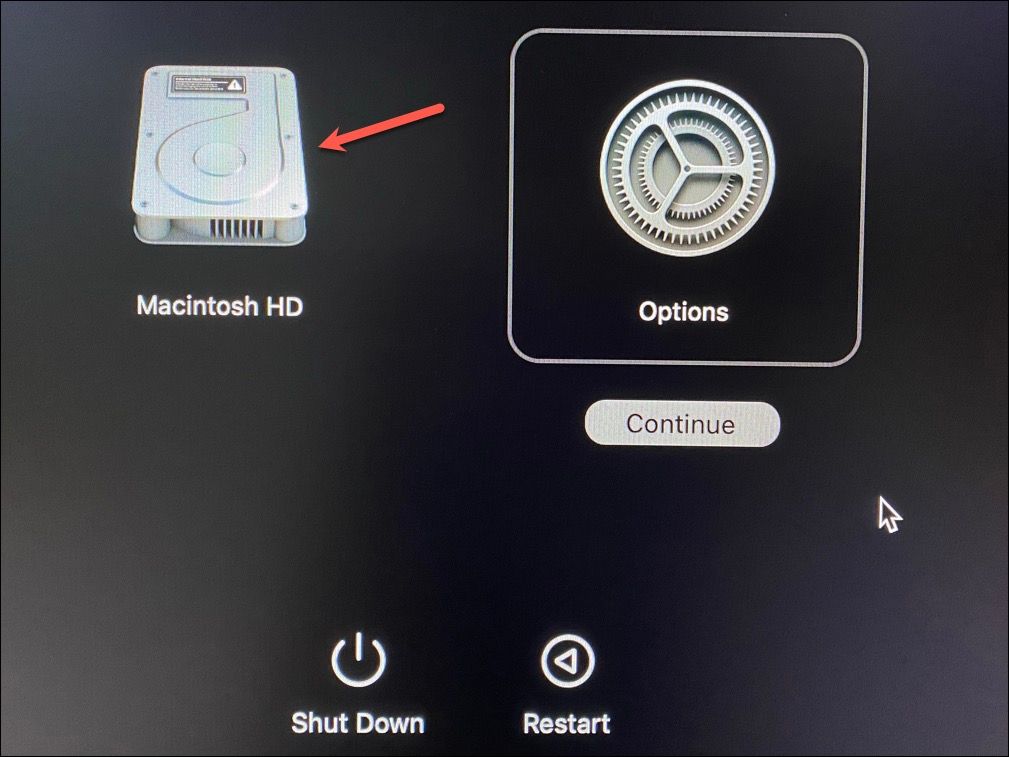
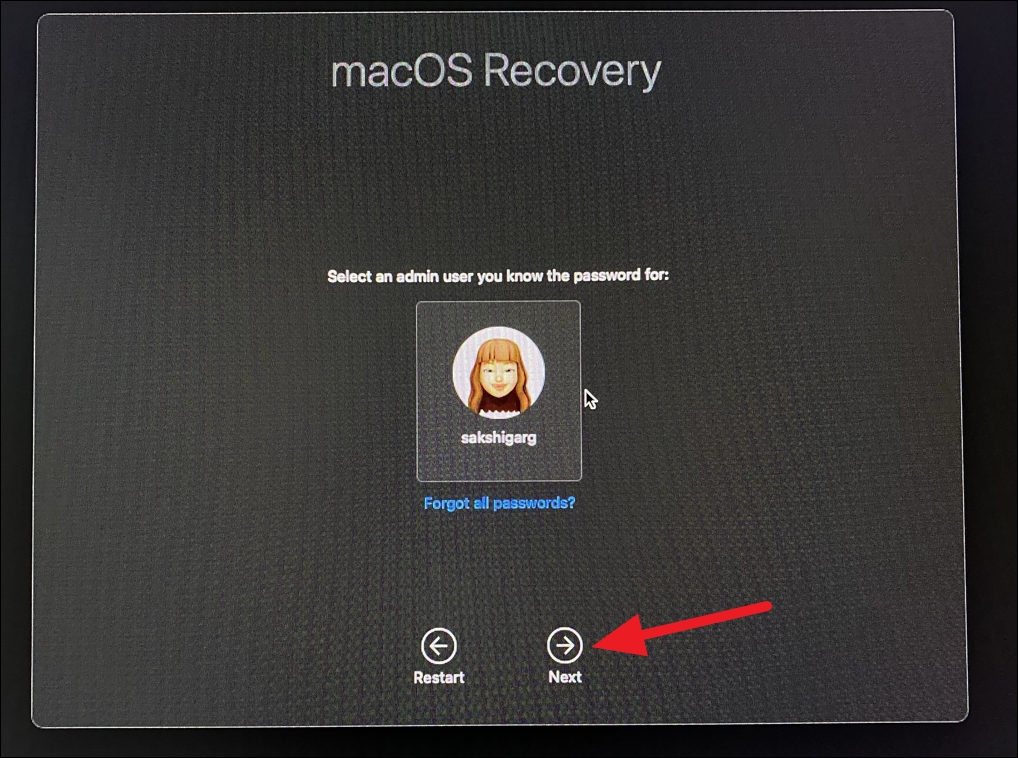
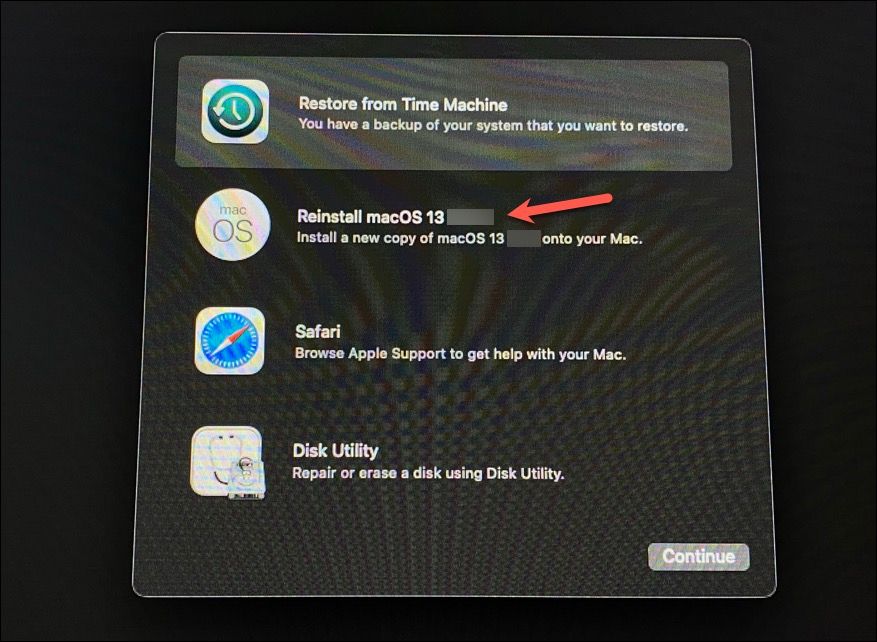
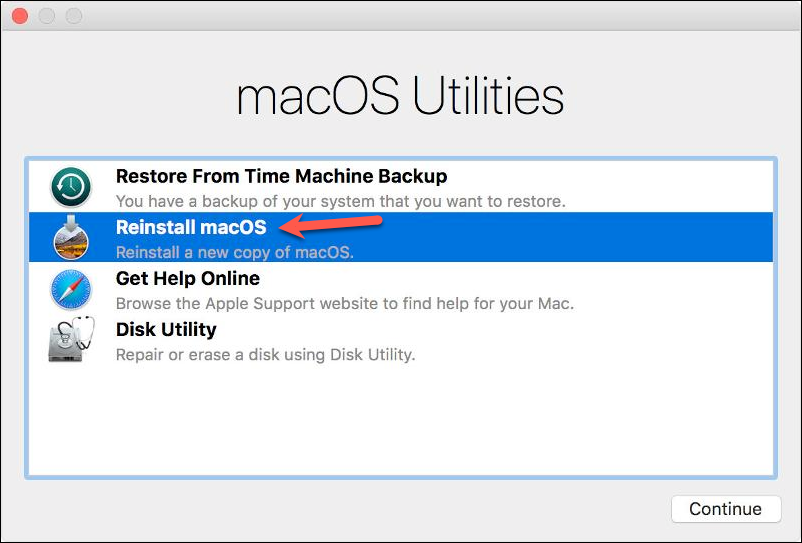
From the Recovery Mode menu, select ‘Reinstall macOS’ and follow the instructions.
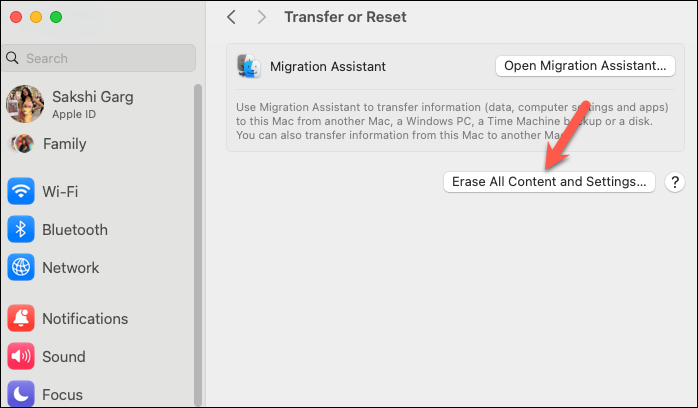
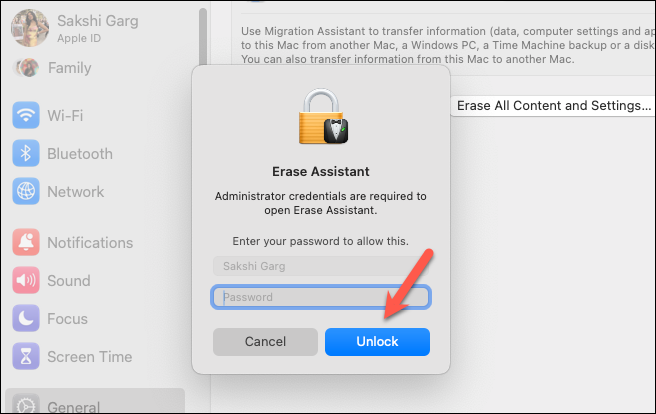
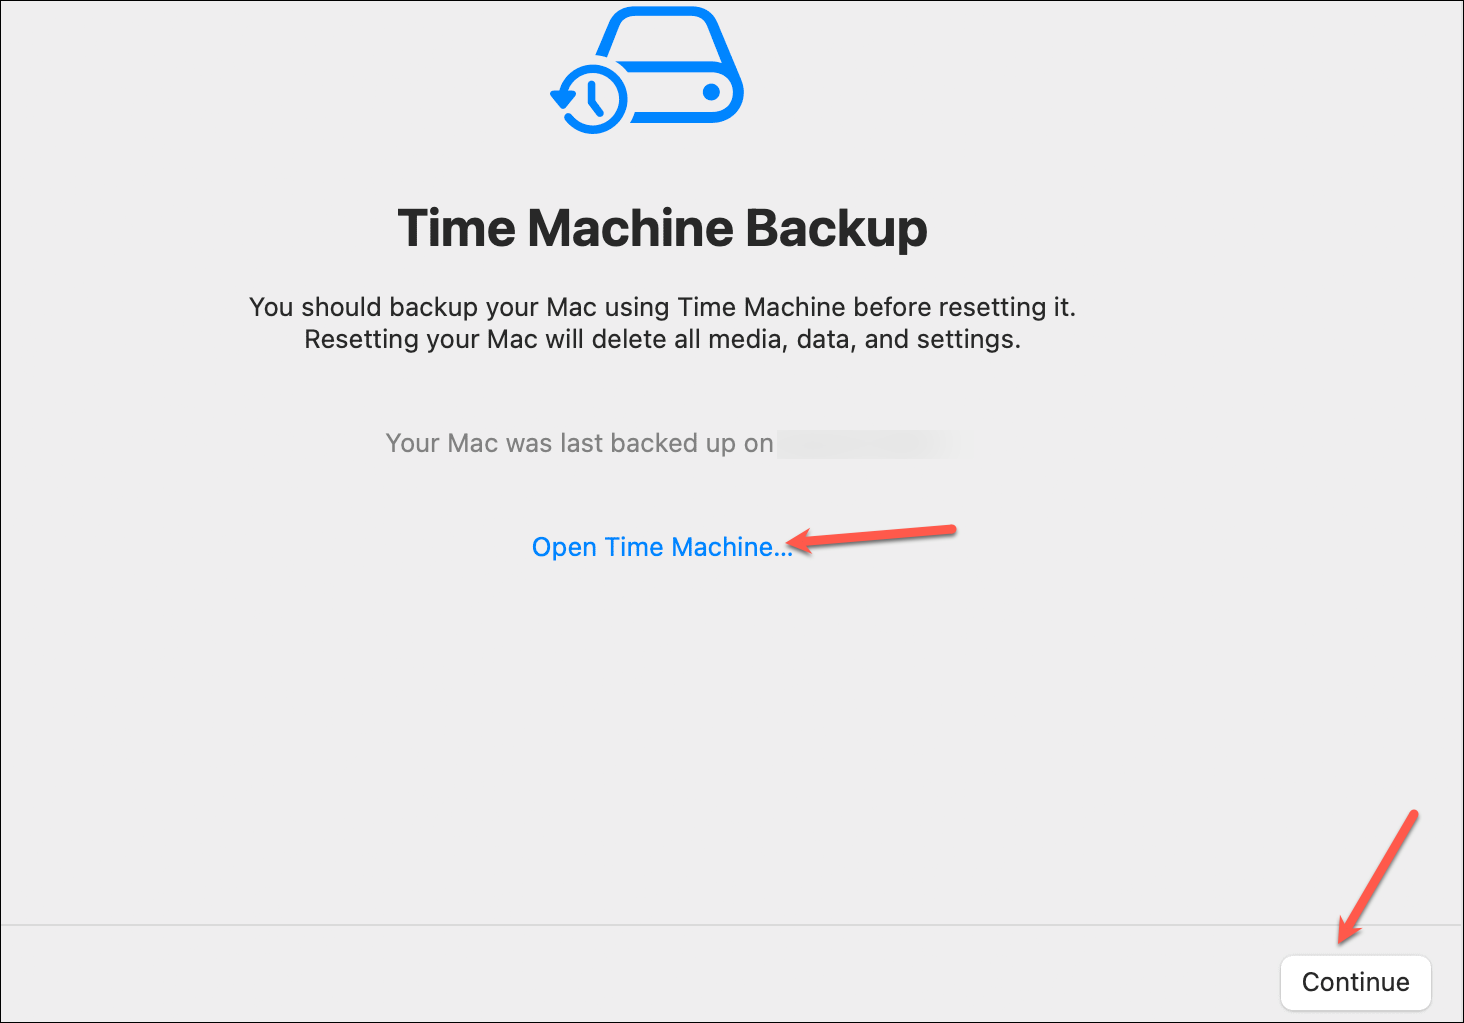
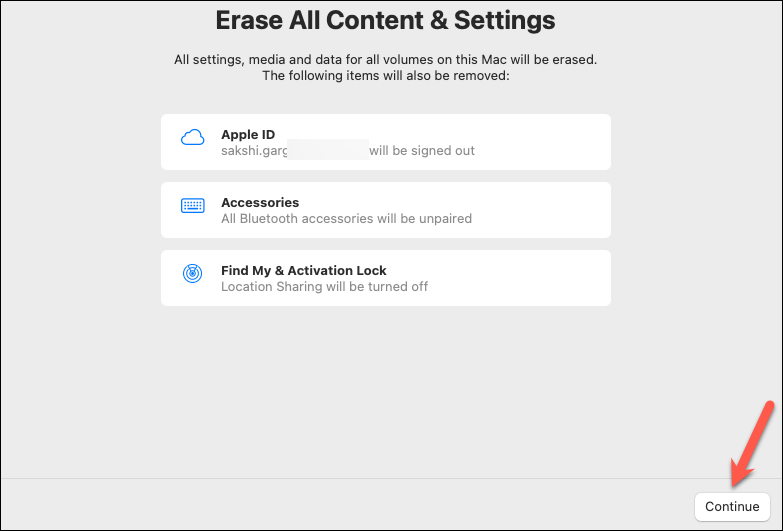
8. Erase Mac and Reinstall macOS
If all else fails, erasing your Mac and reinstalling macOS can resolve persistent issues. This process will delete all data, so ensure you have a backup.