
The ‘Update.exe Application Error’ on Windows 11 can be a frustrating obstacle, interrupting workflows and causing concern for users. This error often surfaces unexpectedly, but with the right approach, it can be resolved effectively. In this guide, we’ll explore the potential causes of this error and provide detailed solutions to fix it.
Potential reasons for the Update.exe Application Error
Several factors can contribute to the appearance of the ‘Update.exe Application Error’ on your system. Understanding these can help in selecting the most appropriate solution:
- Malware or virus infections compromising system integrity.
- Incompatible third-party applications interfering with system processes.
- Outdated or damaged drivers causing hardware communication issues.
- Incorrect registry modifications affecting system operations.
- Corrupted or damaged system files leading to application failures.
With these potential causes in mind, let’s delve into the methods to fix the error.
Method 1: Fix registry errors using DISM and SFC scan
Corrupted system files and registry errors are common culprits behind application errors like ‘Update.exe’. Running the Deployment Image Servicing and Management (DISM) and System File Checker (SFC) scans can help repair these issues.
Terminal, right-click on the ‘Terminal’ app, and select ‘Run as administrator’.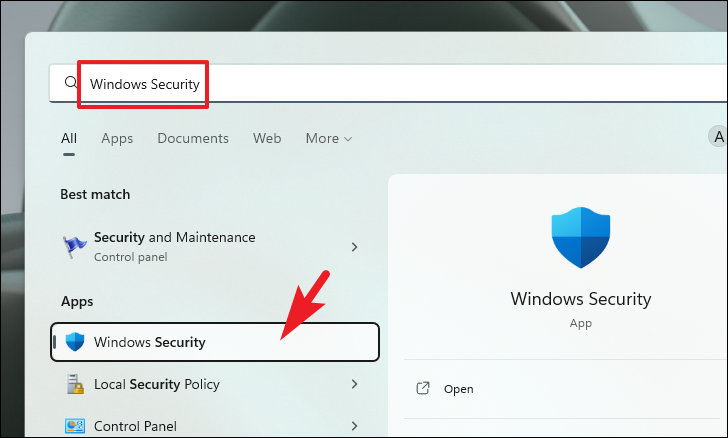

DISM /Online /Cleanup-Image /RestoreHealth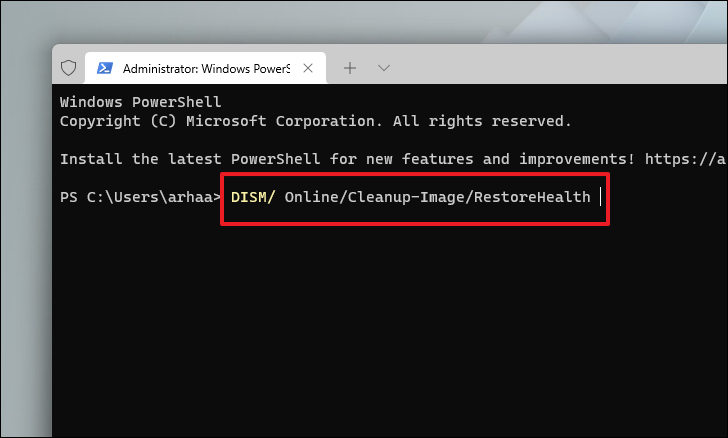
This process might take several minutes to complete. It may appear to be stuck at times; however, this is normal behavior. Wait patiently until it finishes.
Enter:SFC /scannow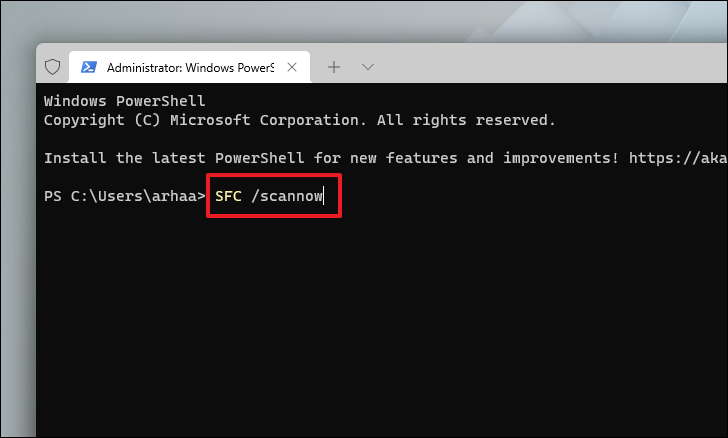
The SFC scan will check for and repair corrupted system files. Once the scan is complete, restart your computer to apply the changes.
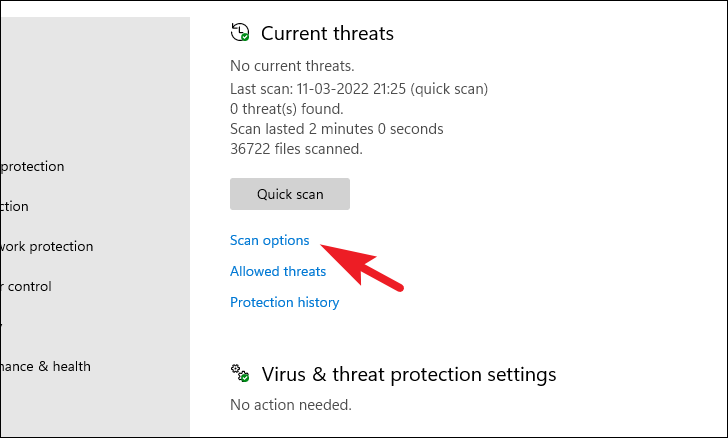
Method 2: Scan your PC for malware or virus infections
Malware and viruses can cause various application errors by corrupting files or interfering with processes. Performing a full system scan can detect and remove malicious software.
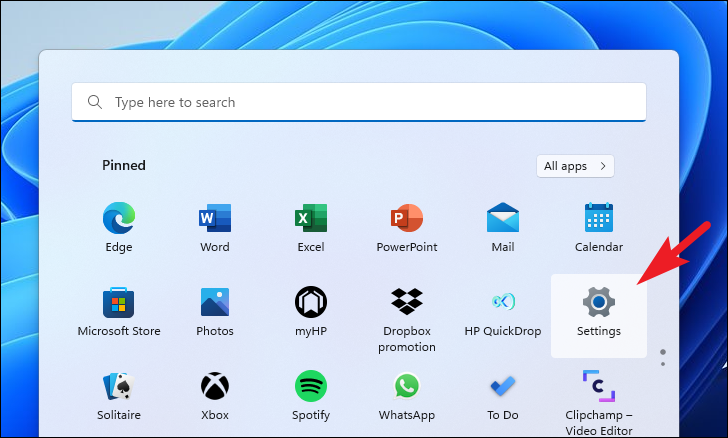
Security, and selecting ‘Windows Security’ from the search results.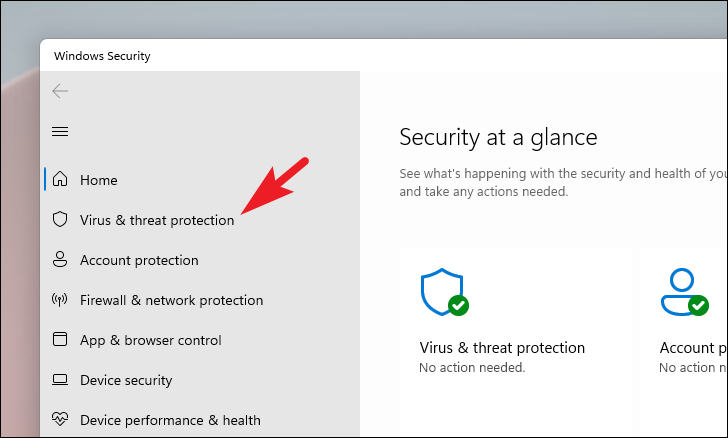
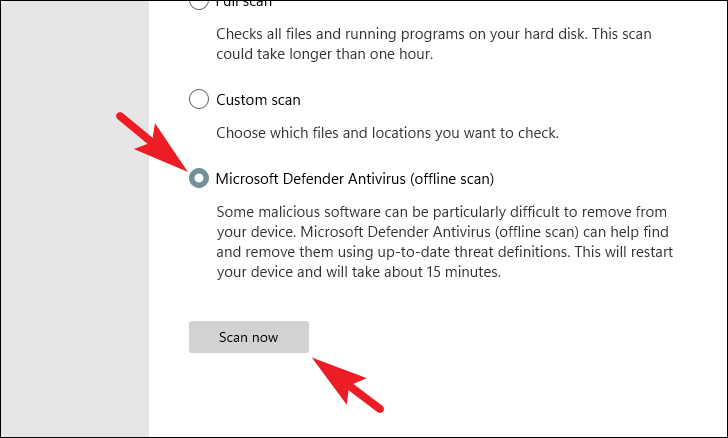
Your system will restart to perform the scan. After the scan is complete, check if the error persists.
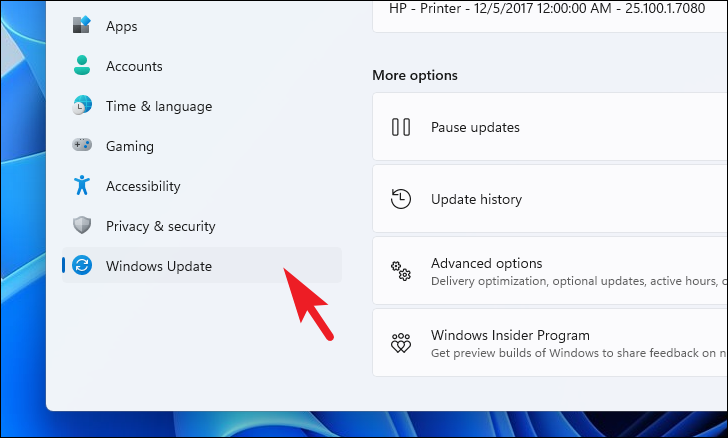
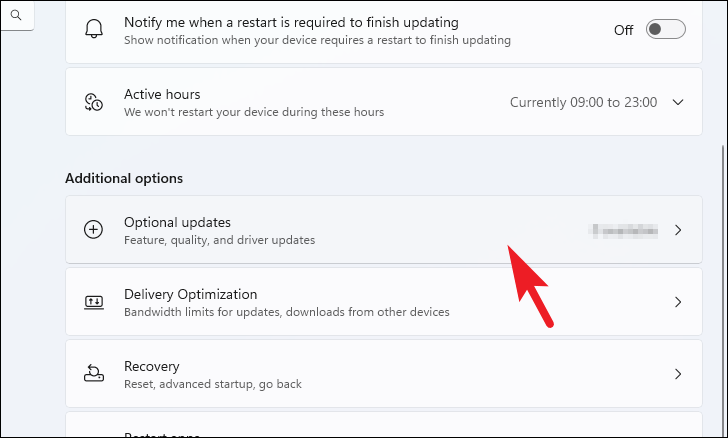
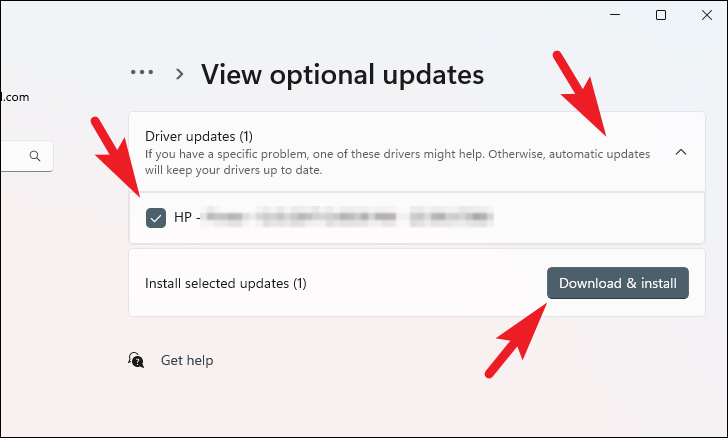
Method 3: Install or update missing drivers
Outdated or missing drivers can lead to application errors by causing hardware miscommunication. Updating your drivers ensures that all hardware components are operating correctly.
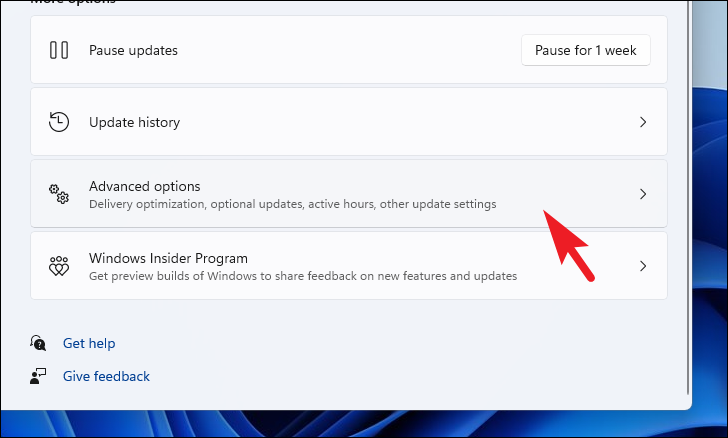
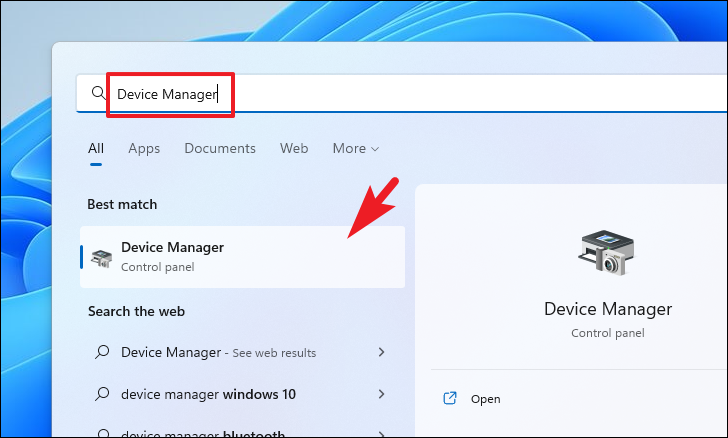
Alternatively, you can update drivers through the Device Manager.
Update drivers using Device Manager
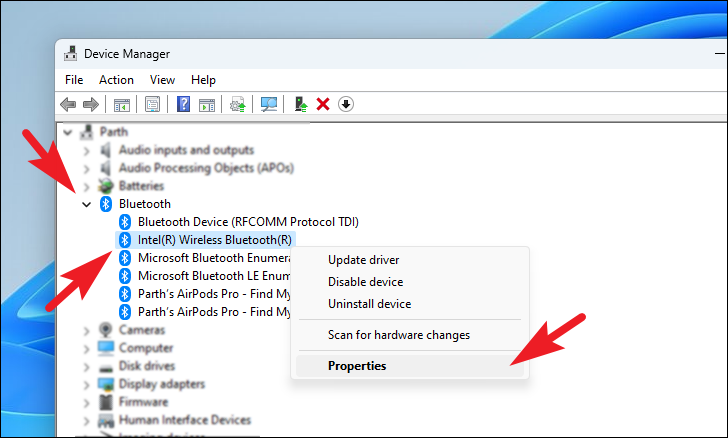
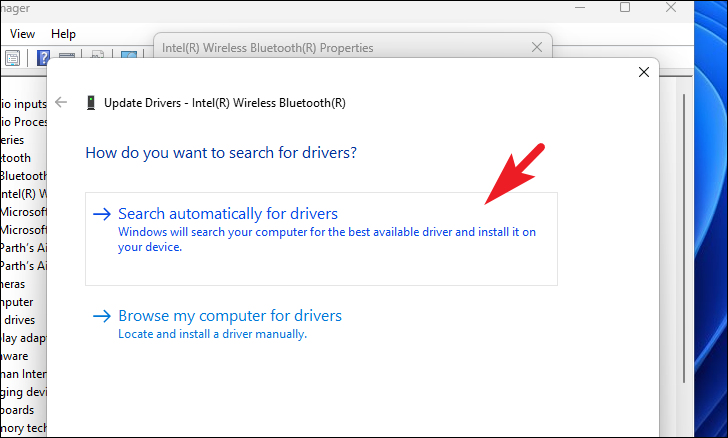
If you have a driver package, select ‘Browse my computer for drivers’ and navigate to the driver file.
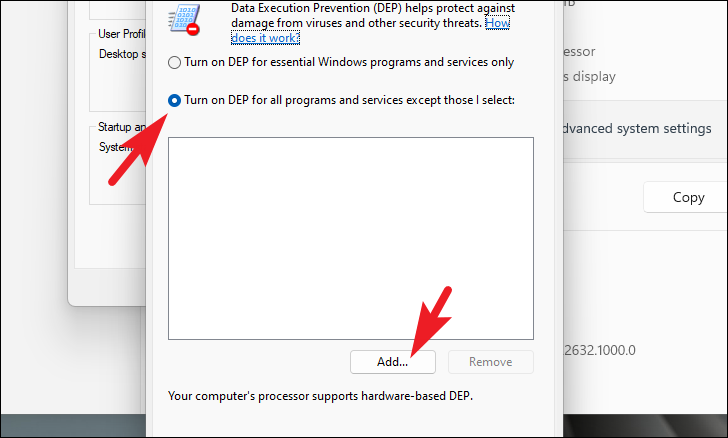
Method 4: Deactivate Data Execution Prevention (DEP)
Data Execution Prevention (DEP) is a security feature that can sometimes interfere with legitimate applications. Disabling DEP for a specific application might resolve the error if DEP is blocking it.
Note: This method requires you to know which application is causing the error.
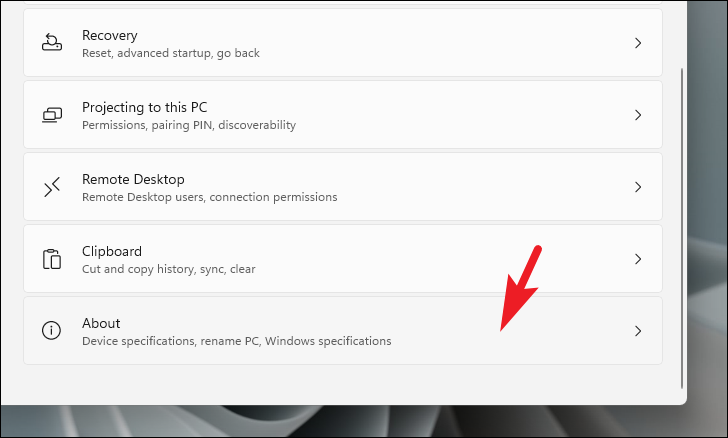


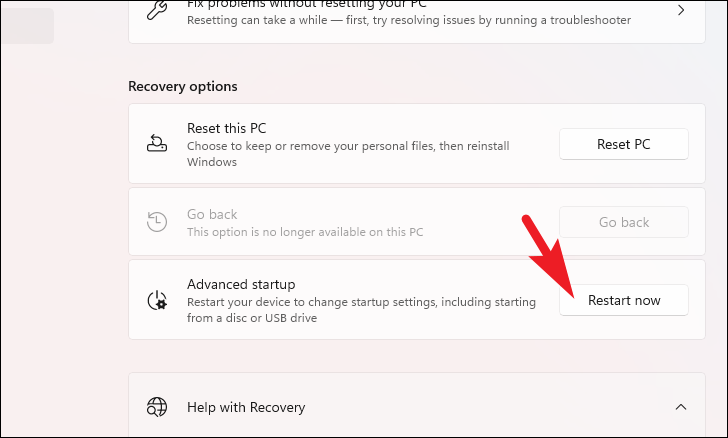
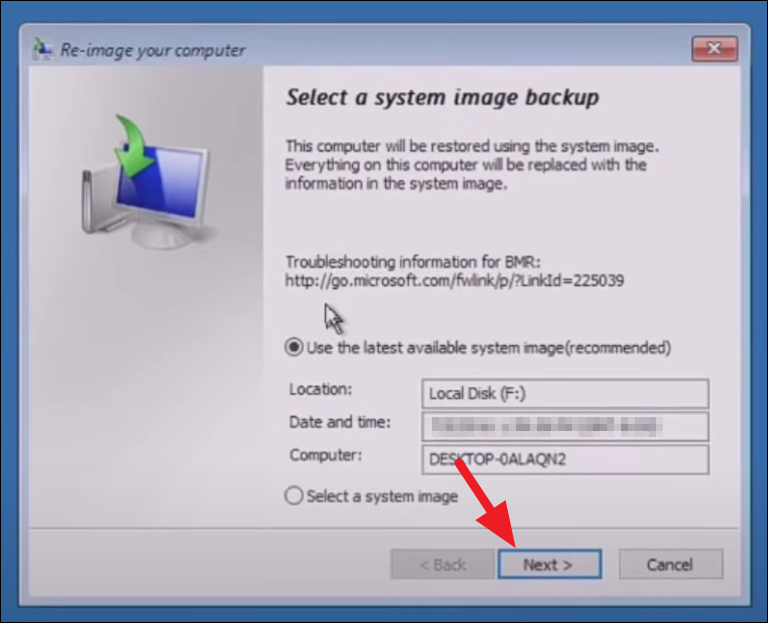
Method 5: Restore your PC using System Image Recovery
If none of the above methods work, restoring your system to a previous state can resolve persistent errors. This method uses a system image to restore your computer’s settings and files.


By following these methods, you should be able to resolve the ‘Update.exe Application Error’ on your Windows 11 system and restore it to full functionality.


