Error 0xC1900204 appears during Windows 11 upgrades when the system encounters issues with the setup process, often related to registry permissions, incompatible upgrade paths, or system configuration mismatches. This error can halt upgrades initiated via Windows Update, the Installation Assistant, or enterprise deployment tools like SCCM. Addressing this error requires targeted checks and configuration changes to ensure the upgrade proceeds smoothly.
Verify Upgrade Path and Windows Edition Compatibility
Confirm you are upgrading from a supported Windows 10 edition to a compatible Windows 11 edition. Upgrades from Windows 10 Home to Windows 11 Home, or from Pro to Pro, are allowed. Attempting to upgrade from Enterprise to Home, or mismatched editions, triggers error 0xC1900204. To check your current edition, press
Windows + R, type winver, and review the window that appears.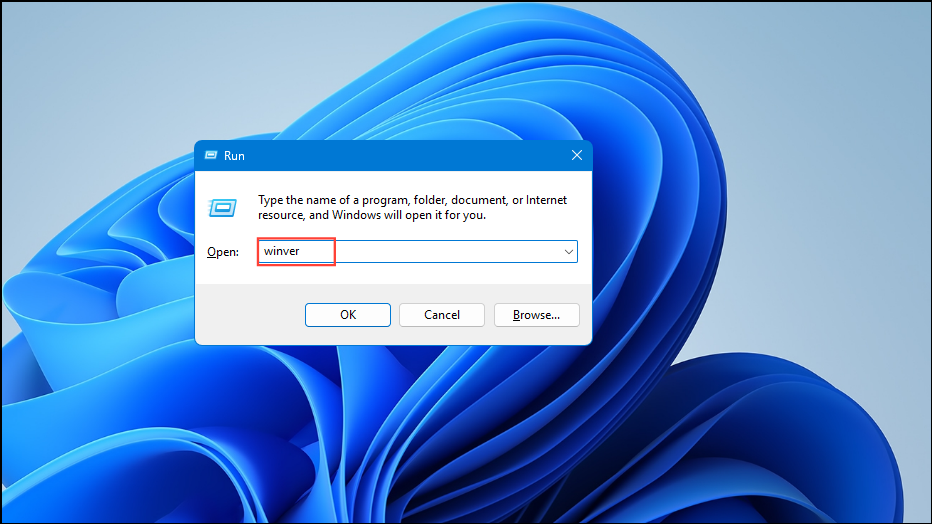
If your upgrade path is unsupported, obtain the correct Windows 11 installation media for your edition or adjust your deployment configuration to match edition requirements. For enterprise environments, ensure your task sequence or upgrade policy targets the correct edition.
Check Registry Permissions for Setup Keys
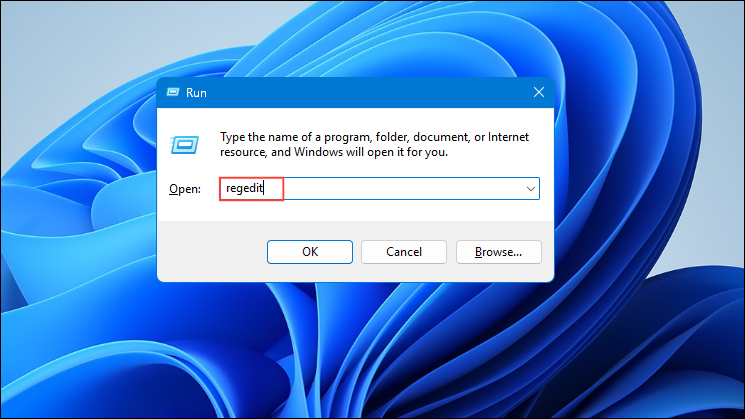
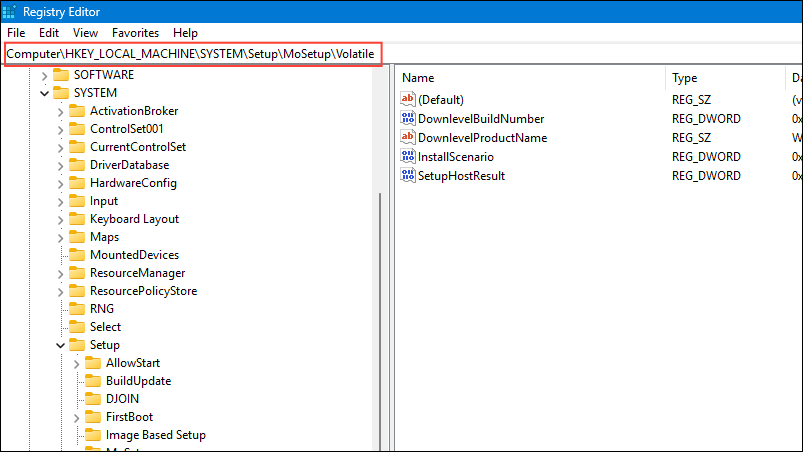
Right-click the
Volatile key and select Permissions. Ensure that the SYSTEM and Administrators groups have Full Control permissions. Insufficient permissions prevent the Windows setup process from reading or updating setup progress, causing the upgrade to fail at around 11% with error 0xC1900204.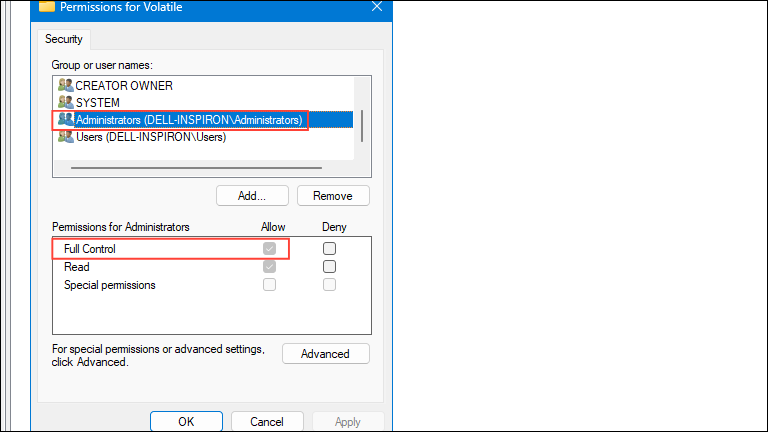
After adjusting permissions, close the Registry Editor and restart your computer before attempting the upgrade again. Modifying registry permissions should be done with care; back up your registry first to avoid accidental misconfiguration.
Use the Windows 11 Installation Assistant
Download the official Windows 11 Installation Assistant from the Microsoft website (https://go.microsoft.com/fwlink/?linkid=2171764). Save the tool to your system drive (usually C:) to avoid permission issues that can occur when running from a secondary drive.
Temporarily disable any third-party antivirus software, as security tools may interfere with the upgrade process. Right-click the antivirus icon in your system tray and select the option to disable protection, or follow your vendor’s instructions.
Run the Installation Assistant as an administrator by right-clicking the executable and selecting Run as administrator. Follow the on-screen prompts. If the tool only allows you to select “Nothing” for what to keep, this may indicate a deeper compatibility issue or edition mismatch. In that case, revisit Method 1.
If the upgrade still fails, check for error messages or logs displayed by the Installation Assistant. These can offer more specific clues about what is blocking the upgrade.
Update Device Drivers and BIOS
Outdated or incompatible drivers can cause upgrade failures. Open Device Manager (
Windows + X > Device Manager).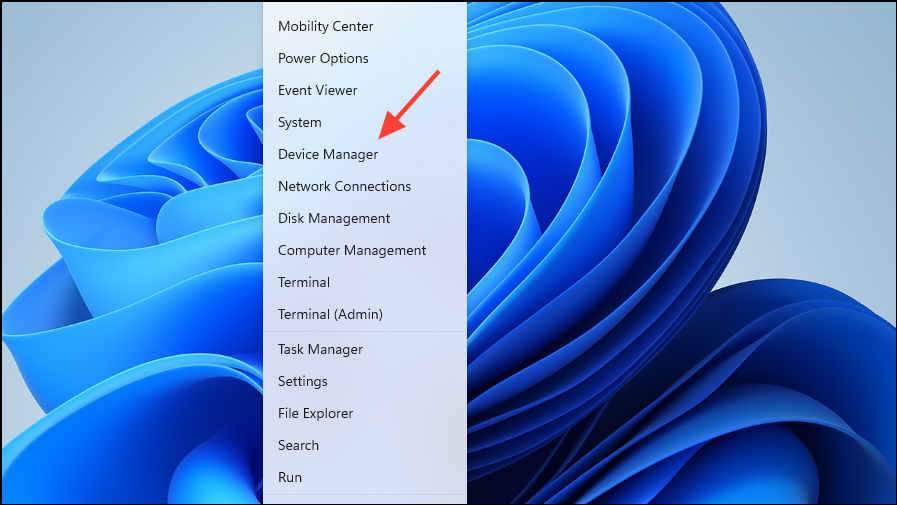
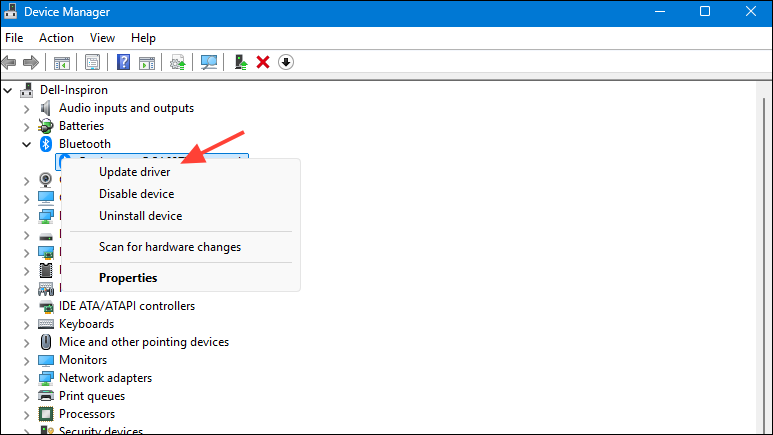
Visit your device manufacturer’s website to download and install the latest BIOS and firmware updates. Some systems require manual confirmation to apply firmware updates, so follow on-screen instructions carefully. Restart your computer after updates are applied.
Retry the Windows 11 upgrade. Updated drivers and BIOS files can resolve compatibility issues that block installation.
Address Language Packs and System Locale Issues
Multiple language packs or mismatched system locales can interfere with the upgrade process. Go to Settings > Time & Language > Language & Region and review the installed languages. Remove any unnecessary language packs and set your preferred language as default.
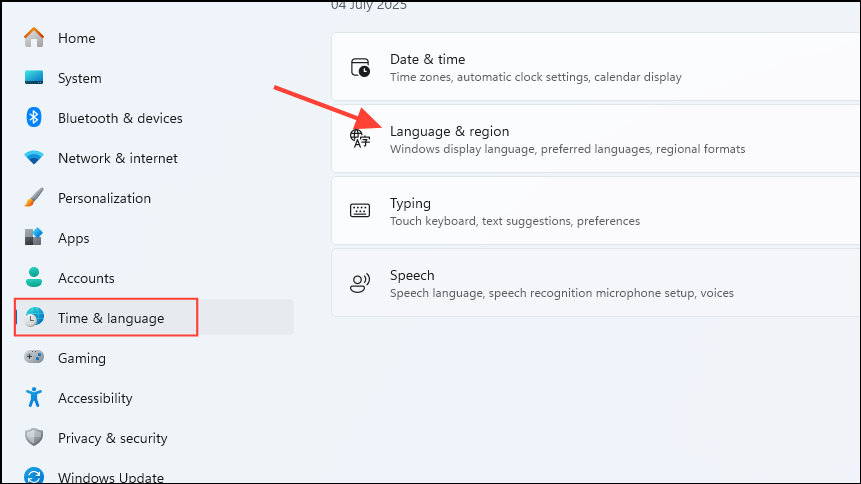
Restart your system after making changes. For enterprise deployments, ensure all target devices use the same system locale and language settings, or consult Microsoft documentation for multi-language upgrade support.
Clear Windows Update Cache and Essential Services
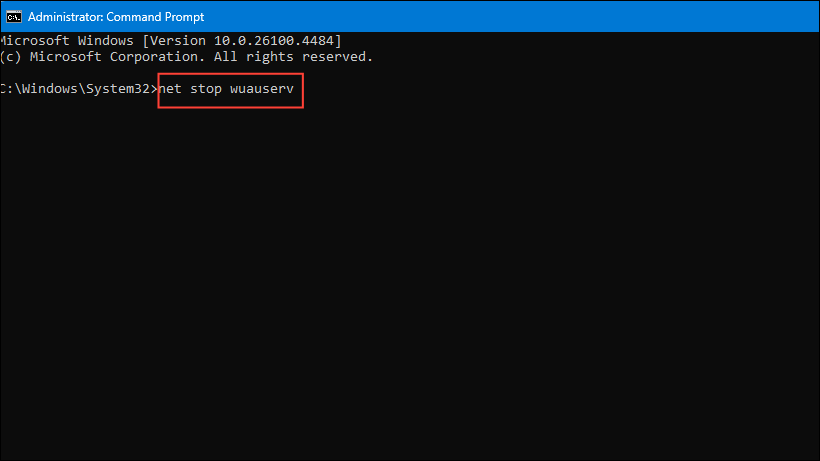
Some upgrade failures result from corrupted Windows Update cache files or stalled services. Open an elevated Command Prompt (
Windows + X > Command Prompt (Admin)), then stop the following services:
    net stop wuauserv
    net stop cryptSvc
    net stop bits
    net stop trustedinstaller
Navigate to
C:\Windows\SoftwareDistribution and delete all files and folders inside. This removes old update cache files that may block new installations.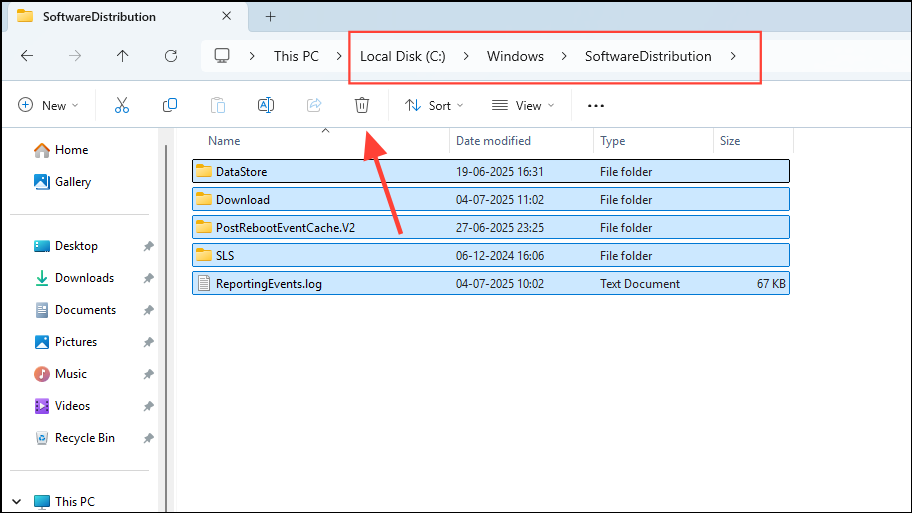
    net start wuauserv
    net start cryptSvc
    net start bits
    net start trustedinstaller
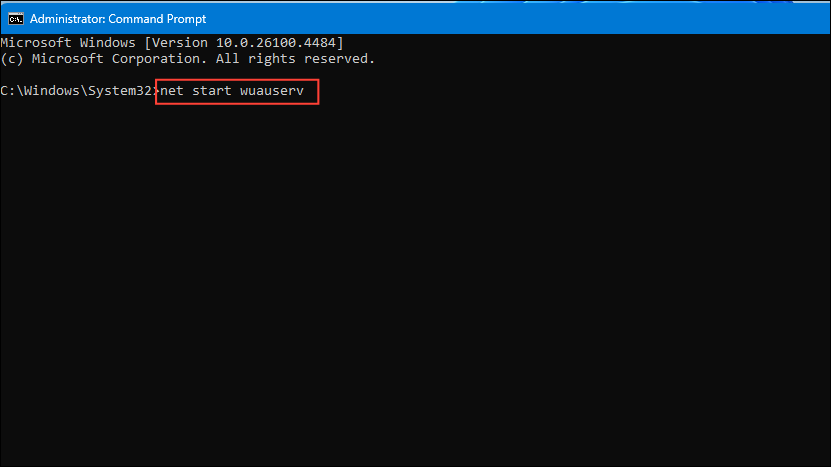
Attempt the Windows 11 upgrade again. Clearing the cache and restarting services often resolves update-related errors.
Check Disk Space and Partition Configuration
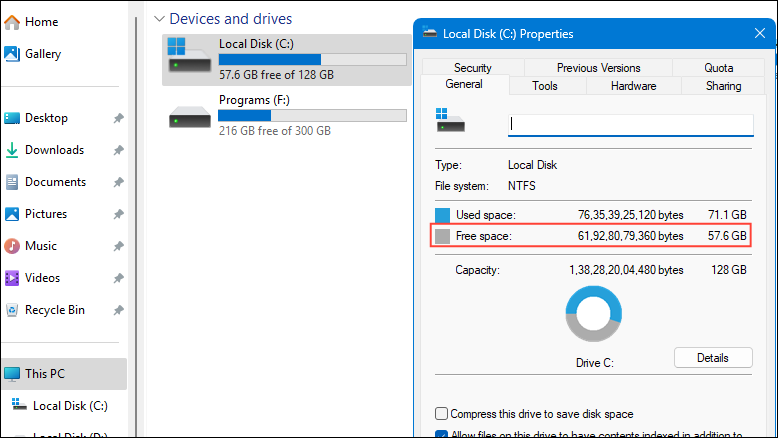
Windows 11 upgrades require sufficient free disk space on the system drive (C:). Open File Explorer, right-click the C: drive, and select Properties to verify available space. Microsoft recommends at least 20GB free, but more may be needed for in-place upgrades.
If your system uses multiple drives or you have moved default folders (like Program Files) to another drive, consider moving them back to C: temporarily, as the installer may require these directories to be on the system drive.
For errors related to the System Reserved Partition, follow Microsoft’s guide to extend or clean up the partition (Microsoft Support: System Reserved Partition Error).
Run SetupDiag and Analyze Upgrade Logs
Download and run SetupDiag (Microsoft SetupDiag Tool) to automatically analyze upgrade logs and pinpoint the cause of the failure.
Review the output for specific blocking issues, such as incompatible drivers, registry problems, or migration choice blocks. Use the information to address the exact cause before retrying the upgrade.
After applying these methods, most systems will proceed past error 0xC1900204 and successfully upgrade to Windows 11. For persistent issues, consider a clean installation as a last resort, but always back up important data beforehand.


