How to Fix WiFi Not Showing Up Issue on a Windows 11 PC
11 ways to resolve the WiFi not showing up issue on your Windows 11 PC.
11 ways to resolve the WiFi not showing up issue on your Windows 11 PC.
by Parth Sawhney
If you’re experiencing issues with your Windows 11 PC not displaying available Wi-Fi networks, it can be a significant inconvenience. This problem can arise due to various reasons, such as a disabled Wi-Fi adapter, outdated drivers, or incorrect system settings. Fortunately, there are several methods you can try to resolve this issue and restore your Wi-Fi connectivity.
Update the Wi-Fi Driver
Outdated or corrupted Wi-Fi drivers can cause your PC to fail in detecting available networks. Updating the driver can often fix the problem.
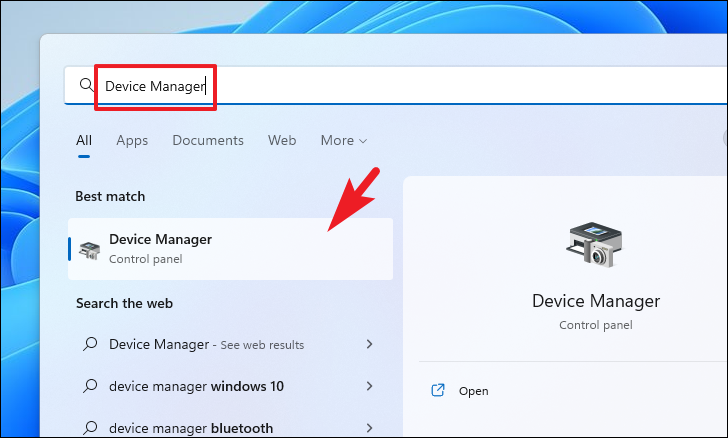
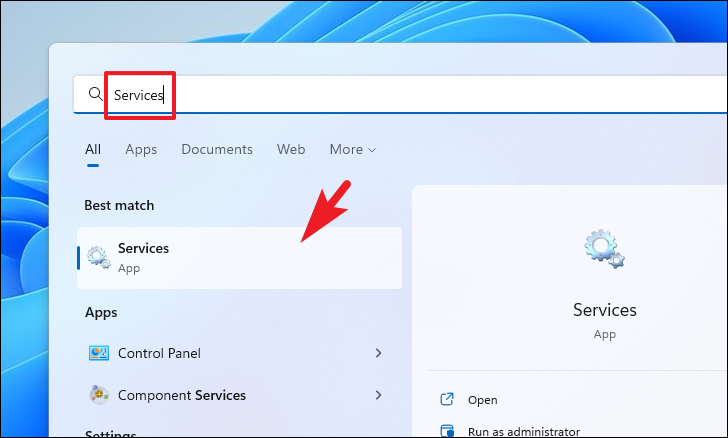
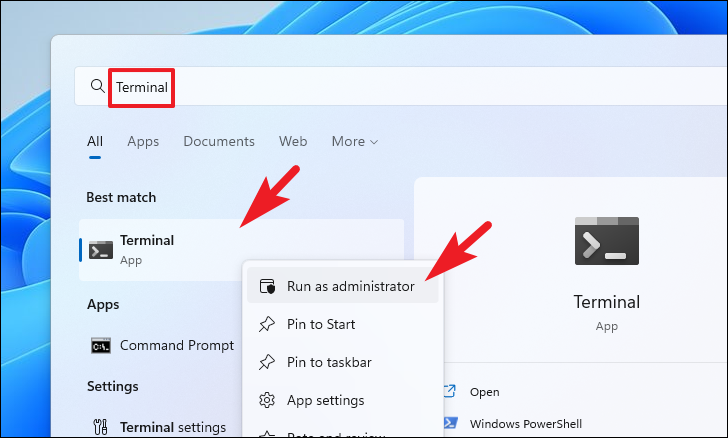
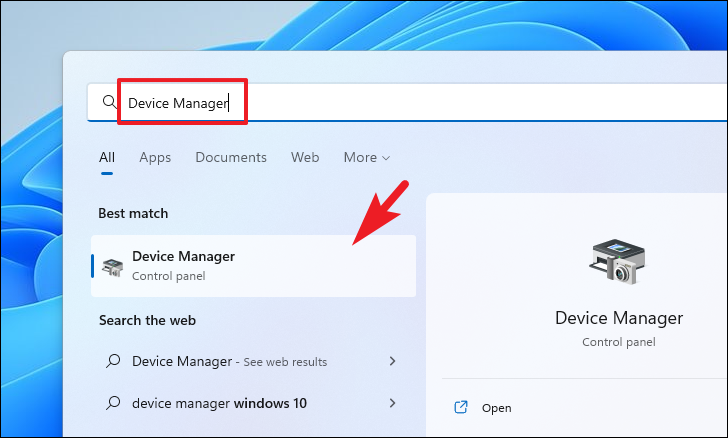
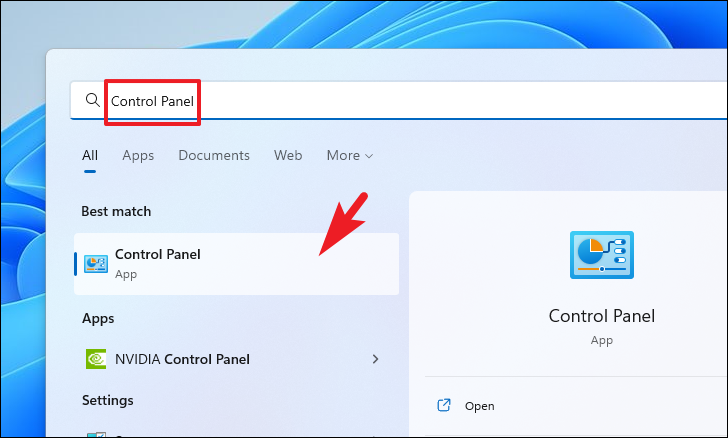
Open the Start Menu by clicking the Windows icon on the taskbar, then type Device Manager in the search bar. Click on the ‘Device Manager’ app from the search results to open it.
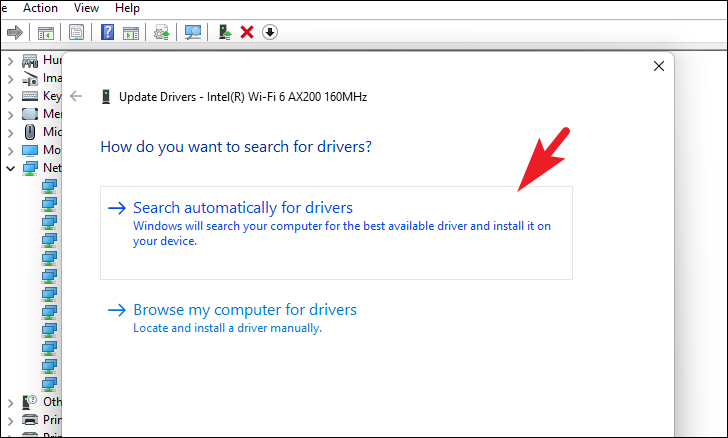
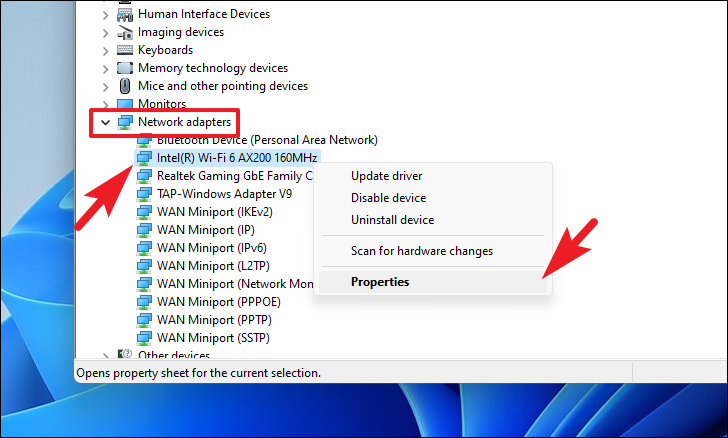
Find your Wi-Fi adapter from the list (it may include terms like “Wireless” or “Wi-Fi”), right-click on it, and select ‘Update driver’ from the context menu.
After the driver installation completes, restart your PC to apply the changes.
If Windows doesn’t find a new driver, you may also visit the manufacturer’s website to download the latest driver for your Wi-Fi adapter and install it manually.
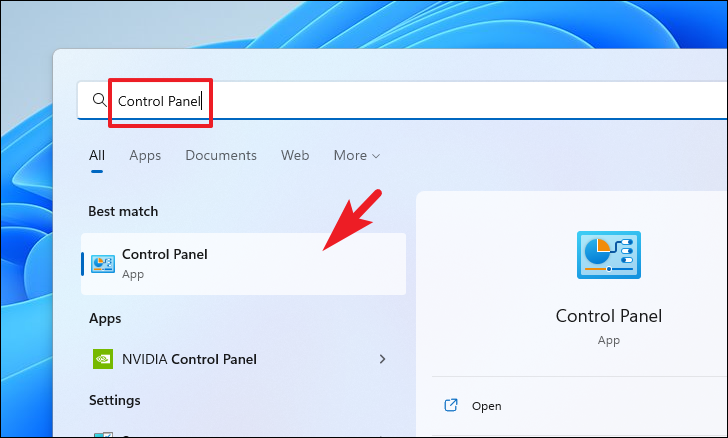
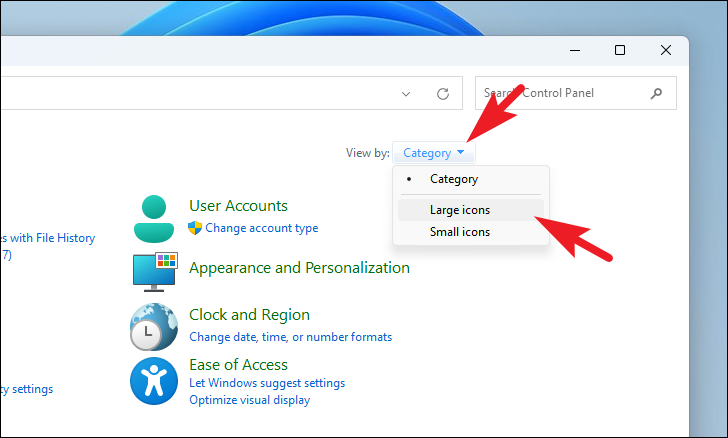
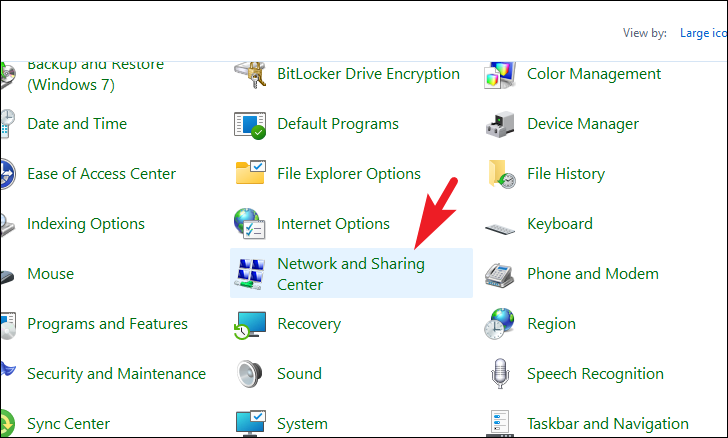
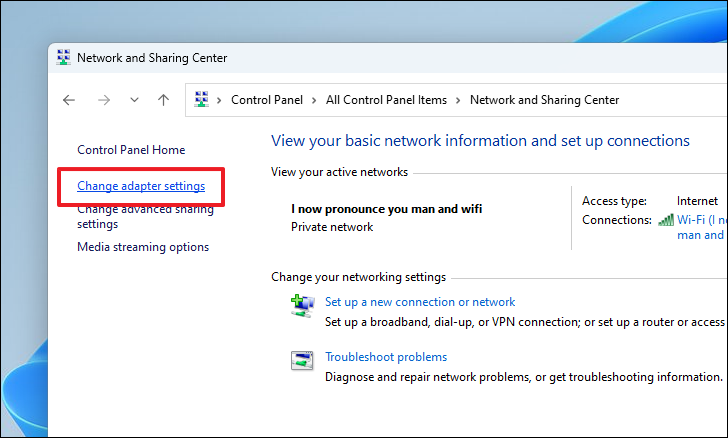
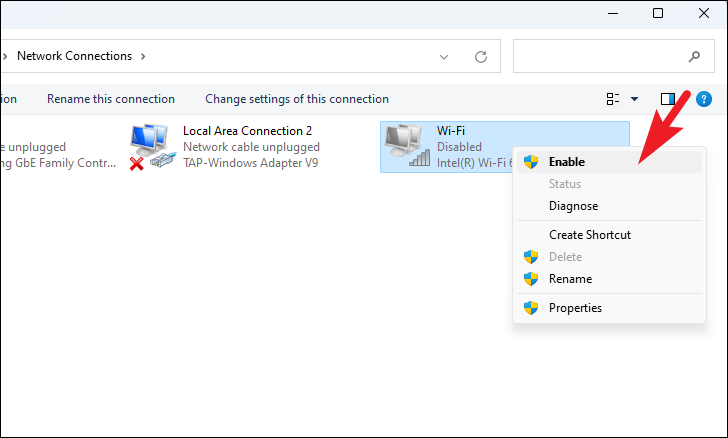
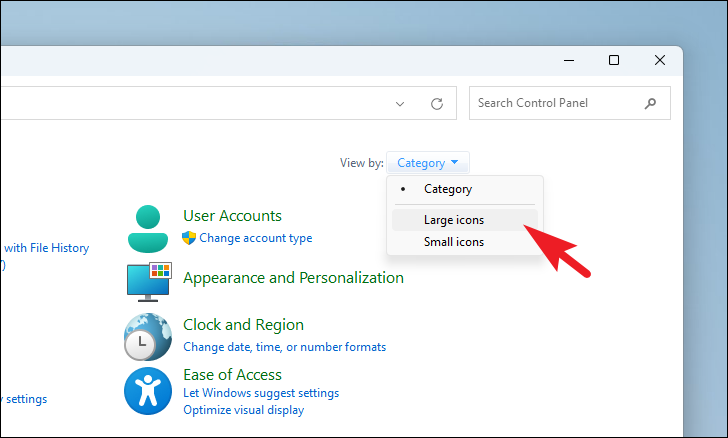
Enable the Wi-Fi Adapter from Control Panel
Sometimes, the Wi-Fi adapter might be disabled, preventing your system from detecting available networks. Enabling it can resolve the issue.
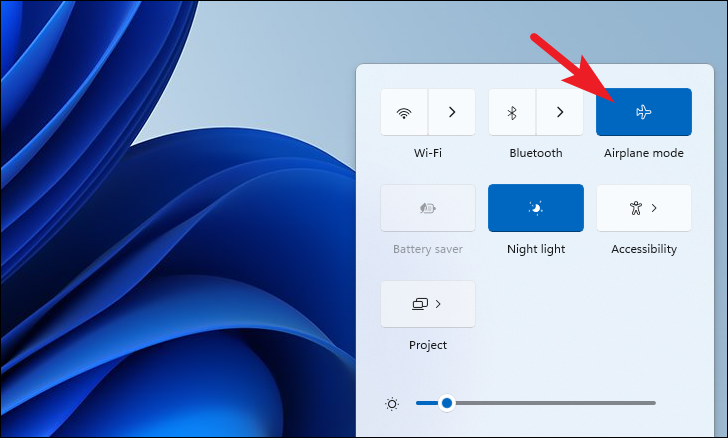
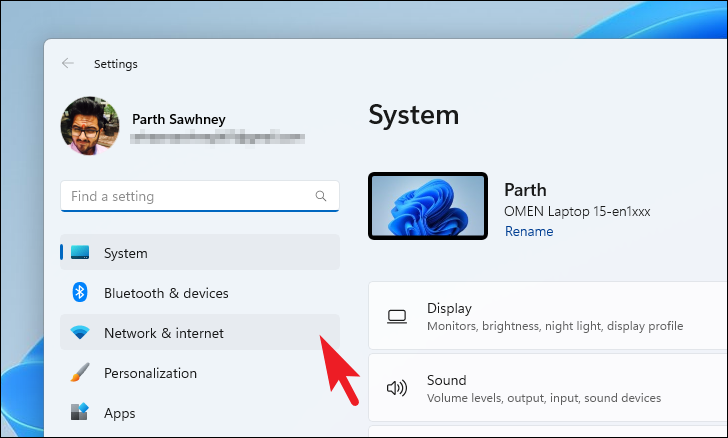
Click on the network icon (Wi-Fi symbol) located at the far-right end of the taskbar to open the Quick Settings panel. Alternatively, press Windows+A on your keyboard.
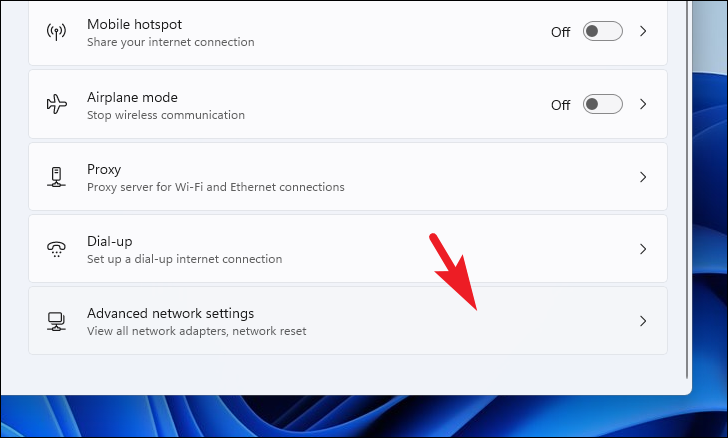
Adjust Wi-Fi Adapter Properties from Device Manager
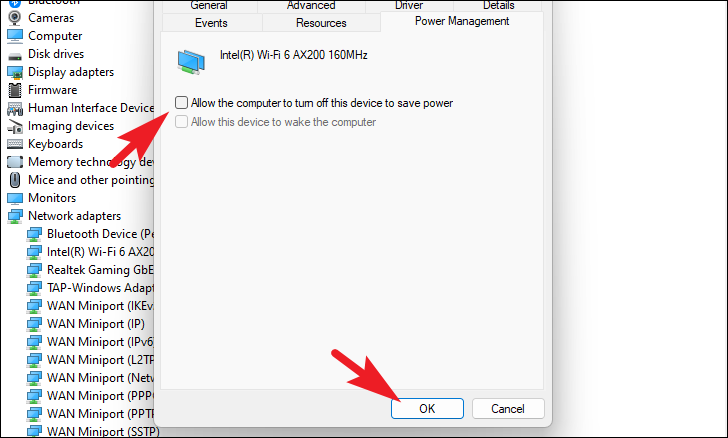
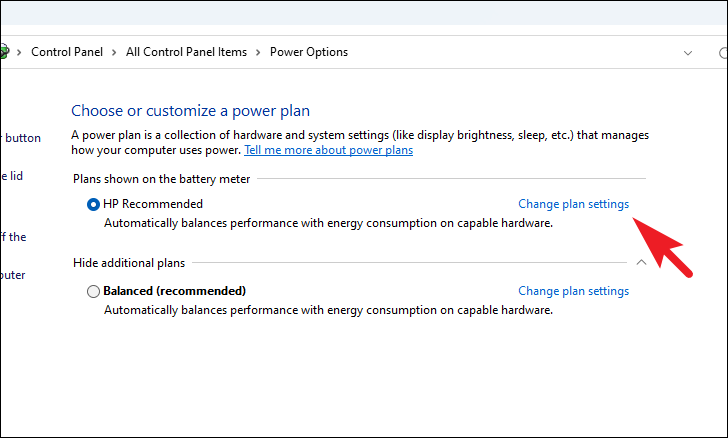
Changing the power management settings for your Wi-Fi adapter can prevent it from being turned off to save power, which might resolve connectivity issues.
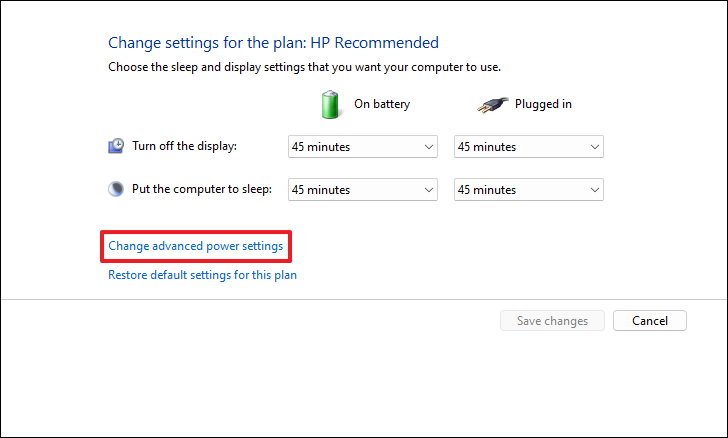
In the Power Options window, expand ‘Wireless Adapter Settings’, then expand ‘Power Saving Mode’. Set both ‘On battery’ and ‘Plugged in’ options to ‘Maximum Performance’. Click ‘Apply’, then ‘OK’.
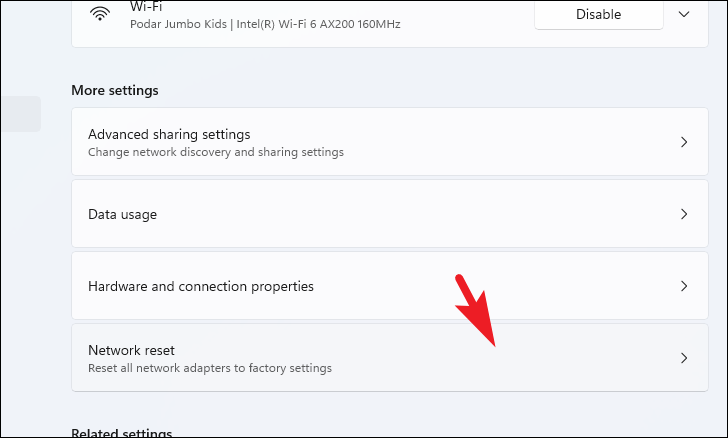
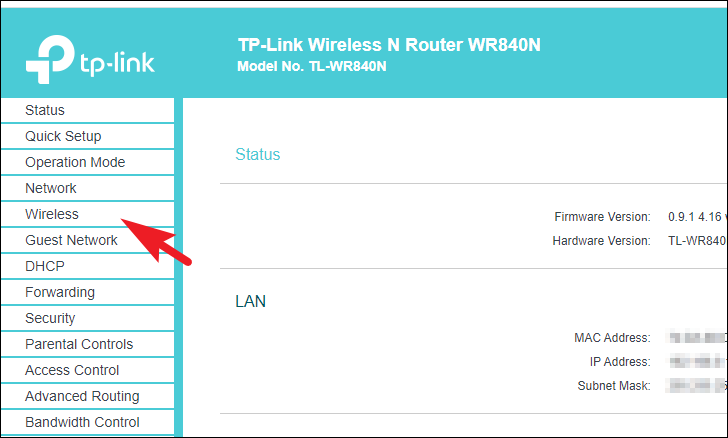
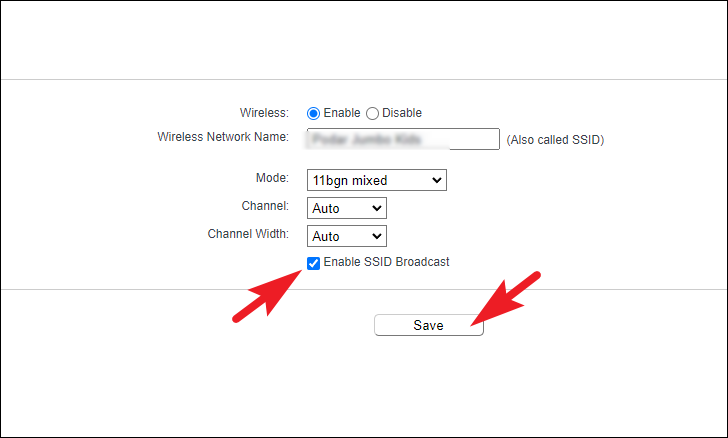
Broadcast the SSID of Your Wi-Fi Router
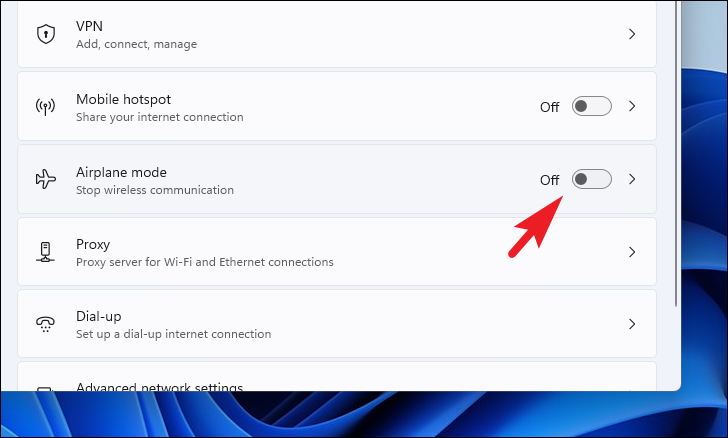
If your router’s SSID is hidden, your PC may not detect it. Ensure that your router is broadcasting its SSID.
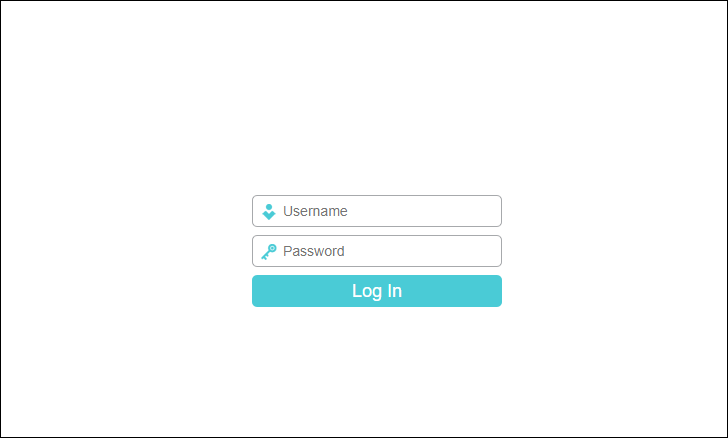
Open a web browser on a device connected to your Wi-Fi network and enter 192.168.0.1 or 192.168.1.1 in the address bar to access the router’s admin panel.
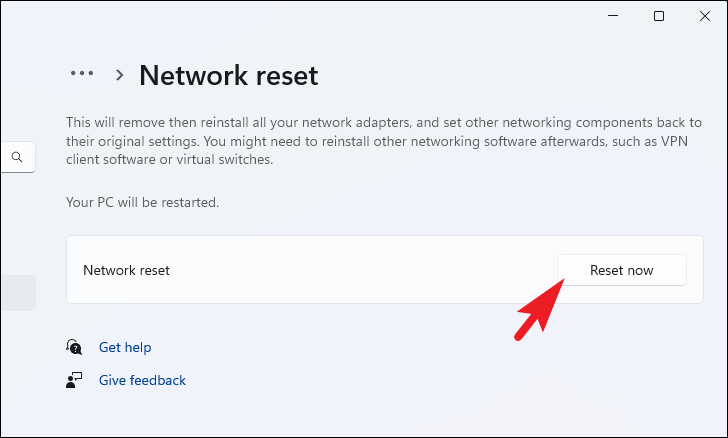
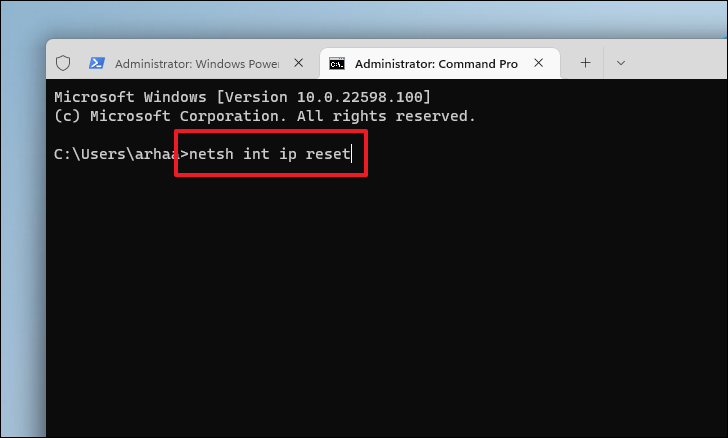
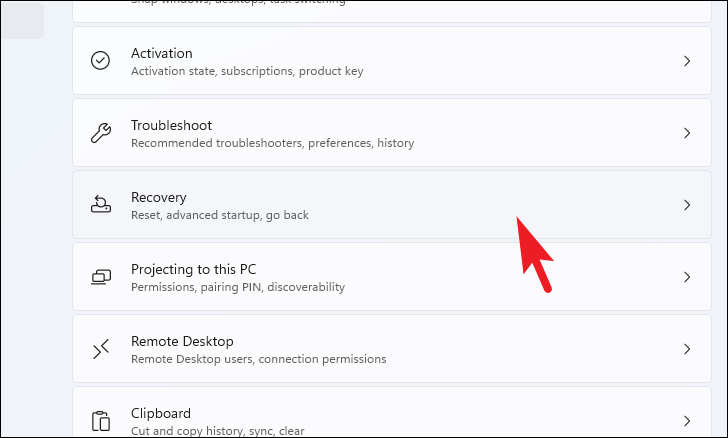
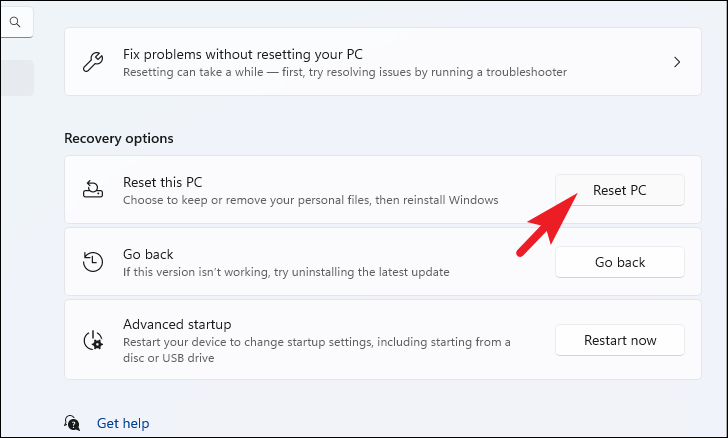
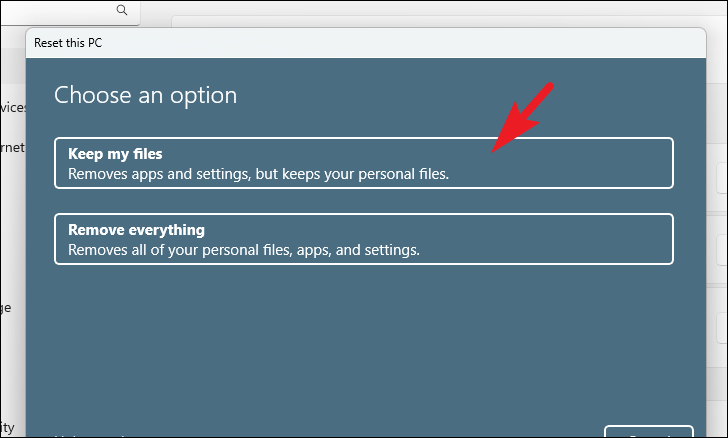
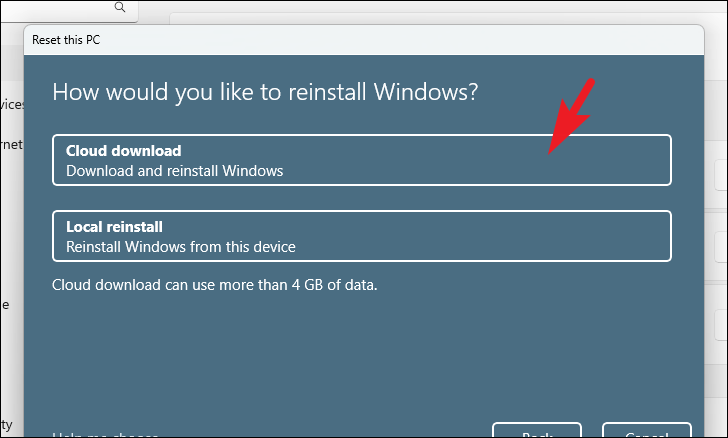
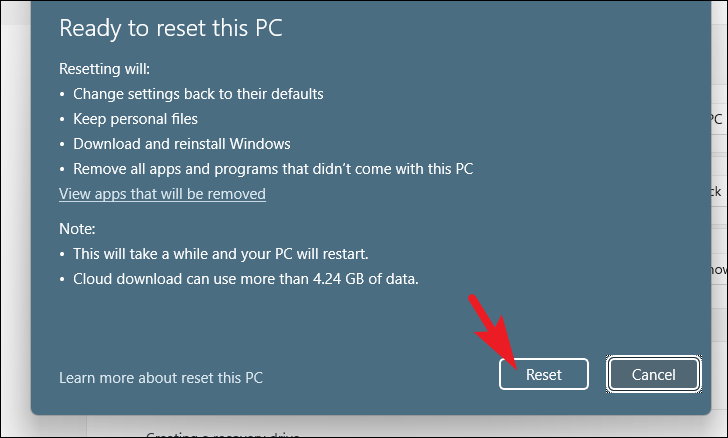
Follow the on-screen instructions to complete the reset process. Your PC will restart multiple times during this process.
By following these methods, you should be able to resolve the issue of Wi-Fi networks not appearing on your Windows 11 PC and restore your wireless connectivity.