How to Fix Windows 11 Update Failed with Install Error 0x800f081f
Straightforward fixes to get rid of the Install Error 0x800f081f on your PC.
Straightforward fixes to get rid of the Install Error 0x800f081f on your PC.
by Parth Sawhney
Encountering the Windows Update error code 0x800f081f can be frustrating, especially when you’re trying to keep your system up to date. This error often indicates issues with corrupted or missing system files, particularly related to the .NET Framework components. Fortunately, there are several methods you can employ to resolve this issue and get your Windows 11 updates back on track.
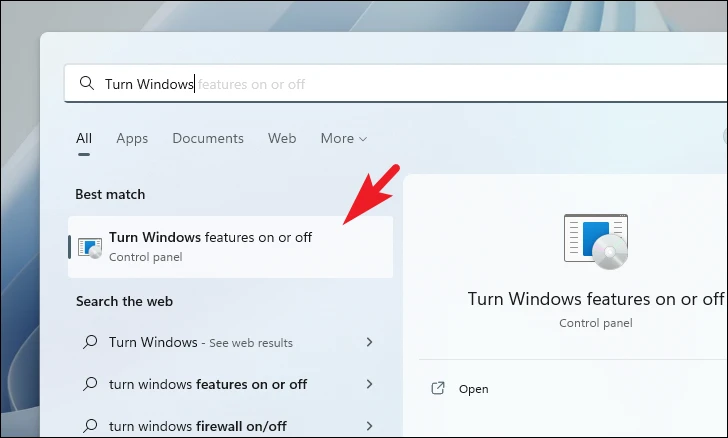
1. Re-enable .NET Framework 3.5
The error 0x800f081f is commonly associated with problems in the .NET Framework installation. Re-enabling the .NET Framework 3.5 can often resolve the issue.
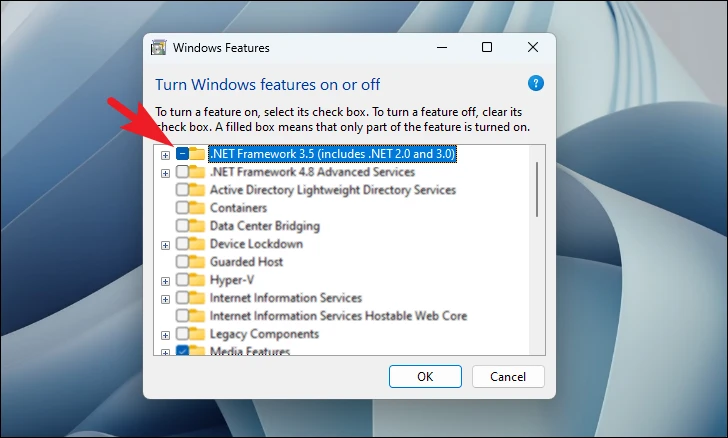
In the Windows Features window, locate the “.NET Framework 3.5 (includes .NET 2.0 and 3.0)” option. Click the checkbox next to it to enable it. Then, click the + icon to expand it.
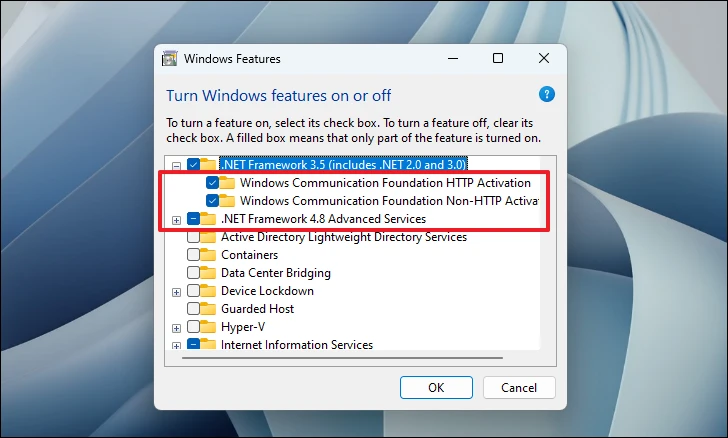
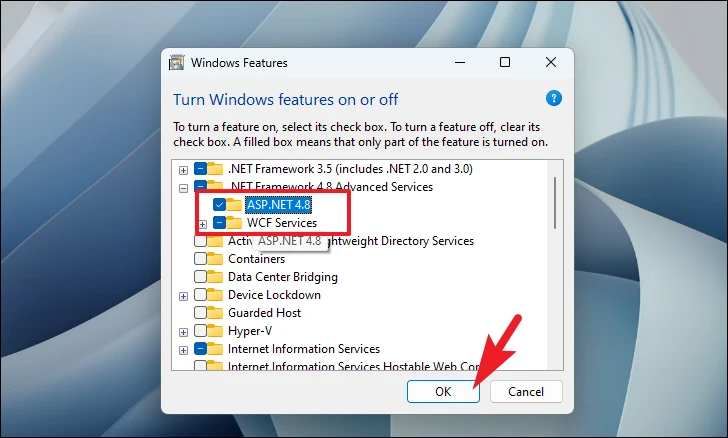
Ensure all sub-options under the expanded section are checked. Repeat the same process for “.NET Framework 4.8 Advanced Services”. Expand it by clicking the + icon and check all sub-options.
Once the changes are applied, restart your computer and attempt to run Windows Update again to see if the issue persists.
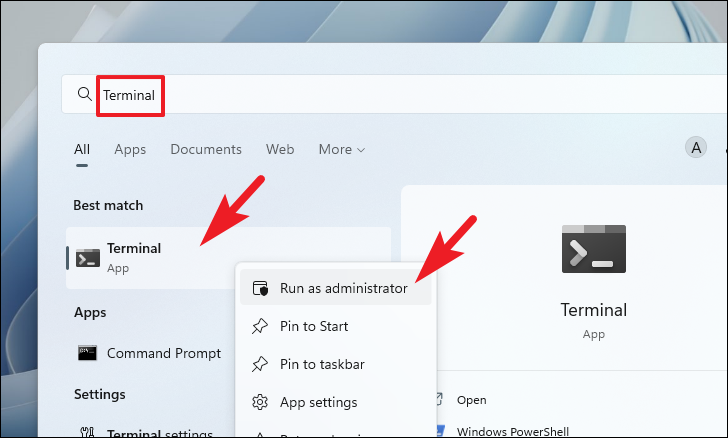
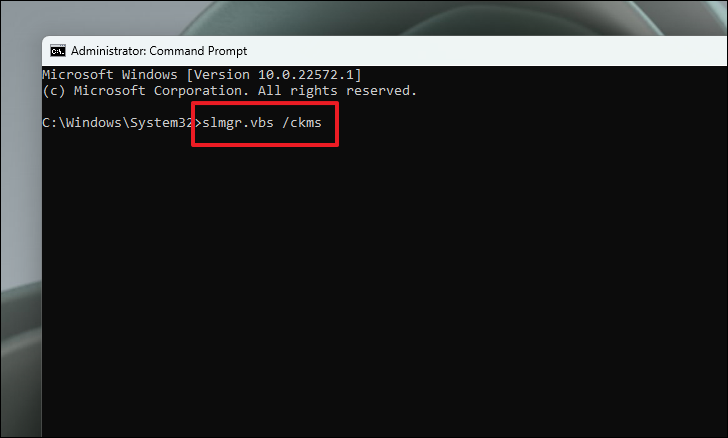
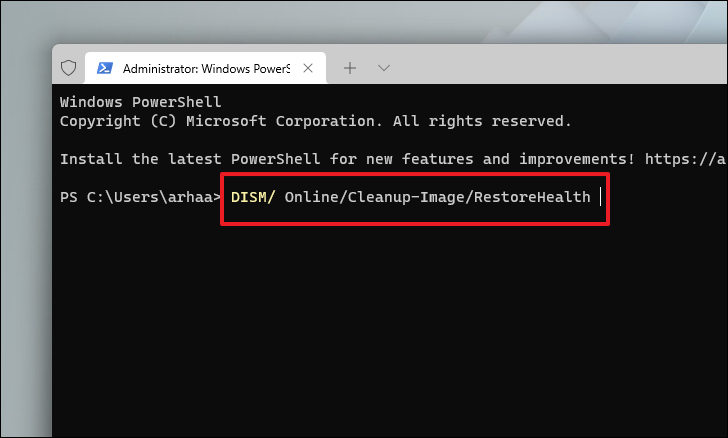
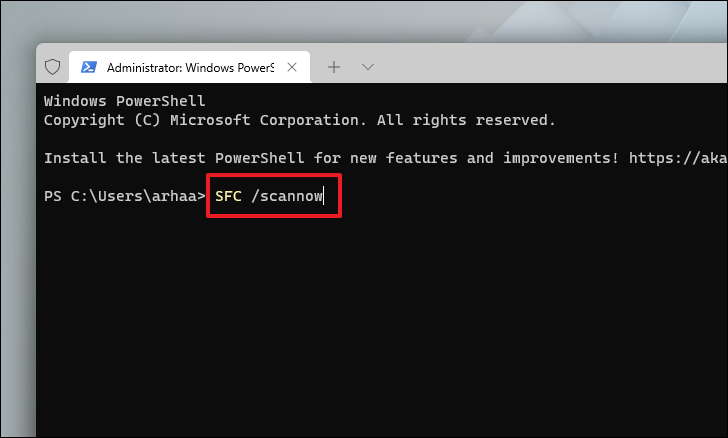
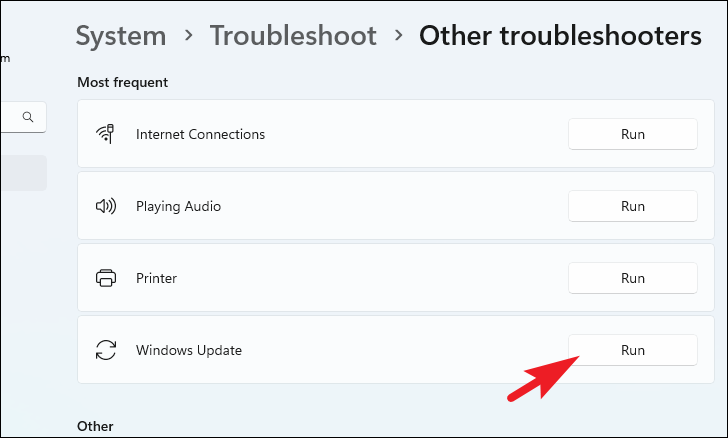
2. Run SFC and DISM Scans
System File Checker (SFC) and Deployment Image Servicing and Management (DISM) are built-in tools that can repair corrupted system files, which might be causing the update error.
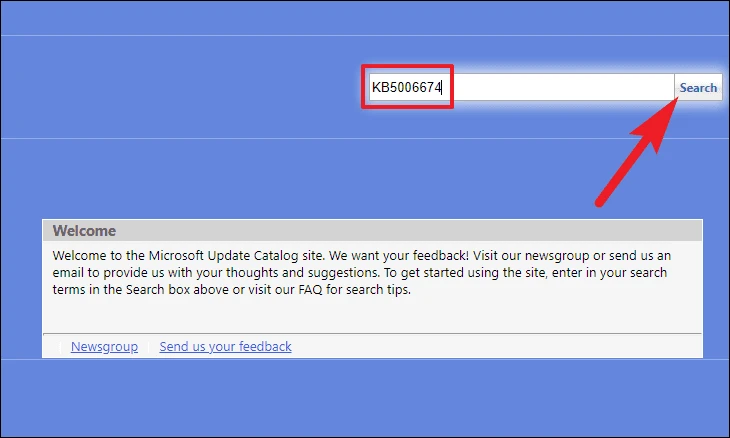
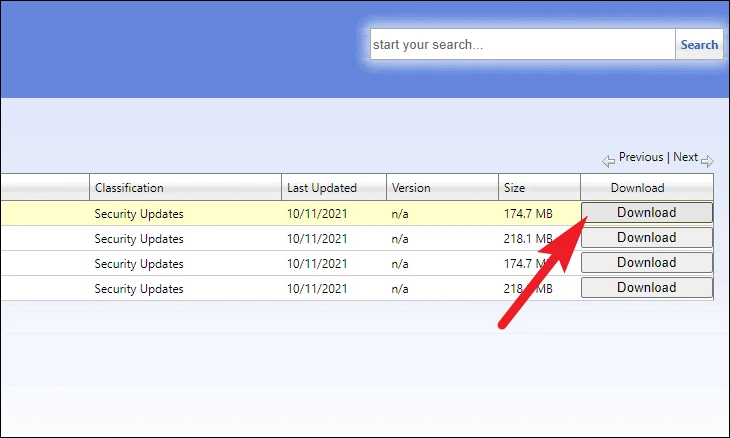
Identify the KB (Knowledge Base) number of the update you need. You can find this in the Windows Update history or from Microsoft’s update release notes.
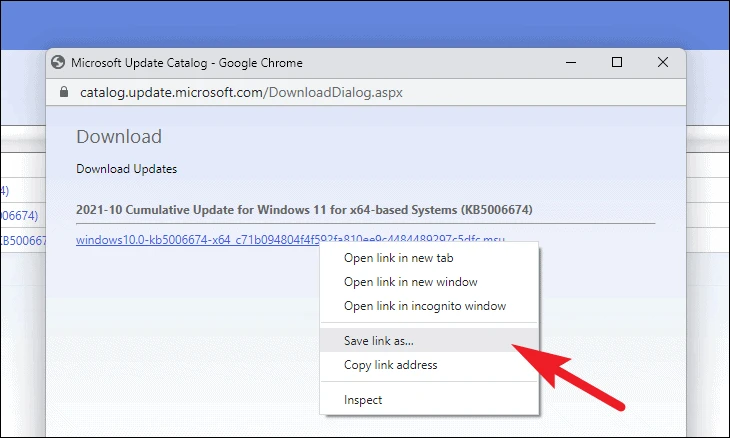
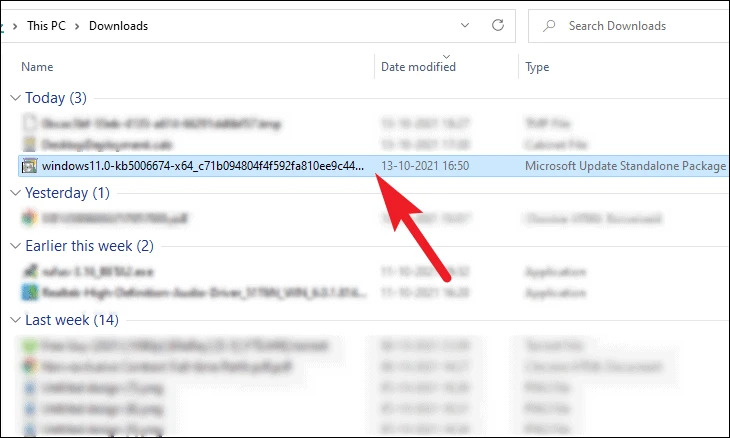
Locate the correct update from the list, ensuring it matches your system architecture (e.g., x64-based). Click on the update title for more details if needed.
Restart your computer and attempt to run Windows Update.
By following these methods, you should be able to resolve the Windows Update Install Error 0x800f081f on your Windows 11 system. Keeping your system updated is crucial for security and performance, so it’s essential to address update issues promptly.