
If you’re encountering errors related to the HWiNFO64.SYS driver on your Windows 11 computer, you’re not alone. This issue can prevent the driver from loading properly, leading to problems when installing HWiNFO or running certain applications. Fortunately, several effective solutions can help you resolve this error and restore your system’s functionality.
Fixing HWiNFO64.SYS driver error in Windows 11
1. Reinstall the HWiNFO64 software
Reinstalling the HWiNFO64 software can often resolve issues with the HWiNFO64.SYS driver. Installing the latest version ensures that any corrupt or outdated driver files are replaced.
First, uninstall the existing HWiNFO software and its drivers from your system. Then, visit the official HWiNFO download page and download the latest installer version of HWiNFO64.

Run the installer and follow the on-screen instructions to complete the installation. After the installation is finished, restart your PC to ensure all changes take effect. Check if the error persists after rebooting.
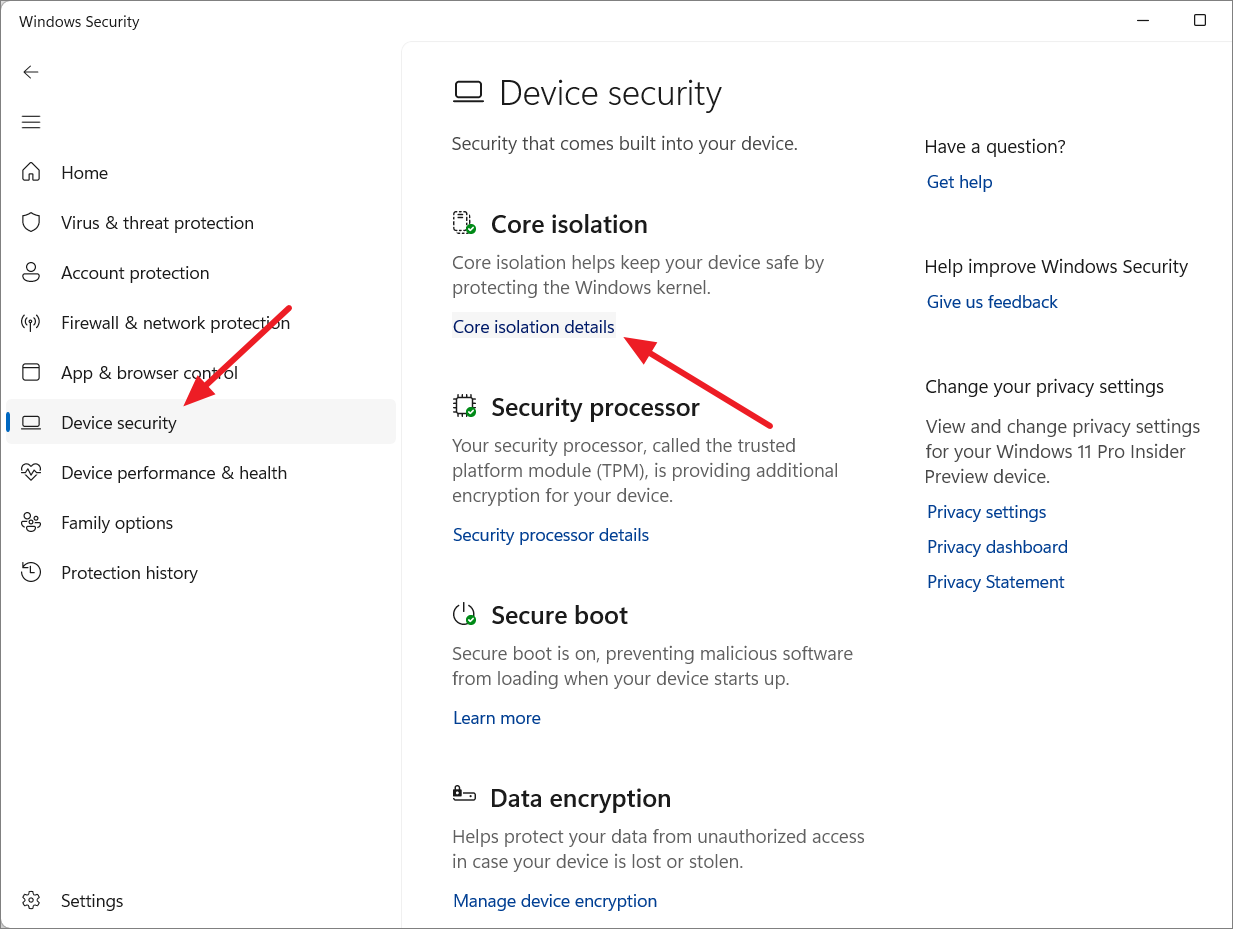
2. Turn off Memory Integrity temporarily
Memory Integrity is a security feature in Windows that isolates critical processes to prevent unauthorized access. However, it can sometimes interfere with legitimate drivers like HWiNFO64.SYS. Temporarily disabling this feature may resolve the error.


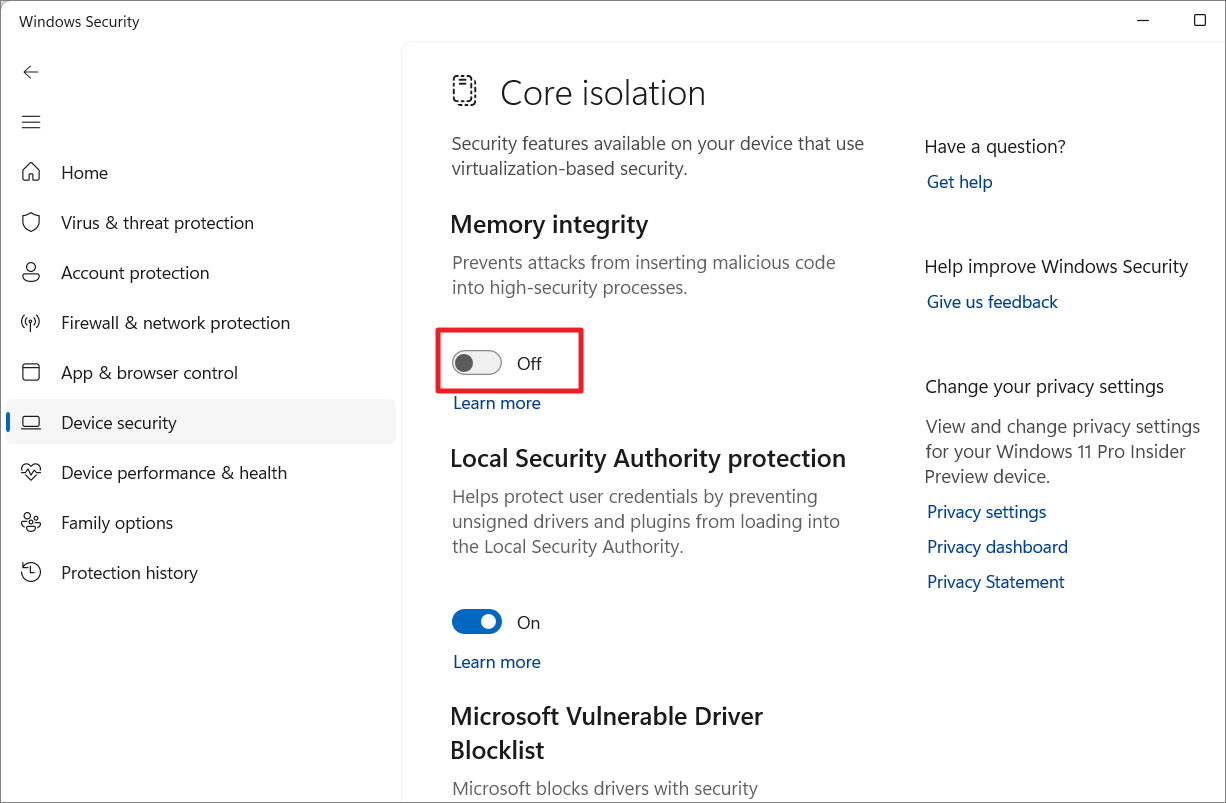
After your system restarts, check if the HWiNFO64.SYS driver error persists. If the issue is resolved, you can re-enable Memory Integrity by following the same steps and turning the toggle back on.
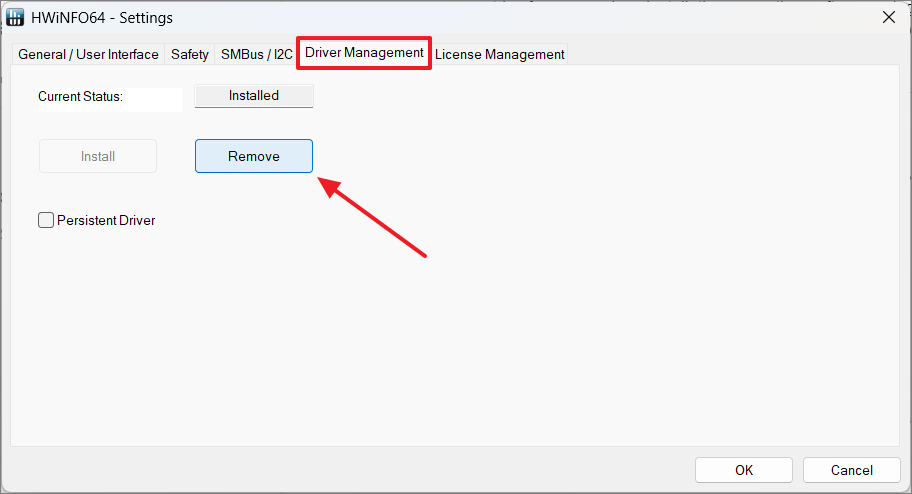
3. Remove HWiNFO driver
An outdated or corrupted HWiNFO driver can cause conflicts, leading to the ‘Cannot load HWiNFO64.SYS driver’ error. Removing the driver from your system can help resolve this issue.

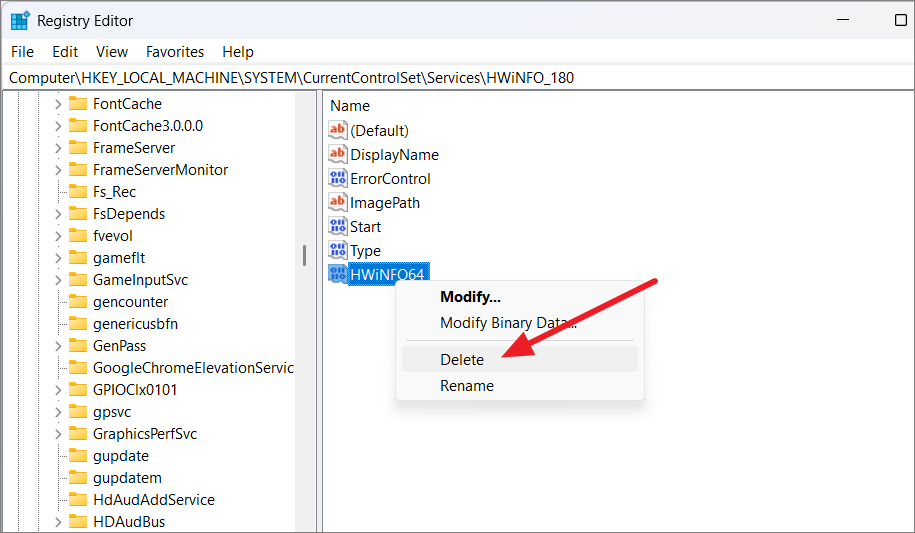
If you don’t have HWiNFO installed or the error persists, you can manually remove the driver using Command Prompt.
sc stop HWiNFO64
sc config HWiNFO64 start= disabled
sc delete HWiNFO64
Windows+R, type regedit, and press Enter.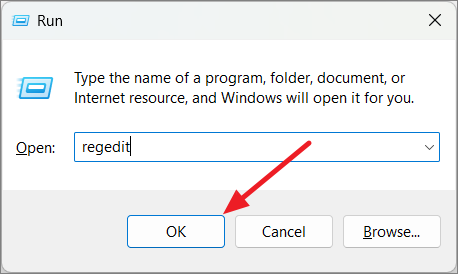
HKEY_LOCAL_MACHINE\SYSTEM\CurrentControlSet\Services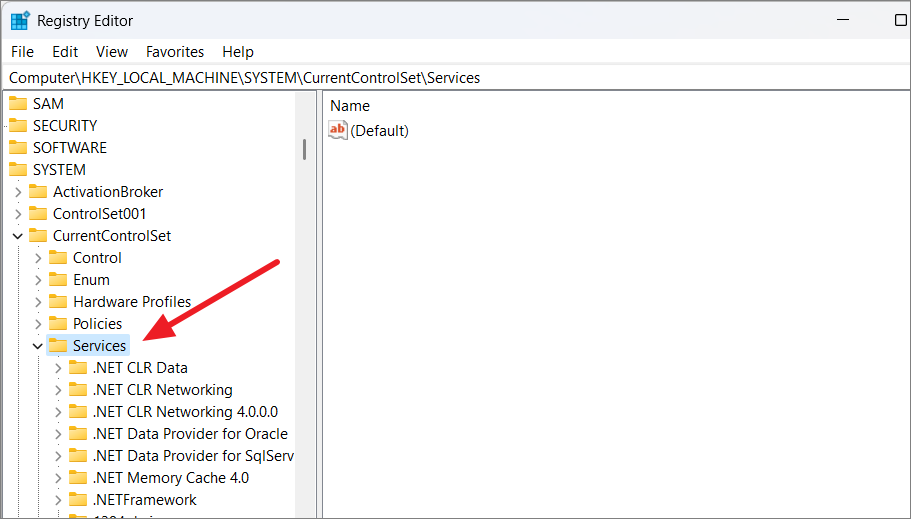
4. Terminate conflicting applications
Software like MSI Afterburner or other hardware monitoring tools can conflict with the HWiNFO driver because they access similar hardware resources. Closing these applications can eliminate the conflict and allow the driver to load properly.
Fully exit any applications that might be using hardware monitoring features similar to HWiNFO. After closing these programs, try installing or updating the HWiNFO driver again. Once the driver is successfully loaded, you can restart the conflicting applications if necessary.
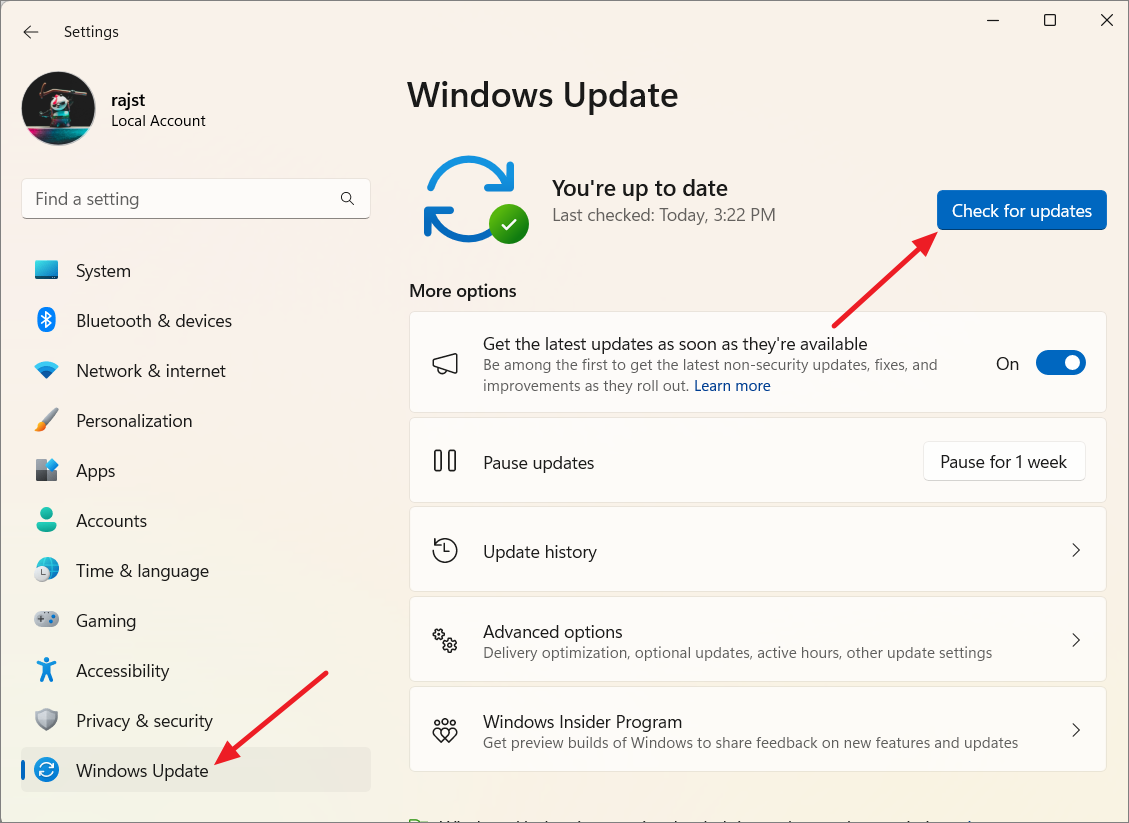
5. Install Windows updates
Running an outdated version of Windows 11 might lead to compatibility issues with the HWiNFO64.SYS driver. Updating your operating system can resolve these conflicts.

6. Run DISM and SFC scans
Corrupted system files can prevent drivers from functioning correctly. Running System File Checker (SFC) and Deployment Image Servicing and Management (DISM) scans can repair these files.
cmd in the Start menu, right-click on ‘Command Prompt’, and select ‘Run as administrator’.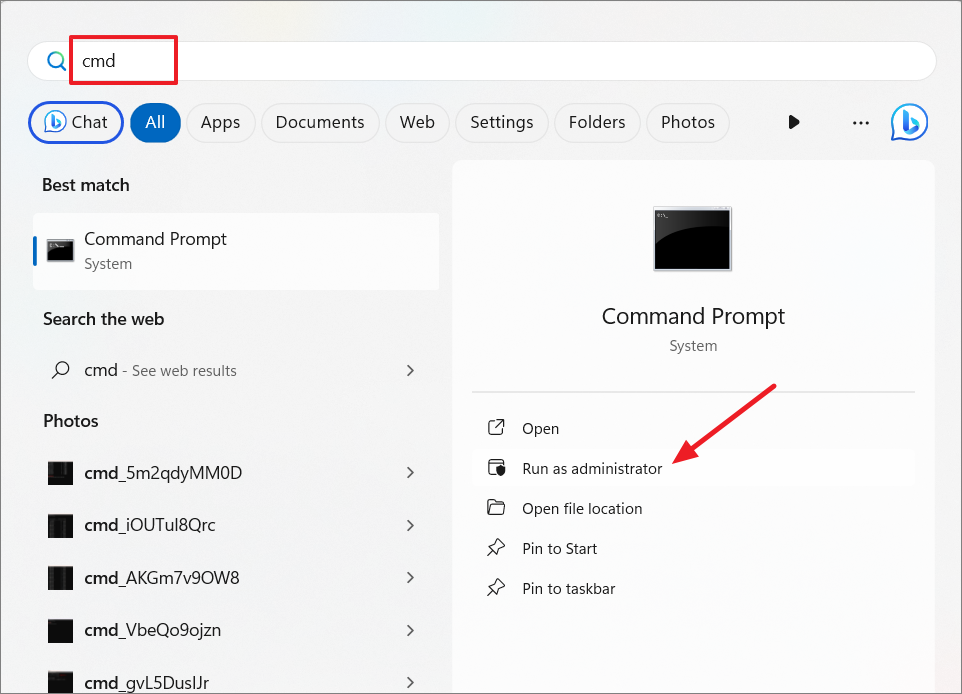
sfc /scannowThis will scan and repair corrupted system files. Wait for the process to complete, then restart your computer.
Enter after each:Dism /Online /Cleanup-Image /CheckHealth
Dism /Online /Cleanup-Image /ScanHealth
Dism /Online /Cleanup-Image /RestoreHealth
Once the DISM scan is complete, restart your computer and check if the issue is resolved.
7. Disabling driver signature enforcement
Driver Signature Enforcement is a security feature that prevents the installation of drivers without a valid digital signature. Temporarily disabling it can allow you to install the HWiNFO64 driver if it’s being blocked.


F7 or 7 to disable driver signature enforcement.
Your computer will start with driver signature enforcement disabled. Install the HWiNFO64 driver, then restart your PC to re-enable the security feature automatically.
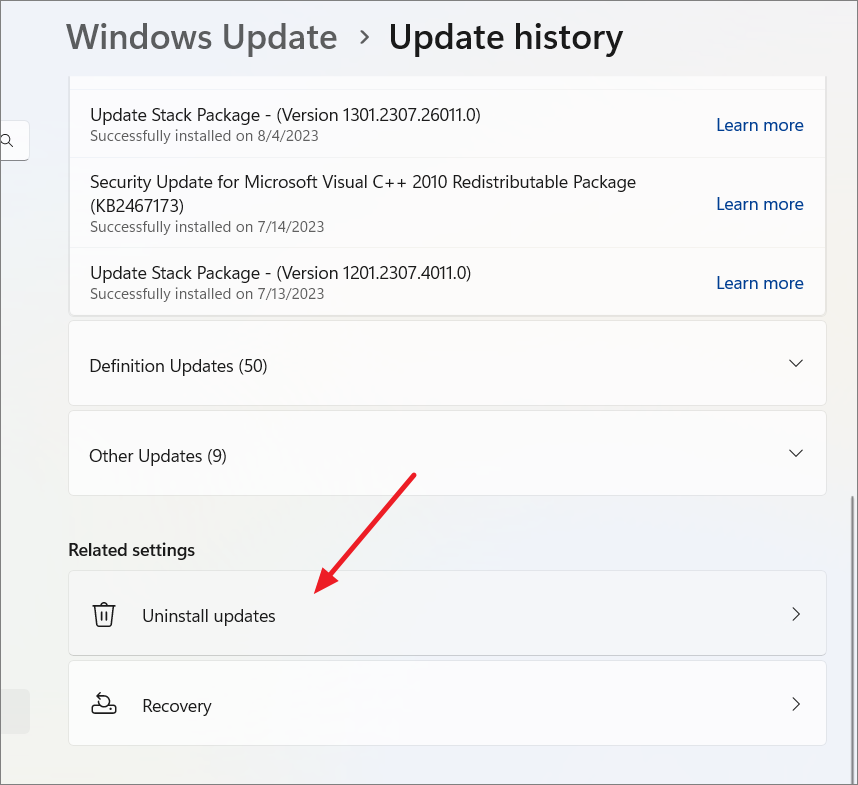
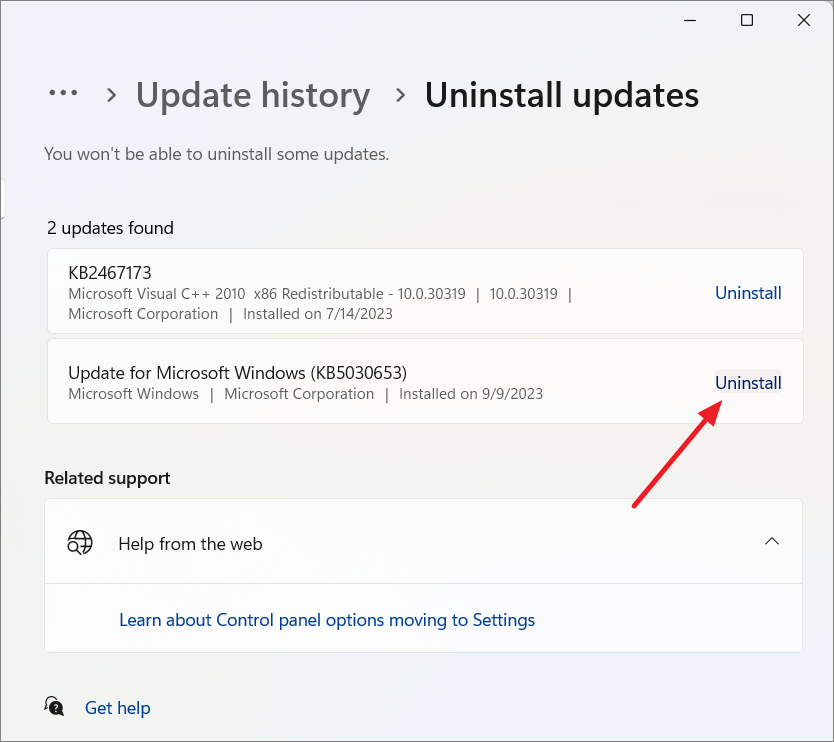
8. Rollback the recent update of Windows 11
If the error began after a recent Windows update, rolling back the update might resolve the conflict causing the HWiNFO64.SYS driver error.
Windows+I, then click on ‘Windows Update’ in the left sidebar. On the right, select ‘Update history’.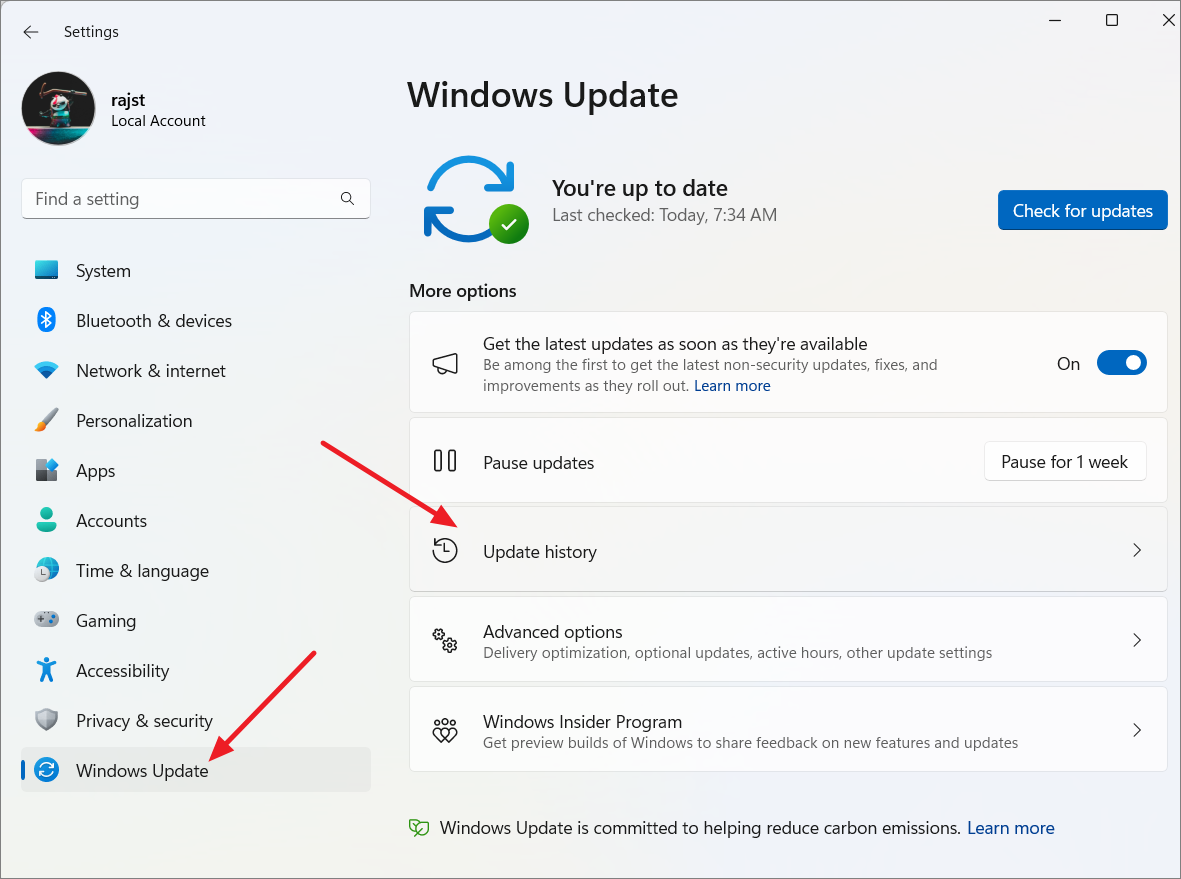
9. Reinstall Windows 11
If none of the previous methods resolve the issue, reinstalling Windows 11 might be necessary. The ‘Fix problems using Windows Update’ recovery option allows you to reinstall the operating system without affecting your files, settings, or installed programs.
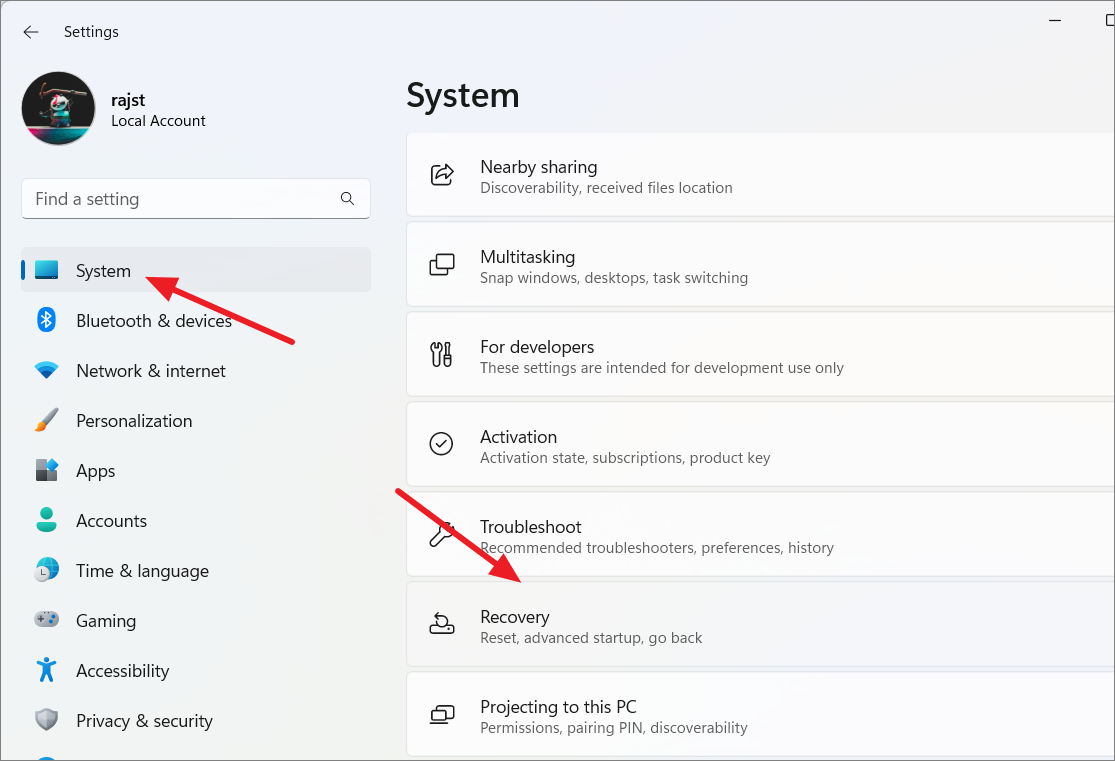
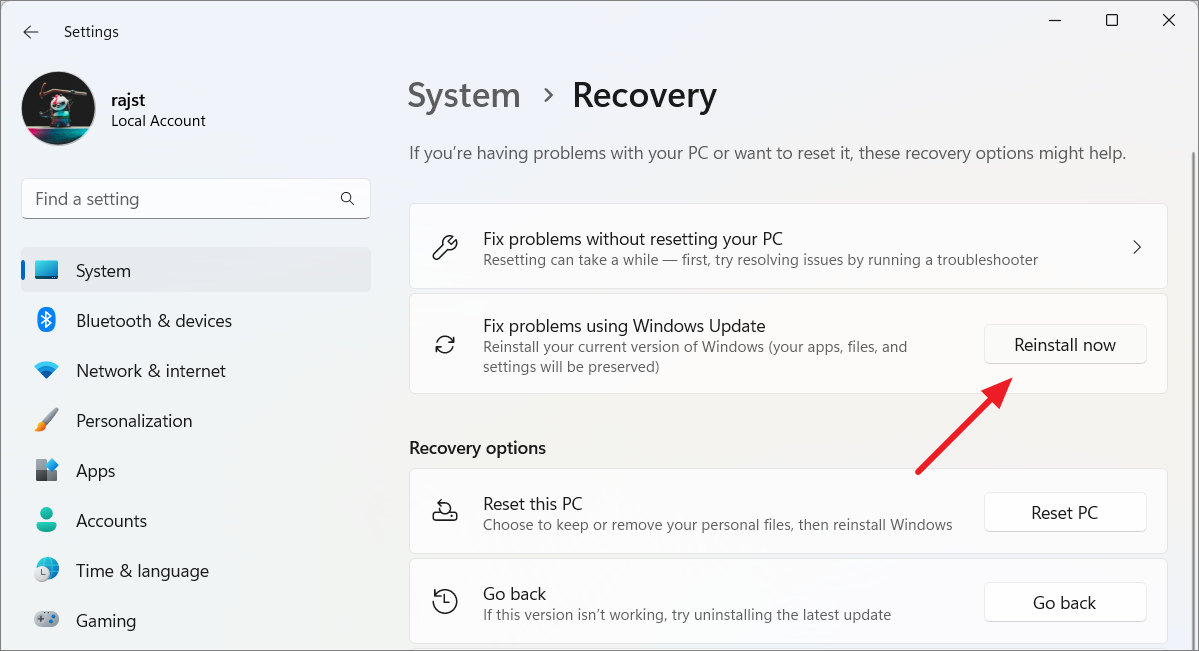
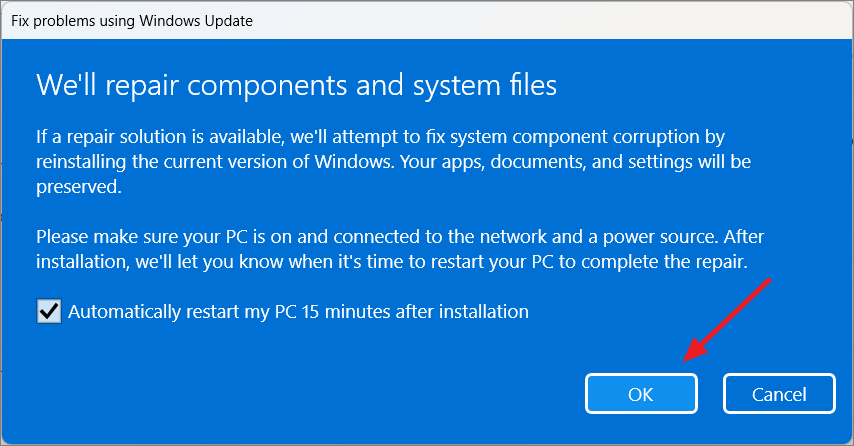
This process will reinstall Windows 11 using Windows Update. Ensure your computer is connected to the internet and plugged into a power source. Follow the on-screen instructions to complete the reinstallation.
By following these methods, you should be able to resolve the HWiNFO64.SYS driver error on your Windows 11 PC.


