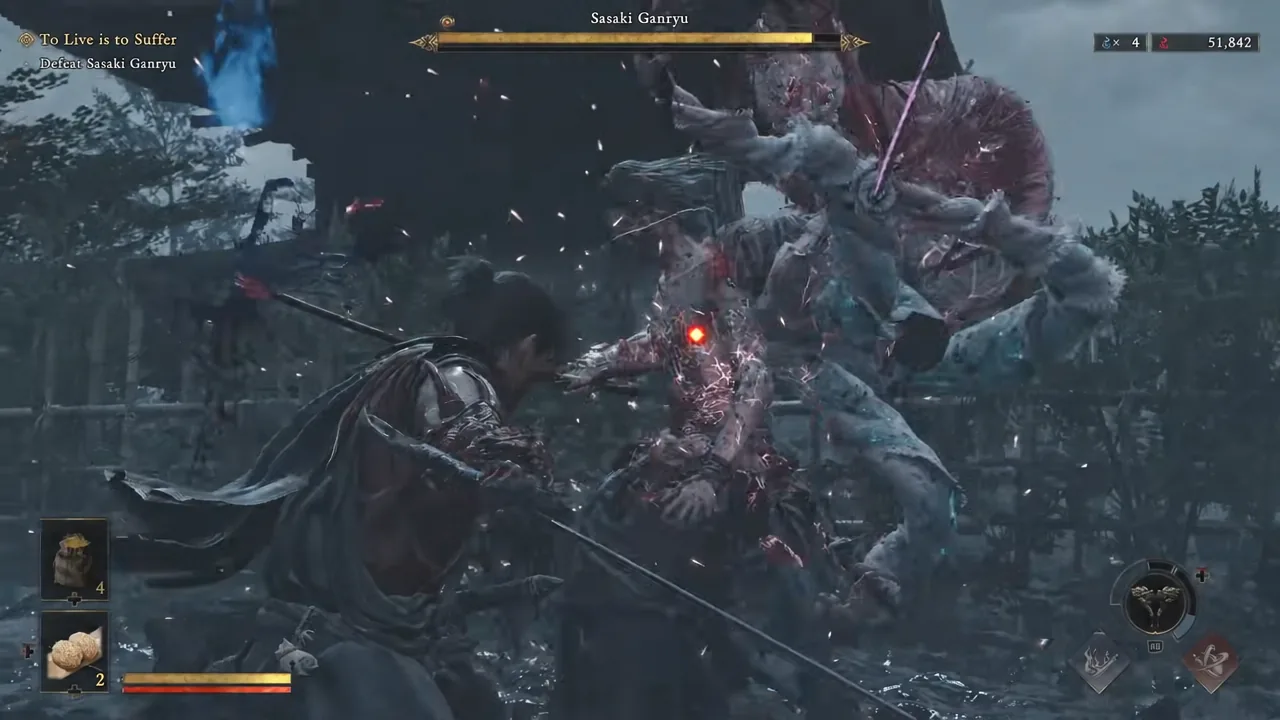
The rematch with Sasaki Ganryu is a very different fight from the duel at Kiyomizu-dera. He is no longer a straight swordsman standing across from you. The Oni Gauntlet has fused him with Gioh into a single body with a huge snake-like attachment, and the whole encounter runs on one health bar with almost no downtime between attacks. It shows up in the mission marked To Live is to Suffer, with the objective listed simply as Defeat Sasaki Ganryu.
Quick answer: Sprint at Ganryu the moment control returns and land a fully charged hammer attack to wreck his posture, then play defensively and deflect his combos instead of trying to parry each swing. Aim critical hits at his head for the highest damage, dodge the delayed grab and the jump attacks that appear once he is around half health, and eat rice balls between combos whenever the red portion of your health bar gets low.
What to equip before the fight starts
Two things matter more than anything else in your loadout. The first is a healing item slot filled with rice balls. Ganryu hits often enough that chip damage from blocking builds up fast, and a single missed deflection during one of his long strings can take a serious chunk. The second is your secondary weapon, since the charged hammer attack is what gives you a free opening at the very start of the fight.
If the encounter is going badly on Action Mode, the game’s other difficulty preset lowers the pressure without changing what you need to learn. The reads are the same either way.
Open with a charged hammer attack
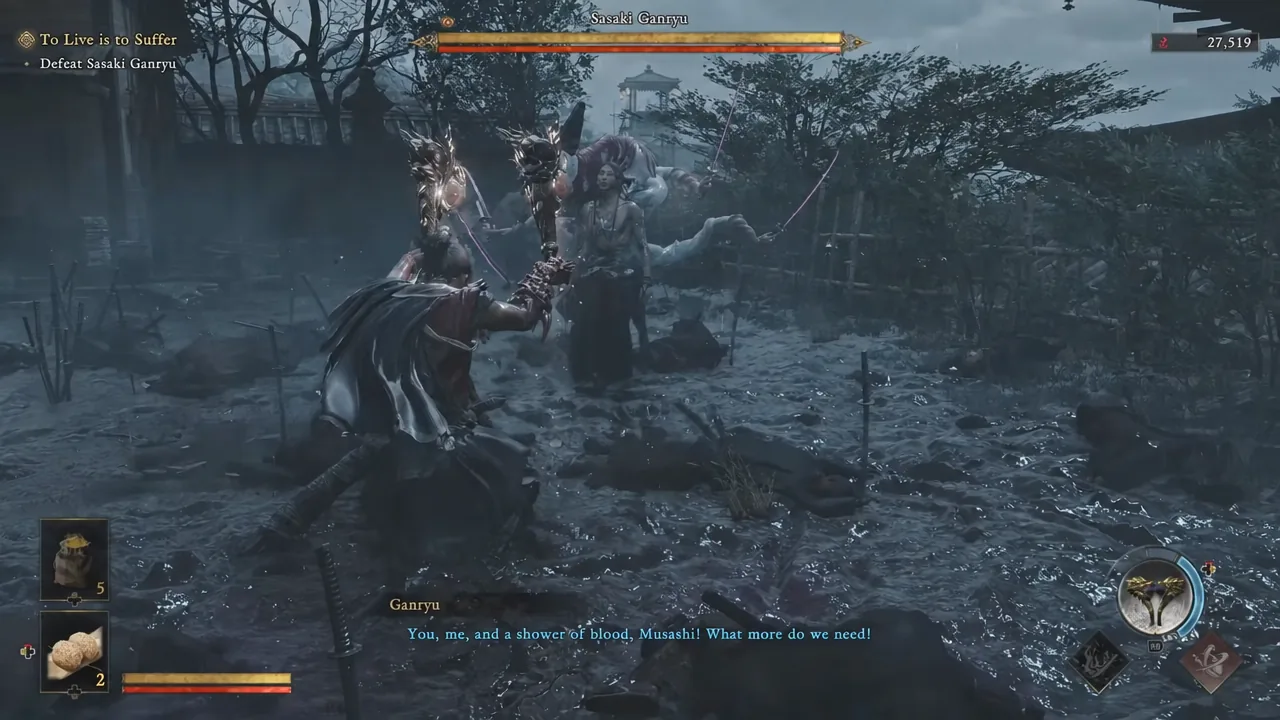
Deflect his combos instead of parrying
This is the single biggest change from the first Ganryu duel. In the rematch he leans on rapid multi-hit strings, and trying to time a clean parry on every swing in a chain almost always ends with one getting through. Deflections are far more forgiving across a long combo, so hold your guard and deflect the string out, then answer with one or two quick strikes rather than a full aggressive commitment.
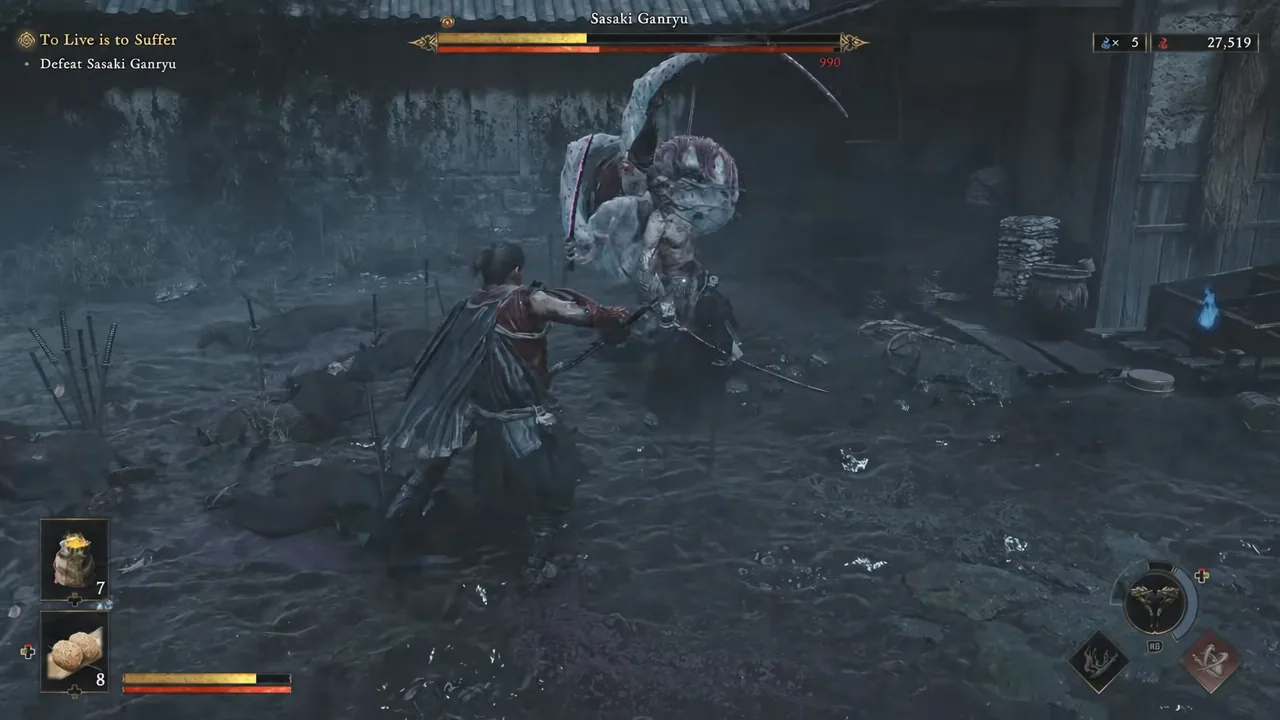
Note: patience wins this fight more than damage output does. Ganryu’s aggression means every extra swing you throw is a swing you are not defending with, and the fight is comfortably long enough to win on short, controlled punishes.
Where to aim your critical hits: head or snake
The fused body has more than one place worth targeting, and the choice changes what you get out of the hit. Point your critical strikes at whichever one you need at that moment.
| Target | What it gives you | Use it when |
|---|---|---|
| Ganryu’s head | Maximum damage per critical hit | Your health is stable and you want the fight over quickly |
| The snake attachment | More souls and healing | You are low and want to recover without spending an item |
Healing with rice balls at the right moment
Watch the red section of your health bar. Blocked hits and failed deflections drain it steadily, and Ganryu can close a fight out in two exchanges if you let it sit low. Heal in the gap right after you have deflected a full combo, never in the middle of one, because he recovers quickly enough to punish a mistimed item use.
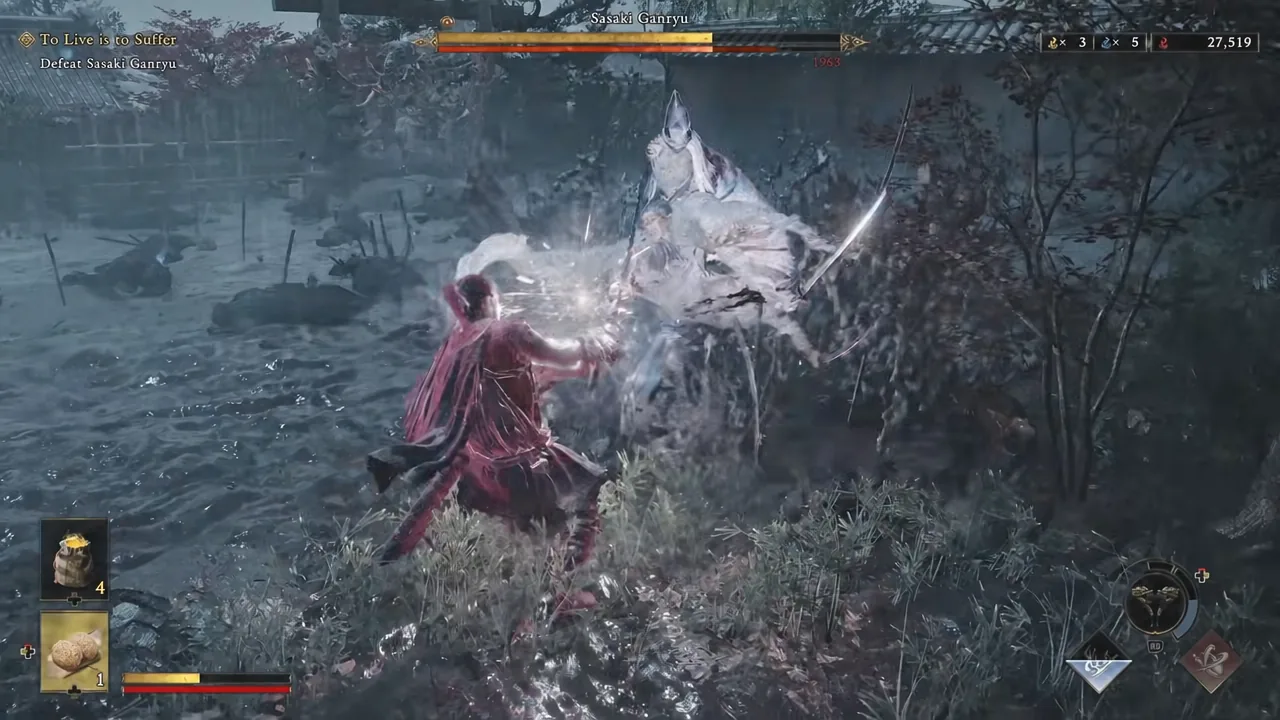
The second half: delayed grab and jump attacks
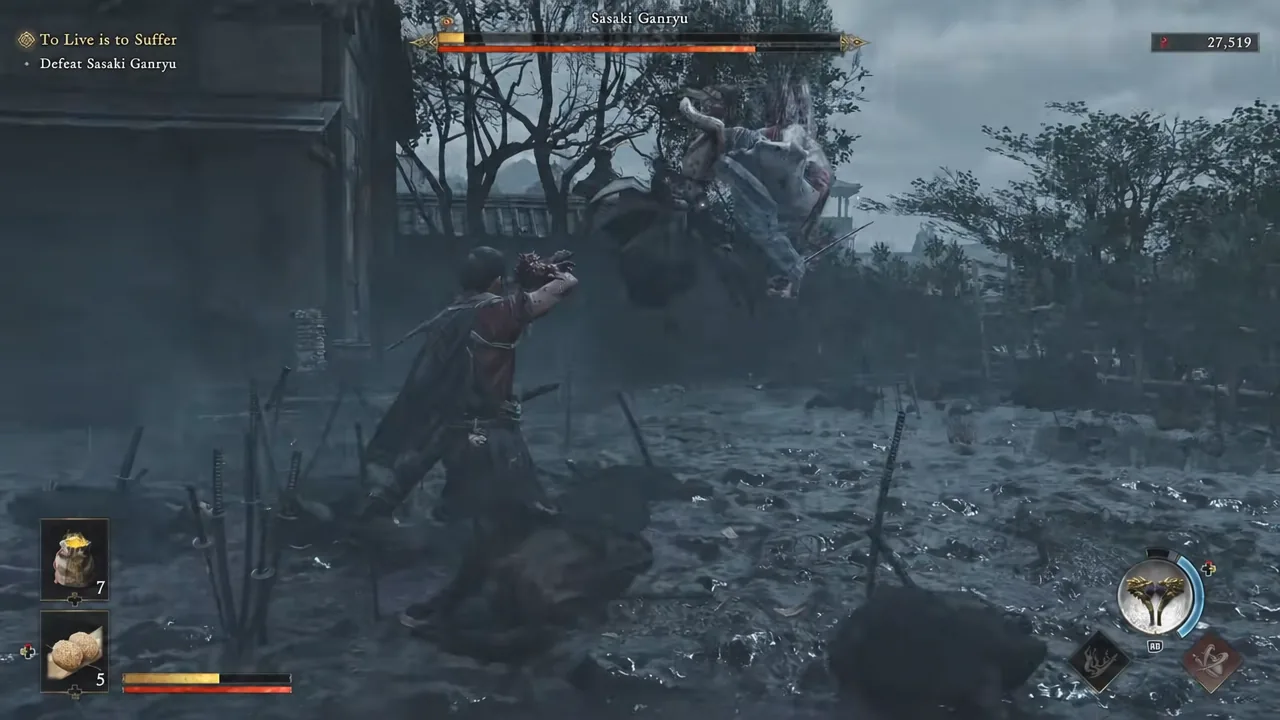
Around half health, Ganryu steps up. The combos get faster and longer, and he adds two moves that guarding will not save you from. Both need a dodge, and both are the most common reason a run ends here.
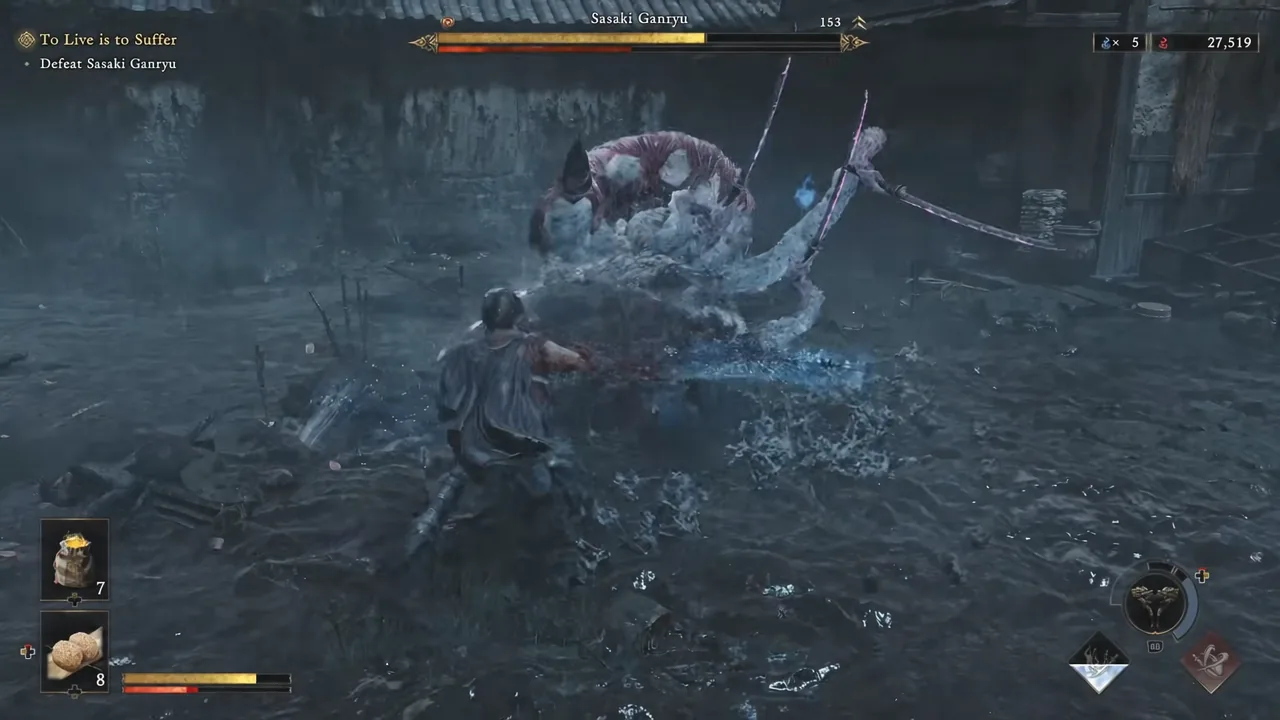
| Attack | Answer |
|---|---|
| Delayed grab | Dodge, and wait out the pause before committing — early dodges get caught by the delay |
| Jump attack | Dodge as he comes down, then counter while he lands |
| Rapid multi-hit strings | Deflect through the whole chain, then answer with one or two hits |
Keep the same rhythm you used in the first half. Deflect, punish briefly, dodge the grab and jump attacks, and let his health drain in small pieces. There is no new phase transition to survive past this point, so once you have his second-half pattern down the fight closes out on its own.
Common reasons the fight goes wrong
- Skipping the opening charged hammer attack, which gives up a free posture break and critical hit.
- Trying to parry every hit in a multi-hit string instead of deflecting it out.
- Entering the fight without rice balls equipped, leaving nothing to recover with when blocked damage adds up.
- Blocking the grab in the second half rather than dodging it.
- Overextending with long attack chains during his brief recovery windows.
When his health bar empties, the objective clears and the fight ends without a follow-up phase. Ganryu returns again later in Musashi’s story, and the habits you build here — deflect first, target the head for damage and the snake for recovery, dodge anything that grabs or leaps — carry directly into that next encounter.