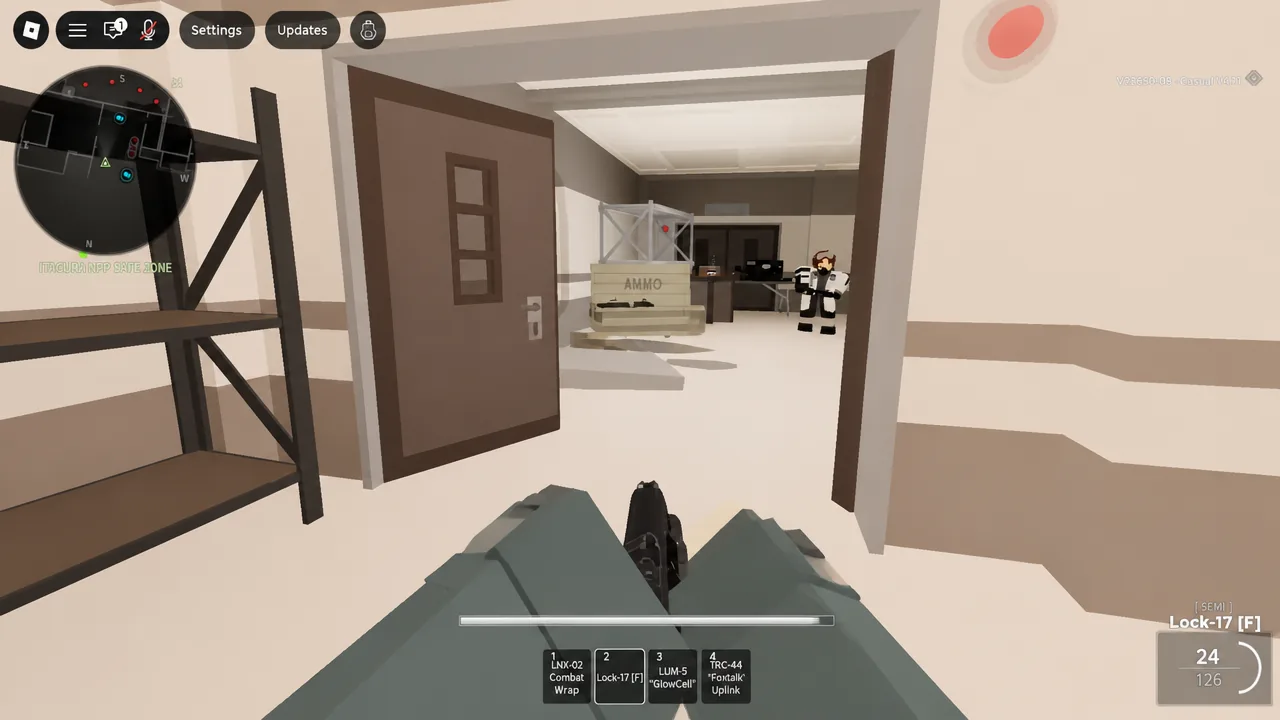
The Enforcer is a Special-tier class in Examination, built around riot control rather than raw firepower. It sits behind the MENLONIAL-CONSTABULARY badge, and the in-game route to that badge starts with a police NPC in the Itagura NPP safe zone who wants a specific enemy type dead.
Quick answer: Talk to Police Officer Carlos Delgado in the Itagura NPP safe zone to take the task, then kill 15 Shielders. Reaching them requires restarting two generators and turning one valve wheel, which opens the area where Shielders spawn.
Enforcer unlock requirement in Examination
Classes in Examination are gated by badges and by how deep you push through the sectors, and the Enforcer is no exception. There is no purchase option and no level requirement. You earn the MENLONIAL-CONSTABULARY badge in a run, and the class becomes selectable afterwards.
The kill requirement is fixed at 15 Shielders. Those enemies do not appear in the starting areas, which is why the task effectively becomes a short traversal objective before it becomes a combat one.
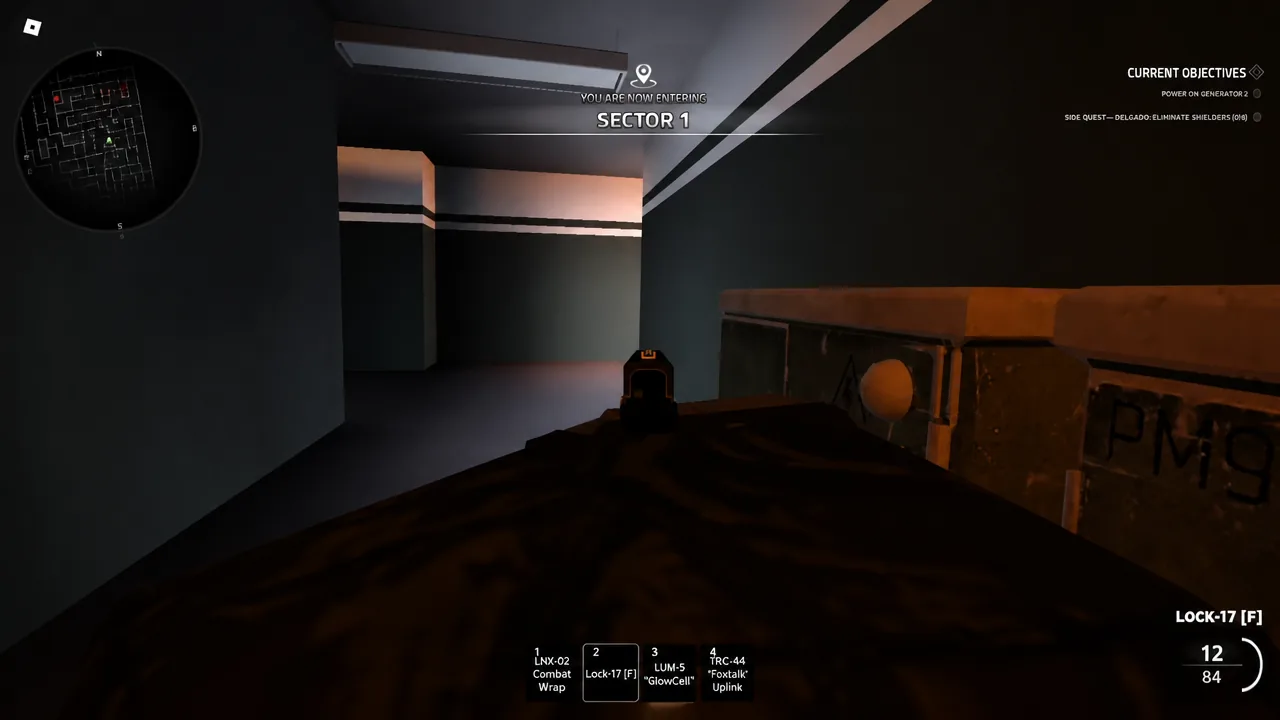
How to open the Shielder area: Generators and valve
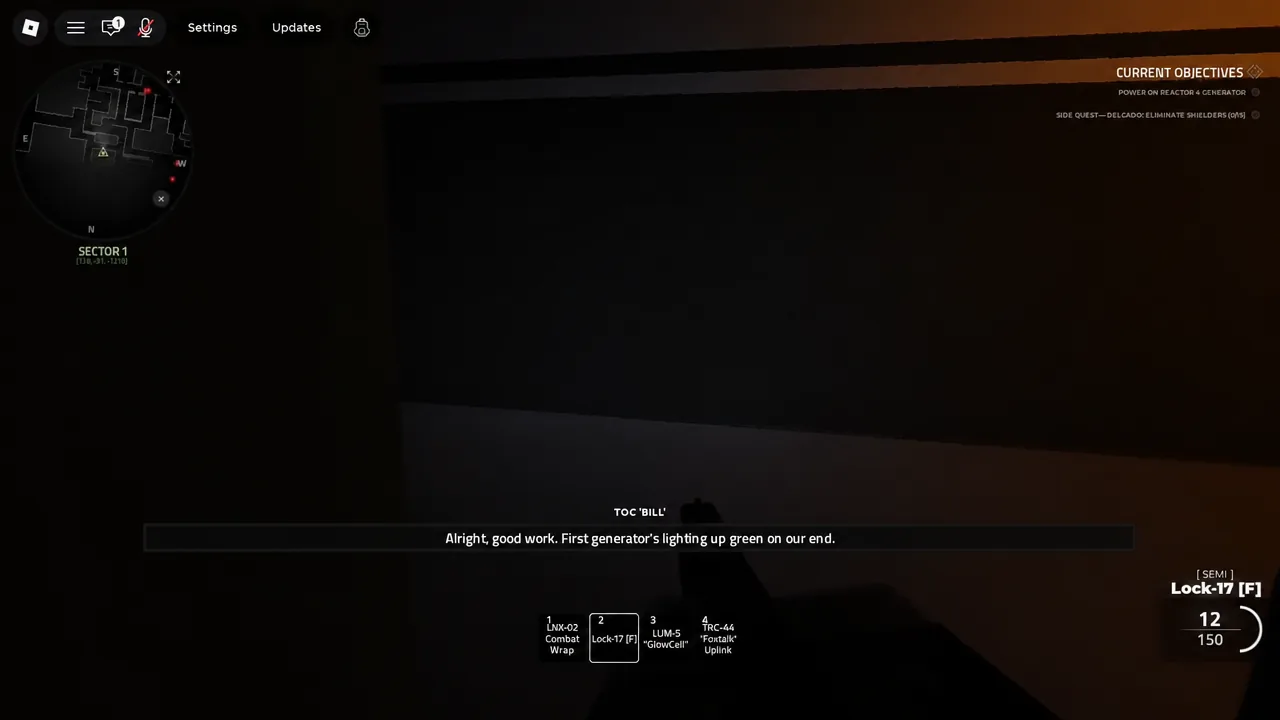
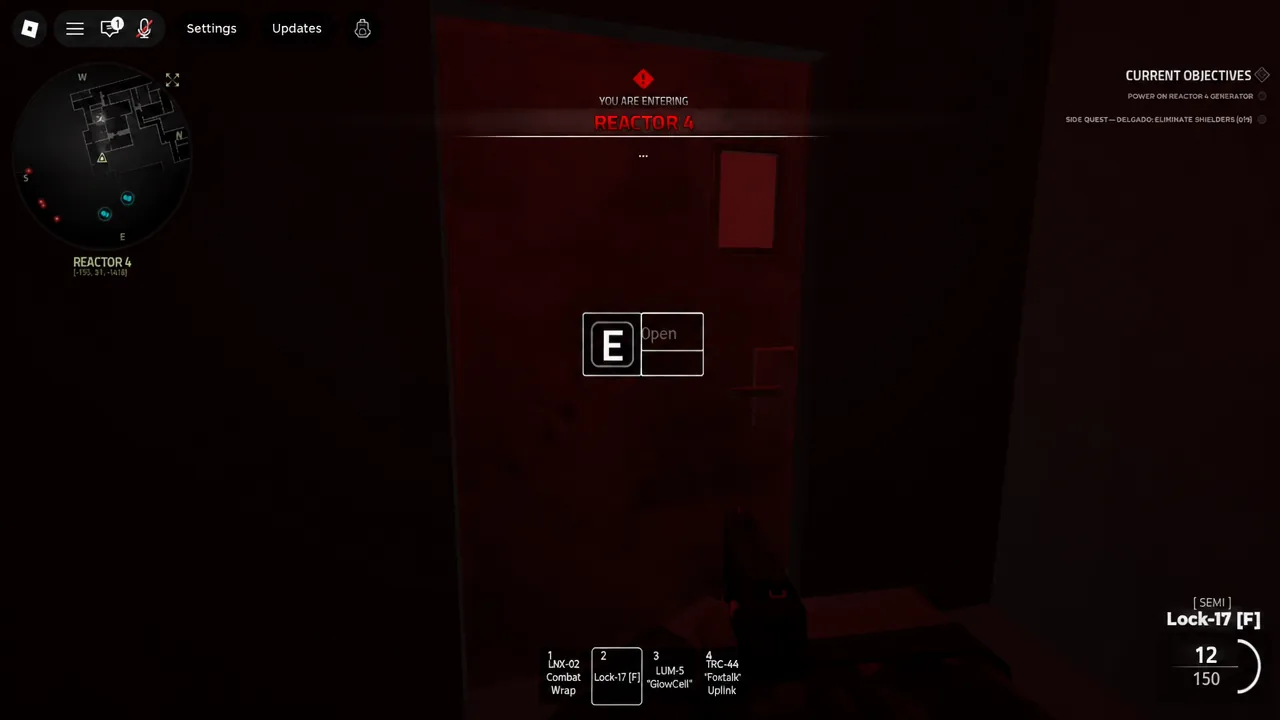
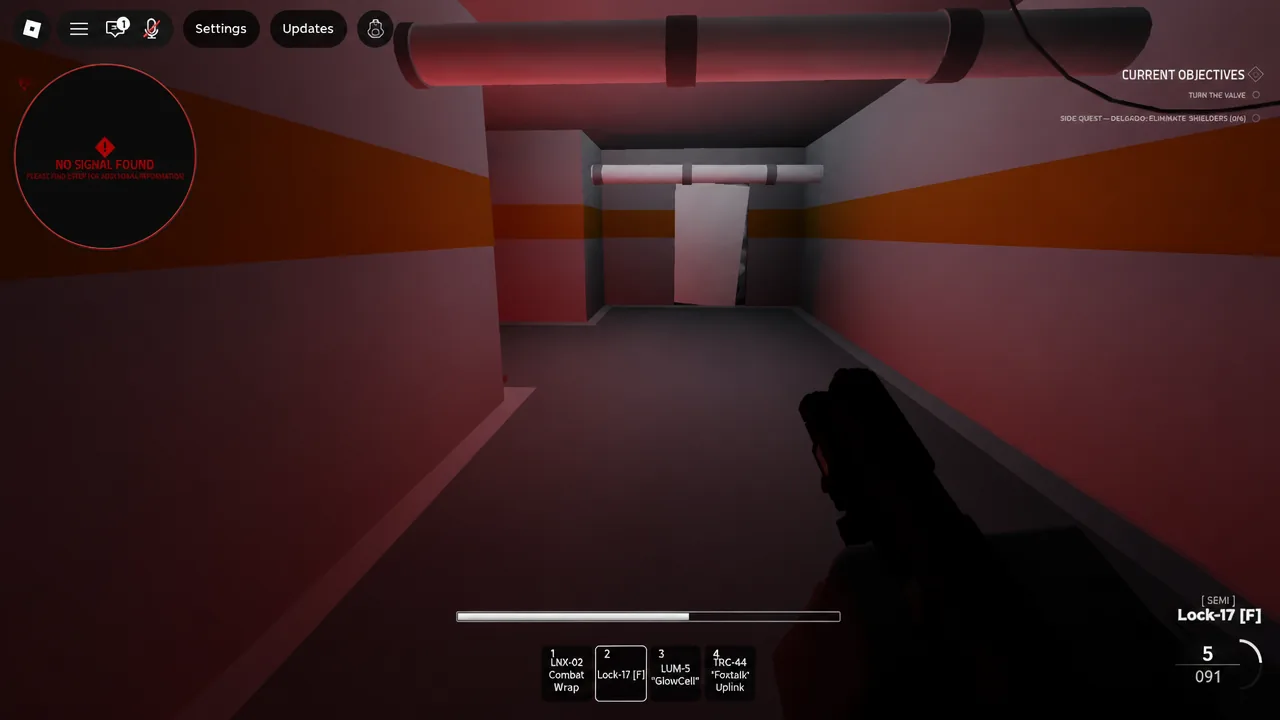
Note: both generators and the valve are required. Skipping one leaves the Shielder area closed, and the task counter will not move no matter how long you fight elsewhere.
How to kill Shielders for the 15-kill count
Shielders block incoming fire from the front, so shooting into the shield wastes ammo. Press G to bash them, which staggers and stuns the enemy long enough to drop their guard.
With the Shielder stunned, aim for the head. Headshots are the reliable way to finish them quickly, and keeping the bash-then-headshot rhythm going lets you clear the 15 kills without burning through a full loadout.
Once the 15th Shielder dies, the badge unlocks and the Enforcer becomes available. To confirm it worked, head to the locker and check the class list. Selecting Enforcer should load the shield, taser, flashbang and Beanbag Shotgun into your slots.
Enforcer class loadout in Examination
| Slot | Item | What it does |
|---|---|---|
| Primary | Beanbag Shotgun | Headshots are lethal against infected and human hostiles |
| Utility | FSS Deadbolt Ballistic Shield | Blocks bullets and melee; integrated light blinds infected and RIF units |
| Sidearm tool | TASC-10 Taser | Stuns targets for a short duration, including the boss Gilbert |
| Throwable | Flashbang | Crowd control |
The taser is the standout. It stuns ordinary hostile operatives on contact, and it also lands on Gilbert, which is unusual for a boss encounter in this game.
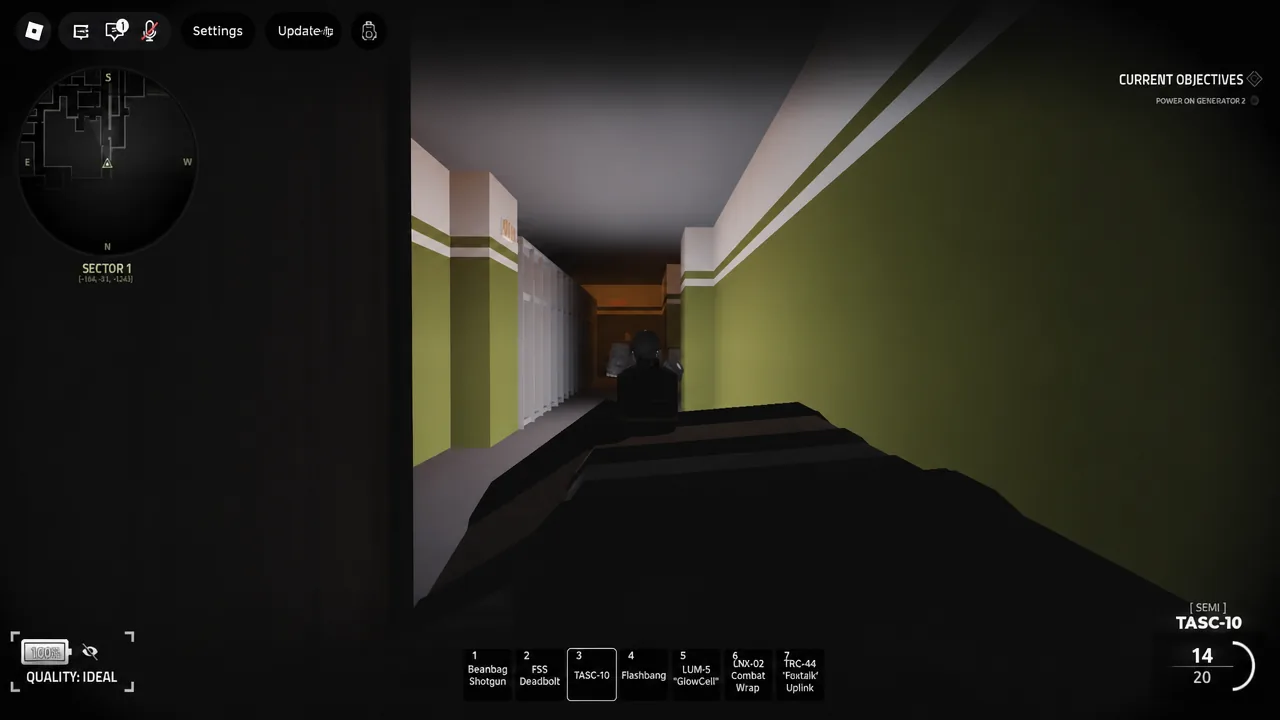
The shield covers the gap the class would otherwise have. It absorbs incoming gunfire, including Gilbert’s, holds against melee swings, and has its own bash that can kill outright with a dedicated animation. The Beanbag Shotgun name undersells it, since a headshot from it does serious damage despite the non-lethal framing.
Where Enforcer sits in the Examination class tiers
Examination runs around ten classes across five tiers. Enforcer is the Special tier, which is a separate track from the Leader and Spec-Ops unlocks. Earning one does not progress the others.
| Tier | Badge needed | How you earn it |
|---|---|---|
| Default (Classless) | None | Available from your first match |
| Standard, Breacher, Medic | None | Available without badges |
| Leader | VETERAN-OF-PURGATORY | Complete a full run |
| Spec-Ops | UNDEREQUIPPED | Finish a run without ever picking a class |
| Enforcer | MENLONIAL-CONSTABULARY | Complete the Carlos Delgado Shielder task |
Because everything runs on badges rather than currency, there is no cost to switch between the classes you have already unlocked, and no reset fee if you want to go back to a Standard role for a run.
The whole unlock fits inside a single run if the route is clear, and the shield-and-taser combination changes how you approach the game’s harder encounters afterwards. The taser stun on Gilbert alone makes the Enforcer worth the trip through Reactor 4.