Gaming How-To

How to Get to Floor 5 in The Hollow on Roblox (Elevator and Safe Room)

Which elevator button to press, what the ride shows, and what the Floor 5 safe room and maze look like on arrival.

Which elevator button to press, what the ride shows, and what the Floor 5 safe room and maze look like on arrival.

Floor 5 is open from the lobby elevator. The elevator works the same way it does for Floor 1. Floor 5 itself plays differently, because it switches the camera to first person.

Quick answer: At the far end of the lobby carpet hall, step into the elevator and choose 5. Once on Floor 5, enter the maze through the doorway beneath the gold canopy, where purple sparkles drift, then search for the puzzle room.


How to reach Floor 5 in The Hollow
From the cinema lobby, walk down the long carpet hall to the elevator at the far end. This is the same route you take to Floor 1 (see where the elevator is and how the Floor 1 maze works).
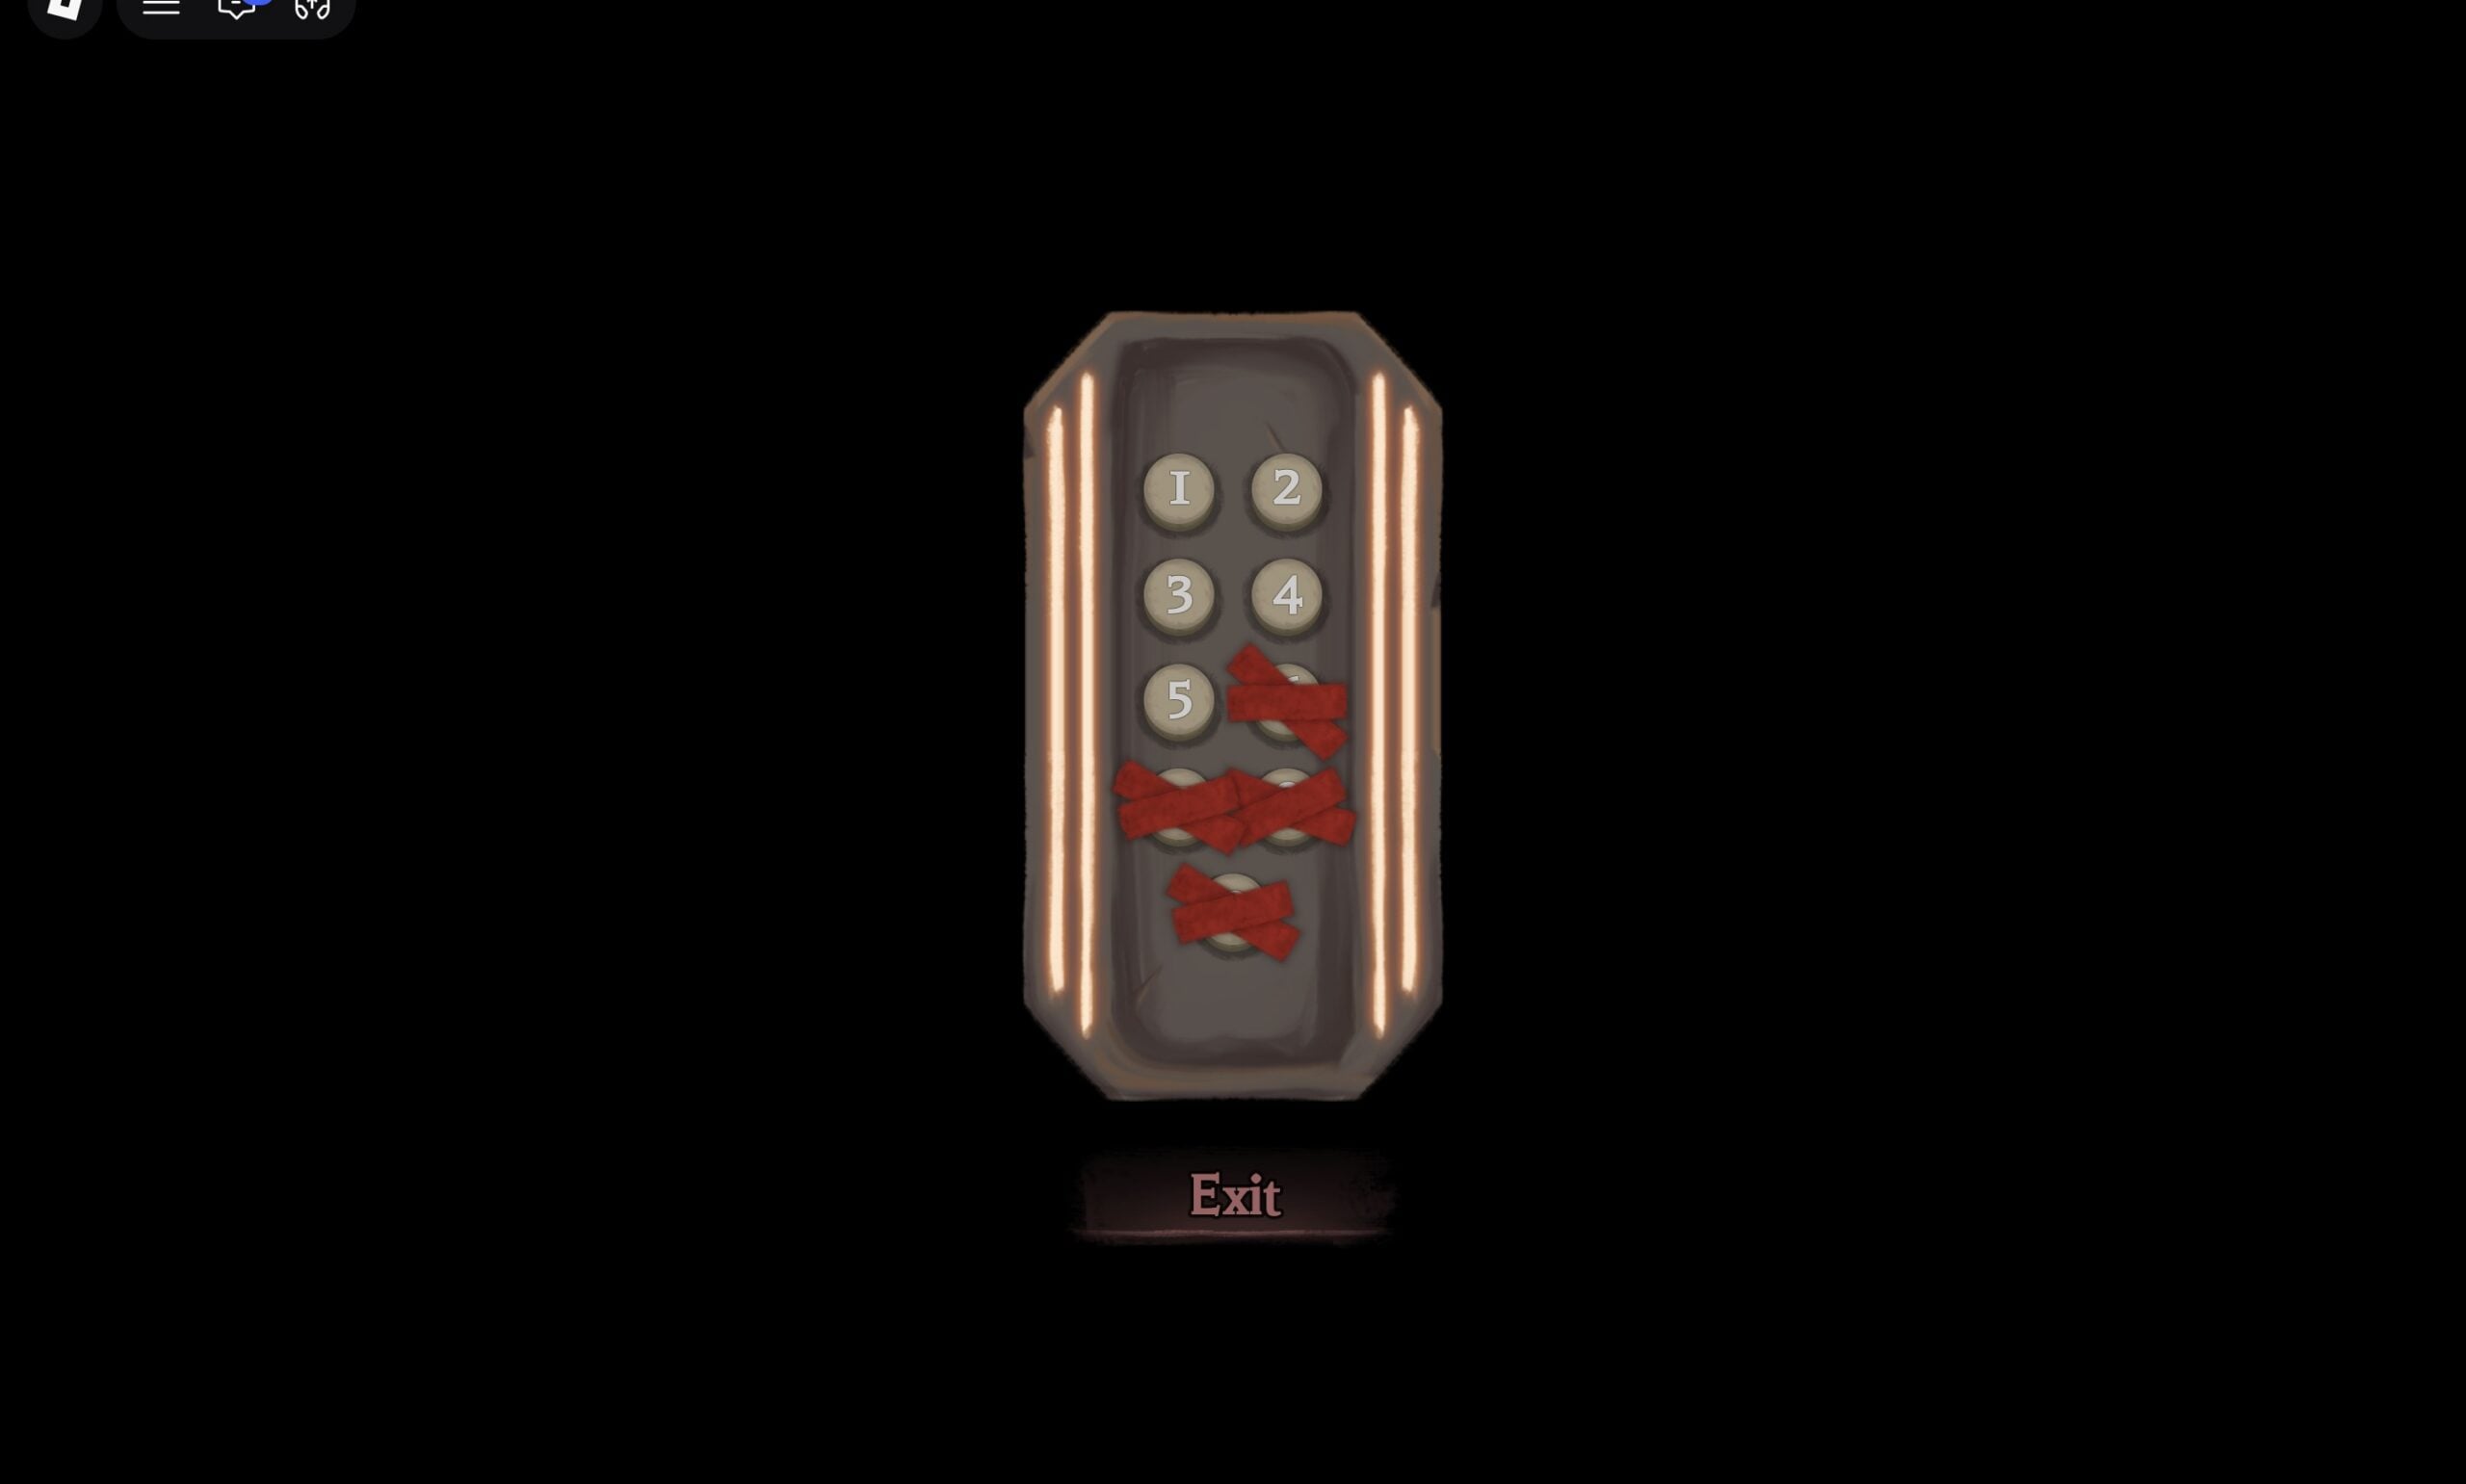
Step inside the elevator to open its button panel. Buttons 1 through 5 are open. Buttons 6 through 9 are still covered with red tape, and an Exit button sits below the panel.
The Hollow elevator panel with buttons 1 to 5 open and 6 to 9 taped over in red, Exit button below
The elevator panel on 27 October: 1 to 5 open, 6 to 9 still taped. Press 5.
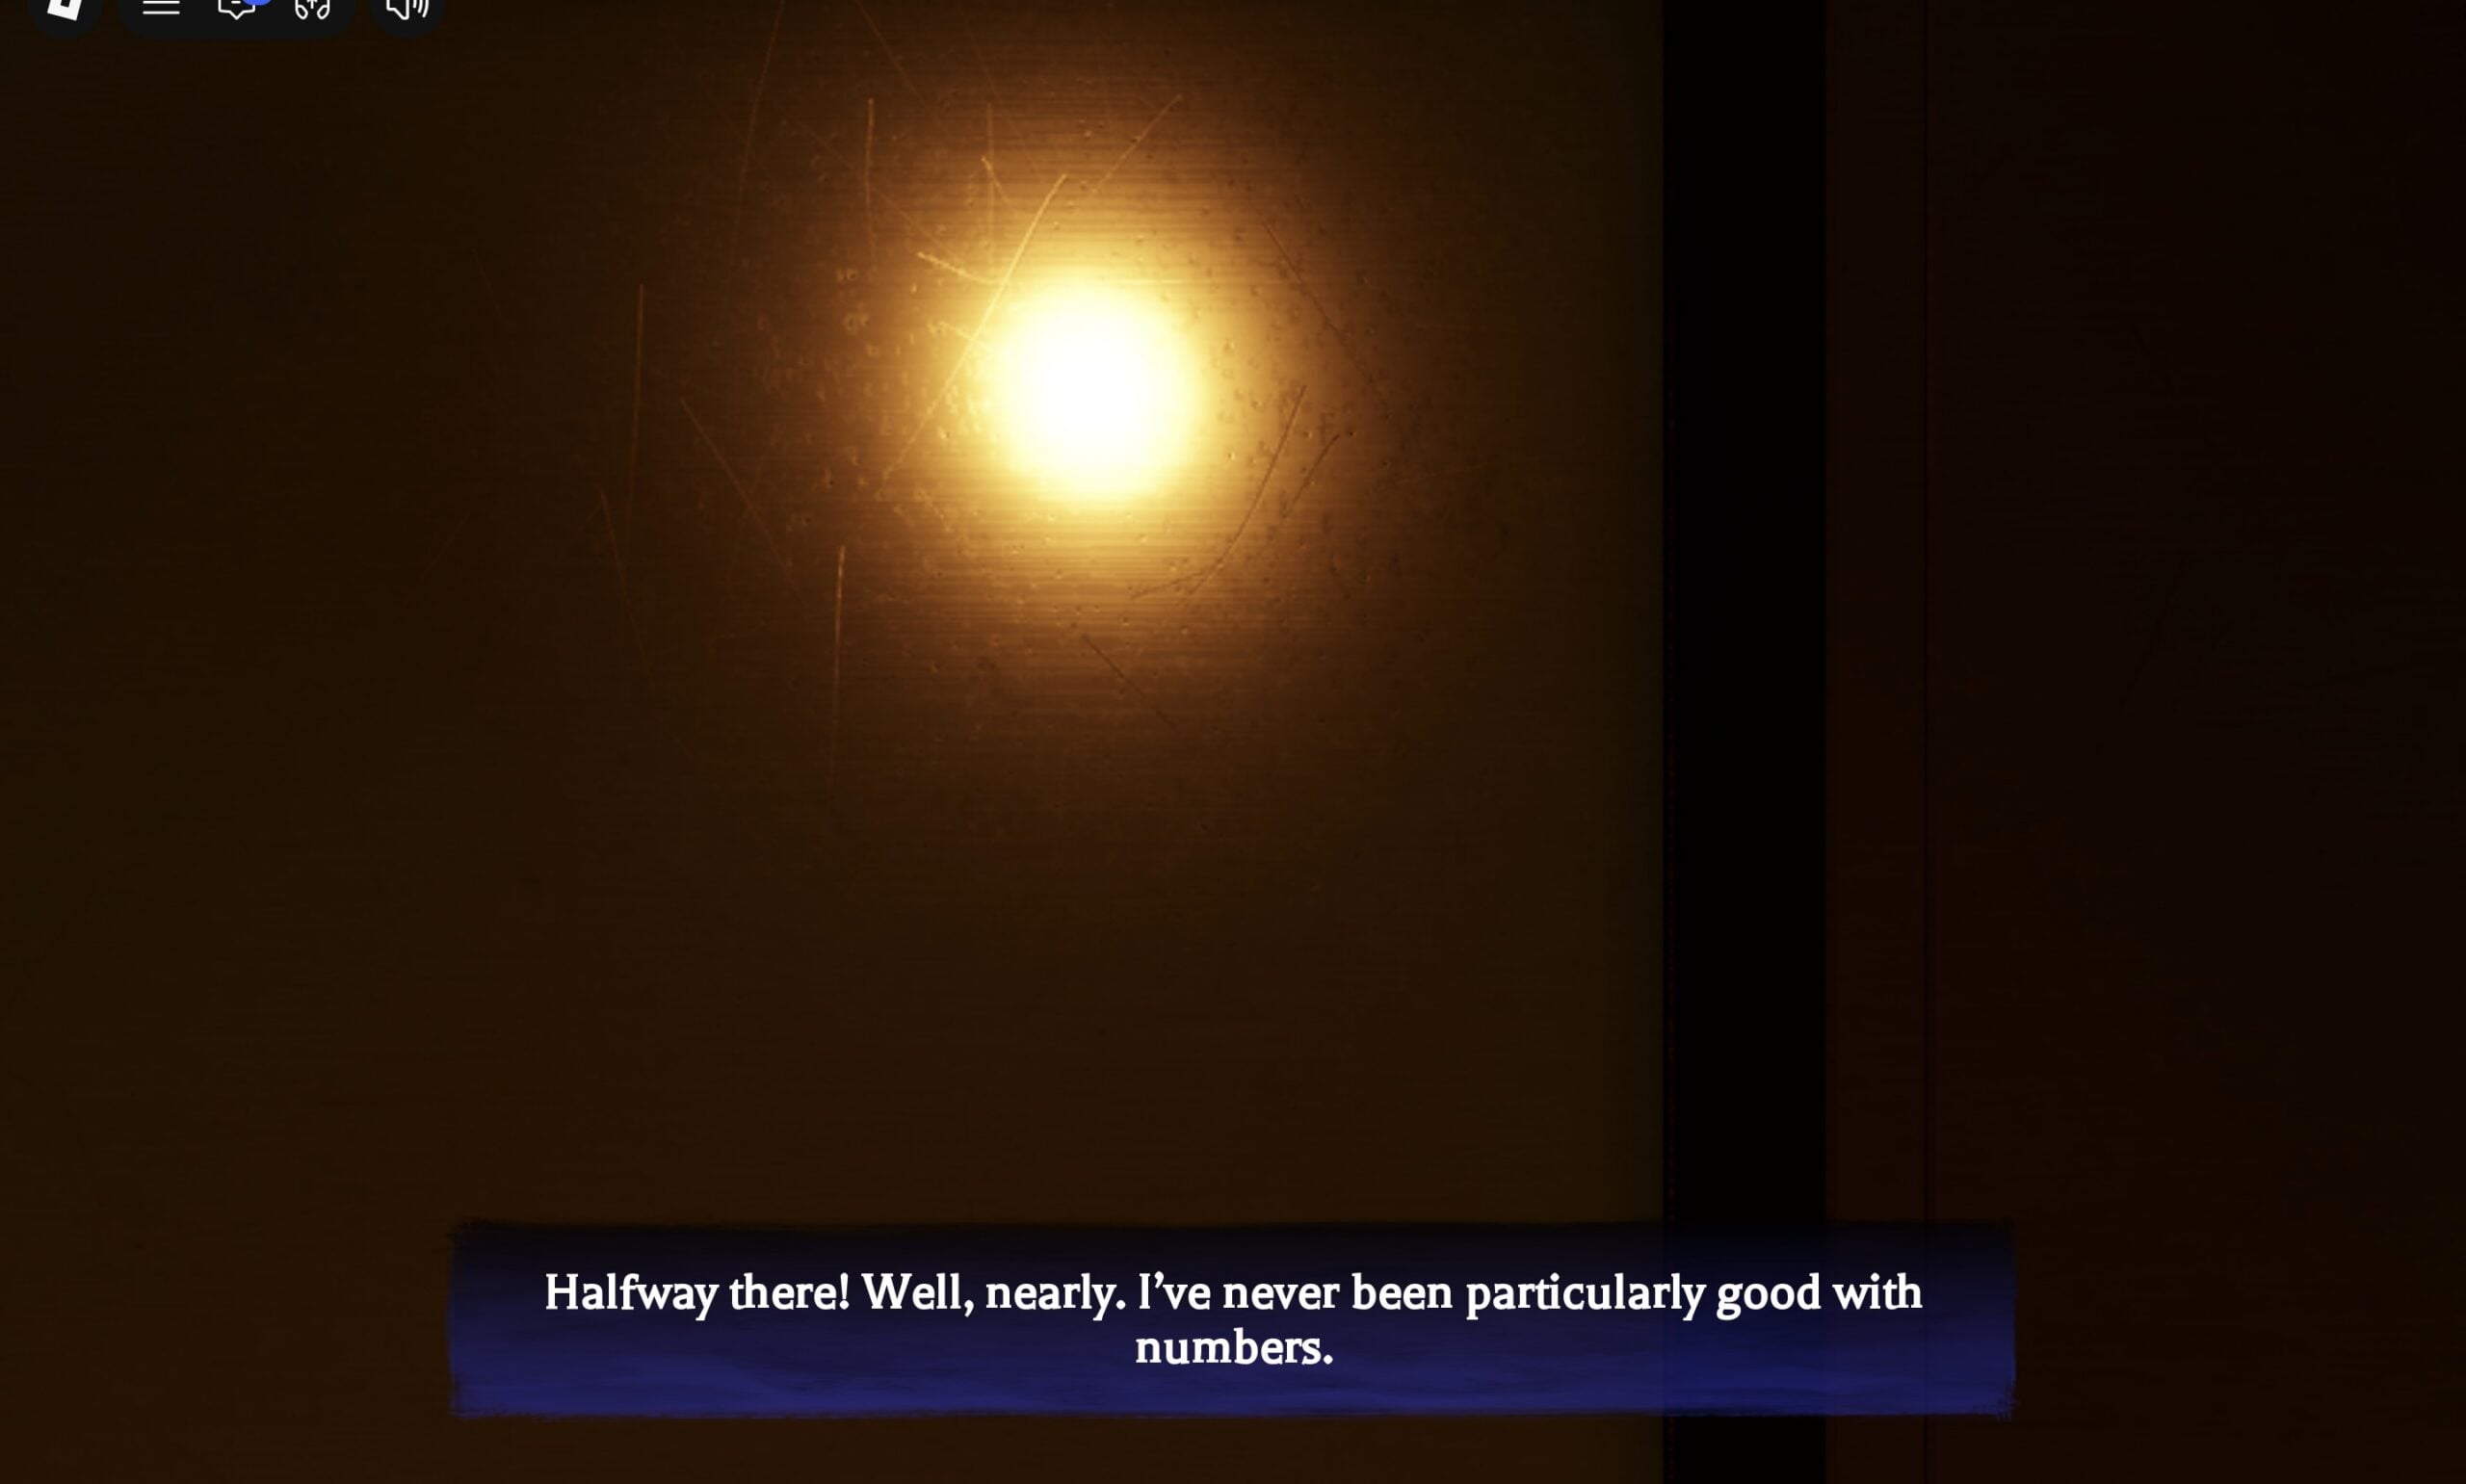
Press 5. The elevator starts moving, and a narrator box appears at the bottom of the screen.
Click to move through the narrator’s lines. The first reads “Halfway there! Well, nearly. I’ve never been particularly good with numbers.” The next reads “Best not to think too hard about where we are. Gives me a headache.” The whole ride, lines included, takes about 25 seconds.
Narrator box during the elevator ride to Floor 5 reading Halfway there! Well, nearly. I've never been particularly good with numbers.
The narrator's first line on the ride to Floor 5.

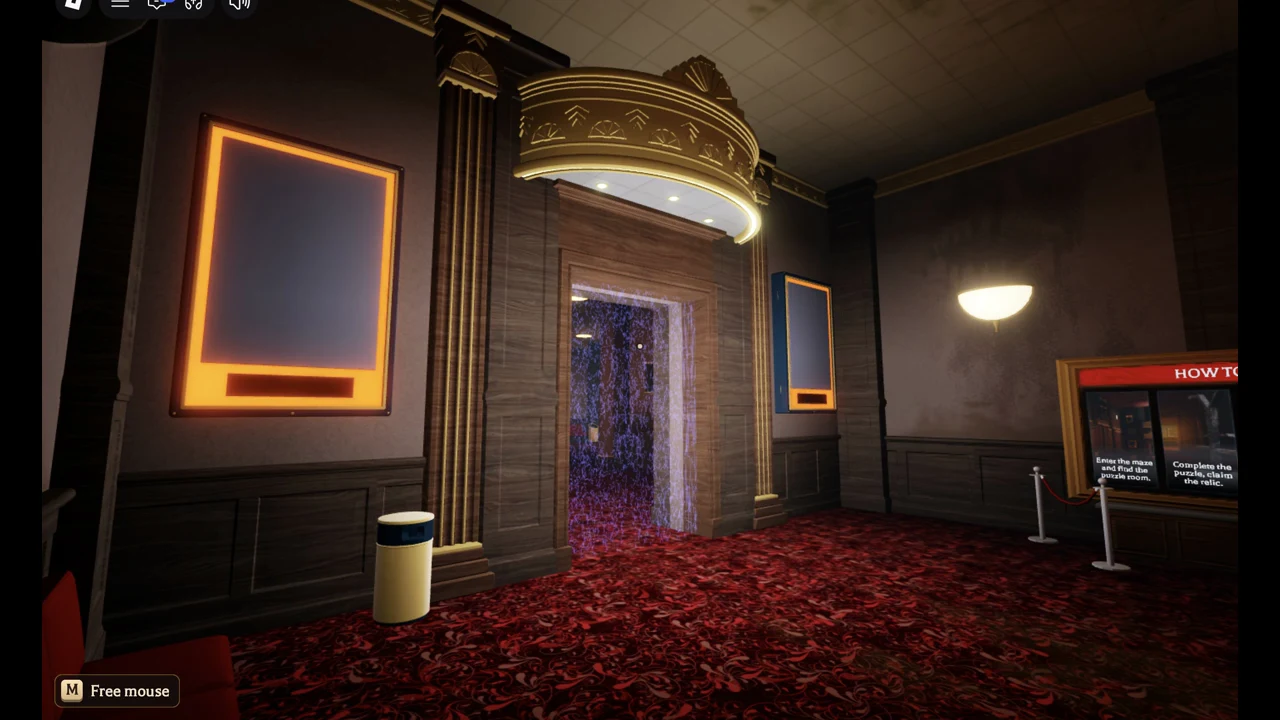
You know you’ve made it when a “Floor 5” title appears at the top of the screen. You’ll be facing a doorway with drifting purple sparkles under a gold canopy. The view is now first person, and “M Free mouse” appears in the bottom-left corner. Press M when you need the cursor back.
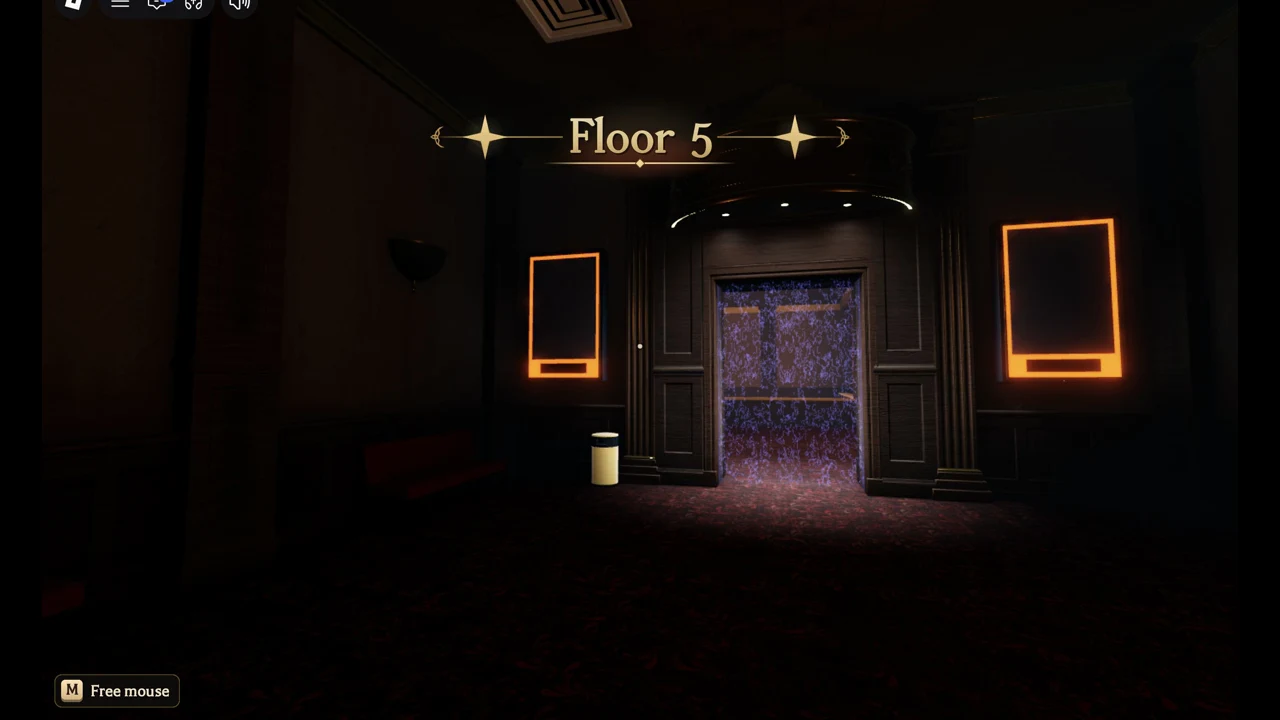
First-person view of the purple sparkle doorway on Floor 5 with the M Free mouse prompt at bottom left
Arriving on Floor 5, facing the purple-sparkle doorway in first person.

Floor 5 safe room: What’s there

The elevator drops you into a carpeted safe room, with the elevator car behind you. The room contains the following:

  • Red benches and wall lamps
  • Framed posters with orange glowing frames
  • A HOW TO PLAY board rests on a stand beyond the rope posts
  • The purple-sparkle doorway under the gold canopy, which leads out to the maze

The HOW TO PLAY board lays out the floor’s goal in four panels. These are the same four steps shown on Floor 1:

  • “Enter the maze and find the puzzle room.”
  • “Complete the puzzle, claim the relic.”
  • “Bring it back. Avoid the entity at all costs.”
  • “Claim your daily reward.”
HOW TO PLAY board in the Floor 5 safe room standing beside the glowing purple doorway
The HOW TO PLAY board stands right next to the doorway into the maze.

The Floor 5 maze

Pass through the entrance marked by purple sparkles to reach the maze. It has the red benches and wall lamps seen in the safe room, only on a far larger scale. Doorways beneath gold canopies, bins, and extra lamps line its broad, dim corridors. One hall has red ceiling lights and a black doorway under a canopy.
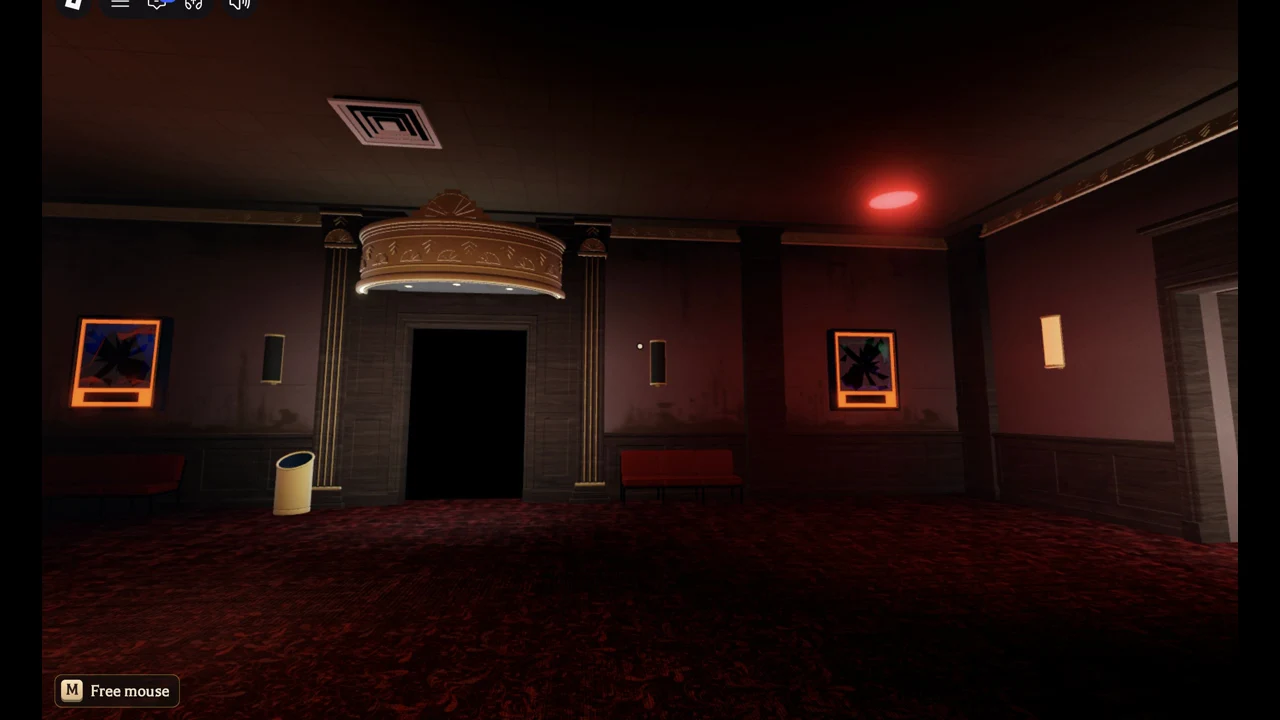
Dark Floor 5 hall with a black doorway beneath an ornate gold canopy
A Floor 5 hall with a black doorway under a gold canopy.

From one of these halls an opening leads into a brighter room. In about eight minutes on the floor we did not find the puzzle room, and no entity came near us. The board’s first panel says to enter the maze and find the puzzle room; then complete the puzzle, claim the relic and bring it back while avoiding the entity.
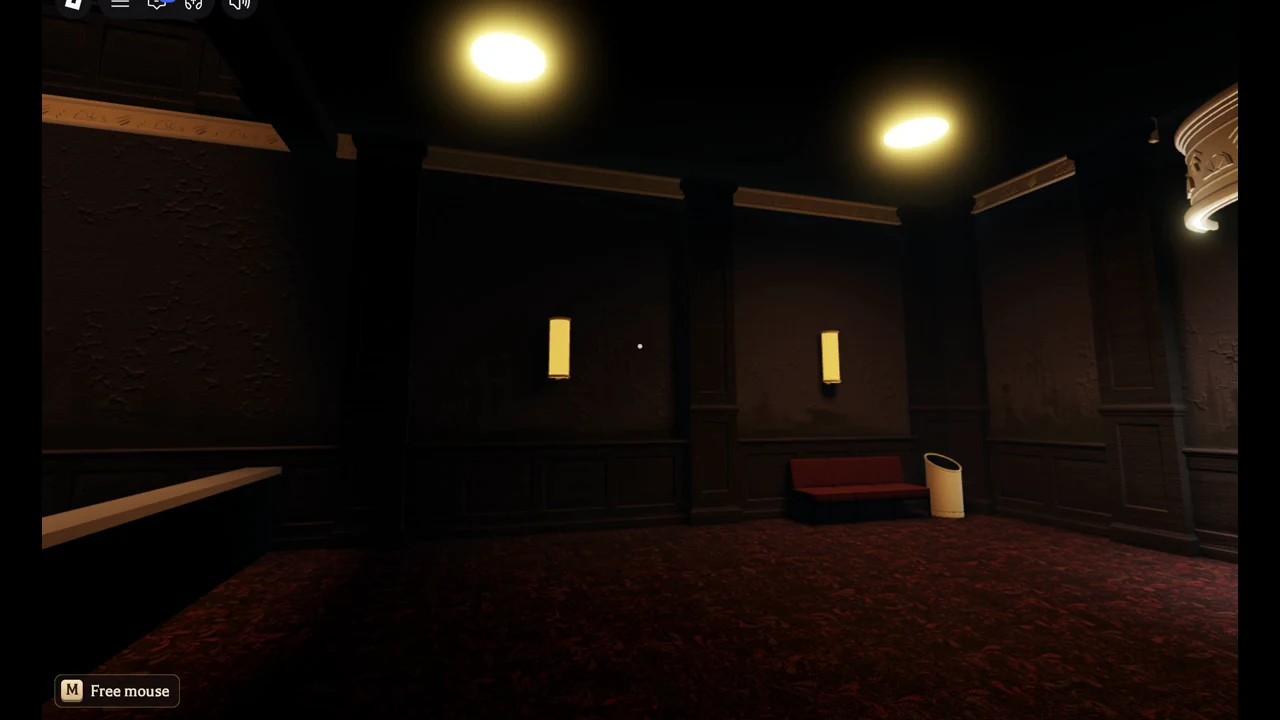

Wide, dim Floor 5 hall with wall lamps and the M Free mouse prompt in the corner
One of the larger Floor 5 halls, with benches and wall lamps.