
At one point, Windows Photo Viewer was the go-to application for viewing images on Windows systems. However, Microsoft replaced it with the modern Windows Photos app in recent versions of Windows, including Windows 11. While the Photos app offers advanced features like integrated photo and video editing tools and efficient media organization, many users find it sluggish and less responsive compared to its predecessor.
If you miss the speed and simplicity of Windows Photo Viewer and want to bring it back on your Windows 11 device, you’re in the right place. This guide will walk you through the steps to re-enable Windows Photo Viewer and set it as your default image viewer.
Enable Windows Photo Viewer in Windows 11 via Registry
Windows Photo Viewer is still present in Windows 11; it’s just hidden. To unhide and enable it, you’ll need to create and run a registry file. Don’t worry—it might sound technical, but it’s straightforward and requires only the Notepad app that’s already on your computer.
Notepad in the search bar, and selecting the app from the search results.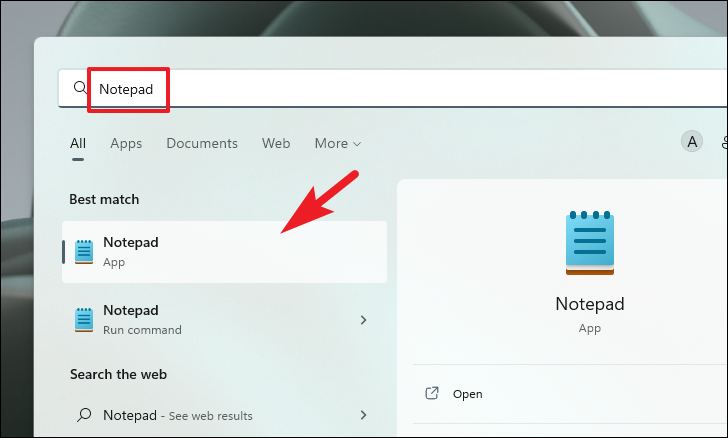
Windows Registry Editor Version 5.00

[HKEY_CLASSES_ROOT\Applications\photoviewer.dll]

[HKEY_CLASSES_ROOT\Applications\photoviewer.dll\shell]

[HKEY_CLASSES_ROOT\Applications\photoviewer.dll\shell\open]
"MuiVerb"="@photoviewer.dll,-3043"

[HKEY_CLASSES_ROOT\Applications\photoviewer.dll\shell\open\command]
@=hex(2):25,00,53,00,79,00,73,00,74,00,65,00,6d,00,52,00,6f,00,6f,00,74,00,25,\
00,5c,00,53,00,79,00,73,00,74,00,65,00,6d,00,33,00,32,00,5c,00,72,00,75,00,\
6e,00,64,00,6c,00,6c,00,33,00,32,00,2e,00,65,00,78,00,65,00,20,00,22,00,25,\
00,50,00,72,00,6f,00,67,00,72,00,61,00,6d,00,46,00,69,00,6c,00,65,00,73,00,\
25,00,5c,00,57,00,69,00,6e,00,64,00,6f,00,77,00,73,00,20,00,50,00,68,00,6f,\
00,74,00,6f,00,20,00,56,00,69,00,65,00,77,00,65,00,72,00,5c,00,50,00,68,00,\
6f,00,74,00,6f,00,56,00,69,00,65,00,77,00,65,00,72,00,2e,00,64,00,6c,00,6c,\
00,22,00,2c,00,20,00,49,00,6d,00,61,00,67,00,65,00,56,00,69,00,65,00,77,00,\
5f,00,46,00,75,00,6c,00,6c,00,73,00,63,00,72,00,65,00,65,00,6e,00,20,00,25,\
00,31,00,00,00

[HKEY_CLASSES_ROOT\Applications\photoviewer.dll\shell\open\DropTarget]
"Clsid"="{FFE2A43C-56B9-4bf5-9A79-CC6D4285608A}"

[HKEY_CLASSES_ROOT\Applications\photoviewer.dll\shell\print]

[HKEY_CLASSES_ROOT\Applications\photoviewer.dll\shell\print\command]
@=hex(2):25,00,53,00,79,00,73,00,74,00,65,00,6d,00,52,00,6f,00,6f,00,74,00,25,\
00,5c,00,53,00,79,00,73,00,74,00,65,00,6d,00,33,00,32,00,5c,00,72,00,75,00,\
6e,00,64,00,6c,00,6c,00,33,00,32,00,2e,00,65,00,78,00,65,00,20,00,22,00,25,\
00,50,00,72,00,6f,00,67,00,72,00,61,00,6d,00,46,00,69,00,6c,00,65,00,73,00,\
25,00,5c,00,57,00,69,00,6e,00,64,00,6f,00,77,00,73,00,20,00,50,00,68,00,6f,\
00,74,00,6f,00,20,00,56,00,69,00,65,00,77,00,65,00,72,00,5c,00,50,00,68,00,\
6f,00,74,00,6f,00,56,00,69,00,65,00,77,00,65,00,72,00,2e,00,64,00,6c,00,6c,\
00,22,00,2c,00,20,00,49,00,6d,00,61,00,67,00,65,00,56,00,69,00,65,00,77,00,\
5f,00,46,00,75,00,6c,00,6c,00,73,00,63,00,72,00,65,00,65,00,6e,00,20,00,25,\
00,31,00,00,00

[HKEY_CLASSES_ROOT\Applications\photoviewer.dll\shell\print\DropTarget]
"Clsid"="{60fd46de-f830-4894-a628-6fa81bc0190d}"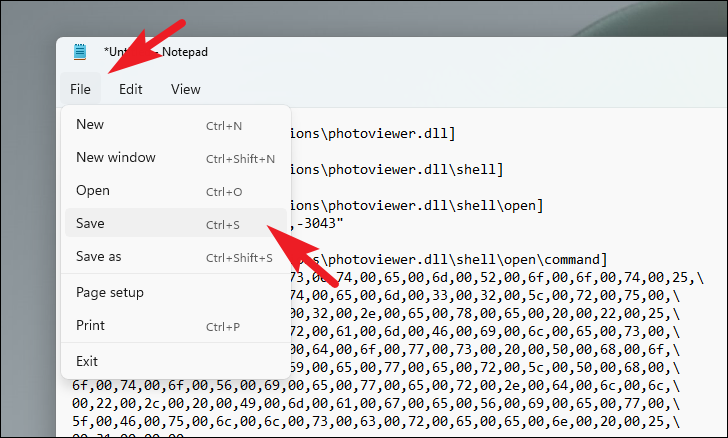
Ctrl+S on your keyboard.EnableWindowsPhotoViewer.reg. Ensure that you include the .reg extension.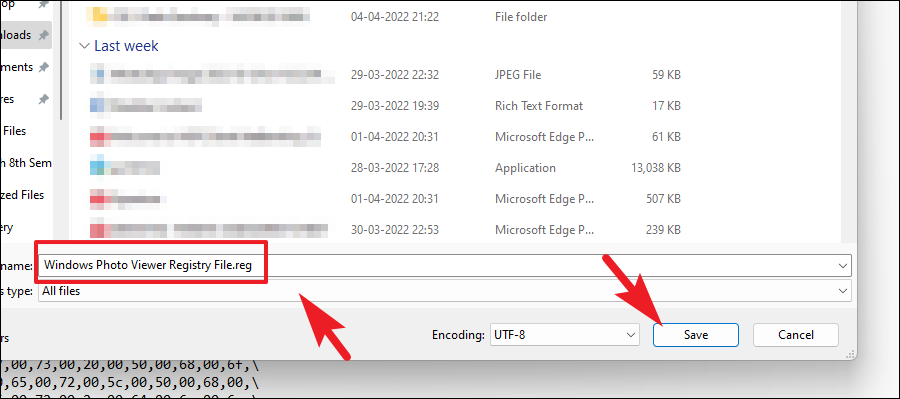
.reg file. Double-click on the file to run it.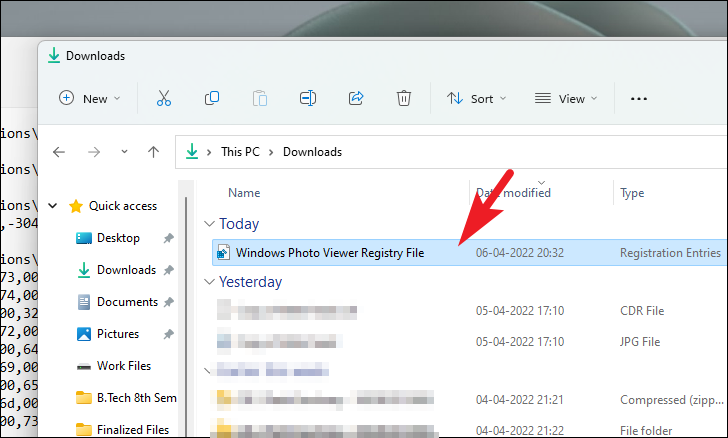
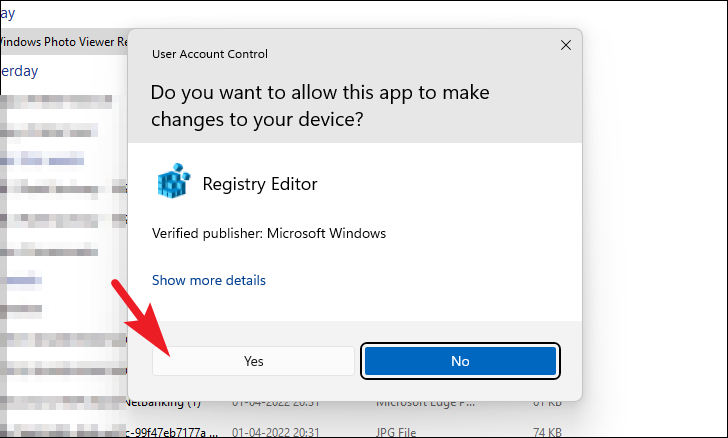
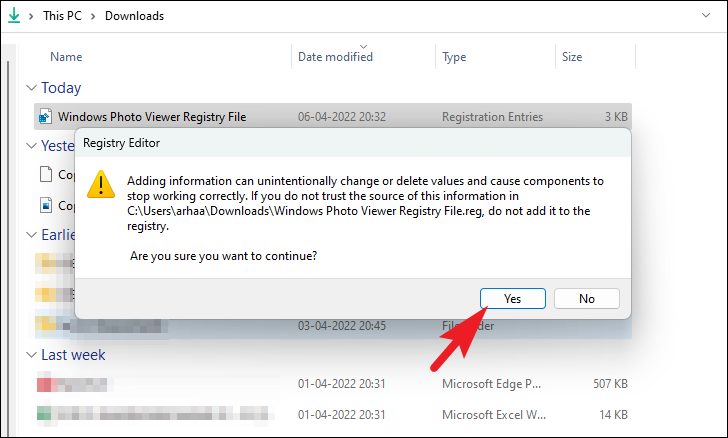
At this point, Windows Photo Viewer is enabled on your Windows 11 system. Next, you’ll set it as your default image viewer.
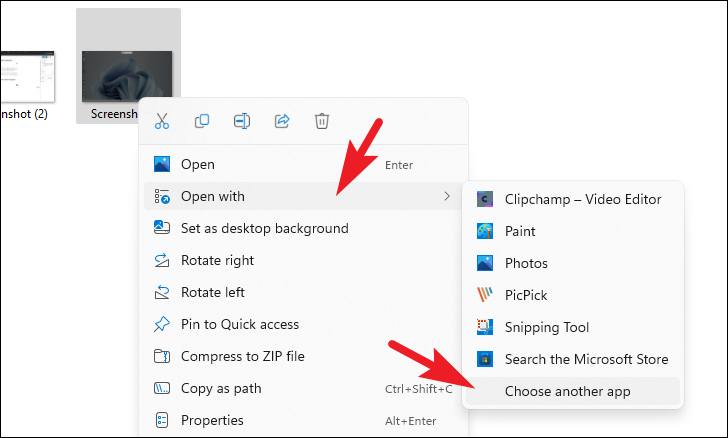
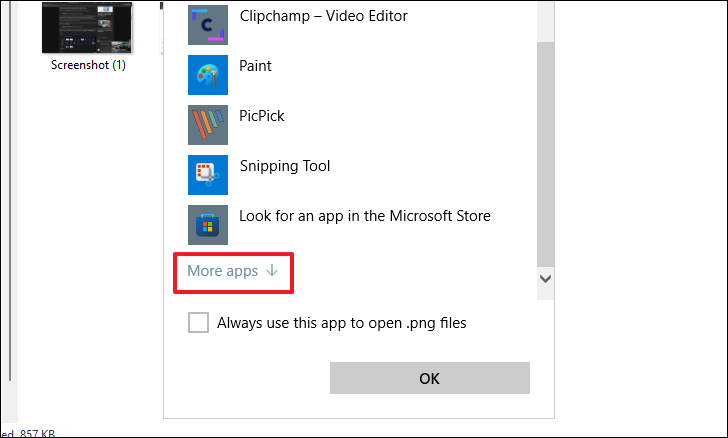
Set Windows Photo Viewer as the Default Image Viewer
Now that Windows Photo Viewer is enabled, you can set it as the default app for opening images.
Windows+E on your keyboard.
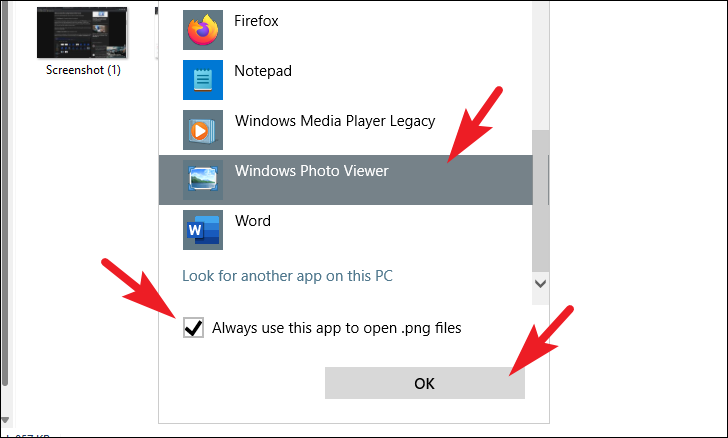
You’ve successfully restored Windows Photo Viewer on your Windows 11 device. You can now enjoy faster image viewing without the lag often experienced with the Windows Photos app.


