
Windows 11 has introduced the capability to run Android apps directly on your PC, bridging the gap between mobile and desktop ecosystems. To take advantage of this feature, you’ll need to set up your system accordingly. This guide provides detailed steps to install and run Android apps on your Windows 11 computer.
Getting your Windows 11 PC ready
Before you can start installing Android apps, you need to ensure that certain optional features are enabled on your Windows 11 machine: Hyper-V and Virtual Machine Platform. These features allow your system to run virtual environments necessary for Android apps.
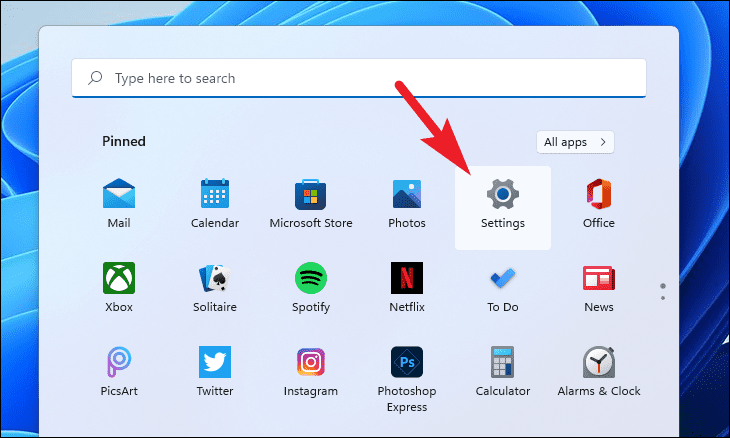
- Open the Settings app by clicking on the Start Menu and selecting the
Settingsicon, or by pressingWindows+Ion your keyboard.
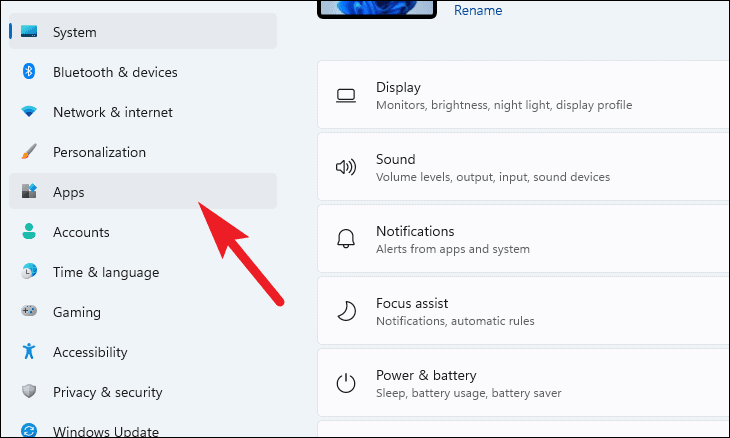
- In the Settings window, select
Appsfrom the left-hand sidebar.
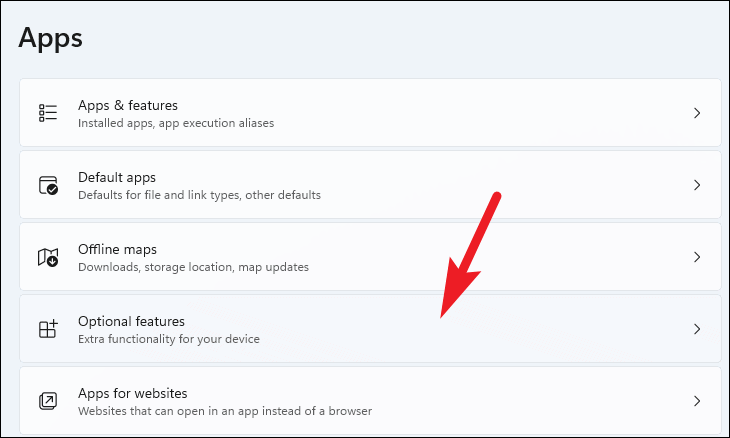
- Click on
Optional featureson the right side of the window.
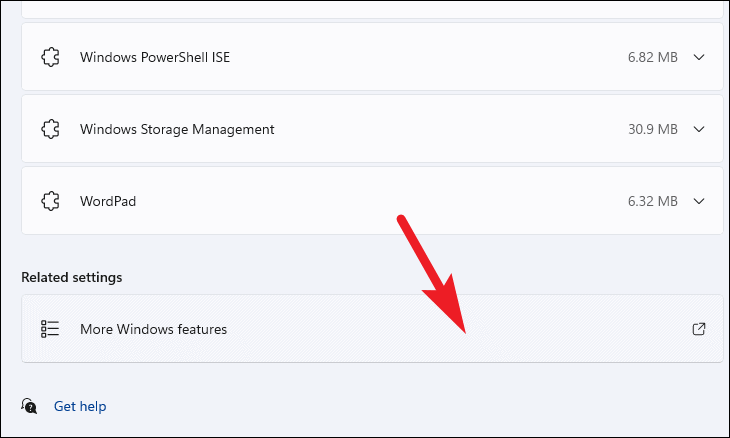
- Scroll down and click on
More Windows featuresunder the ‘Related settings’ section. This will open the Windows Features dialog box.
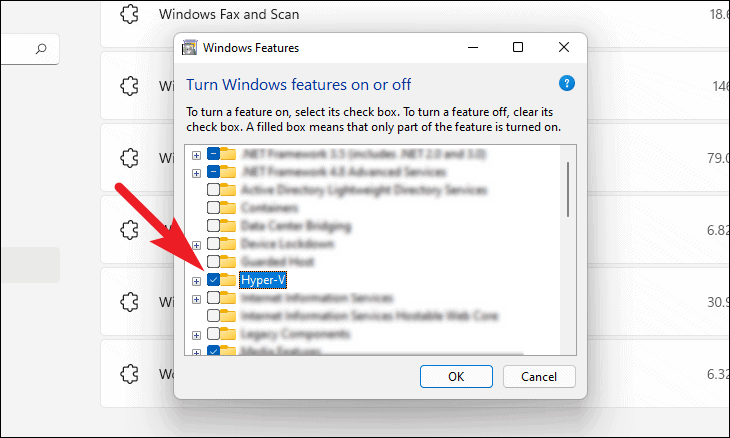
- In the Windows Features window, locate
Hyper-Vand check the box next to it.
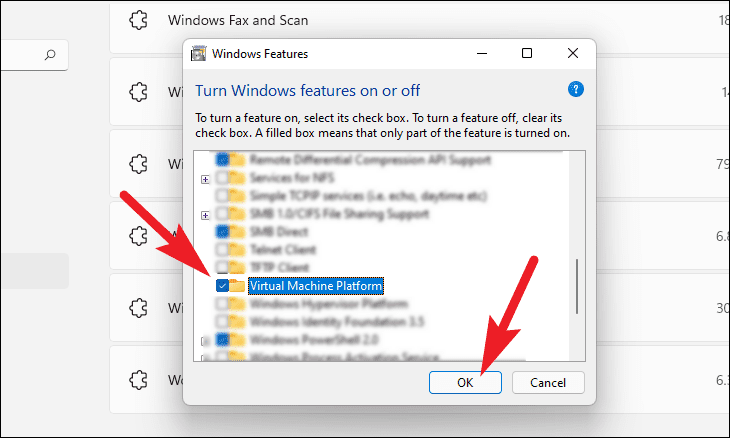
- Also, find and check the box next to
Virtual Machine Platform. - Click
OKto install these features. Your system may download the necessary files and prompt you to restart.
Wait for the installation to complete, and restart your computer if prompted.
Installing Android apps on Windows 11 using Amazon Appstore
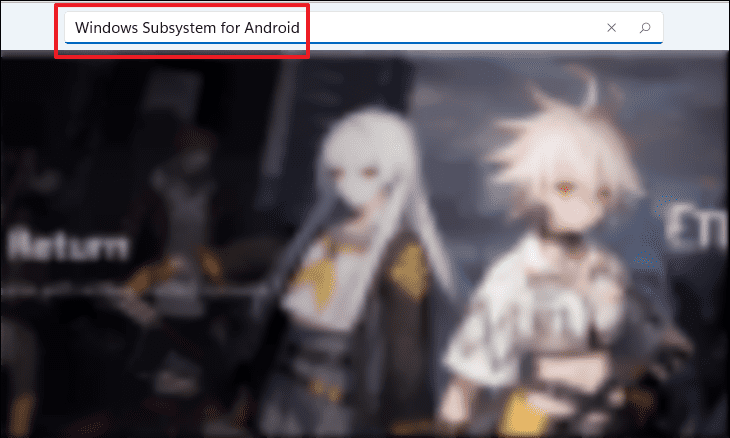
With your system ready, you can now install Android apps via the Amazon Appstore. This requires installing the Windows Subsystem for Android, which powers the Amazon Appstore on your PC.
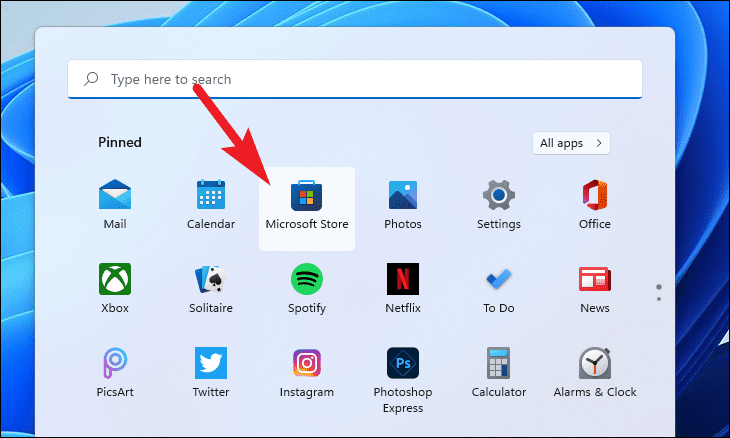
- Open the Microsoft Store by clicking on its icon in the Start Menu or by searching for
Microsoft Storein the search bar.
- In the Microsoft Store, click on the search bar at the top and type
Amazon Appstore, then pressEnter.
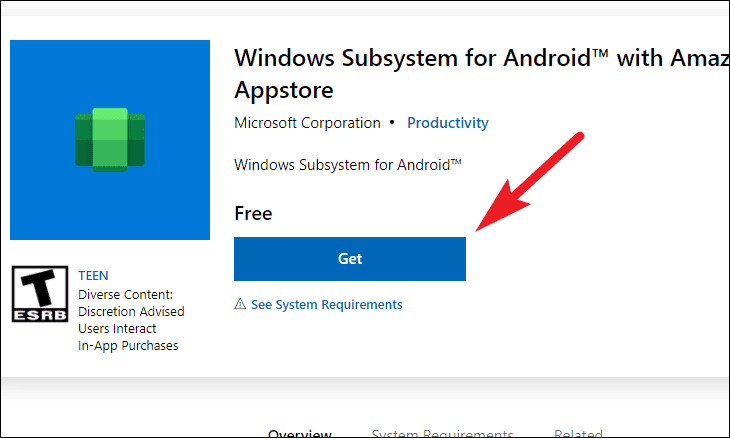
- Alternatively, you can visit the Amazon Appstore page directly by navigating to microsoft.com/amazon-appstore and clicking on the
Installbutton.
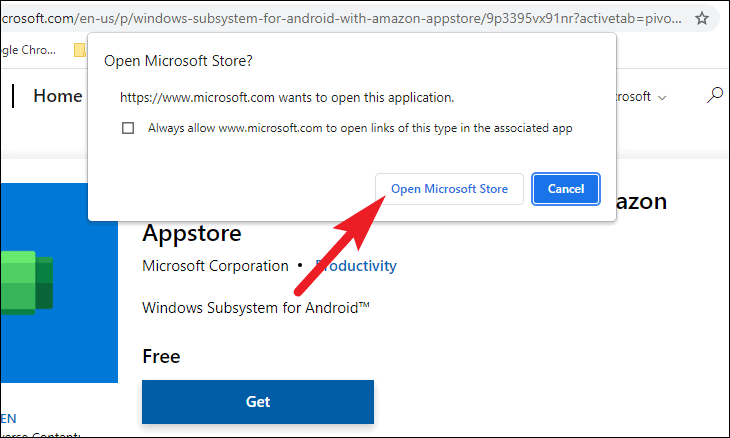
- If prompted to open the Microsoft Store, click
Yesto proceed.
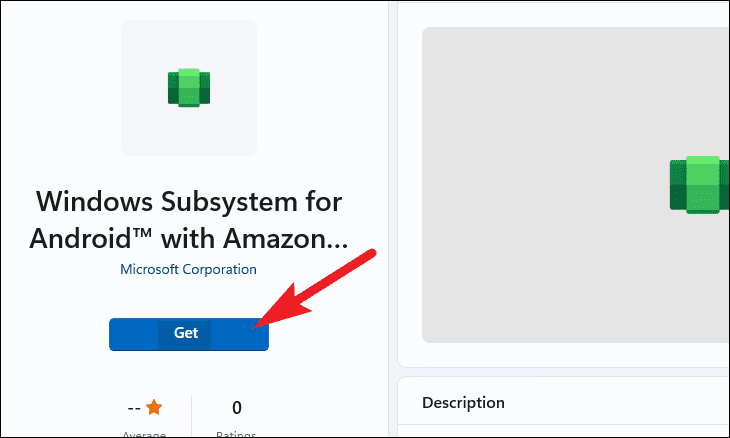
- In the Microsoft Store, click on the
Installbutton to download and install the Amazon Appstore along with the Windows Subsystem for Android.
Once the installation is complete, you can proceed to download Android apps from the Amazon Appstore.
Using Amazon Appstore to install Android apps
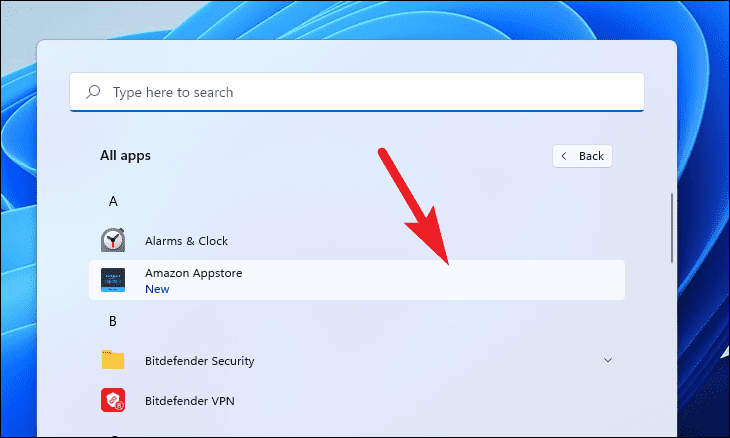
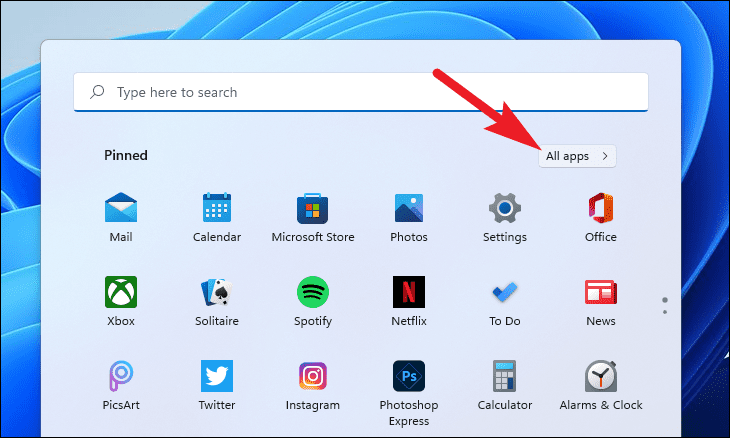
- Open the Start Menu and click on
All appsat the top-right corner.

- Scroll down and select
Amazon Appstorefrom the list of applications.
- Sign in with your Amazon account when prompted.
- Browse through the available apps or search for a specific app.
- Click on the
Getbutton next to the app you want to install.
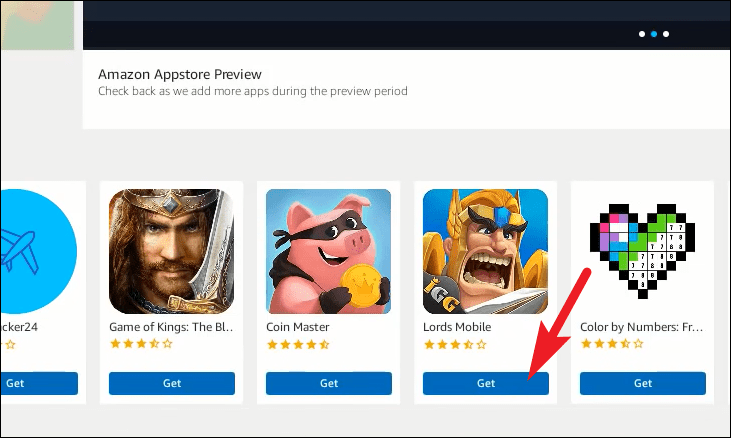
The app will download and install on your Windows 11 PC. You can launch it from the Start Menu like any other application.
How to sideload Android apps on Windows 11 via APK files
If you want to install Android apps that are not available on the Amazon Appstore, you can sideload APK files using the Android Debug Bridge (ADB). Here’s how:
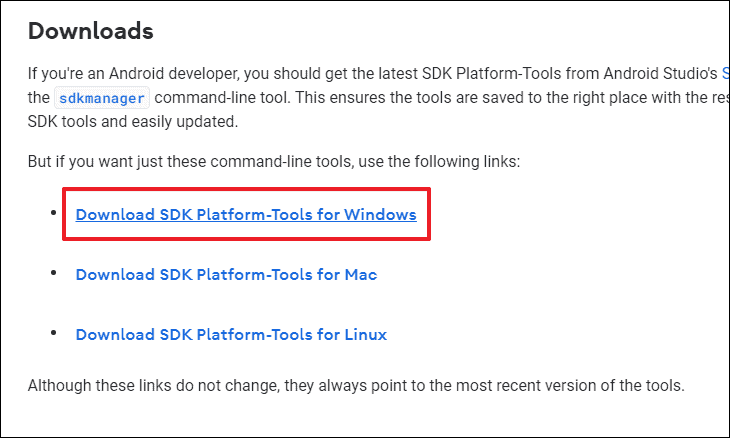
- Download the Android SDK Platform-Tools from the official website: developer.android.com/platform-tools.
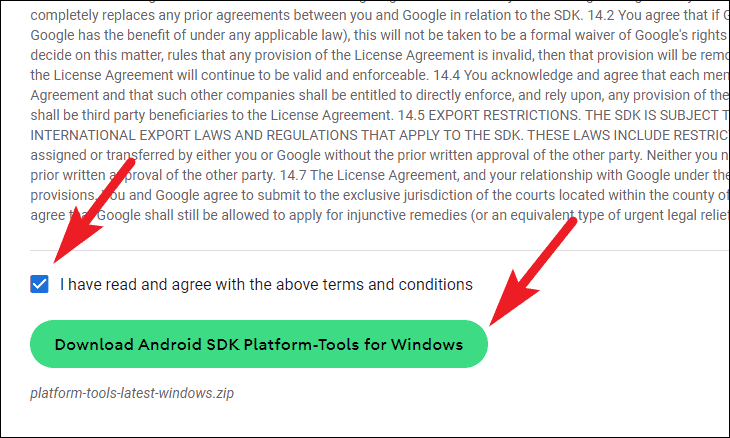
- Accept the terms and conditions by checking the box and click on
Download Android SDK Platform-Tools for Windows.
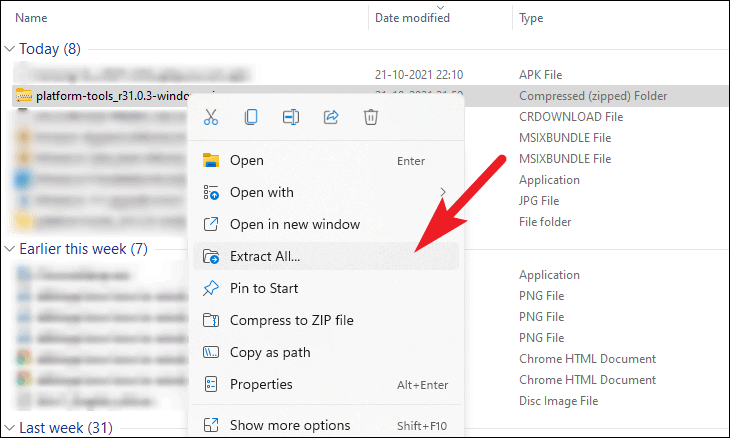
- Once downloaded, extract the contents of the ZIP file to a folder on your computer.
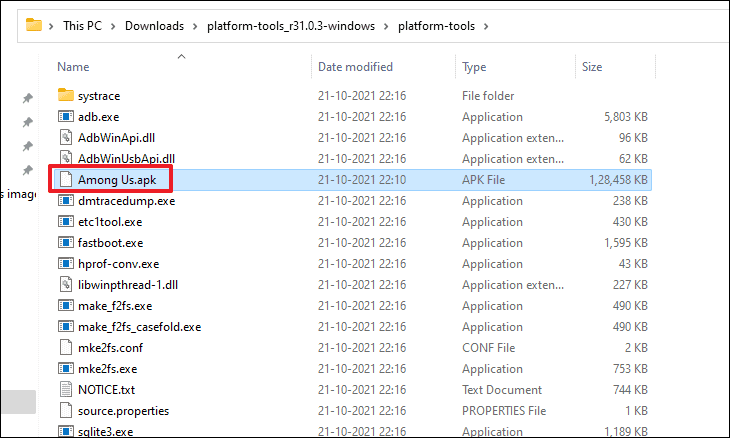
- Copy the APK file of the app you wish to install into the extracted platform-tools folder.
- Open the Start Menu and click on
All apps.
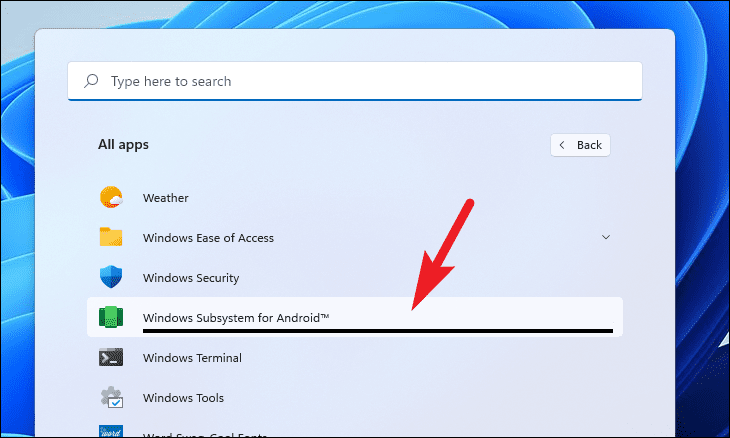
- Find and open
Windows Subsystem for Android.
- In the Windows Subsystem for Android settings, enable
Developer mode. Note the IP address displayed under the developer options.

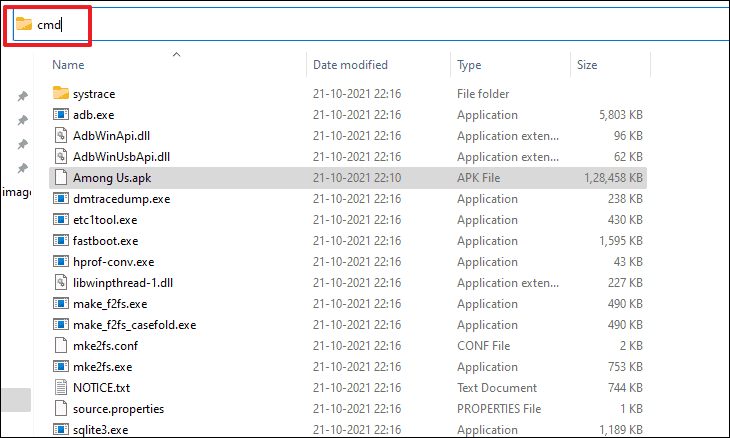
- Navigate to the platform-tools folder where you placed the APK file.
- In the File Explorer address bar, type
cmdand pressEnterto open Command Prompt in that directory.
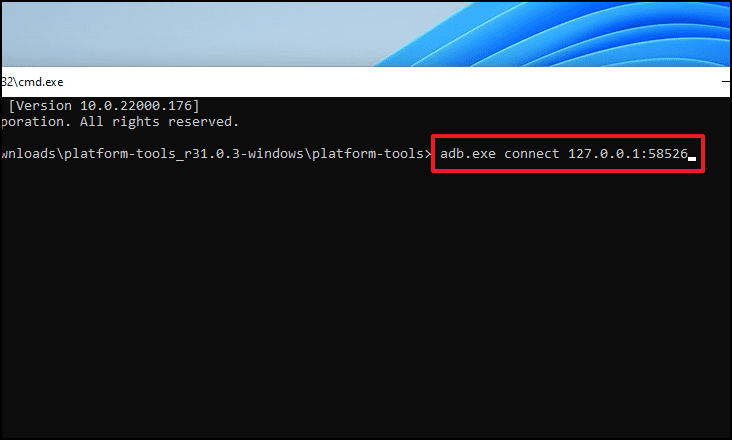
In the Command Prompt window, connect to the Android Subsystem by typing:
adb.exe connect IP_addressReplace IP_address with the IP address you noted earlier.
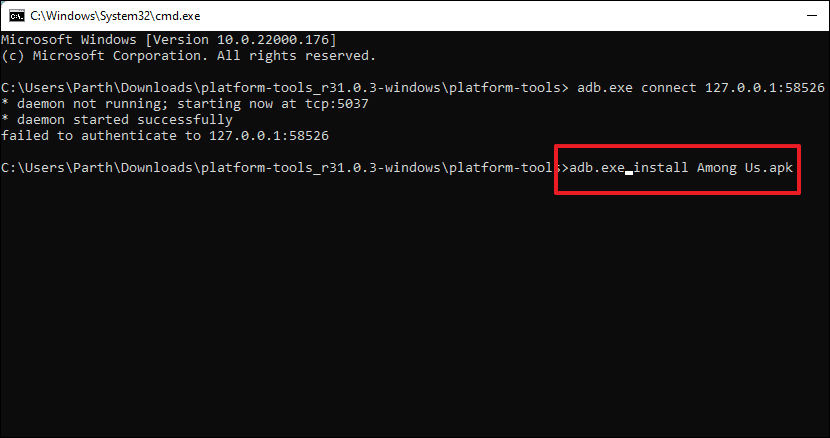
Install the APK by typing:
adb.exe install filename.apkReplace filename.apk with the actual name of the APK file.
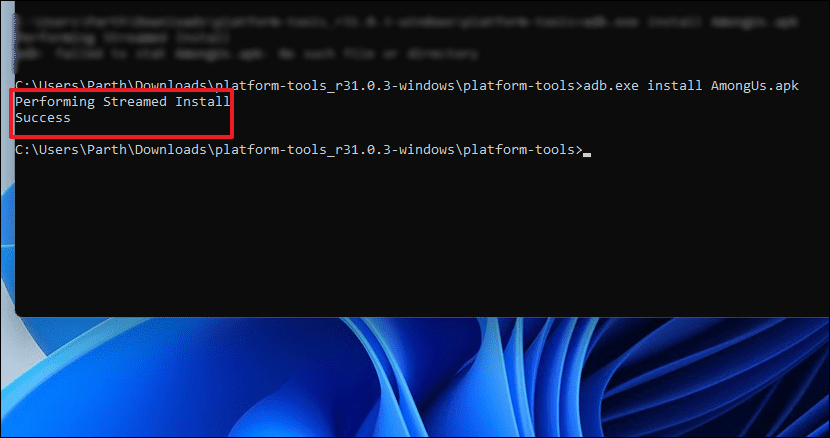
After a moment, you should see a message indicating that the installation was successful.
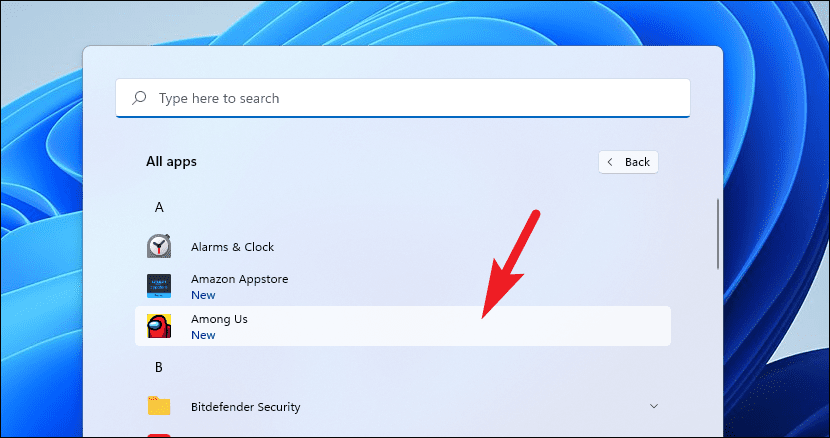
You can now find the app in the Start Menu under All apps and launch it like any other application.
By following these steps, you can enjoy your favorite Android apps on your Windows 11 PC, either through the Amazon Appstore or by sideloading APK files.


