Are you looking to spice up your piece of writing with a custom font you downloaded off the web? Thankfully, Windows 10 supports all major font formats including TrueType and OpenType fonts, and once you install a font in Windows 10, it’s available throughout the system for any program to use.
Windows 10 supported font types
These are the most common font types, and they work with almost all programs on Windows 10. If you’re purchasing a font, make sure that the creator offers the fonts in at-least one of the formats mentioned below.
- OpenType (.otf)
- TrueType (.ttf or .ttc)
- PostScript (.pfb or .pfm)
Where to download Windows 10 fonts
There are hundreds of websites where you can download Windows 10 supported fonts. Below is a list of sites that we think to be the best for downloading free fonts.
How to install fonts on Windows 10
Installing fonts on Windows 10 is the easiest thing ever. You can preview, print and install a font with the click of a button on Windows 10.
- Download a font to your PC
Download a font file (preferably .ttf or .otf) and save to a separate folder on your PC. If you get a zip file when you download fonts from a site, unzip/extract the font files from the zip.
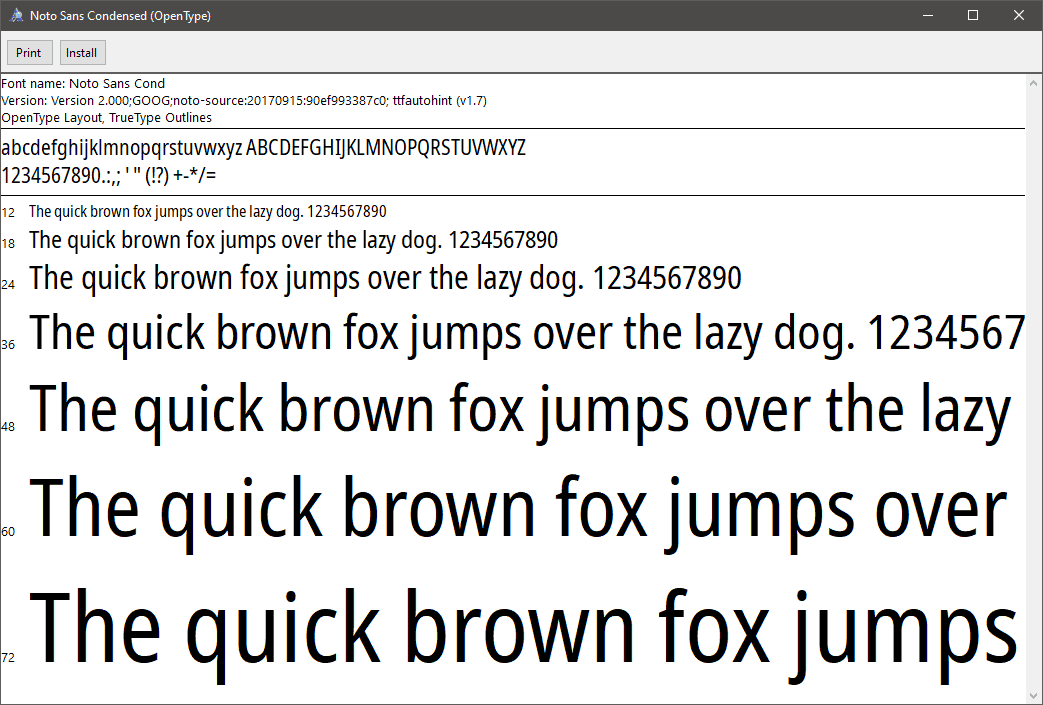
- Open the font file
Double-click/Run the font’s .ttf or .otf file to open it on your PC. Windows 10 will show you a preview of the font’s style along with options to Print or Install the font.
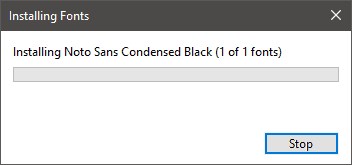
- Install font
Click on the Install button in the font preview window to install it on your system.
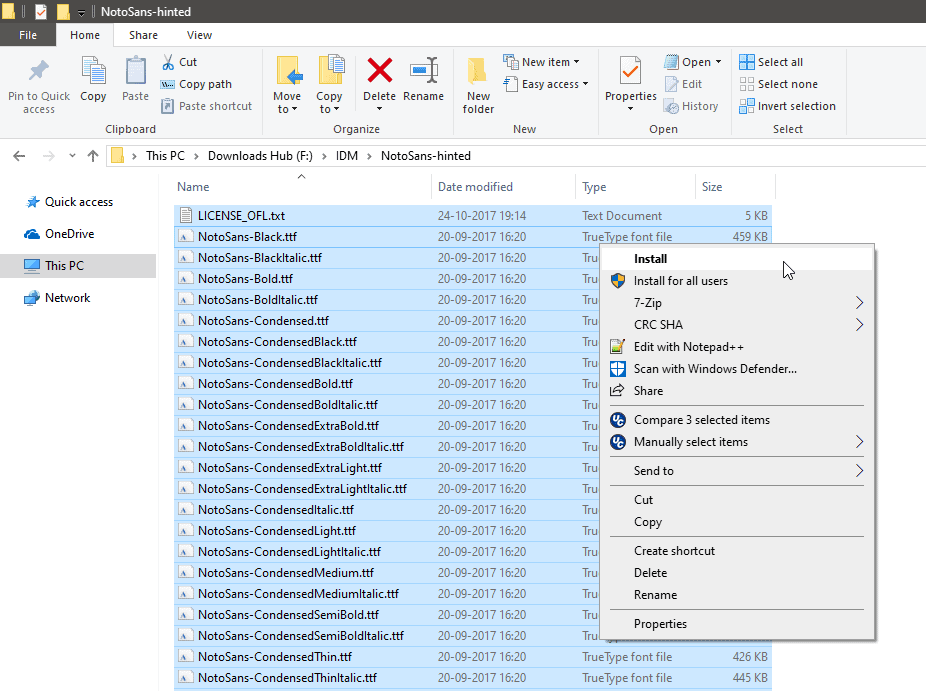
- Install multiple fonts at once
Windows 10 also lets you install multiple fonts in one click. Open the folder where all of font files are saved, press Ctrl+A to select all font files, then right-click on the selected files and select Install from the context menu.
TIP: If you wish to use the newly fonts in a program that was open at the time of installing the fonts, then you need to restart the program to use the newly installed fonts.
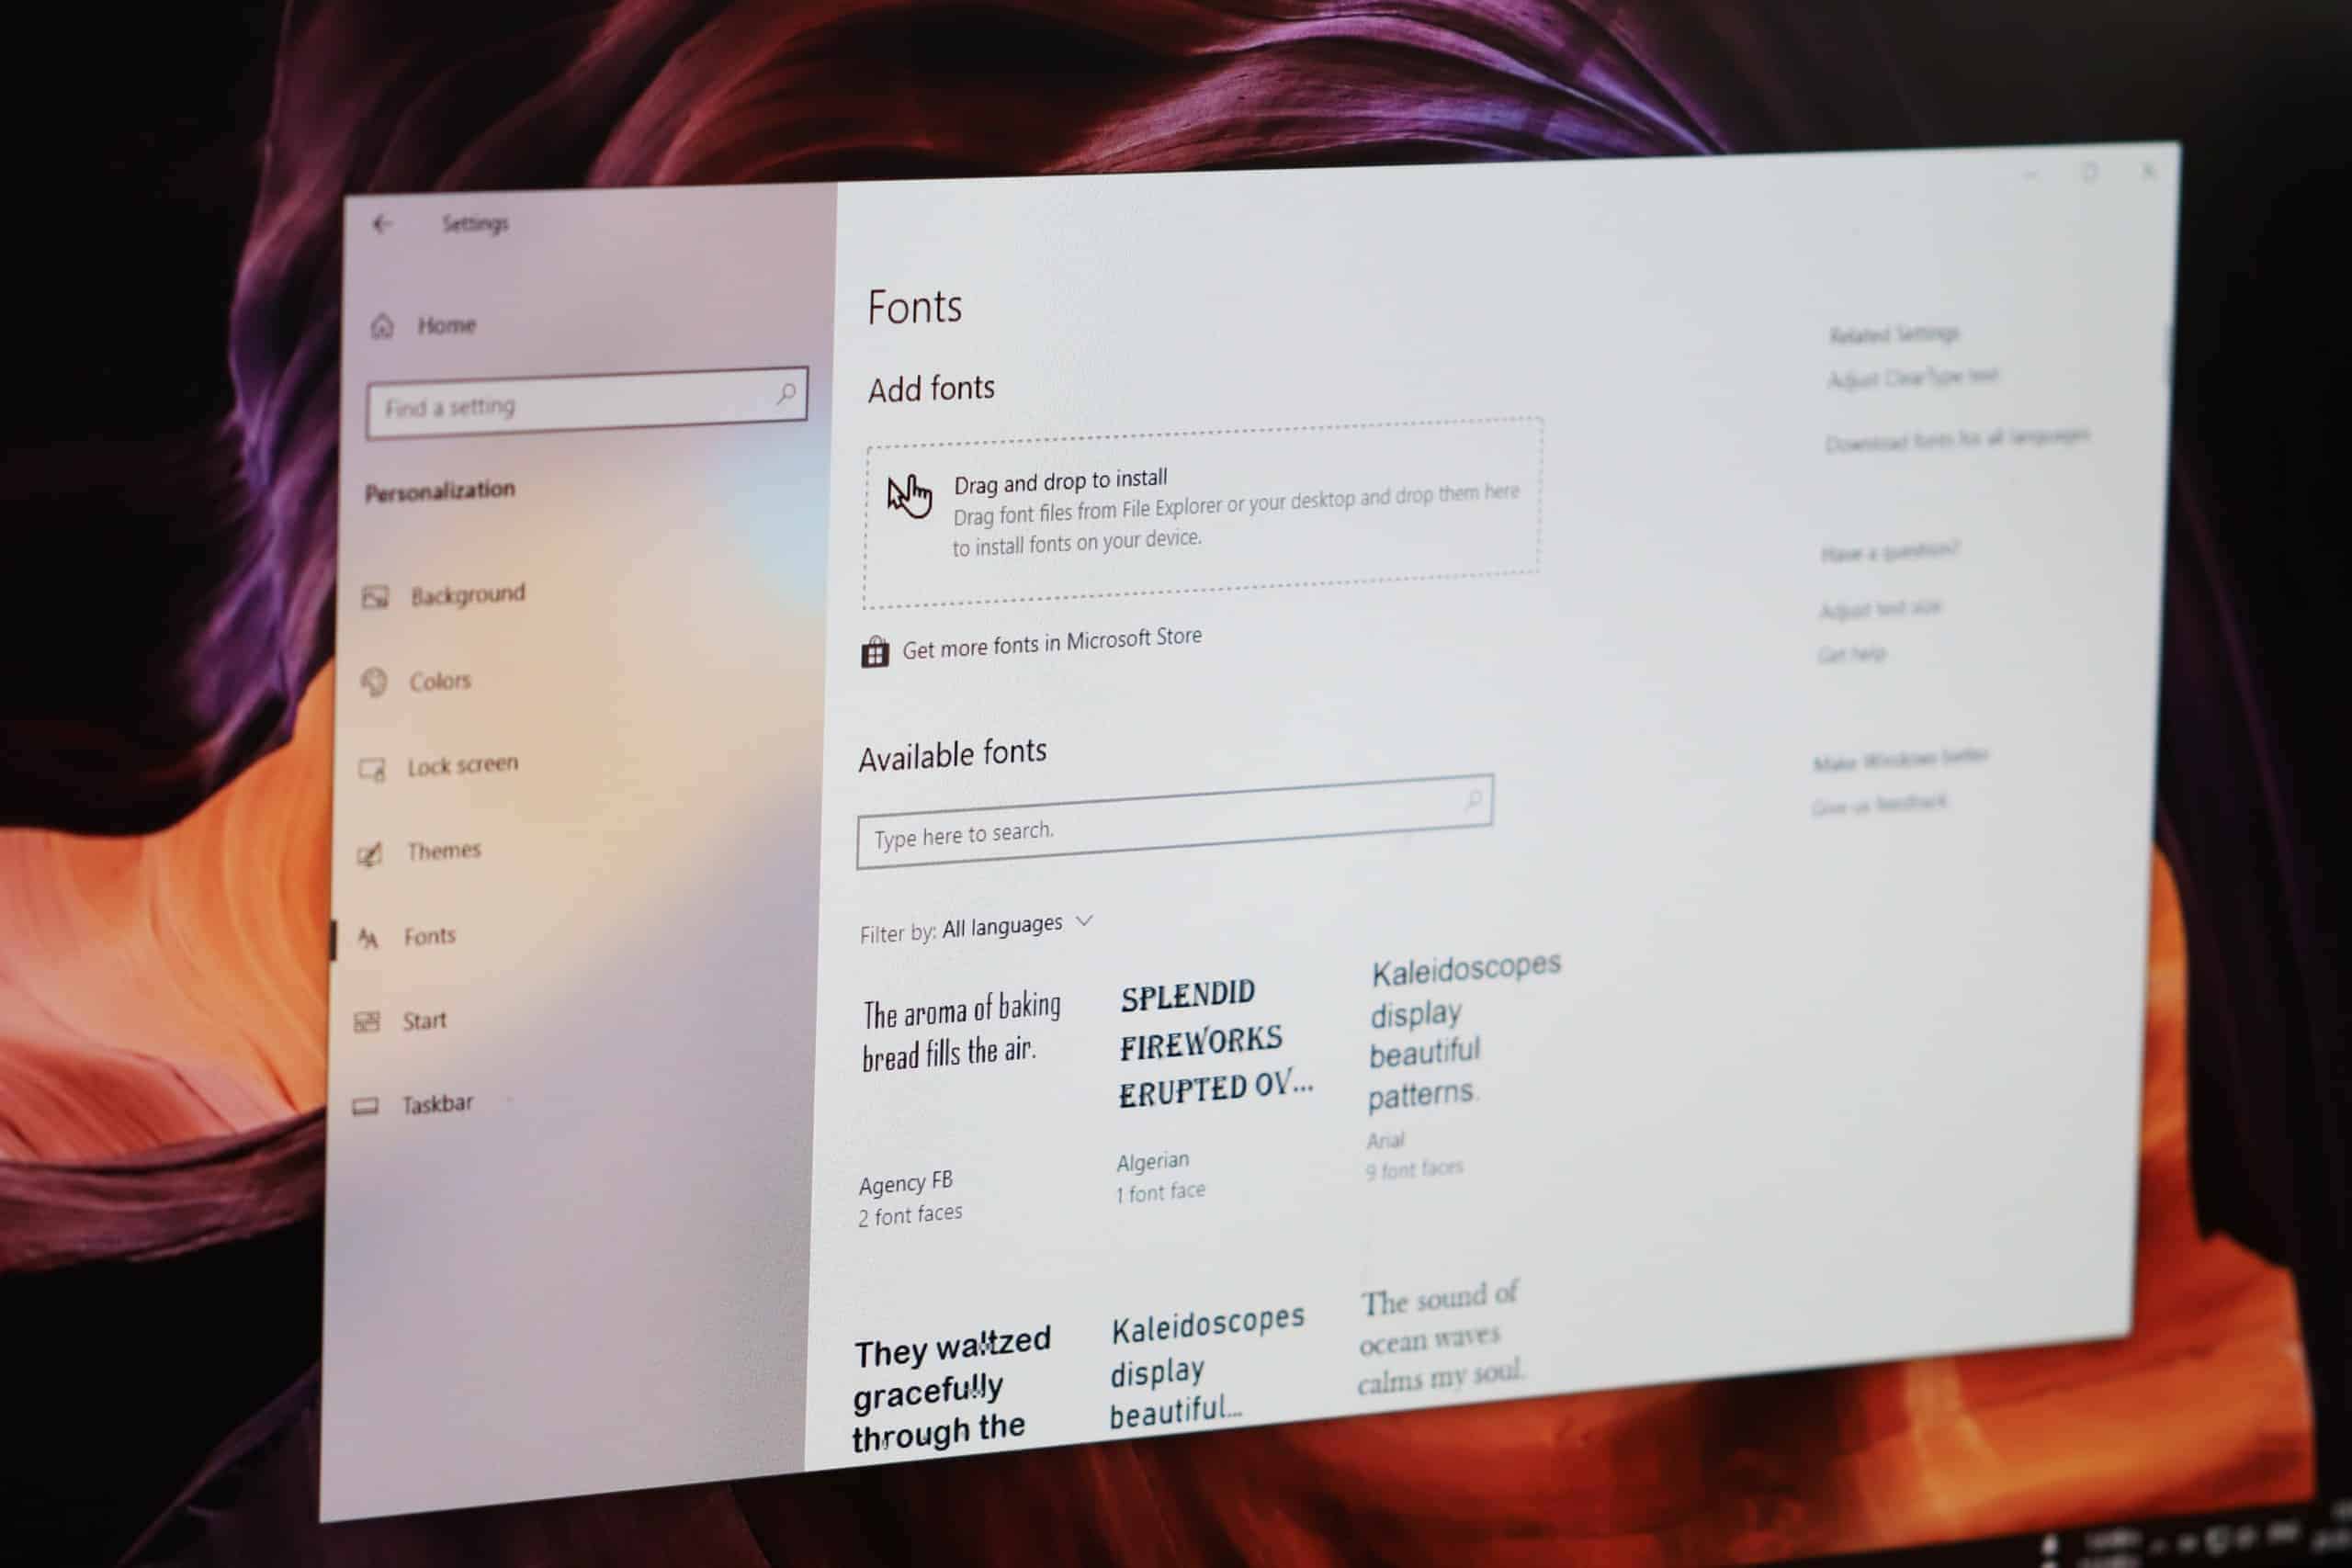
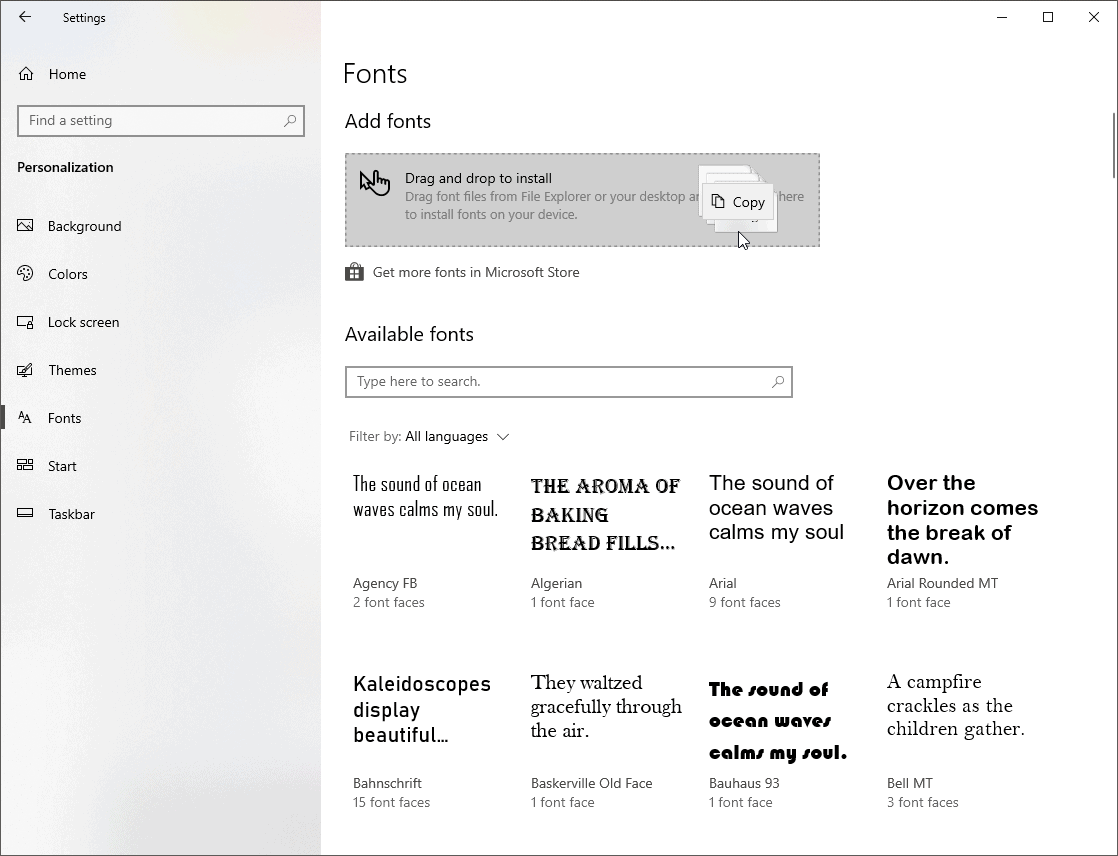
Using Windows 10 Font Manager
Windows 10 also has a built-in font manager that lets search fonts installed on your PC, filter them by language and also install or remove them.
To access the font manager, go to Settings » Personalization and select Fonts from the right panel.

To install fonts using the fonts manager, drag and drop the font files right into the ‘Add fonts’ section. Windows 10 will install the dropped fonts right away.
To uninstall a font, search and select the font in Windows Fonts manager and click Uninstall on the next window.

TIP: Windows 10 stores all font files in C:WindowsFonts folder. You can add or remove fonts from here as well by simply adding or removing the font files from the folder.


