Fragmentation in hard drives can lead to slow read/write speeds and reduced PC performance. You should periodically defrag drives on your PC to keep it running smoothly. Thankfully, Windows 10 comes with a built-in tool to defragment and optime drives. Let’s see how it works.
- Launch “Defragment and Optimize drives” tool
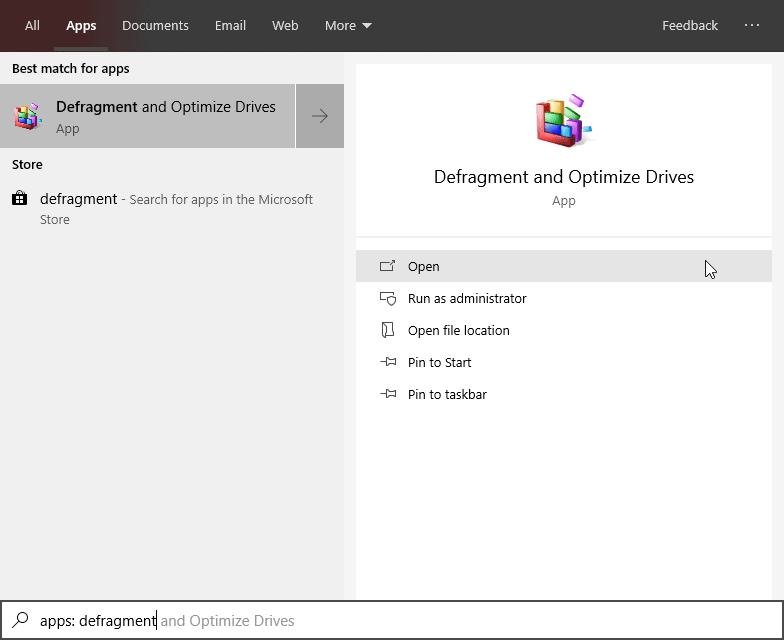
Open Start menu » search for “Defragment and Optimize drives” and open the program.
- Select the drive you wish to defrag
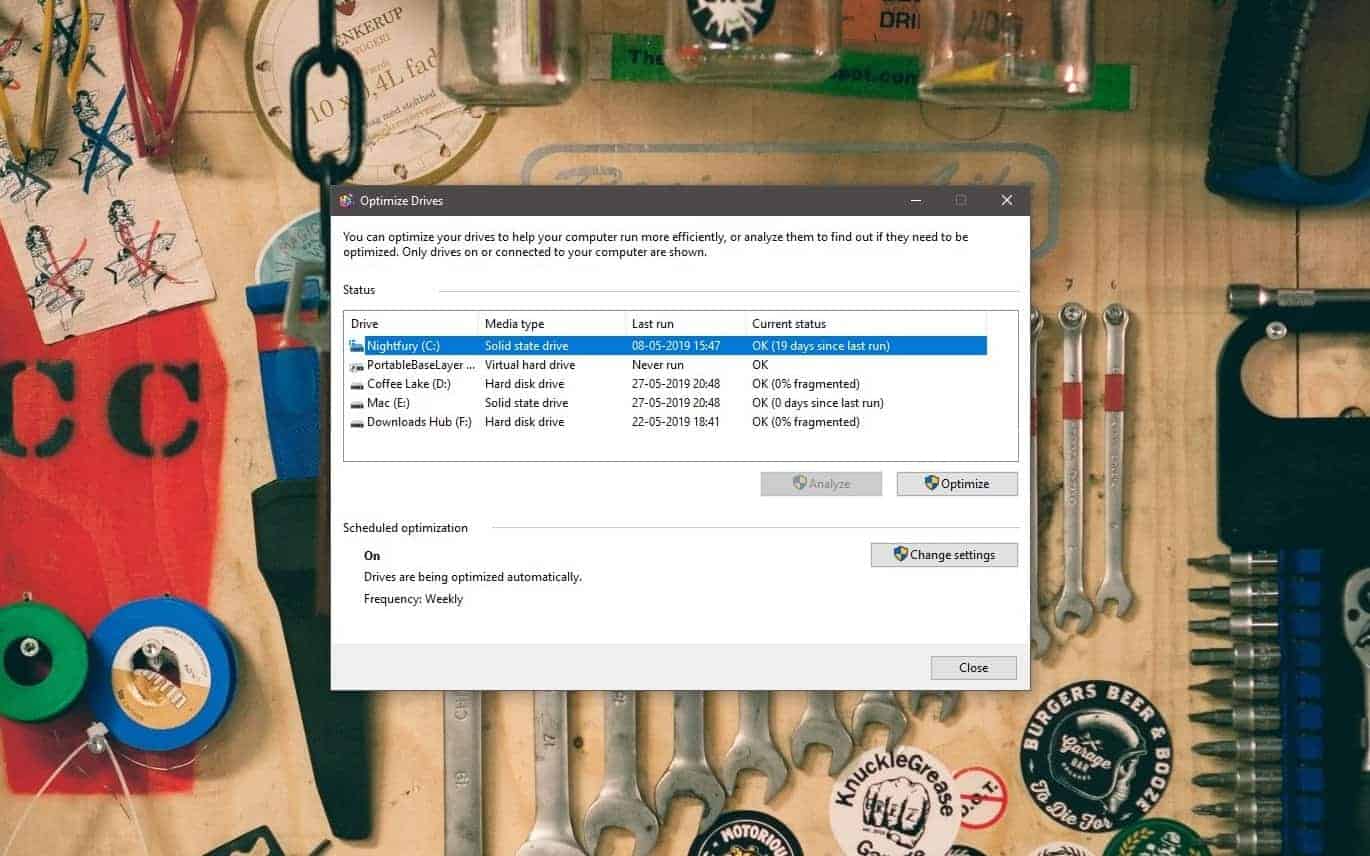
On the Optimize Drives screen, you’ll see a list of all drives installed on your PC. Click on the drive you would like to defrag, then hit the Analyze button. It’ll take a while for the system to analyze the drive for fragmentation.
If the results show fragmentation of more than 10%, then you should and hit the Optimize button to defrag the drive. If it’s less than 10% fragmented, there’s no need to optimize the drive.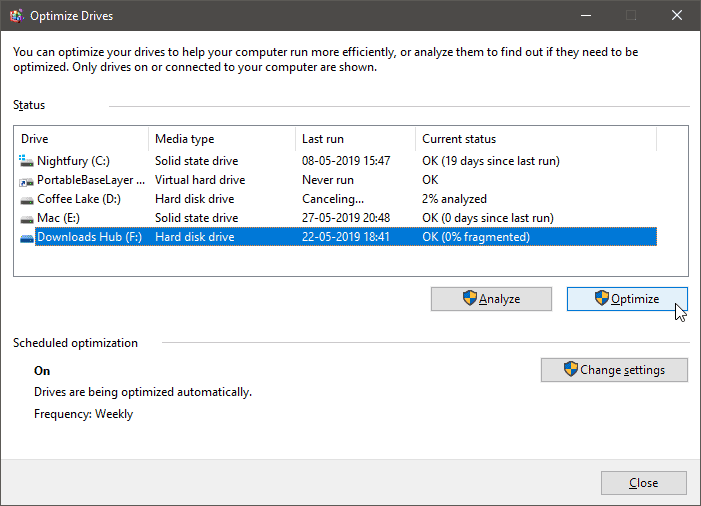
- Setup scheduled optimizations
To automatically defrag drives in Windows 10 you can enable the scheduled optimizations feature. Under Scheduled optimizations section on the tool’s window, click Change settings to access the schedule options.
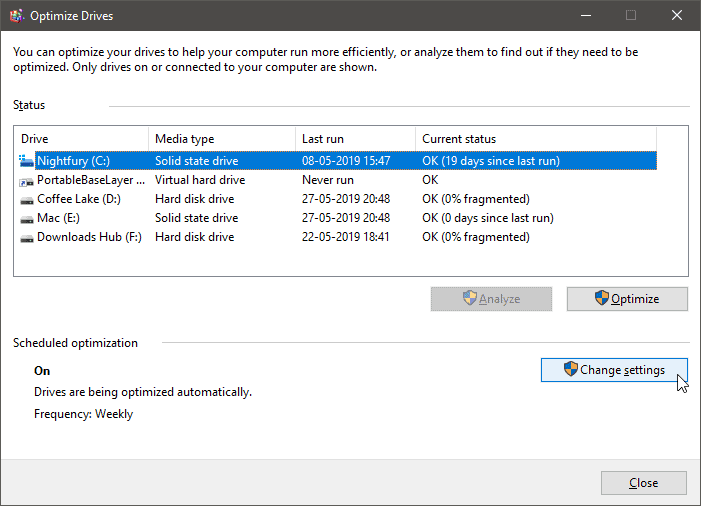
Tick the Checkbox beside Run on a schedule option, then select Weekly or Monthly as the frequency for the automated optimizations of drives.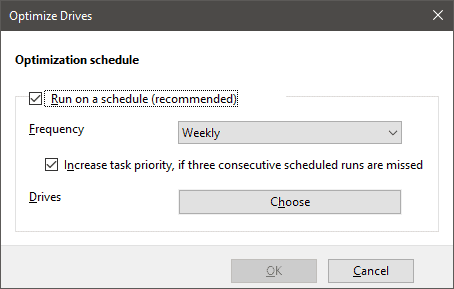
Click Choose next to Drives to select the drives which the system should automatically analyze and optimize.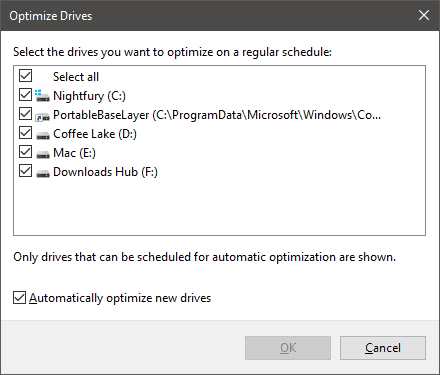
That’s it. We hope you find this page helpful.


