How to Install Intel Network Drivers on Windows 11
Three ways to install the Intel Network Drivers if they are missing on your system
Three ways to install the Intel Network Drivers if they are missing on your system
by Parth Sawhney
Experiencing issues with missing or malfunctioning Intel network drivers on your Windows 11 PC can be frustrating. Without the proper drivers, your computer might not connect to the Internet or recognize Bluetooth devices. This guide will walk you through the most effective methods to install Intel network drivers on your Windows 11 system.
Download the Driver from the Intel Website
One of the most reliable ways to ensure you have the latest Intel network drivers is to download them directly from the official Intel website. This method guarantees that you get the most recent and compatible drivers for your hardware.
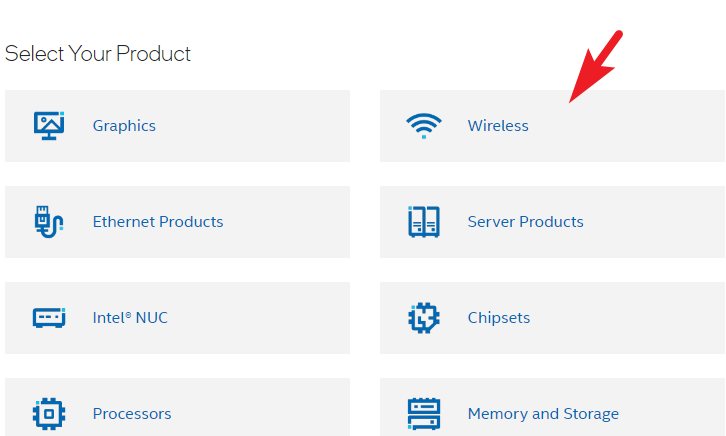
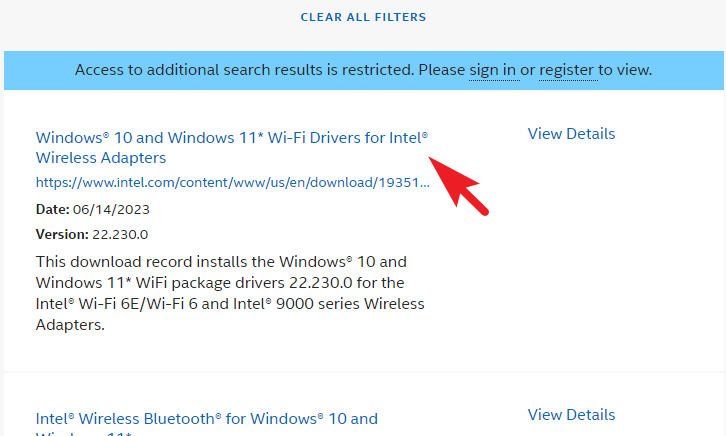
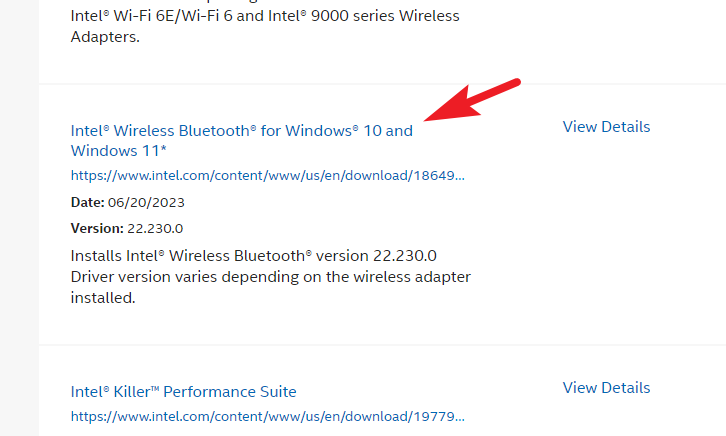
To download the Wi-Fi drivers, find and select the ‘Wi-Fi Drivers for Intel Wireless Adapters’ option.
Note: The steps below are for downloading drivers for Wi-Fi version 6 and Intel 9000 series adapters. If your device uses a different adapter series, scroll down on the page to find the driver compatible with your hardware.
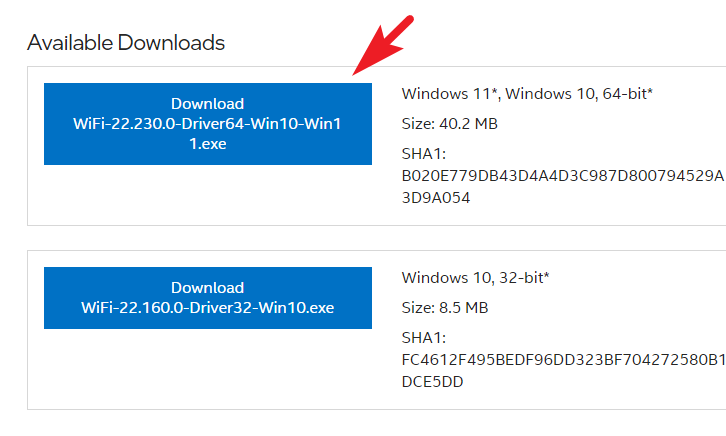
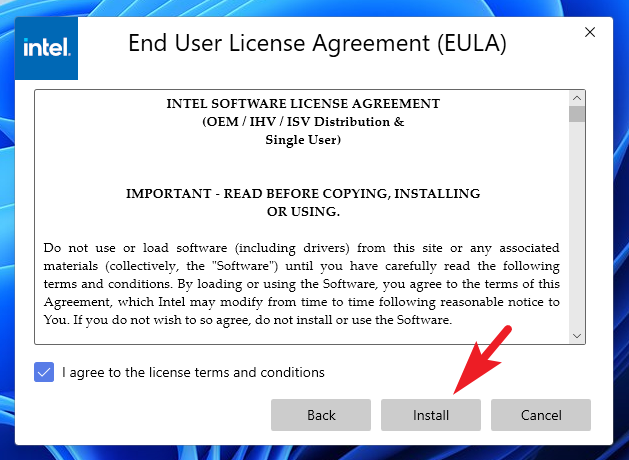
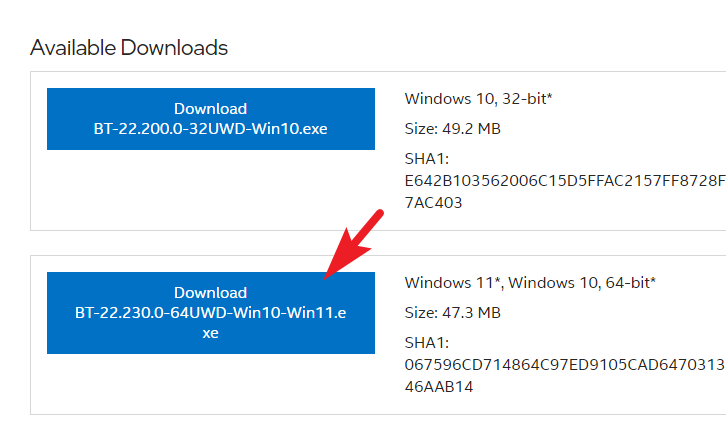
Choose the appropriate version for your system by clicking on either the 32-bit or 64-bit download link, depending on your Windows 11 architecture. An overlay window will appear.
After the installation completes, restart your computer from the Start Menu to apply the changes. Your Wi-Fi drivers should now be installed and functioning properly.
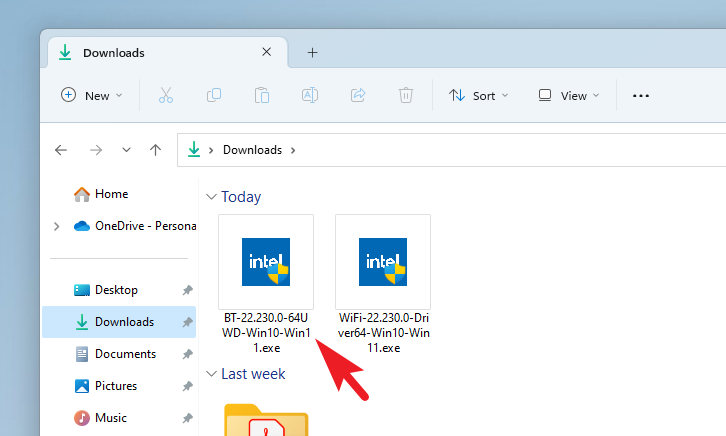
To install the Bluetooth drivers, follow similar steps:
Once the installation is finished, restart your computer to apply the new driver. Your Bluetooth functionality should now be restored.
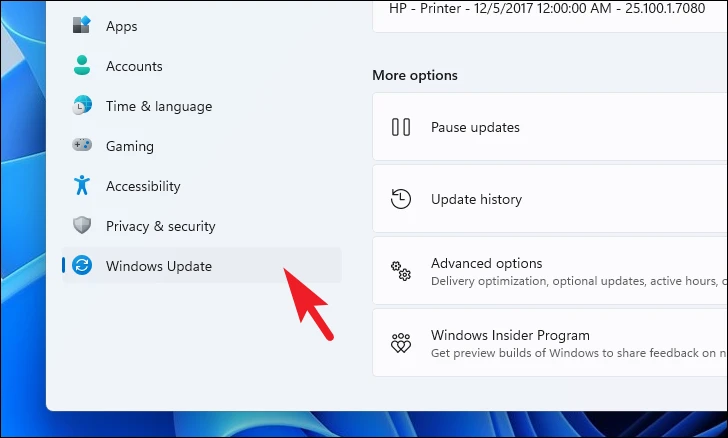
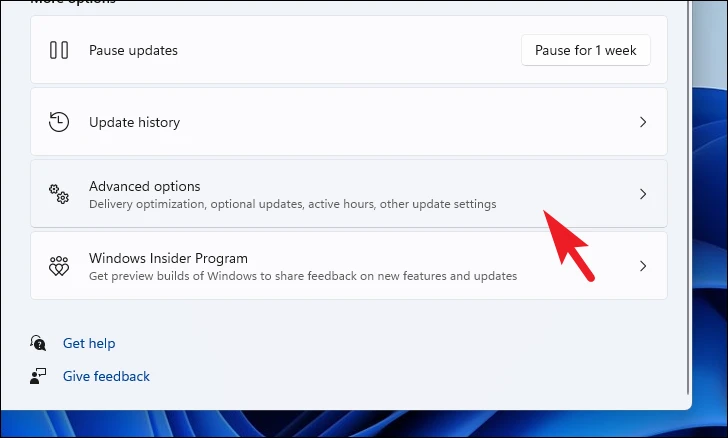
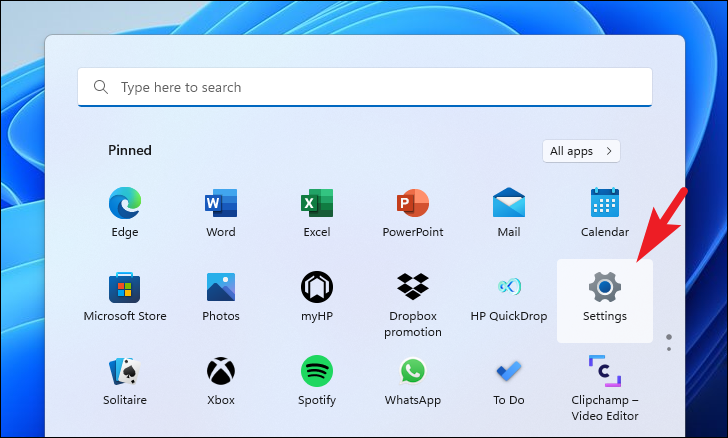
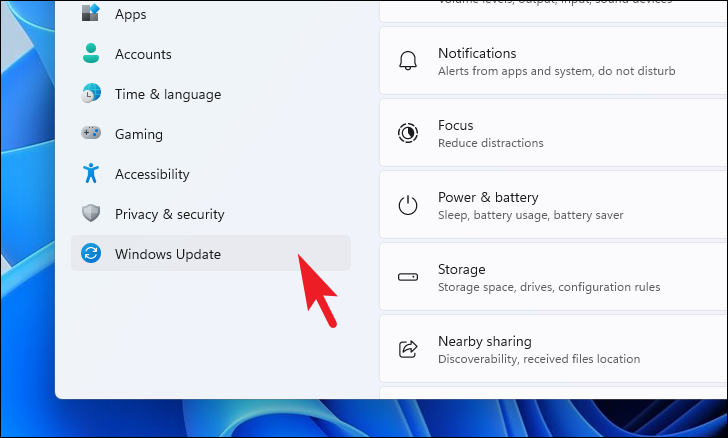
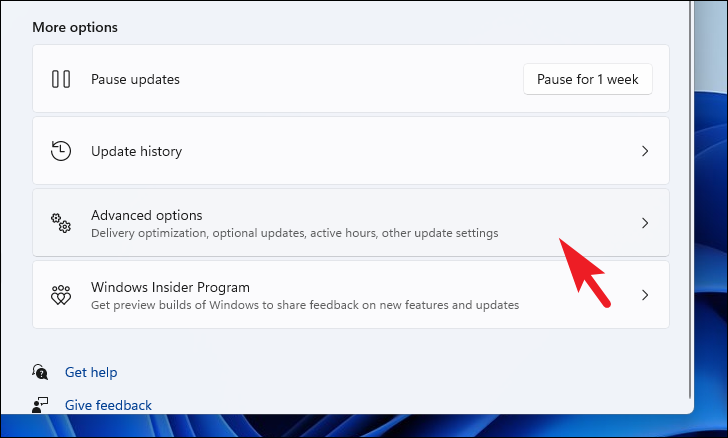
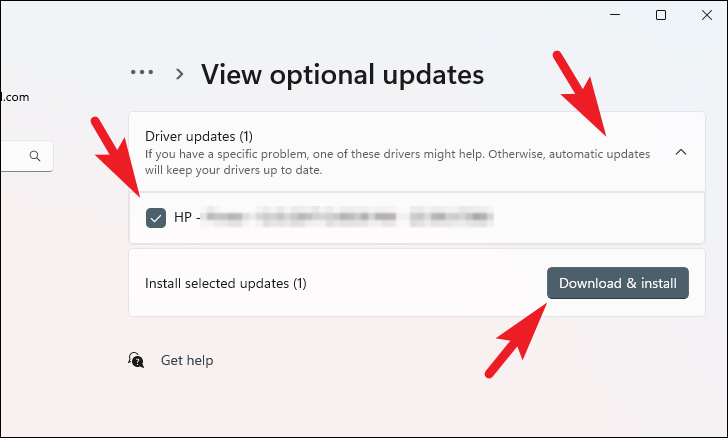
Check for Optional Updates
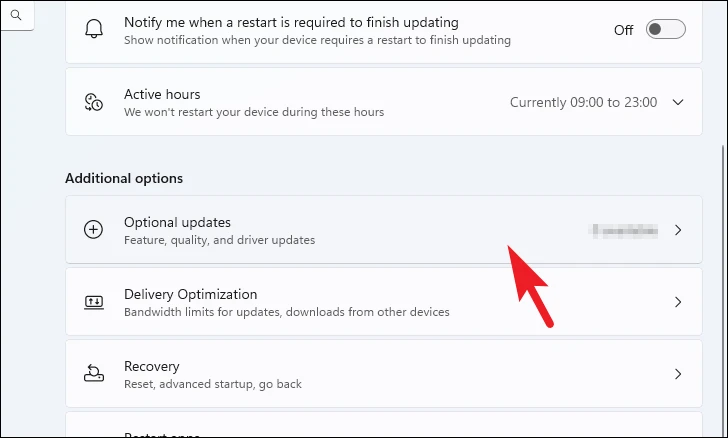
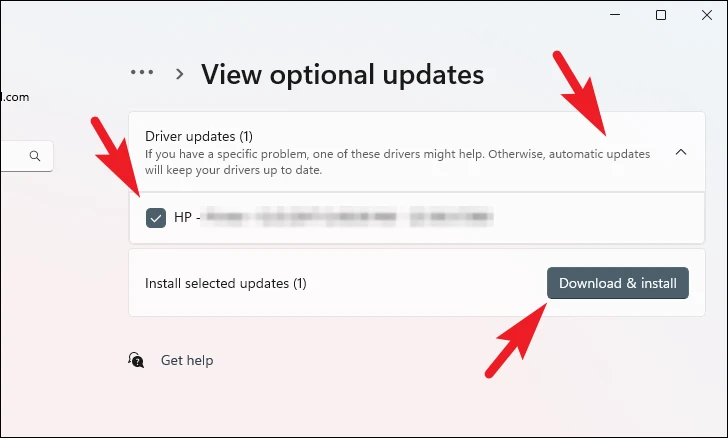
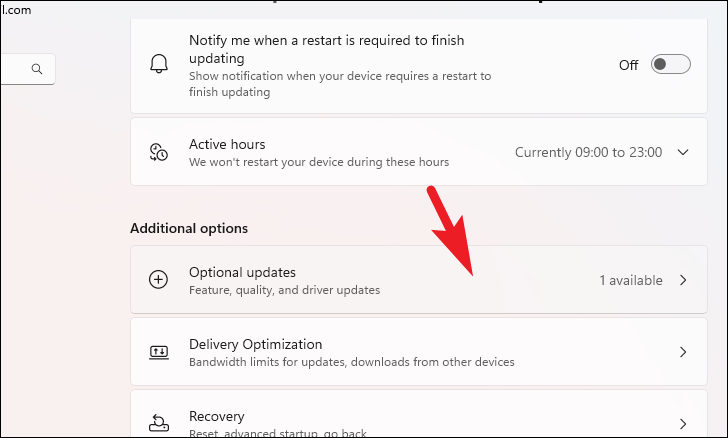
If you’ve recently purchased a new PC or performed a system reset, Windows might have identified the missing network drivers and placed them in the ‘Optional Updates’ section. Sometimes, these updates aren’t installed automatically, and you’ll need to install them manually.
Once the installation is complete, restart your computer to apply the updates.
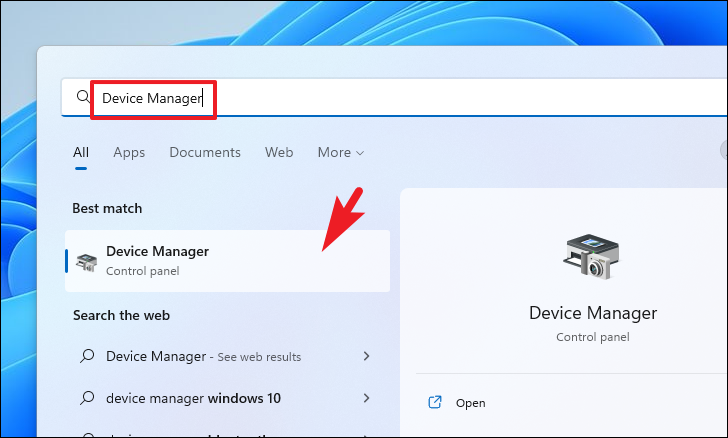
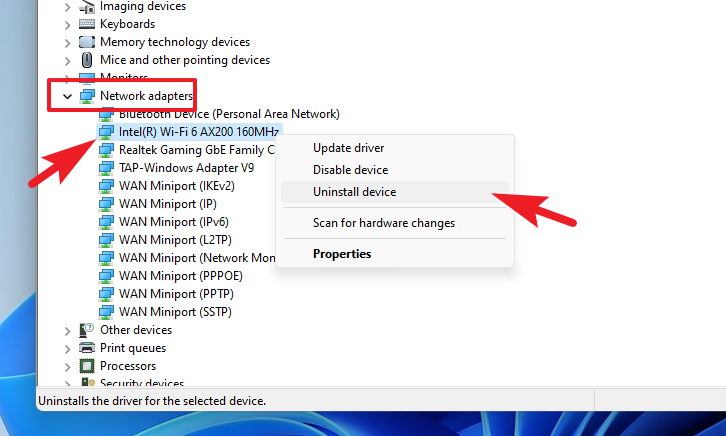
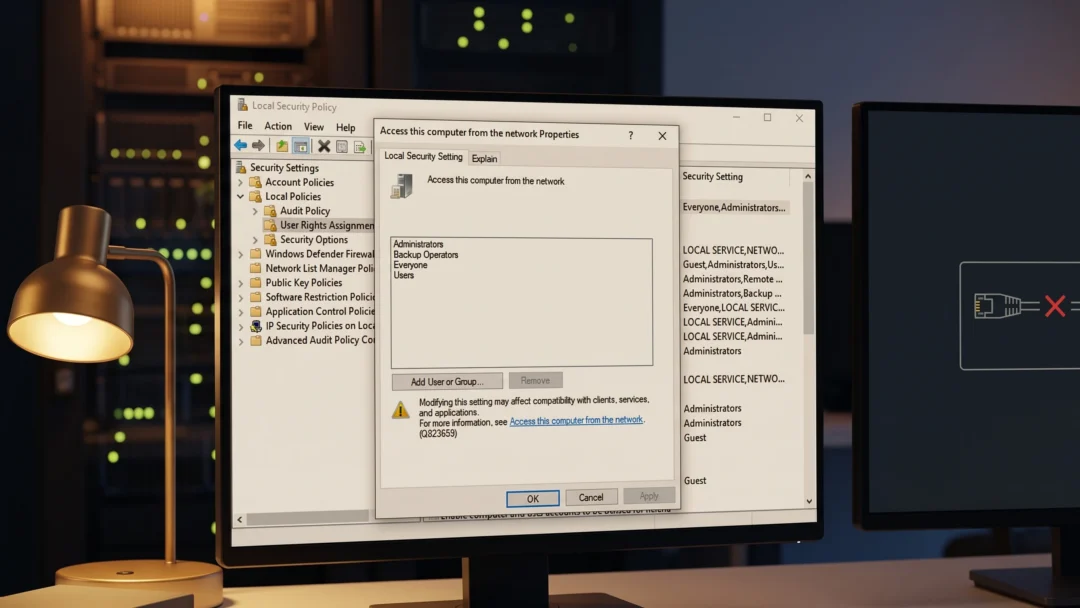
Force Reinstall Network Drivers
If you’re experiencing issues with your current network drivers, reinstalling them can often resolve the problems. By uninstalling the drivers and allowing Windows to reinstall them, you can fix corrupted or malfunctioning drivers.
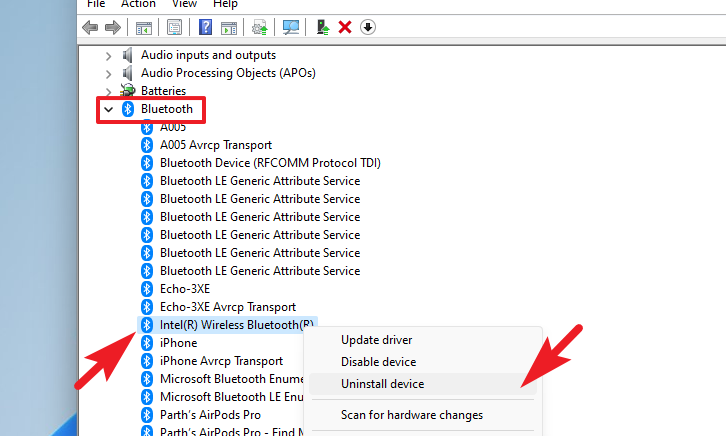
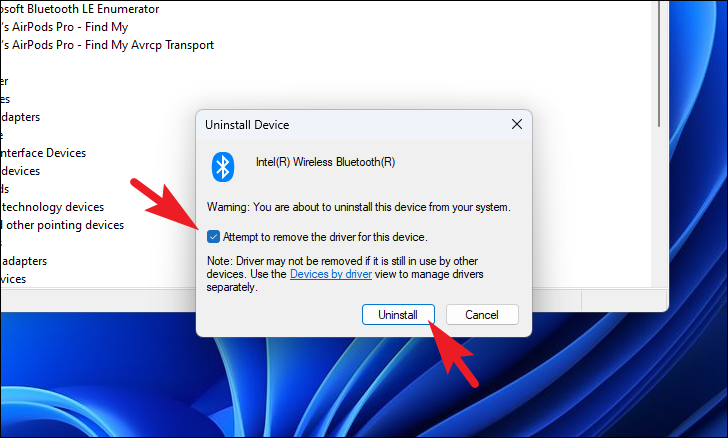
To uninstall Bluetooth drivers, expand the ‘Bluetooth’ category by double-clicking it. Right-click on ‘Intel Bluetooth Wireless’ and select ‘Uninstall’. A confirmation window will appear.
After the drivers are reinstalled, restart your computer to ensure they are properly applied.
By following these methods, you should be able to install or restore your Intel network drivers on Windows 11, resolving any connectivity issues with Bluetooth or Wi-Fi. With your network drivers functioning correctly, you can enjoy seamless Internet access and connect your wireless devices without any problems.