Remote access to your computer can be incredibly useful for various reasons, from retrieving important files to assisting someone with technical issues. Chrome Remote Desktop offers a free and user-friendly way for Windows 11 users to access their PC from anywhere.
Download and set up Chrome Remote Desktop on your Windows 11 PC
- On the Windows 11 PC you wish to access remotely, open your preferred web browser and navigate to remotedesktop.google.com/access. If you’re not already signed in, log in to your Google account.

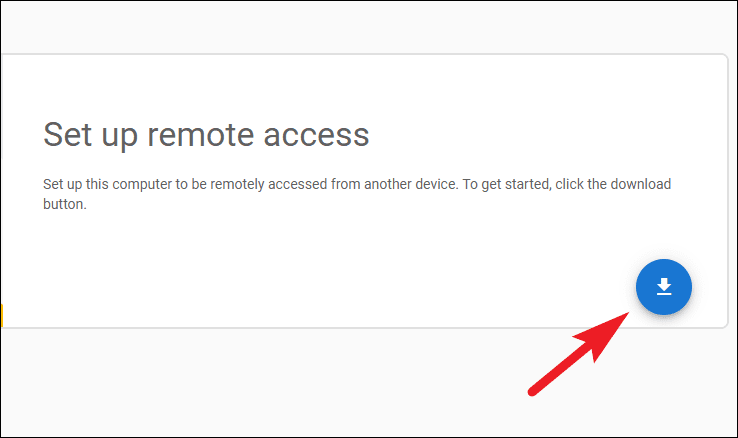
- Once logged in, click on the Download button under Set up remote access. This will open the Chrome Web Store in a new tab.
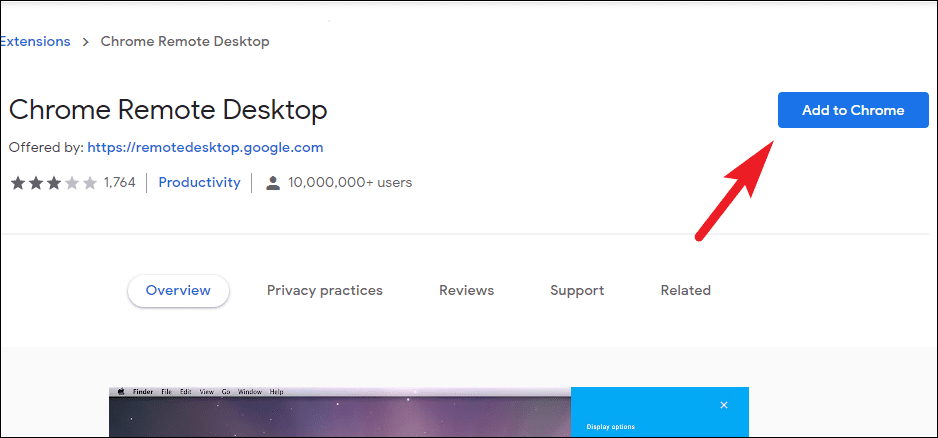
- In the Chrome Web Store, click Add to Chrome to install the Chrome Remote Desktop extension. A confirmation prompt will appear.
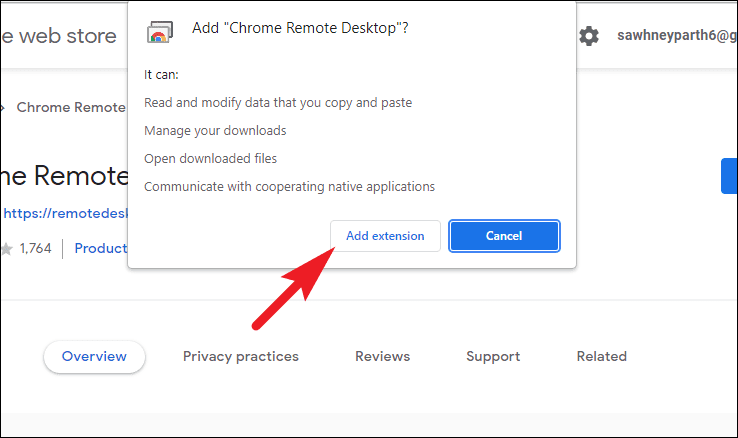
- In the prompt, click Add extension to confirm the installation. You’ll receive a notification once the extension has been added.
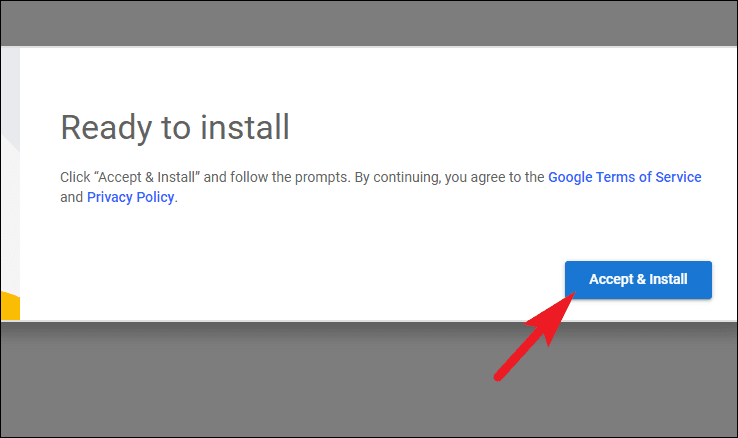
- Return to the Chrome Remote Desktop webpage and click Accept & Install to download the setup file. A system prompt may appear asking for permission.
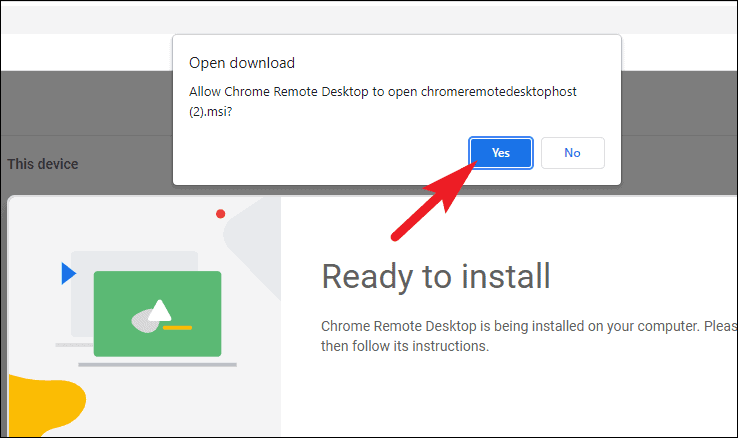
- In the system prompt, click Yes to allow the app to make changes to your device. This will initiate the installation process.
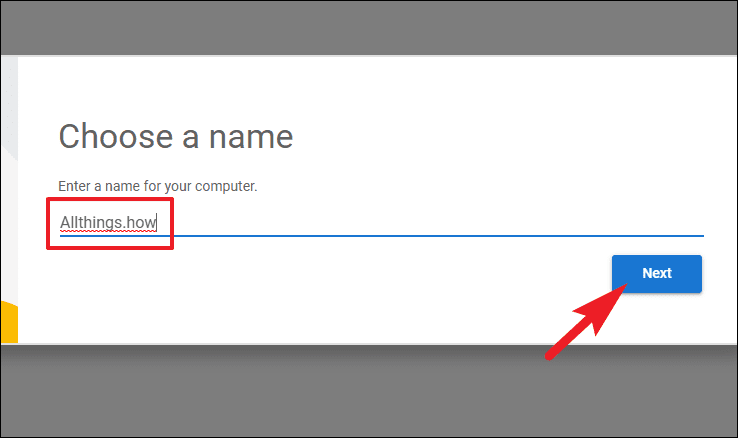
- Wait for the installation to complete. Once finished, a Chrome window will appear prompting you to name your computer. Enter a name of your choice and click Next.
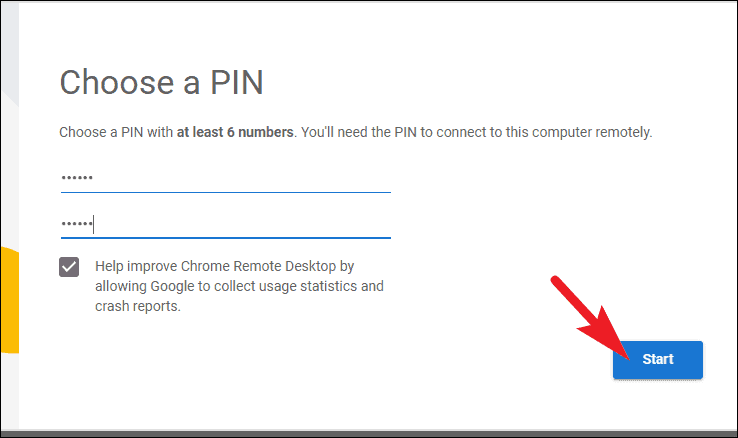
- Create a 6-digit PIN to secure your remote connection. Enter it twice for confirmation, then click Start.
Your device is now set up for remote access and will appear as online in Chrome Remote Desktop.

Use a secondary device to connect remotely to your Windows 11 PC
Once you’ve set up your Windows 11 PC for remote access, you can connect to it from another device whenever you need to.
- On the device you’re using to connect remotely, open a web browser and go to remotedesktop.google.com/access. Sign in to the same Google account used on your Windows 11 PC.
- Ensure the Remote Access tab is selected on the left sidebar.
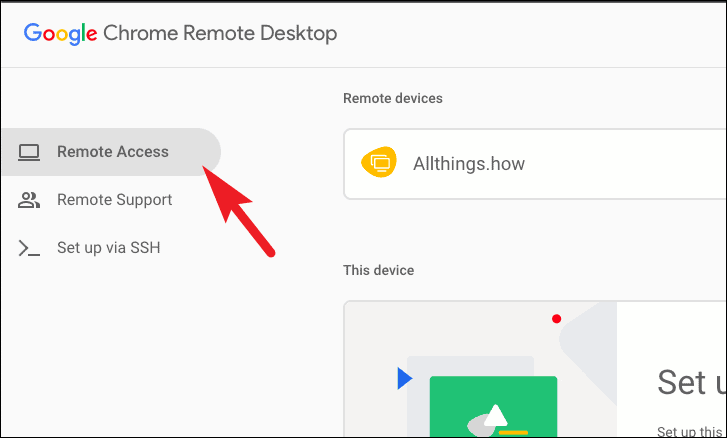
- Under Remote devices, you’ll see a list of available computers. Click on the name of your Windows 11 PC to initiate the connection.

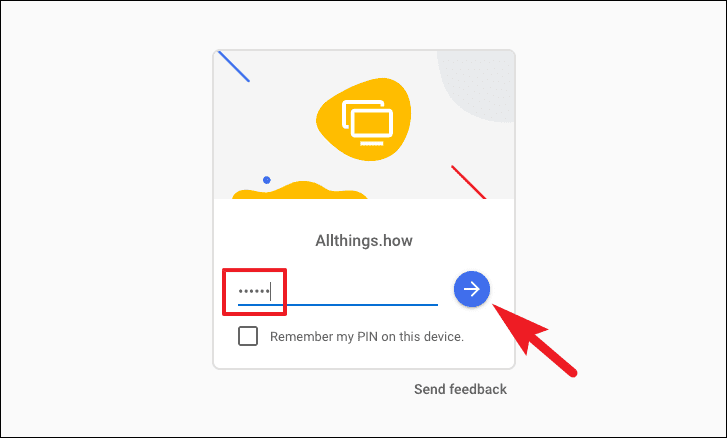
- When prompted, enter the 6-digit PIN you created earlier and click Enter to establish the connection.
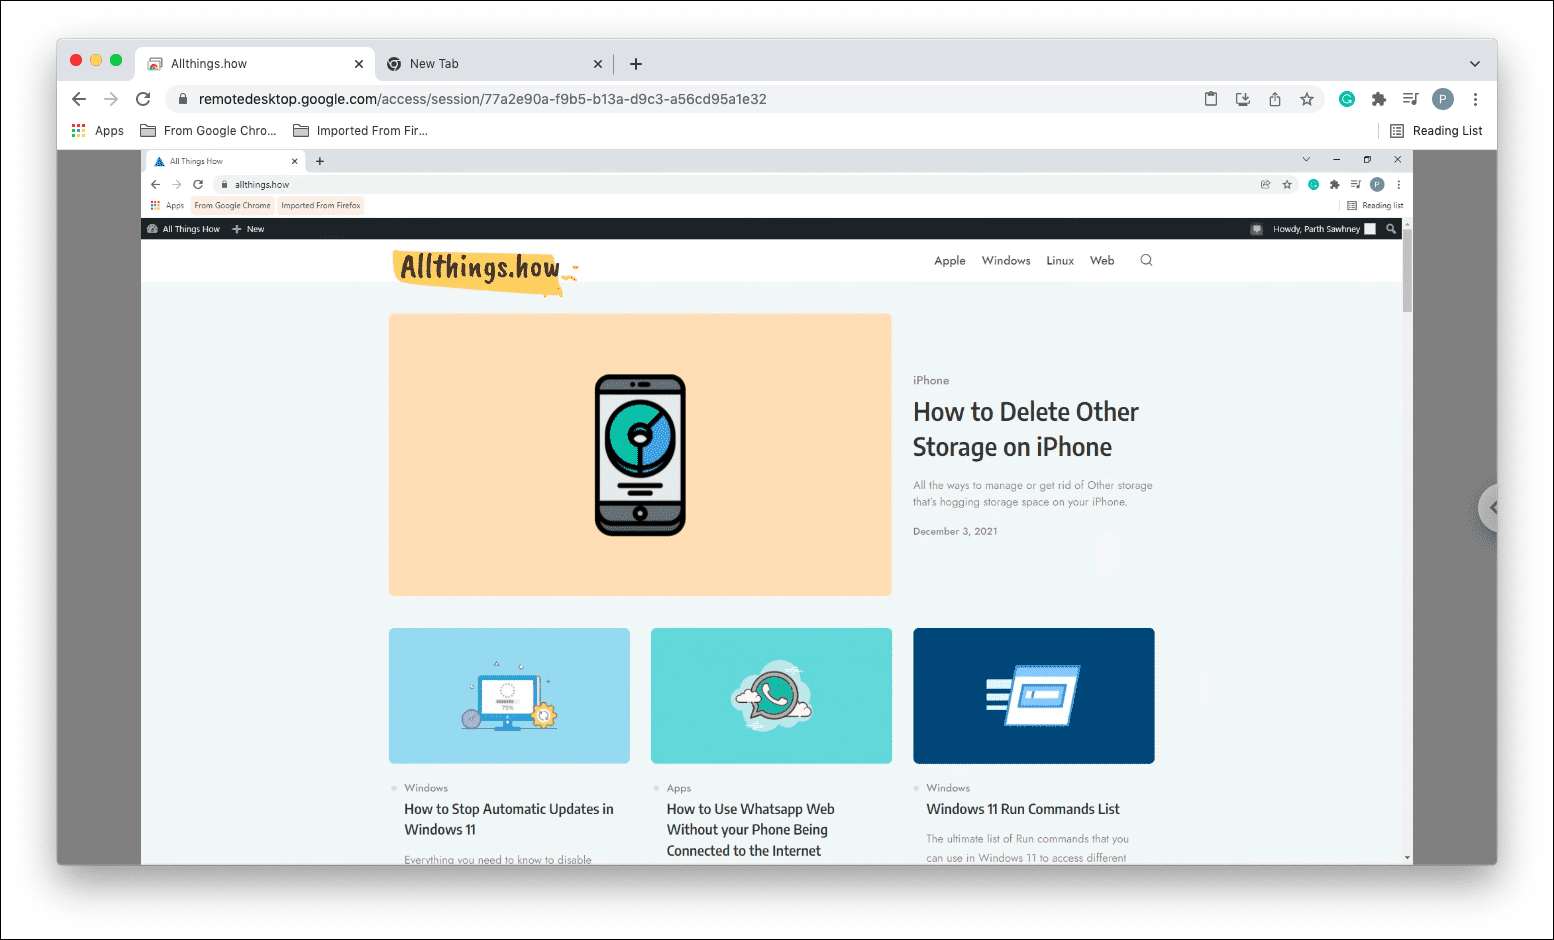
After a moment, you’ll see your Windows 11 desktop displayed in the browser window on your secondary device.
Customize your remote session settings
Chrome Remote Desktop provides various options to enhance your remote session experience.
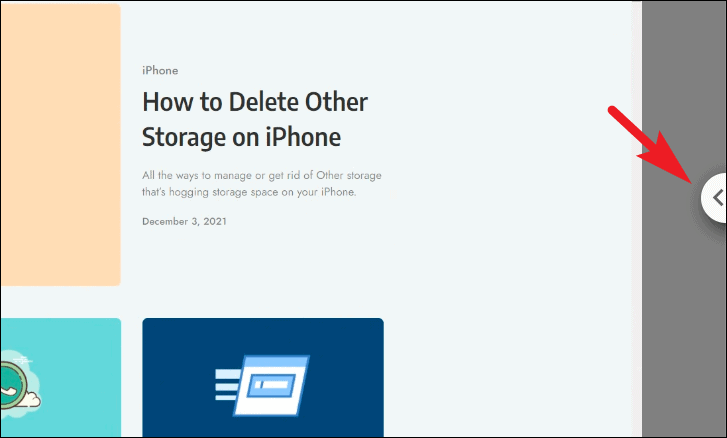
- To access session settings, click the small arrow (chevron) on the right edge of the screen during your remote session.
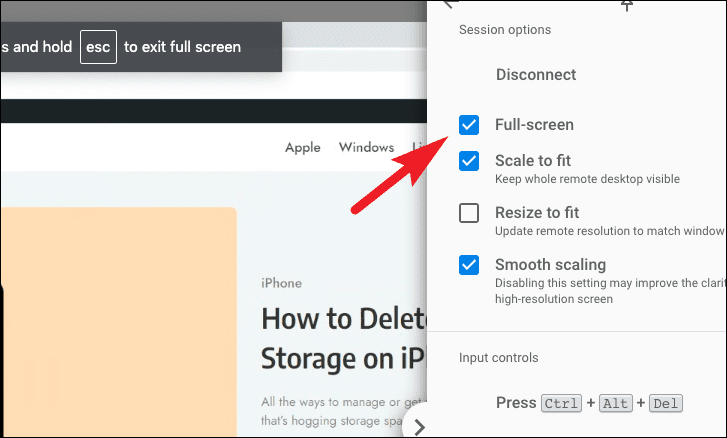
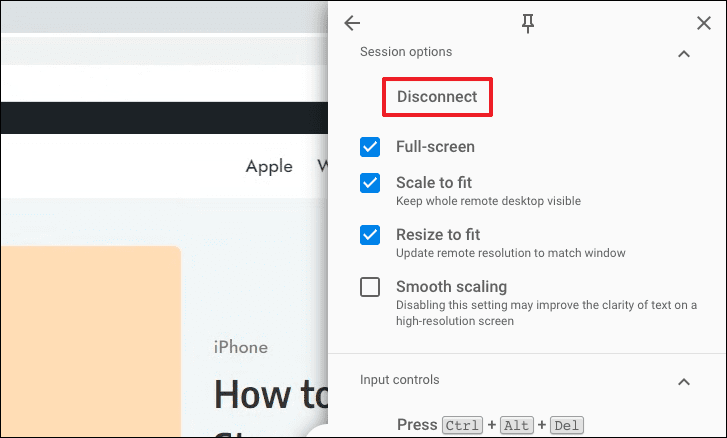
- To view the remote desktop in full screen, check the box next to Full-screen.
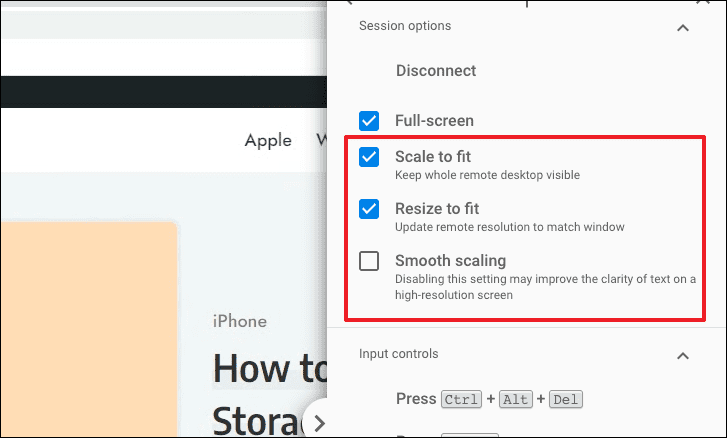
- Adjust display settings like Resize to fit and Shrink to fit to optimize the viewing experience.
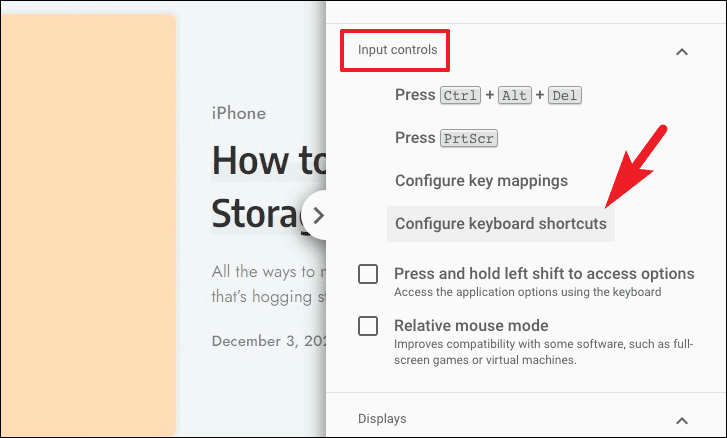
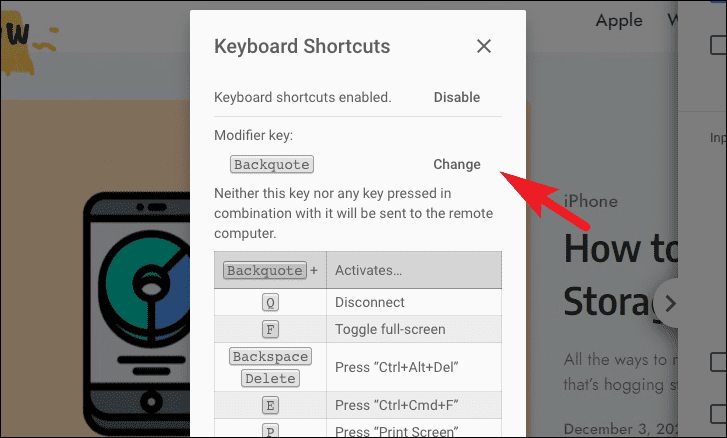
- To configure keyboard shortcuts, scroll to the Input controls section and click Configure keyboard shortcuts. Set your preferred modifier key and enable or disable specific shortcuts.
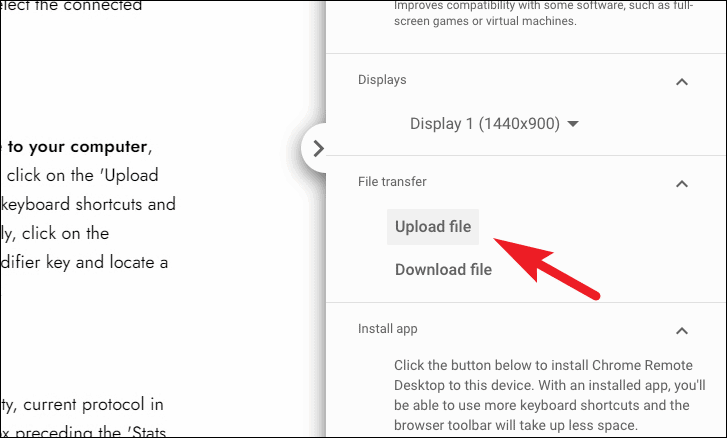
- To transfer files between devices, use the File transfer section. Click Upload file to send a file to the remote PC or Download file to retrieve a file from it.
- If you wish to disconnect, simply click the Disconnect button at the bottom of the settings pane.
Manage your remote devices
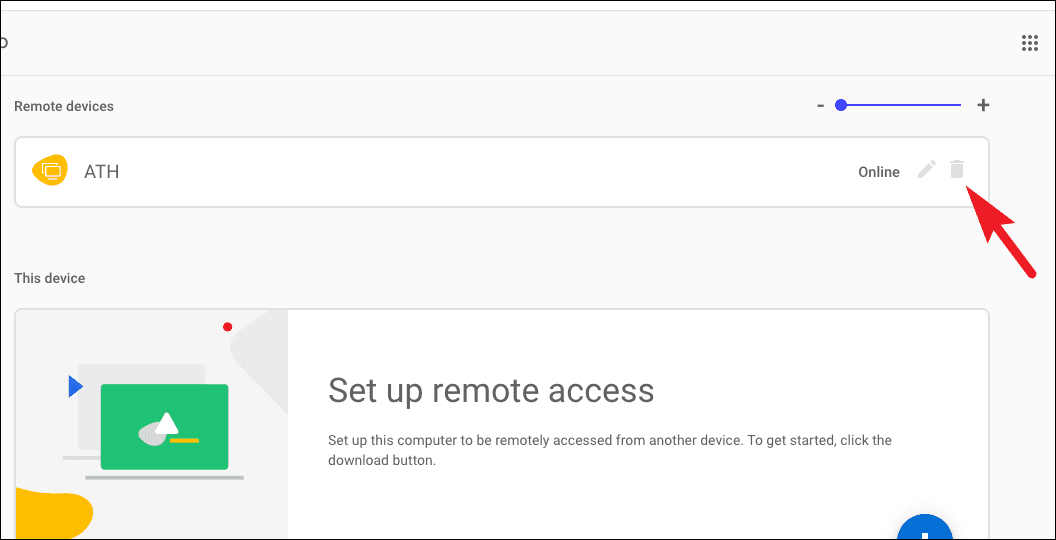
You can change the remote device name, check its status, or remove a device from your account.
- On the Chrome Remote Desktop main screen, click the pencil icon next to your device to rename it. Enter the new name and click Save.
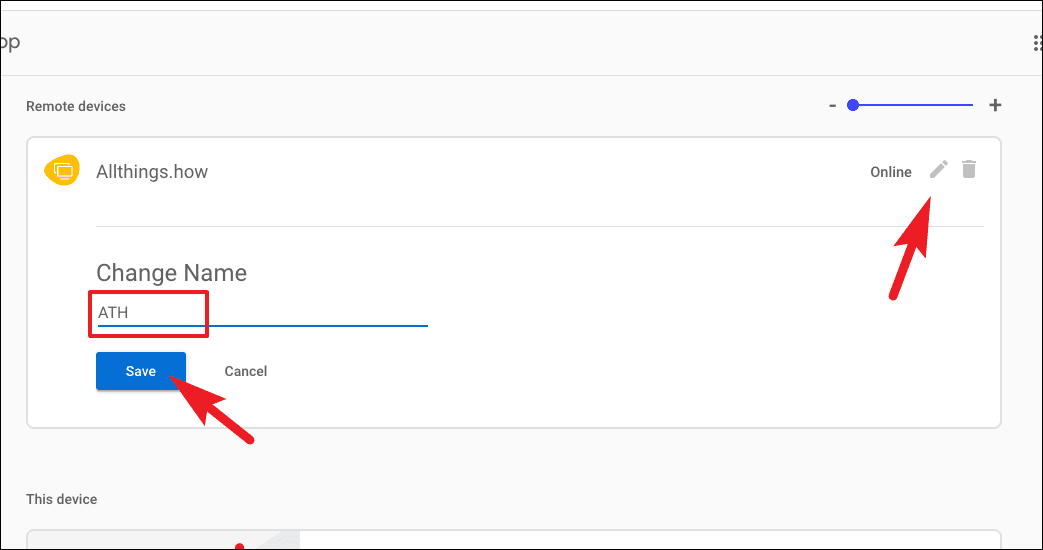
- To remove a device, click the trash bin icon next to it. Confirm the removal by clicking OK in the prompt.
With Chrome Remote Desktop, accessing your Windows 11 PC from anywhere is simple and secure. Whether for work or personal use, you now have the flexibility to connect to your computer whenever you need it.


