Bluetooth drivers are essential software components that enable wireless connectivity on Windows PCs. They allow file transfers, device pairing, and security features like Dynamic Lock. While Windows typically handles driver updates automatically, there are times when manual intervention is needed to install or update Bluetooth drivers.
This guide covers multiple methods to install or update Intel Bluetooth drivers on Windows 11, from the most effective to less common approaches.
Update Intel Bluetooth driver through Windows Update
The simplest way to update your Bluetooth driver is through Windows Update:
- Open the Settings app by pressing Windows key + I
- Click on “Windows Update” in the left sidebar
- Select “Advanced options”
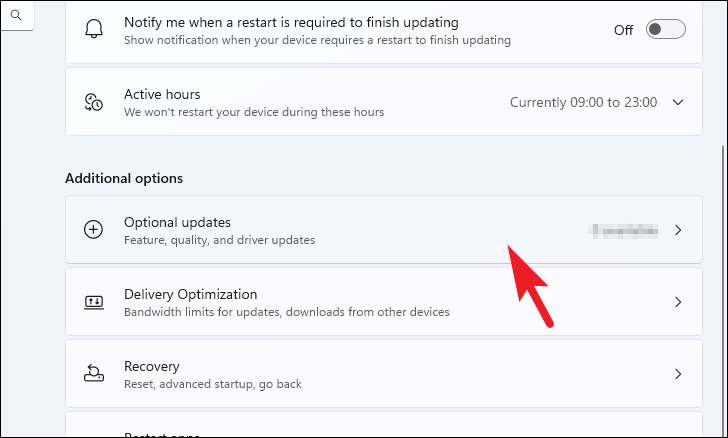
- Click on “Optional updates”
- Expand the “Driver updates” section
- Look for any available Bluetooth driver updates
- Check the box next to the Bluetooth driver
- Click “Download & install”
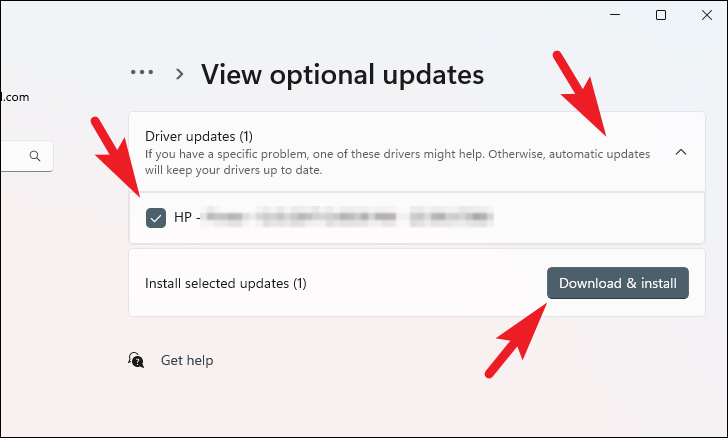
Windows will download and install the driver update automatically.
Install or update Intel Bluetooth driver via Device Manager
Device Manager provides another straightforward method:
- Open Device Manager by searching for it in the Start menu
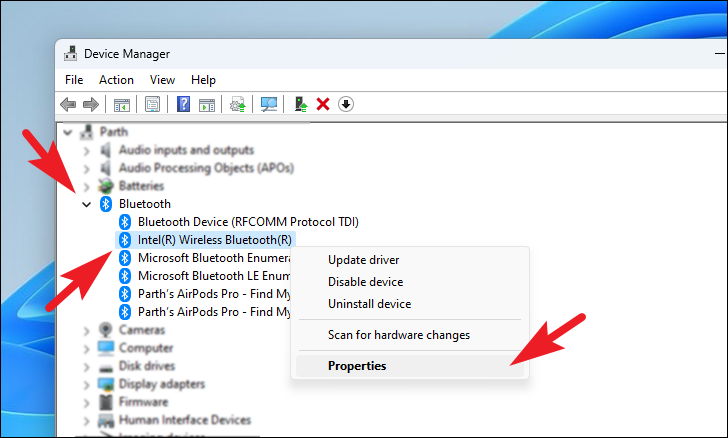
- Expand the “Bluetooth” category
- Right-click on “Intel Wireless Bluetooth”
- Select “Properties”
- In the Properties window, click the “Driver” tab
- Select “Update driver”
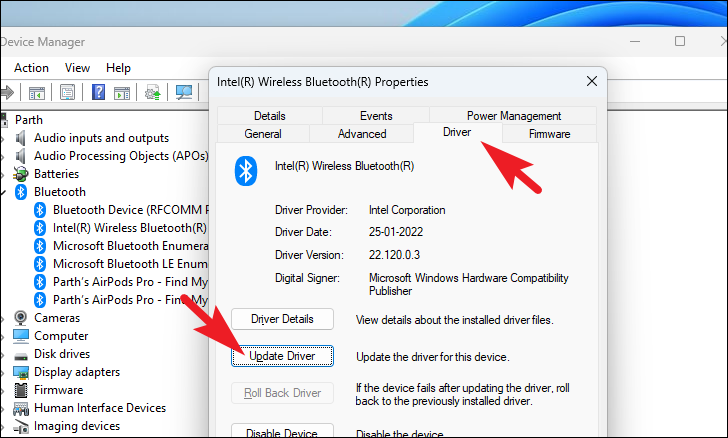
- Choose “Search automatically for drivers” to let Windows find and install the latest driver
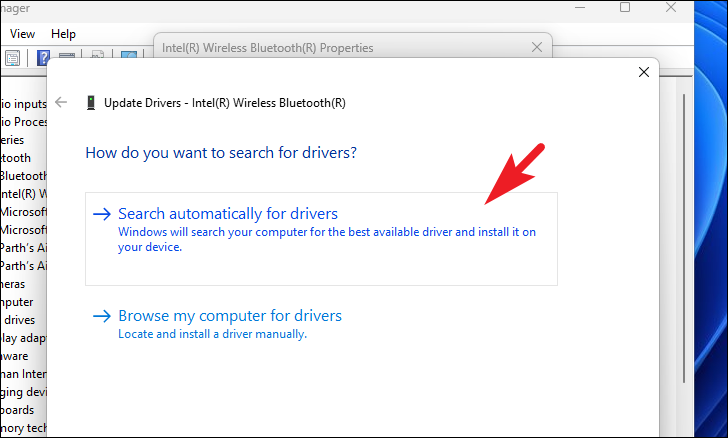
Alternatively, if you have downloaded a driver package manually, select “Browse my computer for drivers” and navigate to the driver files.
Download and install Intel Bluetooth driver from official website
If the above methods don’t work, you can download the driver directly from Intel:
- Visit the Intel driver support website
- Select “Windows 10 and Windows 11” from the dropdown menu
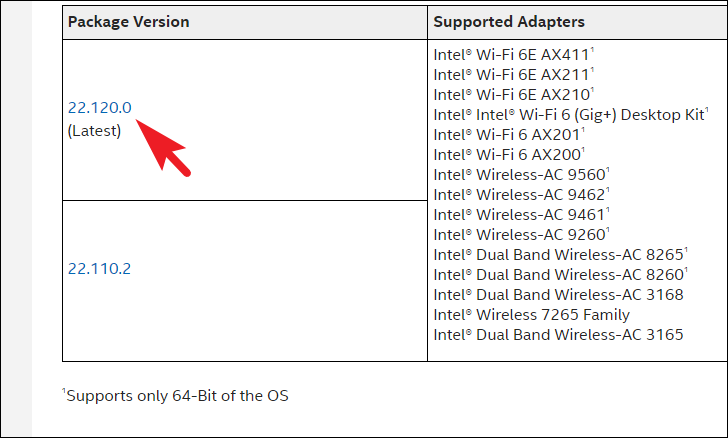
- Click on the latest package version to download
- On the next page, click “Download”
- Accept the license agreement to start the download
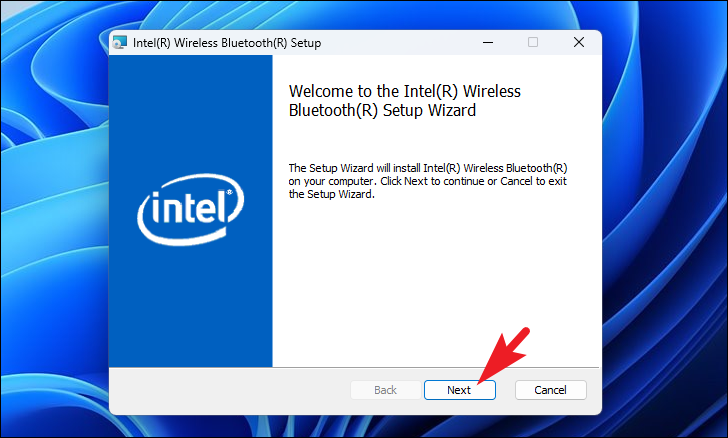
- Once downloaded, run the installer file
- Follow the on-screen instructions to complete the installation
- Restart your computer when prompted
Uninstall and reinstall the Bluetooth driver
As a last resort, you can try uninstalling the current driver and letting Windows reinstall it:
- Open Device Manager
- Expand the “Bluetooth” category
- Right-click on the Intel Bluetooth device
- Select “Uninstall device”

- Check “Attempt to remove the driver for this device”
- Click “Uninstall”
- Restart your computer
- Windows should automatically reinstall the driver upon restart
If it doesn’t, you can manually check for driver updates in Windows Update as described in the first method.
By following these methods, you should be able to successfully install or update the Intel Bluetooth driver on your Windows 11 PC, ensuring optimal wireless connectivity and functionality.


