Even though XPS files aren’t commonly used today, you might occasionally come across one and need a way to open or convert it. Windows 11 doesn’t include the XPS Viewer by default, but you can still install it to view, sign, or convert XPS documents when necessary.
What is an XPS file?
An XPS file, or XML Paper Specification file, is a format developed by Microsoft to preserve a document’s layout, appearance, and printing information. Similar to PDFs, XPS files ensure that the content looks the same regardless of the device or printer used. However, XPS never gained the same popularity as PDF and is now rarely used.
XPS files typically have the file extensions .xps or .oxps. They support features like color gradients, transparencies, printer calibrations, and high-quality printing options including CMYK color spaces. To manage XPS documents, Microsoft provides the XPS Viewer application. While it’s not included by default in Windows 11, you can add it as an optional feature. With XPS Viewer, you can view, digitally sign, set permissions, and convert XPS files to PDF format.
How to install XPS Viewer on Windows 11
Since Windows 11 doesn’t include the XPS Viewer by default, you’ll need to install it manually. Here’s how you can add the XPS Viewer to your system:
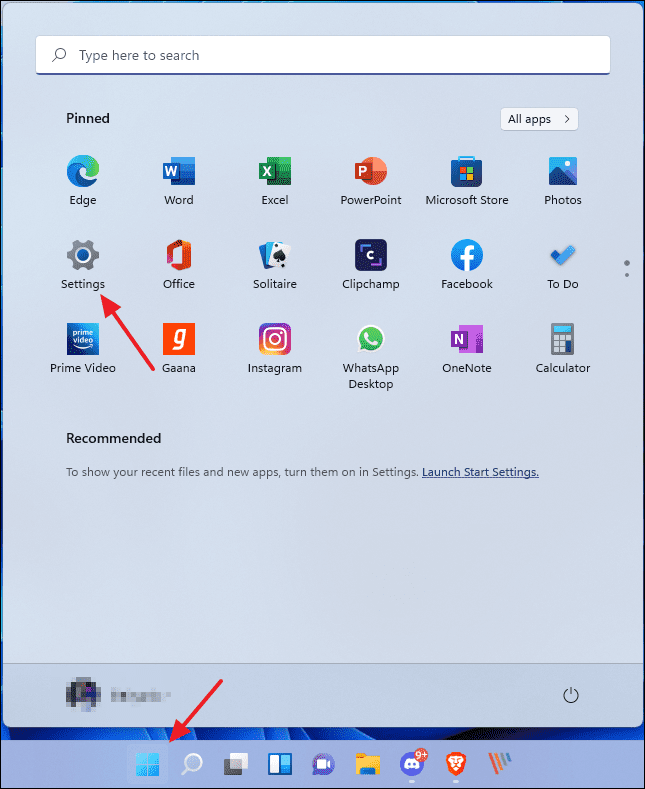
- Open the
Settingsapp by clicking on it from the Start menu or by pressingWindows+Ion your keyboard.

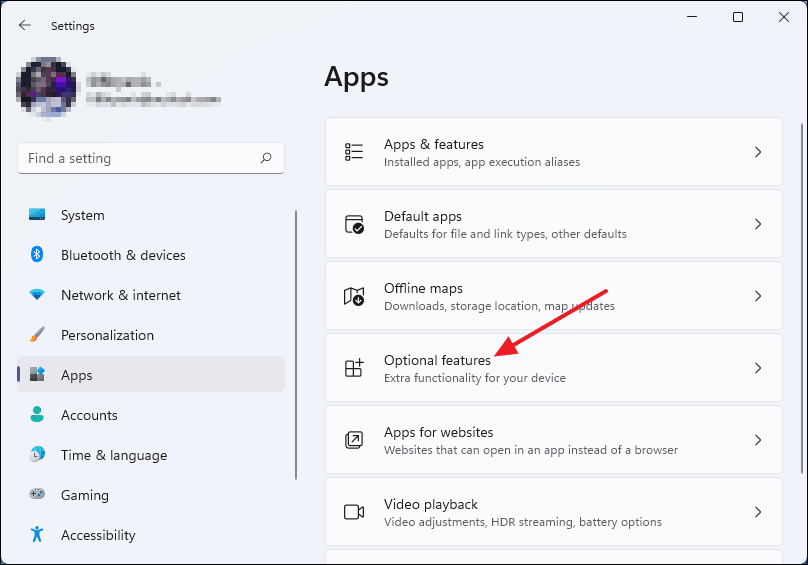
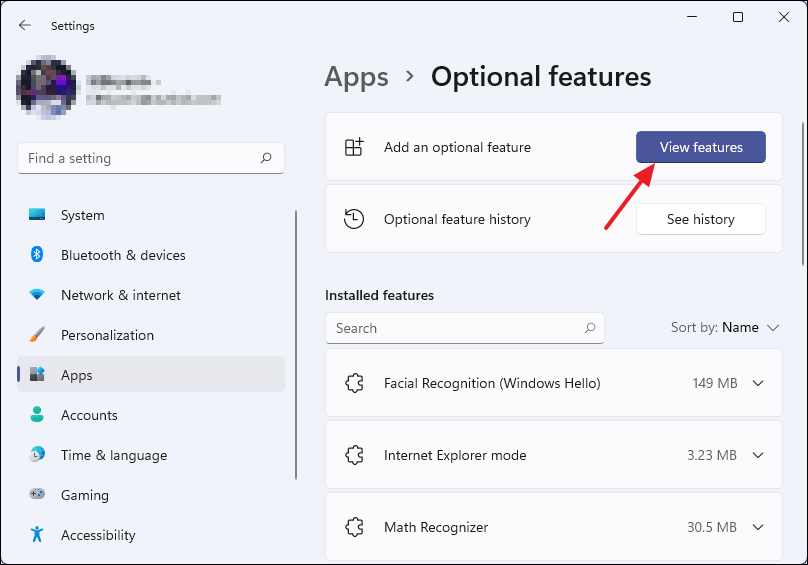
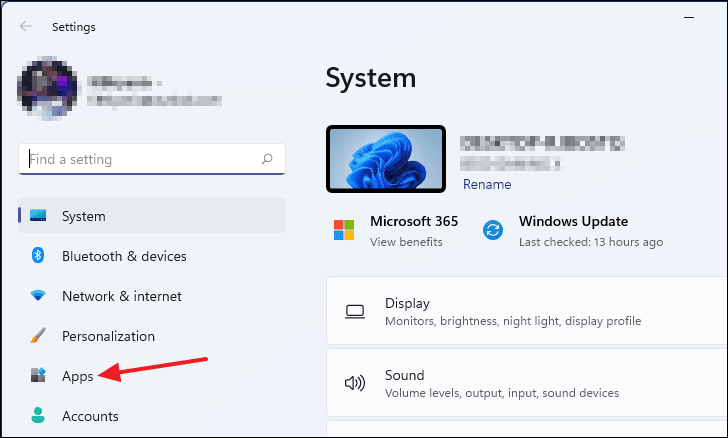
- In the Settings window, select Apps from the menu on the left.

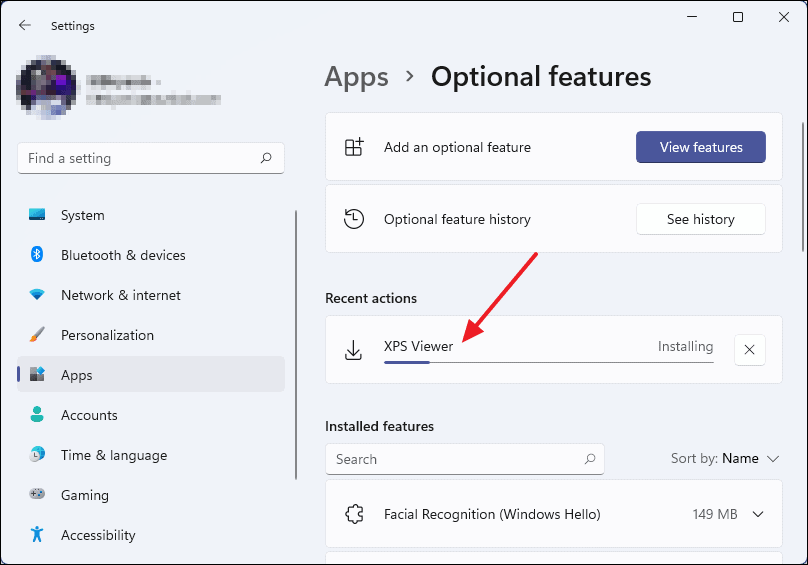
- On the right pane, click on Optional features.
- Under the Add an optional feature section, click on the View features button.
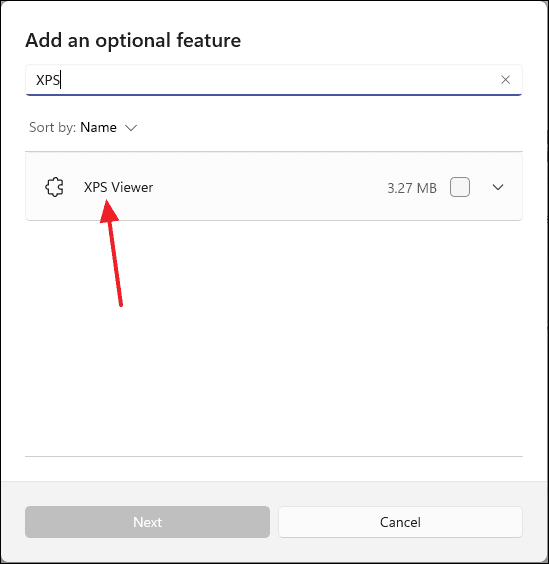
- In the “Add an optional feature” window that appears, type
XPS Viewerinto the search bar to locate the feature.
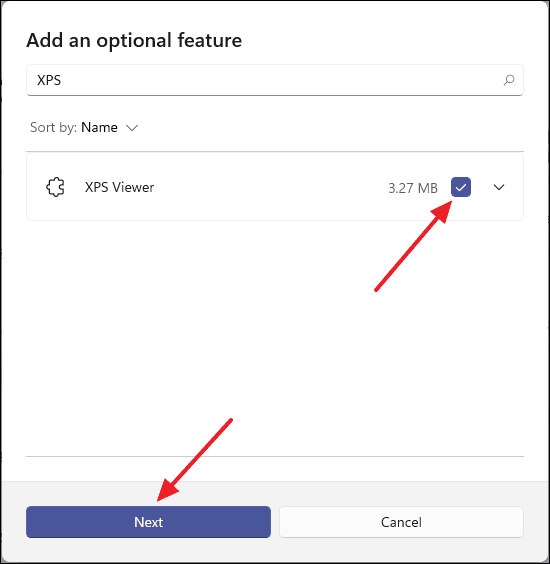
- Check the box next to XPS Viewer and click on Next.
- Click the Install button to begin installing the XPS Viewer.
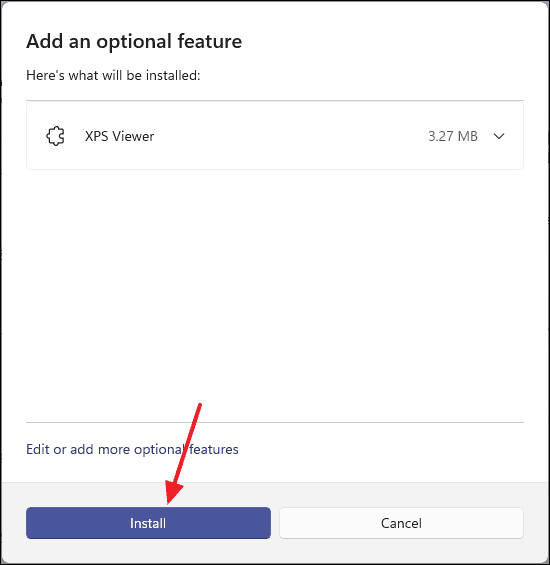
- Wait for the installation to complete. Under the Recent actions section, you’ll see the progress of the installation.
How to use XPS Viewer on Windows 11
Once you’ve installed the XPS Viewer, you can start using it to open and interact with XPS files. To open an XPS file with XPS Viewer, follow these steps:
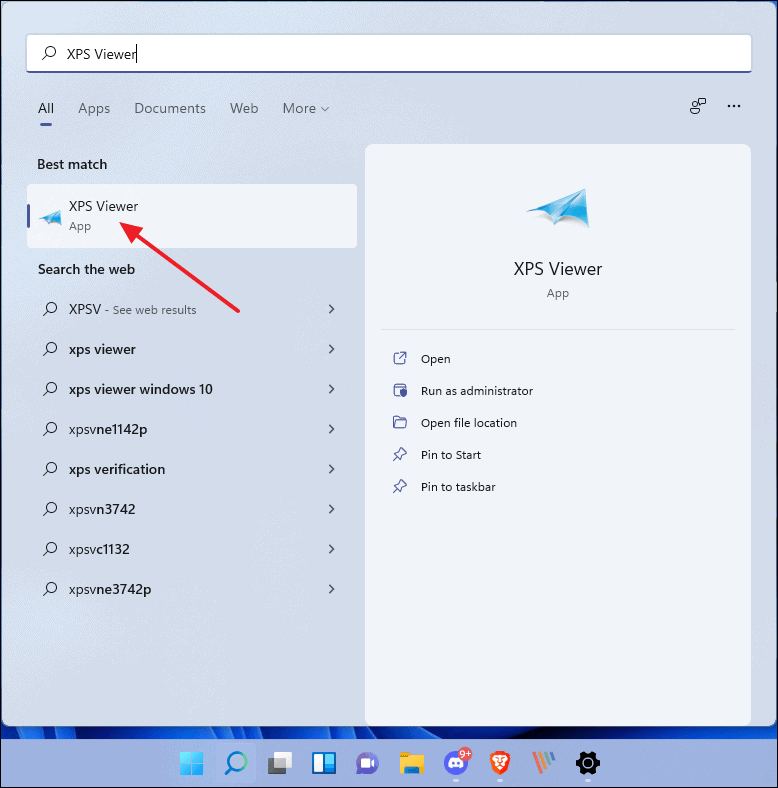
- Open the Start menu and type
XPS Viewerinto the search bar. Click on the app when it appears in the search results.
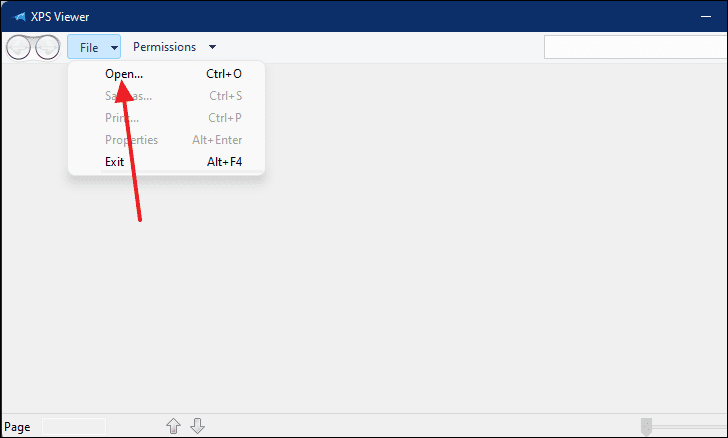
- In the XPS Viewer window, click on the File menu in the toolbar.

- Select Open… from the dropdown menu.
- In the File Explorer window, navigate to the location of your XPS file. Select the file and click Open.
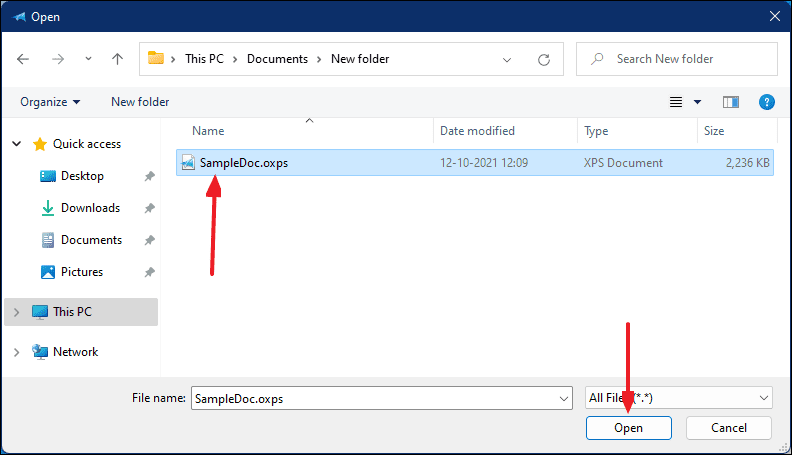
- Your XPS document will now open in the XPS Viewer.
How to convert an XPS document to PDF using XPS Viewer
If you need to convert an XPS file to PDF format, you can use the XPS Viewer along with the Microsoft Print to PDF feature. Here’s how:
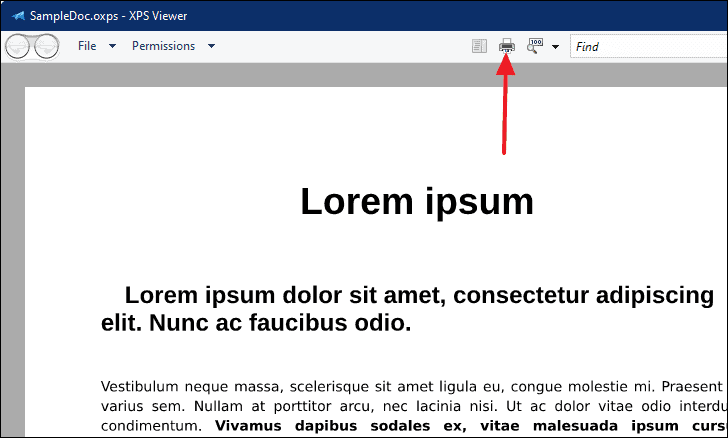
- With your XPS document open in XPS Viewer, click on the printer icon in the toolbar.
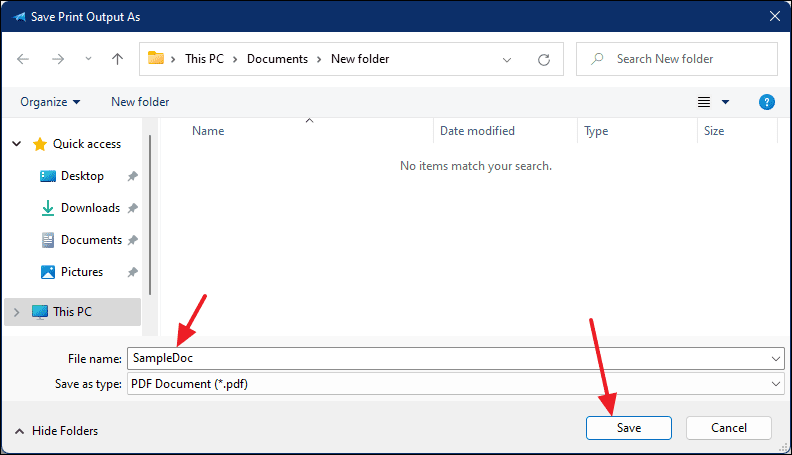
- In the Print dialog window, select Microsoft Print to PDF from the list of printers. Then click on Print.

- A Save Print Output As dialog will appear. Choose the destination folder where you want to save the PDF, enter a file name, and click Save.
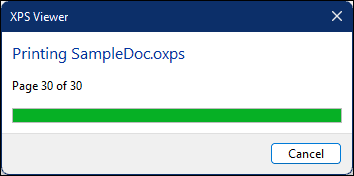
- The XPS Viewer will convert the document and save it as a PDF file in the location you specified.
Also read: How to merge two PDF files
How to uninstall XPS Viewer
If you no longer need the XPS Viewer, you can remove it from your Windows 11 system by following these steps:
- Open the
Settingsapp from the Start menu.
- In the Settings window, select Apps from the left-hand menu.
- Click on Optional features on the right pane.

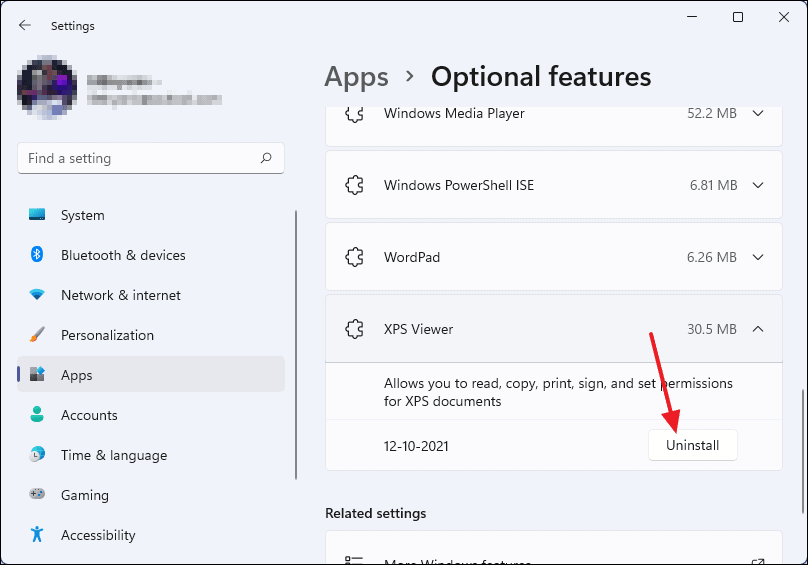
- In the list of installed features, scroll down to find XPS Viewer. Click on it, then click the Uninstall button.
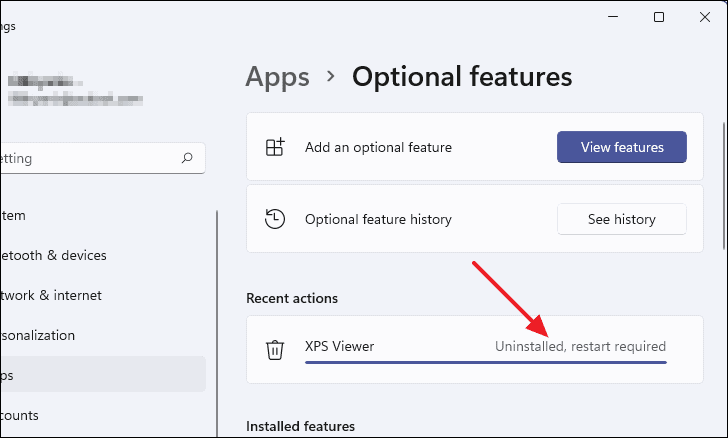
- Under the Recent actions section, you’ll see the status change to “Uninstalled, restart required”. Restart your computer to complete the removal process.
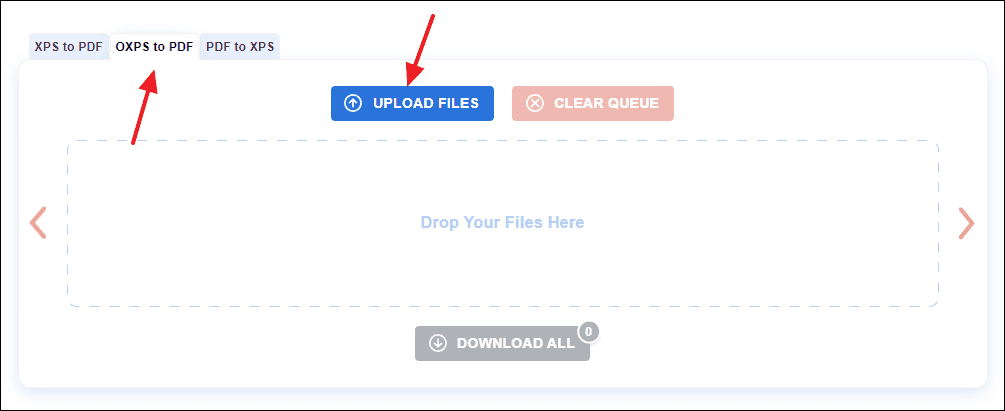
Online XPS viewer and converter
If you only need to view or convert a few XPS documents and prefer not to install any software, you can use an online service. Several websites allow you to view and convert XPS files to PDF. One such site is XPS to PDF. Here’s how to use it:
- Visit the XPS to PDF website.
- Click on the UPLOAD FILES button or drag and drop your XPS file onto the webpage.
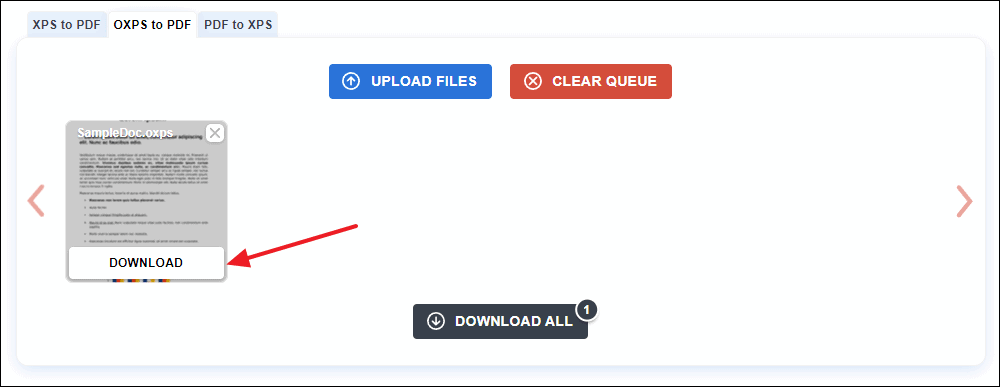
- In the File Explorer window, select the XPS file you wish to convert and click Open.

- The website will automatically convert the XPS file to PDF. Once the conversion is complete, click on the Download button to save the PDF to your computer.
Whether you install the XPS Viewer on Windows 11 or opt for an online converter, you have several options to access and convert XPS files whenever you encounter them.