
Keeping certain windows always on top can enhance productivity, whether you’re juggling work tasks or enjoying multimedia content alongside other activities. While Windows 11 doesn’t offer this feature natively, there are third-party tools that can help you achieve this functionality easily. Below, we’ll explore two straightforward methods to keep any app window always on top in Windows 11.
Use DeskPins to Keep a Window Always on Top
DeskPins is a lightweight, open-source application that allows you to pin any window to the top of your desktop with just a click. Despite not being updated in recent years, it remains fully compatible with modern Windows systems and offers a simple solution for keeping windows on top.
Download and Install DeskPins
Getting started with DeskPins is quick and easy. You can download and install it in under a minute.
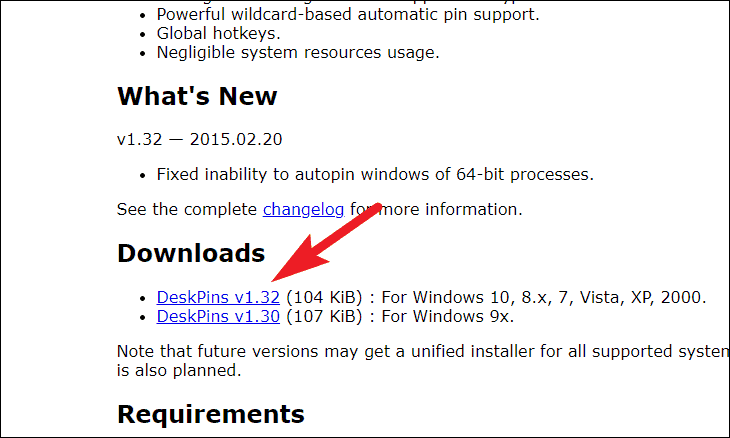
- Visit the DeskPins website at efotinis.neocities.org/deskpins.
- Scroll down to the ‘Downloads’ section and click on ‘DeskPins v1.32’ (the version may vary) to download the installer.
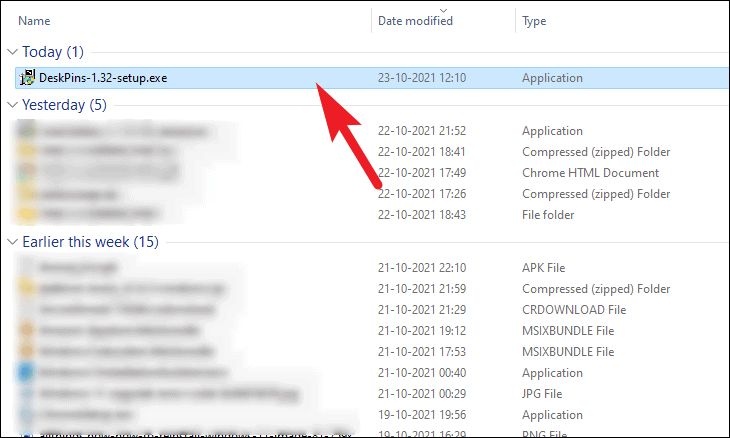
- Once downloaded, navigate to your download folder and double-click the installer to begin the setup.
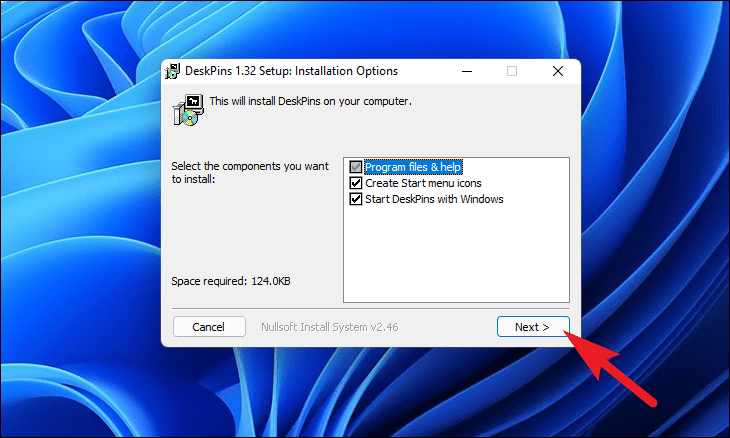
- In the setup window, click ‘Next’ to proceed.
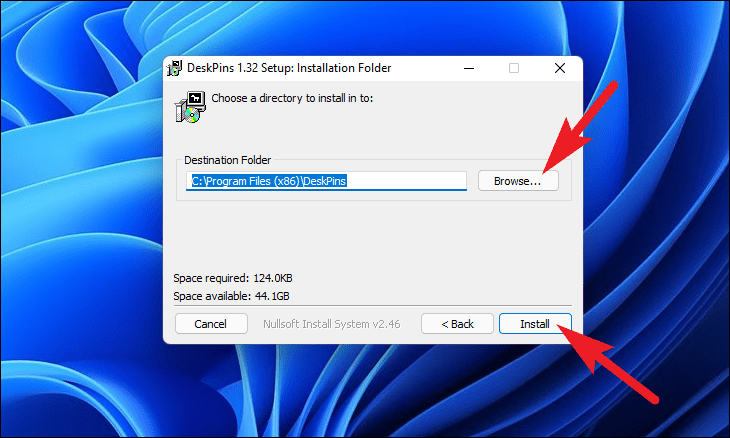
- Choose the installation directory if you wish by clicking ‘Browse’, or simply click ‘Install’ to begin the installation.
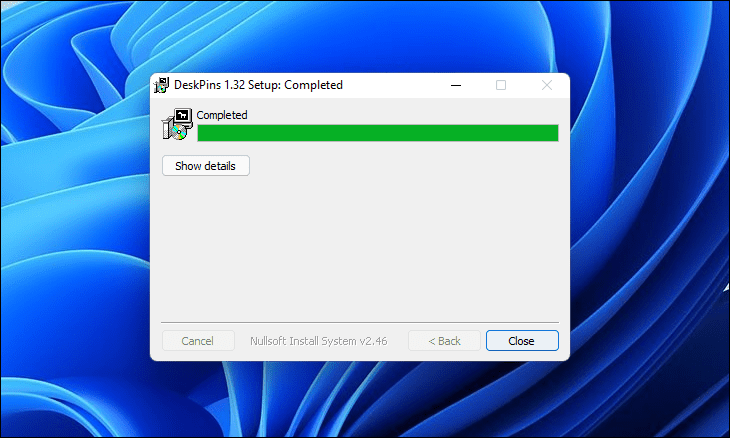
The installation should complete within a few moments. Once finished, you’ll be notified that DeskPins has been installed successfully.
Pin a Window Using DeskPins
With DeskPins installed, you can easily pin any window to stay on top of others.
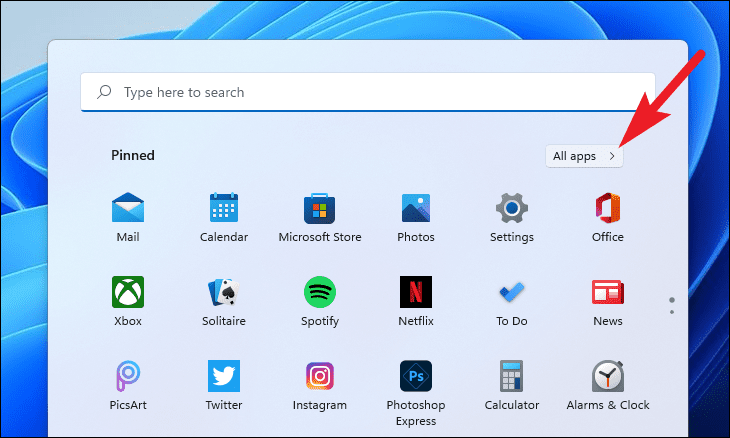
- Launch DeskPins from the Start Menu by clicking on ‘All apps’ and selecting ‘DeskPins’. The app will run in the background.
- Bring the window you want to keep on top into focus.
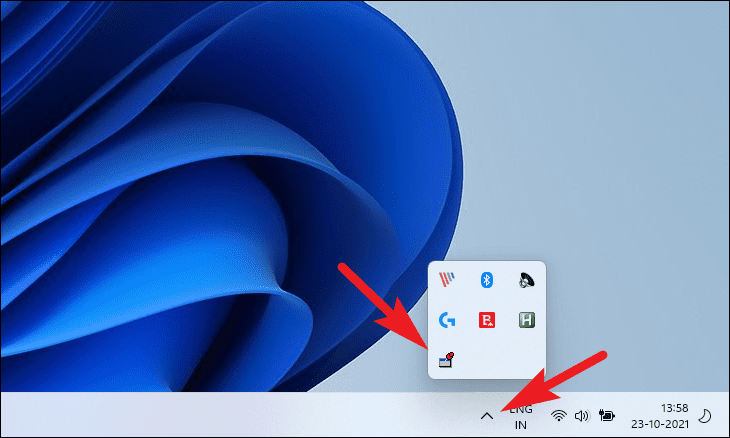
- Click the DeskPins icon in the system tray to activate the pin cursor.
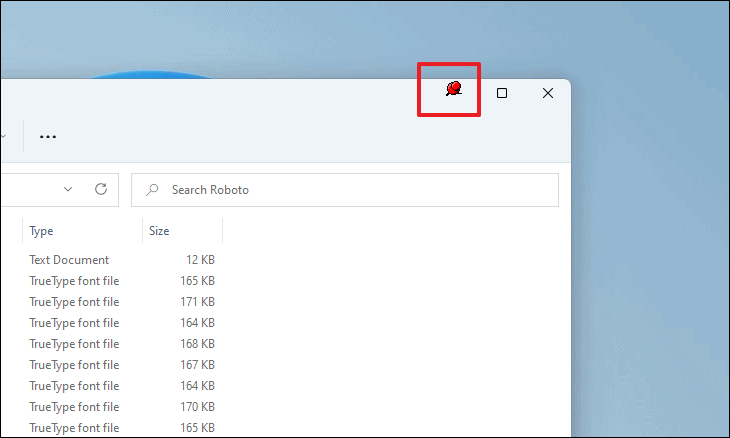
- Click on the title bar of the desired window. A red pin icon will appear, indicating that the window is now pinned on top.
You can also use the keyboard shortcut Ctrl+F11 to activate the pin cursor. If you minimize the pinned window, it will retain its ‘always on top’ status when restored.
Create a Custom Hotkey with AutoHotkey
For users comfortable with scripting, AutoHotkey offers a powerful way to create custom keyboard shortcuts, including one to keep windows always on top. AutoHotkey is an open-source scripting language designed for Windows, enabling you to automate repetitive tasks and create custom hotkeys.
Download and Install AutoHotkey
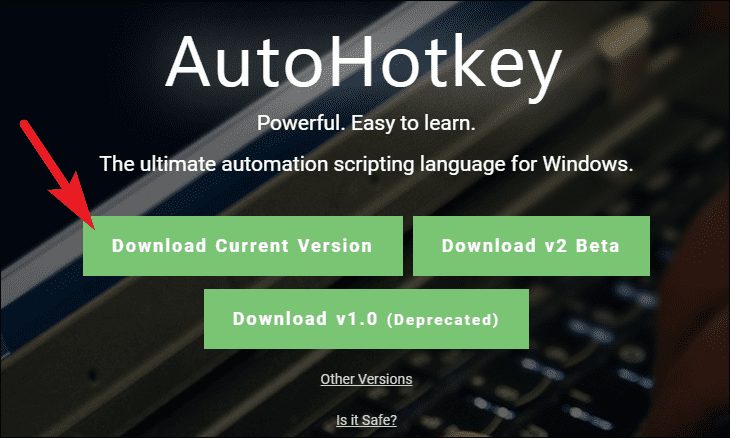
- Go to the AutoHotkey website at www.autohotkey.com.
- Click the ‘Download’ button in the center of the page.

- Select ‘Download Current Version’ to start downloading the installer.
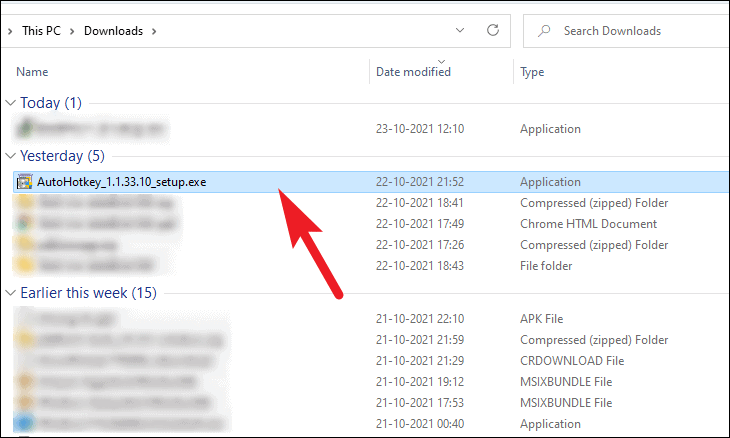
- After downloading, open the installer from your downloads folder.
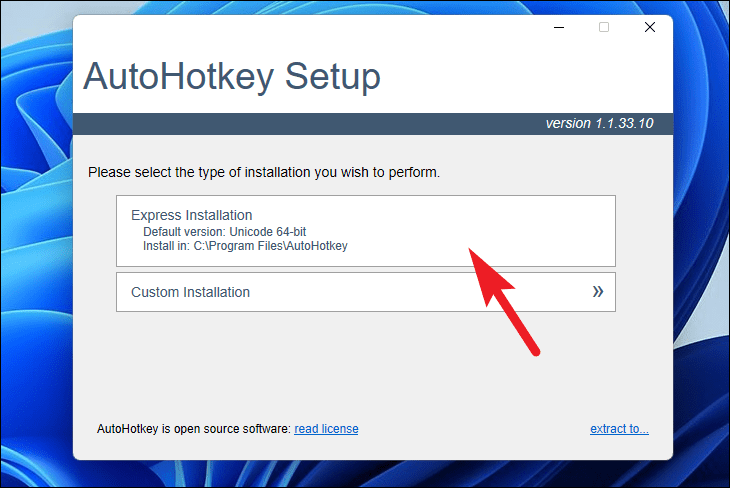
- In the setup window, click ‘Express Installation’ to install AutoHotkey.
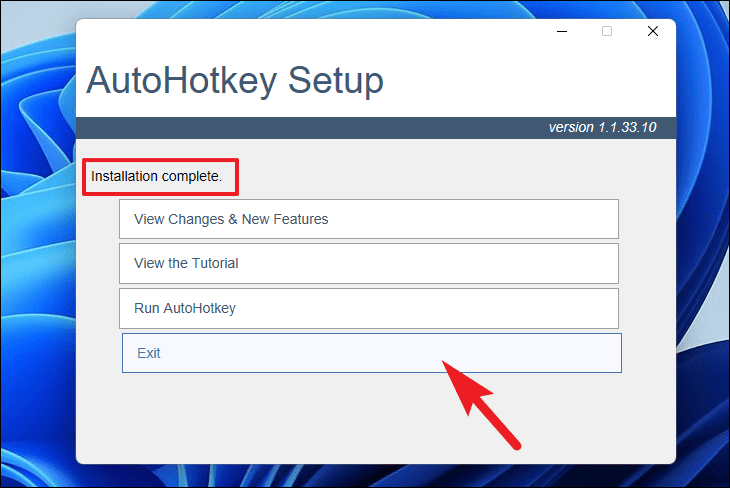
The installation will complete quickly. Click ‘Exit’ to close the installer once it’s done.
Create an AutoHotkey Script to Keep Windows on Top
Now that AutoHotkey is installed, you can create a script to set up a hotkey for keeping windows always on top.
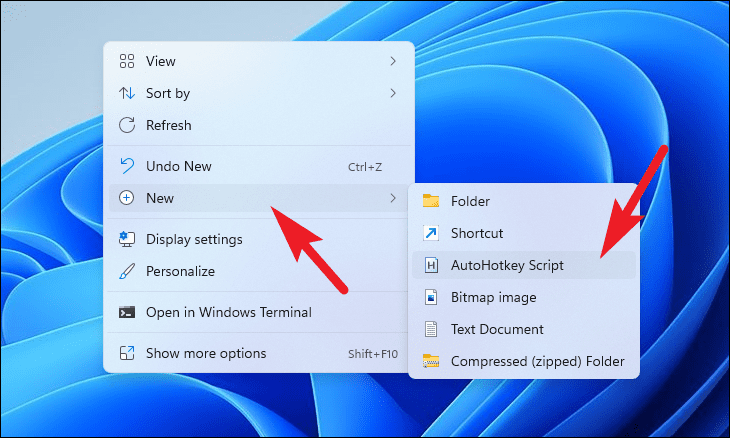
- Right-click on your desktop, go to ‘New’, and select ‘AutoHotkey Script’.
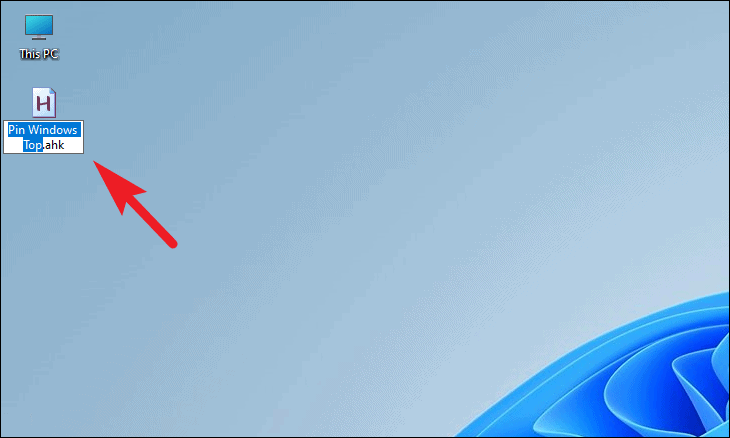
- Name the script file appropriately and press
Enter.
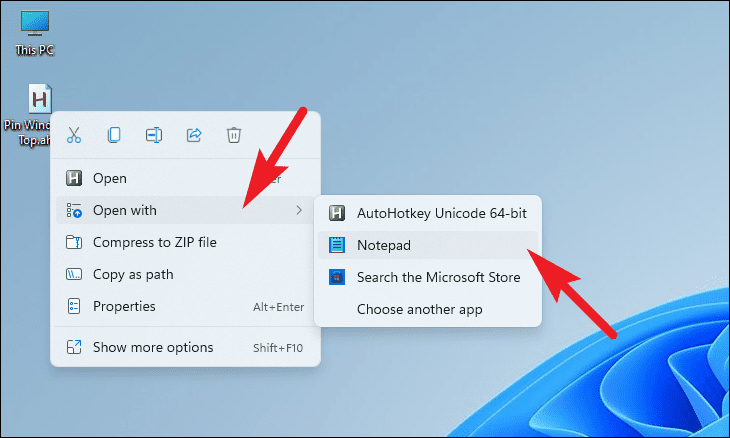
- Right-click the script file and select ‘Open with’ > ‘Notepad’ to edit it.
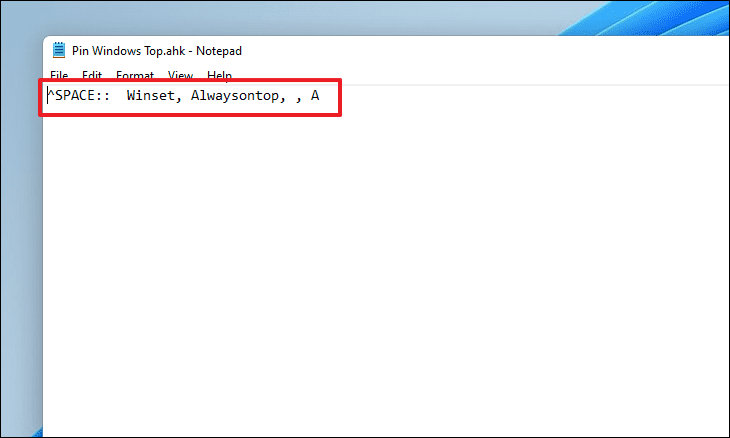
- In Notepad, paste the following code:
^SPACE:: Winset, Alwaysontop, , ANote: In the script, ^SPACE represents the hotkey Ctrl+Space. You can customize the hotkey by changing this part. Refer to the AutoHotkey documentation for more information on hotkey notation.
- Save the script by clicking ‘File’ > ‘Save’ or pressing
Ctrl+S.
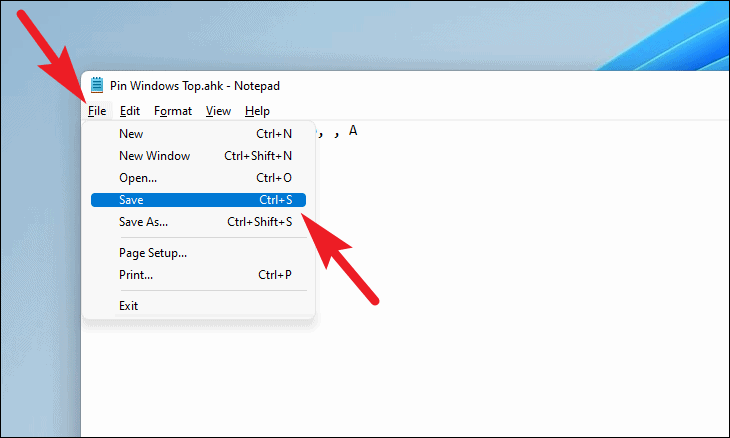
- Close Notepad and double-click the script file to run it.

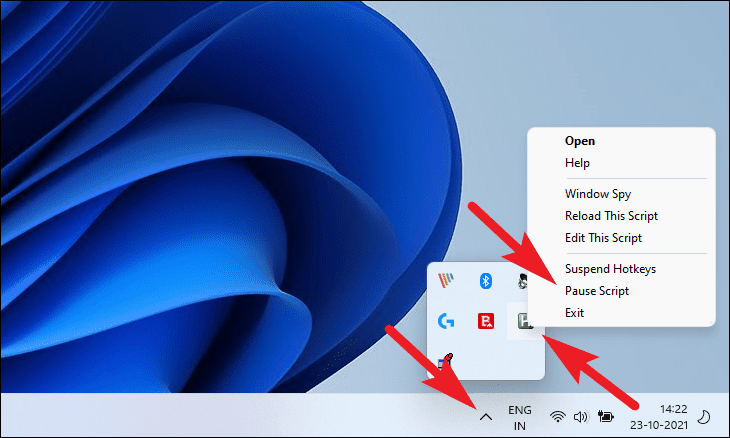
Now, you can press Ctrl+Space (or your chosen hotkey) while a window is in focus to toggle its ‘always on top’ status. When the script is running, you’ll see the AutoHotkey icon in the system tray.
To pause or exit the script, right-click the AutoHotkey icon and select ‘Pause Script’ or ‘Exit’.
With these methods, you can easily keep any app window always on top in Windows 11, enhancing your workflow and multitasking capabilities.


