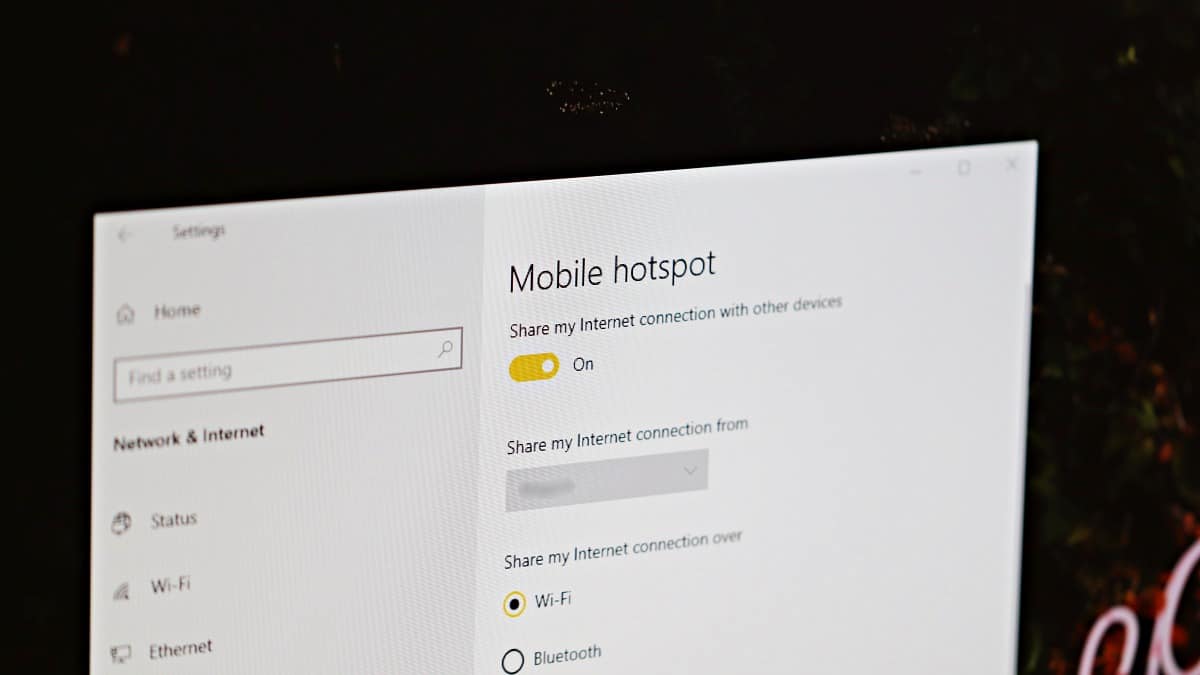
Do you use your Windows 10 PC or Laptop as a WiFi Hotspot to connect your other devices to the internet? If you do, you may have noticed the Mobile Hotspot in Windows 10 automatically turning off when not in use. Windows 10 does this to save power. But if you’re always plugged in, you might want to keep Mobile Hotspot always enabled on your PC.
To keep Mobile Hotspot always running on your Windows 10 PC, you need to disable the “Power saving” feature for WiFi hotspot in your computer settings. Open the Start menu, and click the “Settings” gear icon to open Windows 10 Settings screen.

On the Settings screen, click “Network & Internet” to access Wi-Fi settings on your Windows 10 PC.

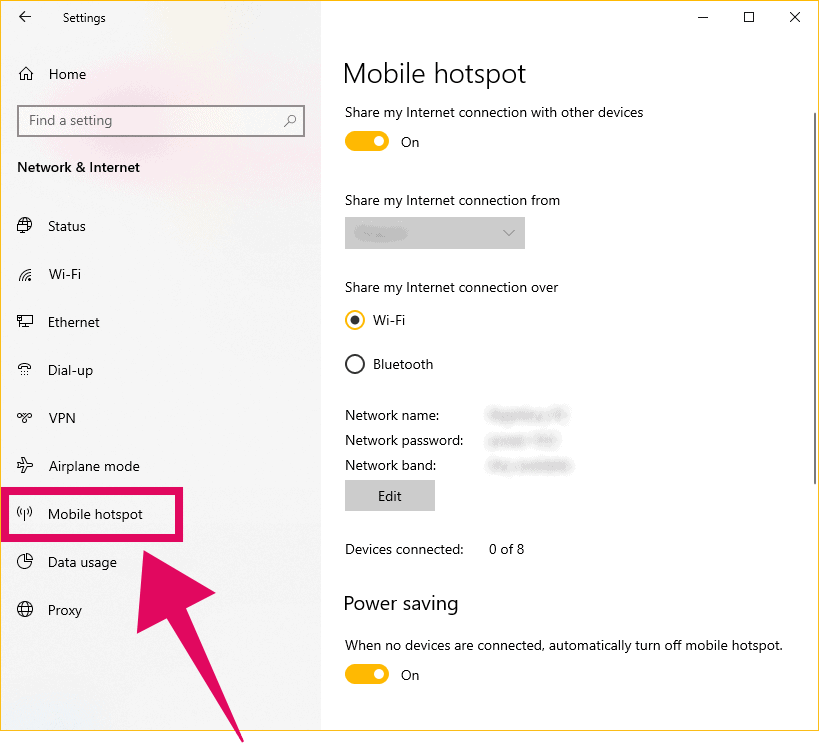
Select “Mobile hotspot” from the options available in the left panel on “Network & Internet” settings screen.
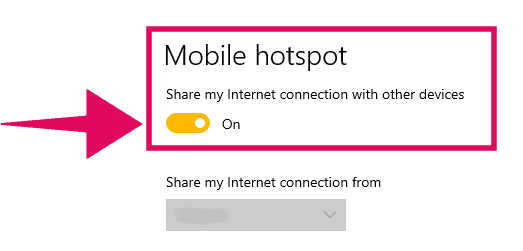
Enable “Mobile hotspot” on your PC by turning on the toggle switch for “Mobile hotspot” at the top of the screen on the right panel.
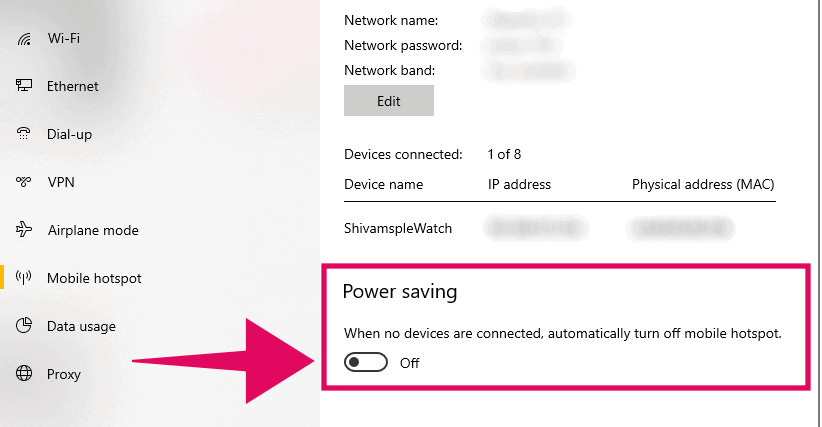
After enabling Mobile hotspot, you’ll see the “Power saving” option on the same screen. Disable it by turning off the toggle switch for “Power saving”.
Mobile Hotspot will no longer turn off automatically on your Windows 10 PC.
🍻 Cheers!


