
exFAT (Extended File Allocation Table) is a versatile file system designed to optimize storage compatibility across different operating systems such as Windows, macOS, and Linux. Mounting and formatting drives with exFAT simplifies file transfers and ensures compatibility when working with large files or removable drives like USB sticks and external hard drives.
Mounting an exFAT Drive on Windows
Step 1: Connect your exFAT-formatted drive to your Windows computer. Once connected, Windows typically recognizes the drive automatically and assigns it a drive letter, making it immediately accessible from File Explorer.
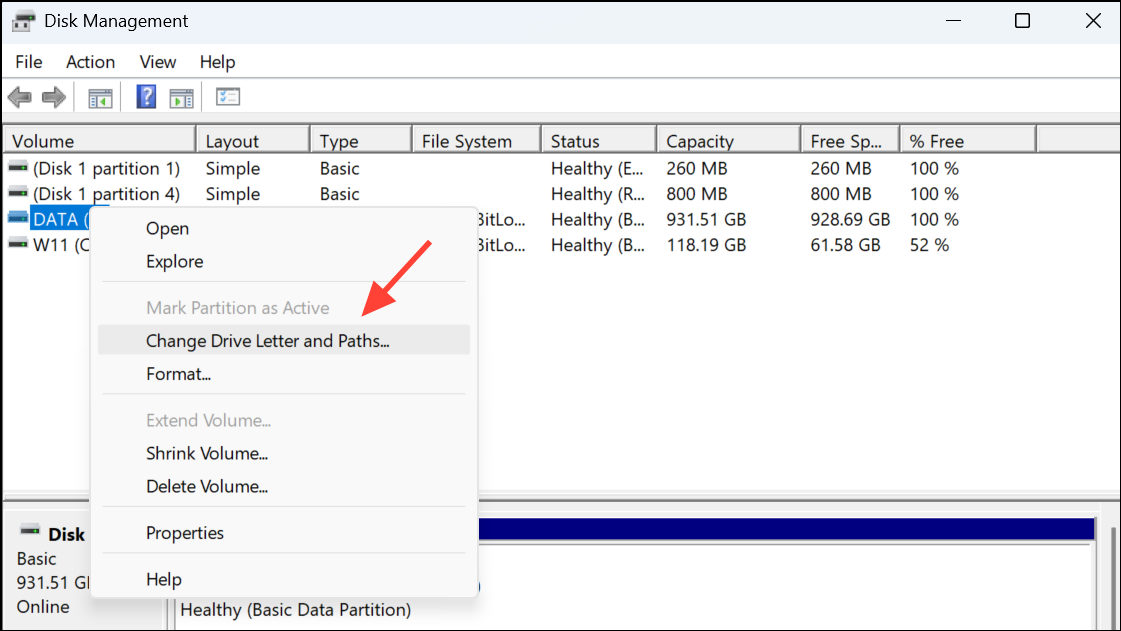
Step 2: If the drive doesn't appear automatically, press Windows Key + X and select "Disk Management" from the menu.

Step 3: In the Disk Management window, locate your drive, right-click it, and select "Change Drive Letter and Paths." Assign a new drive letter to make it accessible.
Mounting an exFAT Drive on macOS
Step 1: Connect your exFAT-formatted drive to your Mac. macOS supports exFAT natively, so the drive should automatically appear on your desktop and in Finder.
Step 2: If the drive doesn't mount automatically, open Disk Utility (found in Applications > Utilities). Locate your drive on the left sidebar, select it, and click the "Mount" button at the top of the window.
Mounting an exFAT Drive on Linux
Step 1: Most modern Linux distributions include built-in exFAT support. Connect your exFAT drive and check if it mounts automatically. If it doesn't, you may need to install additional utilities. On Debian or Ubuntu-based systems, you can install exFAT support by running these commands in a terminal:
sudo apt update
sudo apt install exfat-fuse exfat-utils
Step 2: After installing, reconnect your drive or manually mount it using the following command (replace /dev/sdx1 with your drive's correct identifier and /mnt/exfat with your desired mount point):
sudo mkdir -p /mnt/exfat
sudo mount -t exfat /dev/sdx1 /mnt/exfat
Formatting a Drive with exFAT on Windows
Step 1: Connect the drive you wish to format. Open File Explorer, right-click the drive, and select "Format."
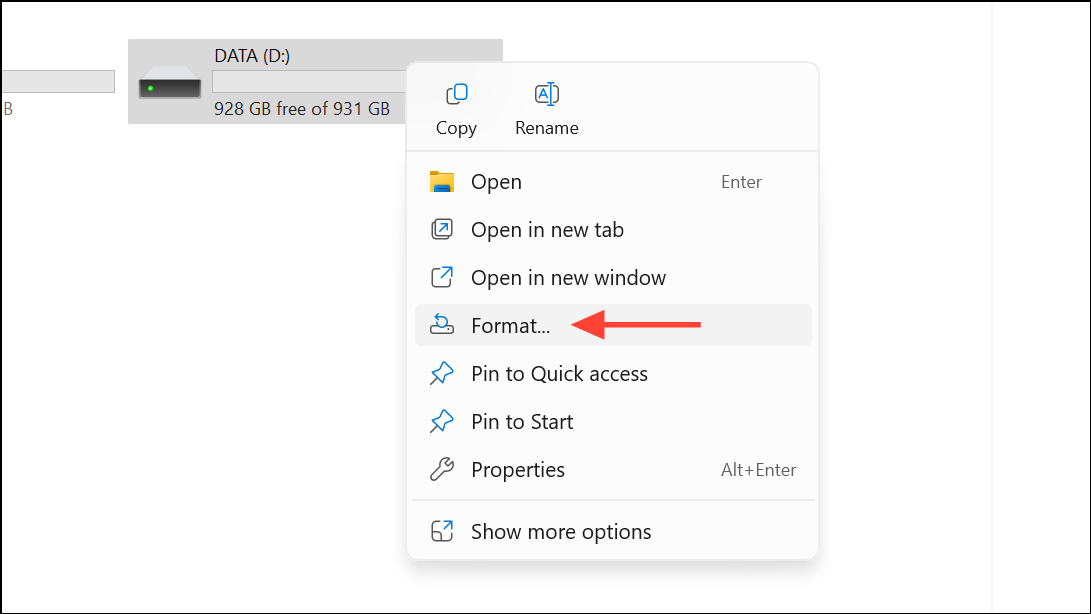
Step 2: In the format window, choose "exFAT" from the "File System" drop-down menu. Provide a volume label if desired, ensure "Quick Format" is checked for faster formatting, and click "Start." Be aware that formatting erases all data on the drive, so ensure you've backed up important files beforehand.
Formatting a Drive with exFAT on macOS
Step 1: Connect your drive to your Mac and open Disk Utility (Applications > Utilities). Select your drive from the sidebar.
Step 2: Click the "Erase" button at the top of the window. In the dialog box, select "ExFAT" from the format dropdown menu, enter a name for your drive, and click "Erase." Remember, formatting erases all existing data on the drive.
Formatting a Drive with exFAT on Linux
Step 1: Ensure you have the necessary utilities installed. On Ubuntu or Debian-based systems, install them using:
sudo apt update
sudo apt install exfat-utils exfat-fuse
Step 2: Identify your drive's device path using the command:
sudo fdisk -lStep 3: Format your drive to exFAT using the following command (replace /dev/sdx1 with your drive's correct identifier):
sudo mkfs.exfat /dev/sdx1Again, formatting permanently deletes all data on the drive, so ensure you have a backup.
Regularly verify your exFAT drives for errors and always safely eject them before disconnecting to prevent data corruption or loss.