
Windows 11 brings a sleek new interface, but it also restricts some customization options that users enjoyed in previous versions, such as moving the taskbar to different sides of the screen. While the settings app doesn’t offer a way to change the taskbar position, you can still move it to the top, left, or right of your screen by editing the Windows Registry. Here’s how you can reposition the taskbar in Windows 11.
Move the Taskbar Using Registry Files
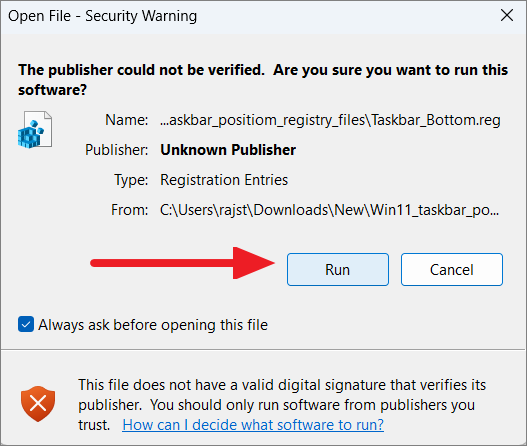
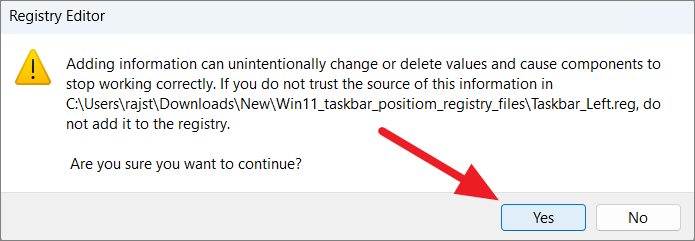
If you’re not comfortable editing the Windows Registry manually, you can use pre-configured registry files to change the taskbar position with a few clicks. Here’s how to do it:
Download Windows 11 Taskbar Position Registry Files:
Win11_taskbar_position_registry_filesDownload
- Taskbar_Left.reg: Moves the taskbar to the left side of the screen.
- Taskbar_right.reg: Moves the taskbar to the right side of the screen.
- Taskbar_Top.reg: Moves the taskbar to the top of the screen.
- Taskbar_Bottom.reg: Moves the taskbar to the bottom of the screen.
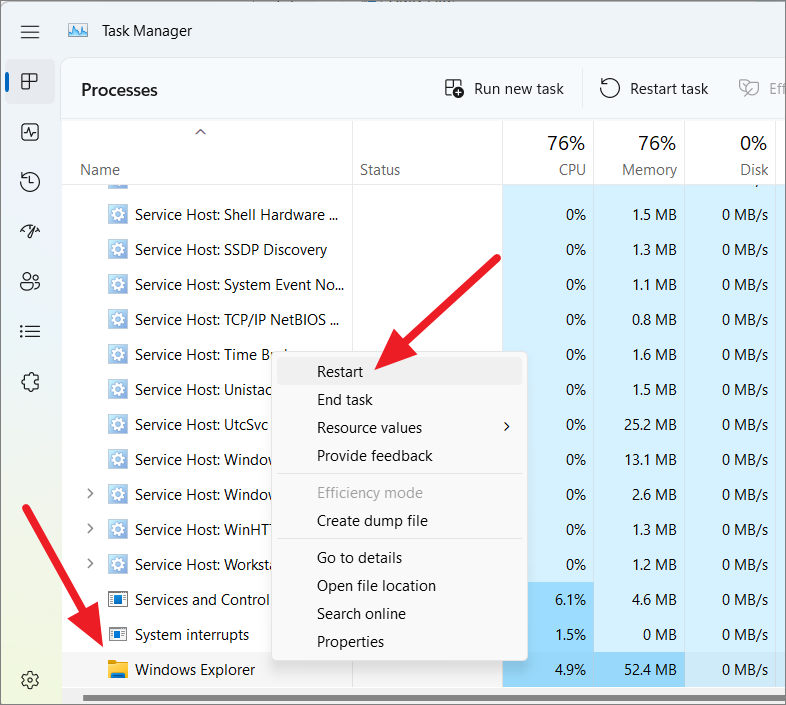
To restart Windows Explorer:
Your taskbar should now appear in the new position you selected.
Move the Taskbar by Manually Editing the Registry
If you prefer to customize the registry yourself, you can manually edit the registry value to reposition the taskbar. Follow these steps carefully:
Note: Editing the Windows Registry can be risky. Incorrect changes can cause system instability. It is highly recommended to back up the registry before making any changes.
Windows+R to open the Run dialog box, type regedit, and click OK. Alternatively, click on the Start button, type regedit, and select Registry Editor from the search results.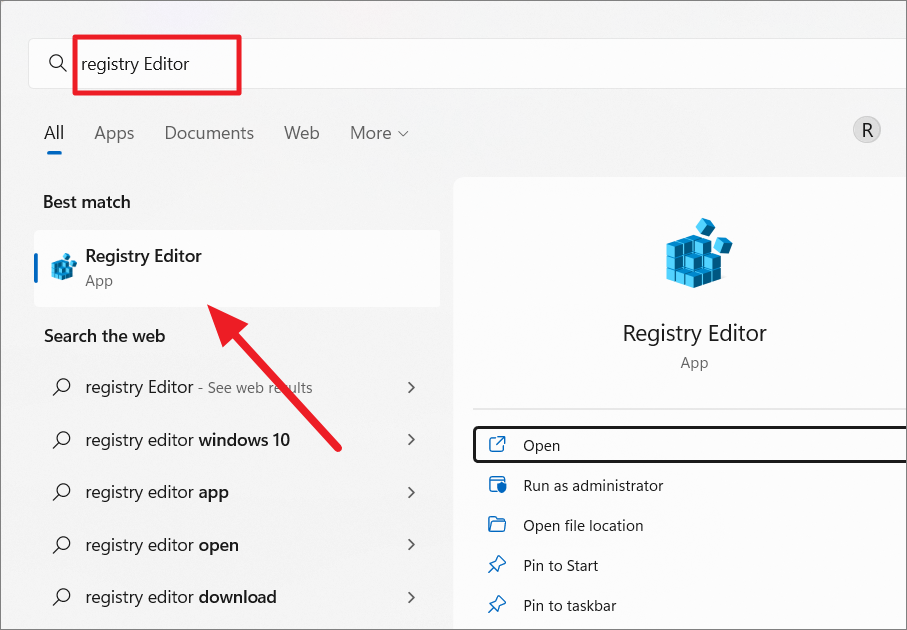
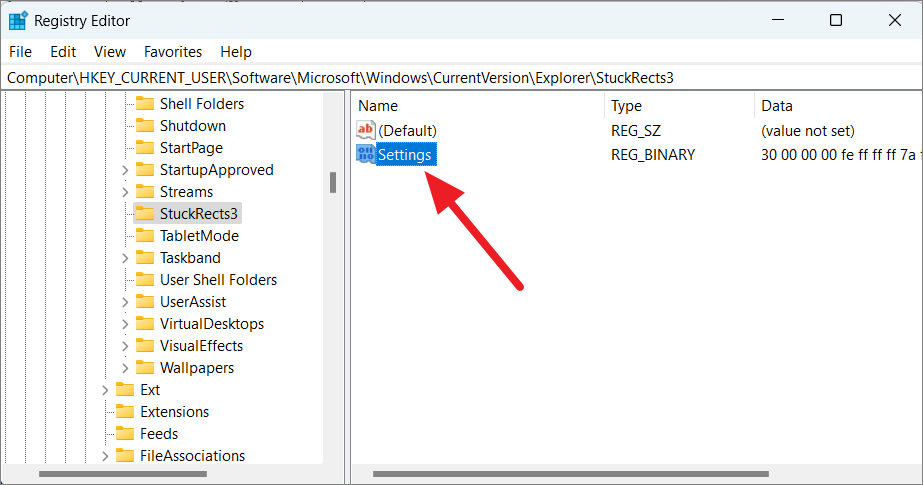
Computer\HKEY_CURRENT_USER\Software\Microsoft\Windows\CurrentVersion\Explorer\StuckRects3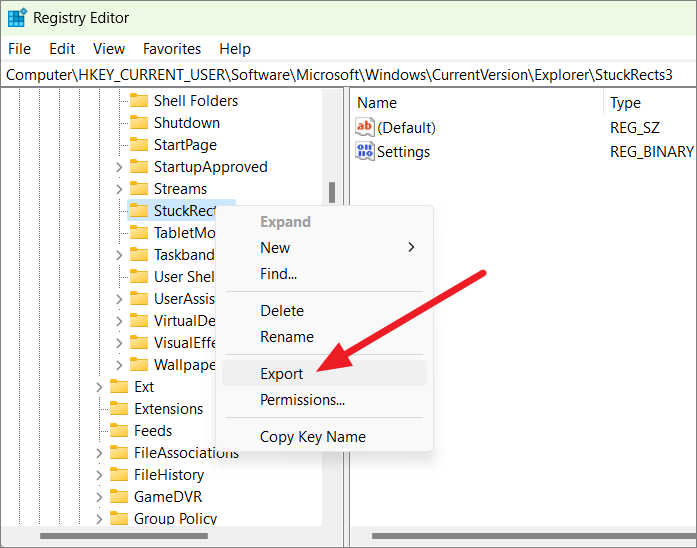
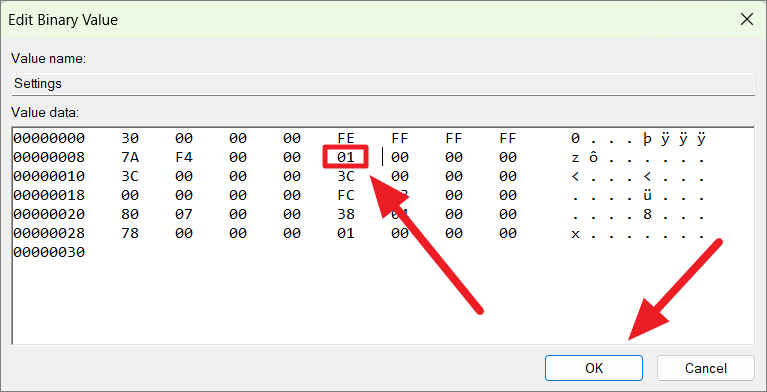
03, which represents the taskbar at the bottom.
03 value to edit it. Press the right arrow key to position the cursor, then press Backspace to delete the value. Enter one of the following values to set the desired taskbar position:- 00: Left side of the screen
- 01: Top of the screen
- 02: Right side of the screen
- 03: Bottom of the screen (default)
For example, to move the taskbar to the top, replace 03 with 01.
To restart Windows Explorer, follow the same steps as before:
Your taskbar should now be repositioned according to the value you set.
If you wish to return the taskbar to its default position at the bottom, change the value back to 03 and restart Windows Explorer or your computer.
By following these steps, you can customize the position of the Windows 11 taskbar to suit your preferences, restoring some of the flexibility from previous Windows versions.


