
Windows 11 offers a robust platform for gaming enthusiasts, but to truly harness its capabilities, it’s essential to optimize your system. Without proper optimization, even high-end PCs can experience low FPS, lag, or crashes during gameplay. This guide provides comprehensive steps to enhance your Windows 11 gaming experience by tweaking built-in settings and features.
1. Choose High Performance Power Plan
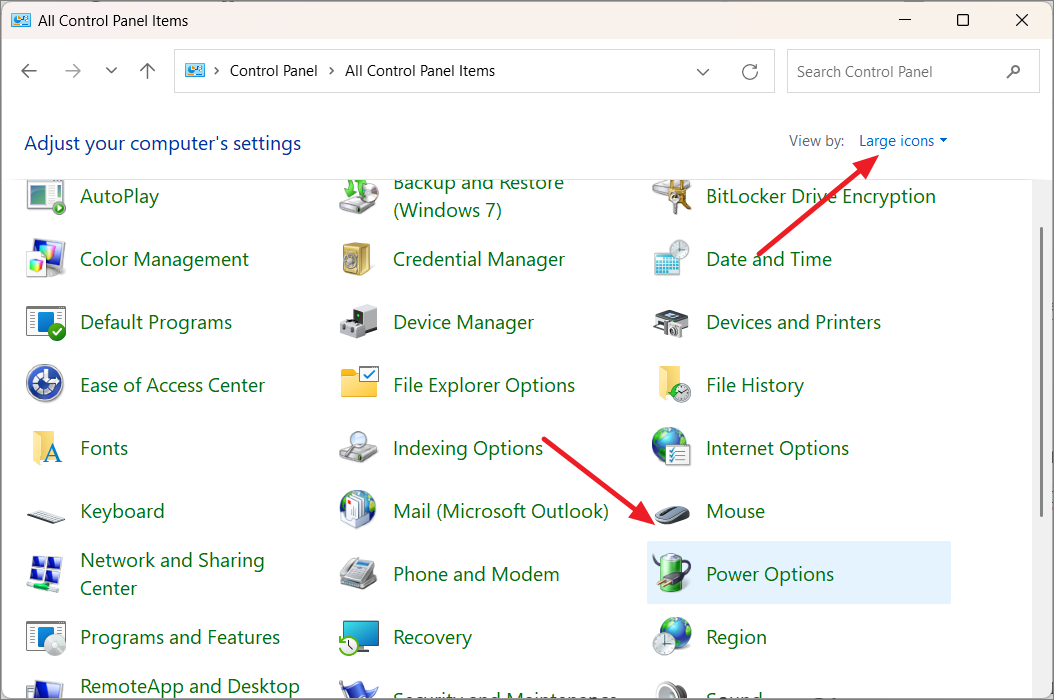
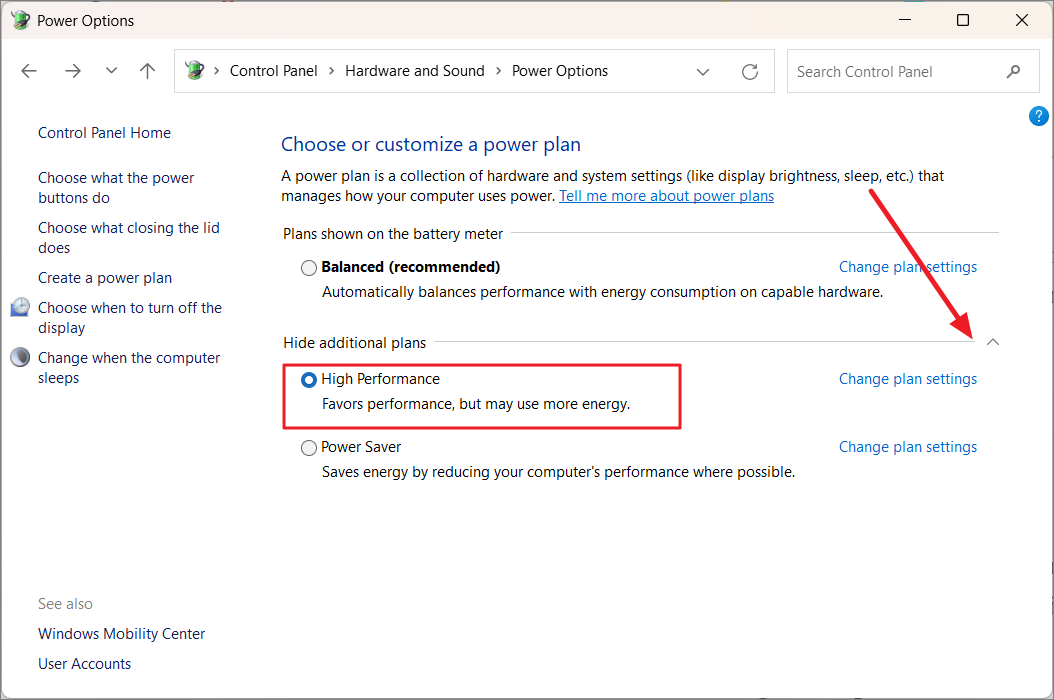
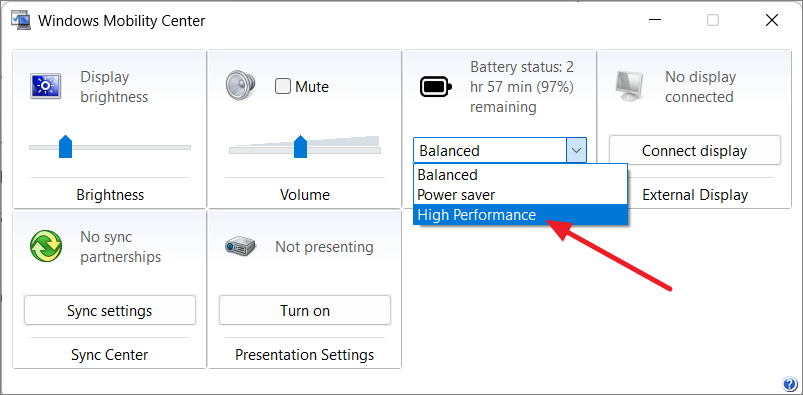
For laptop users, selecting the ‘High Performance’ power plan can significantly boost gaming performance. This setting ensures your CPU and GPU operate at their maximum clock speeds, providing the resources needed for demanding games.
Control Panel in the search bar. Click on the ‘Control Panel’ app from the results.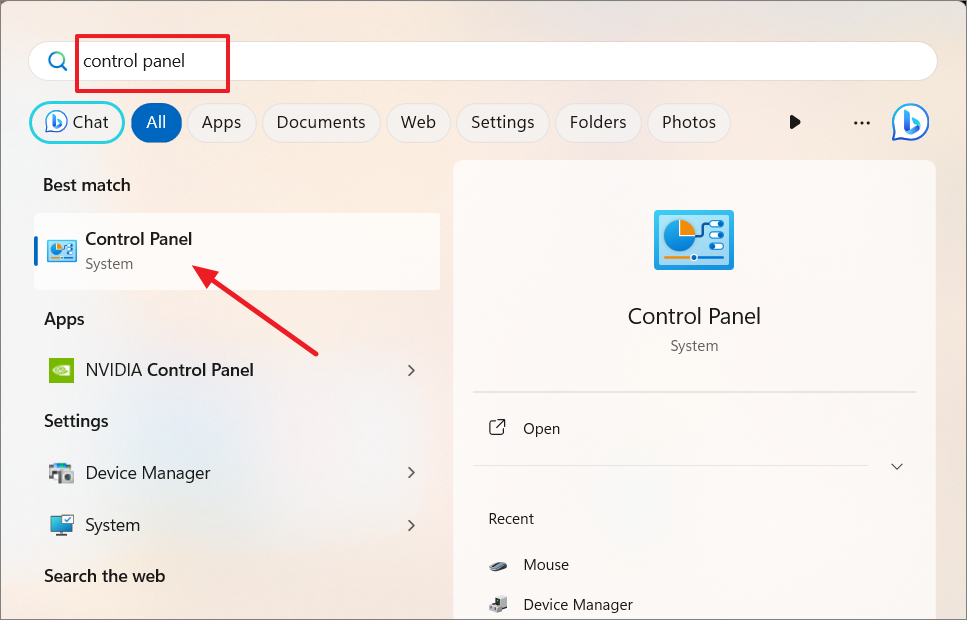
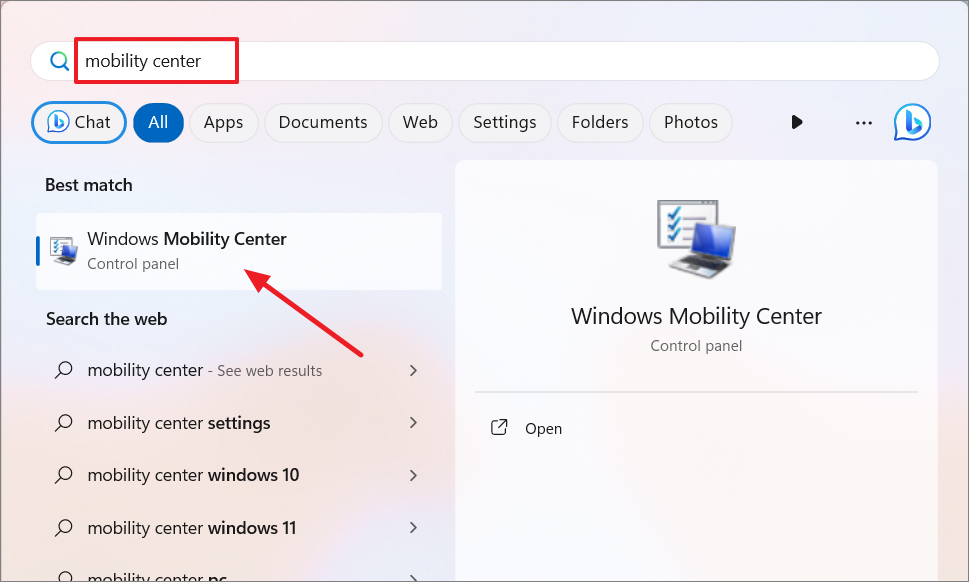
You can also switch between power plans using the Windows Mobility Center:
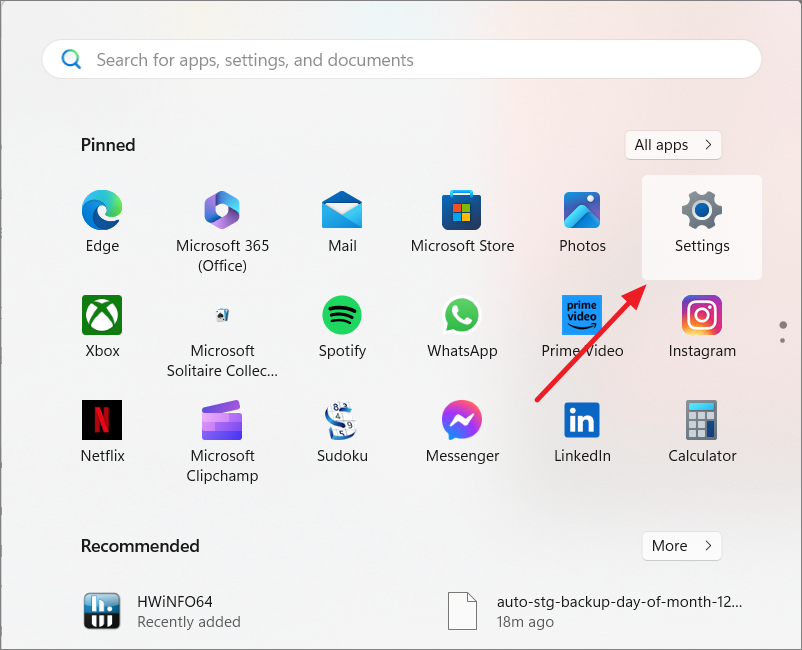
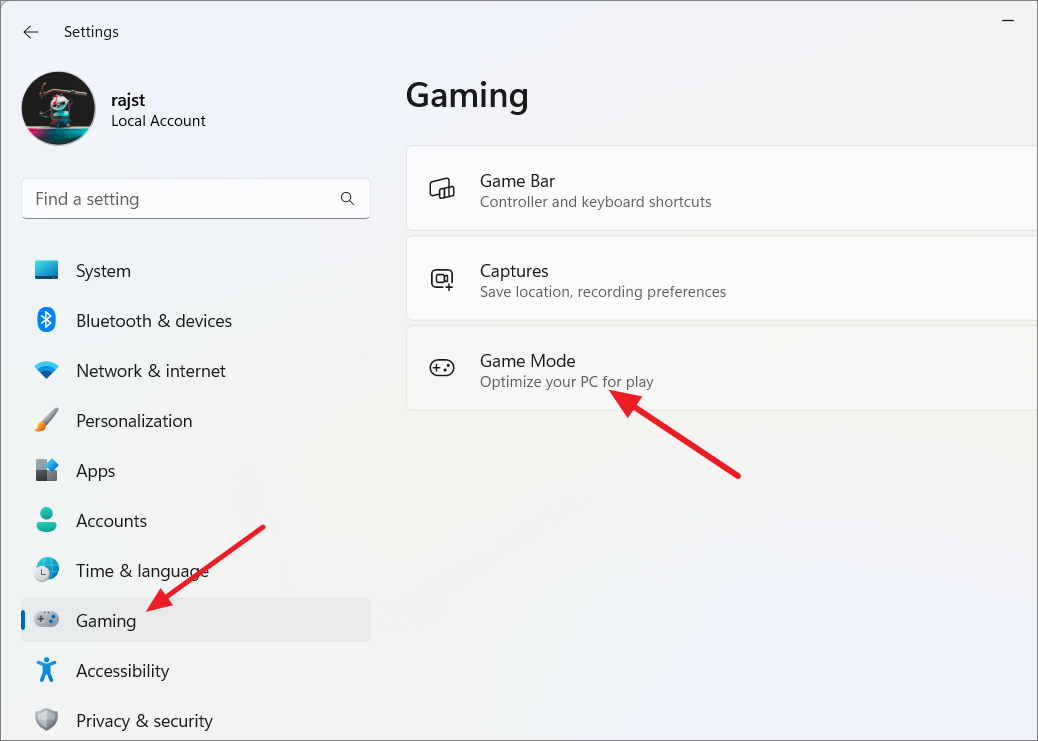
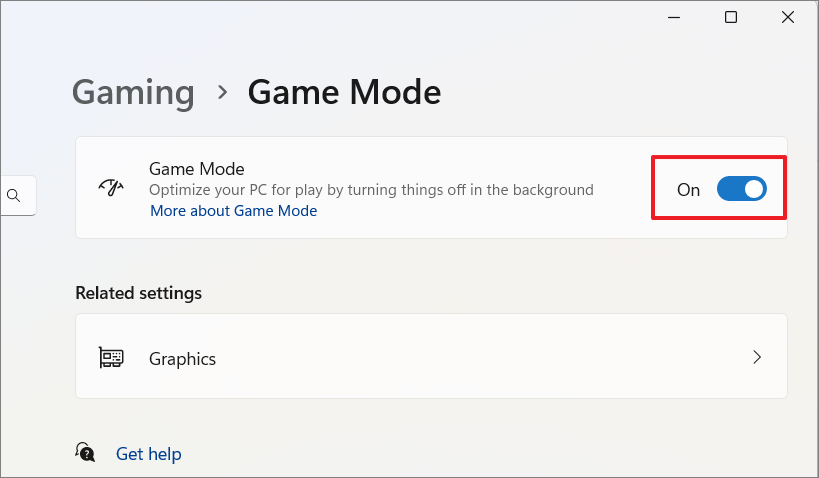
2. Turn On Game Mode
Windows 11’s Game Mode optimizes your PC for gaming by allocating more system resources to your game and limiting background activities.
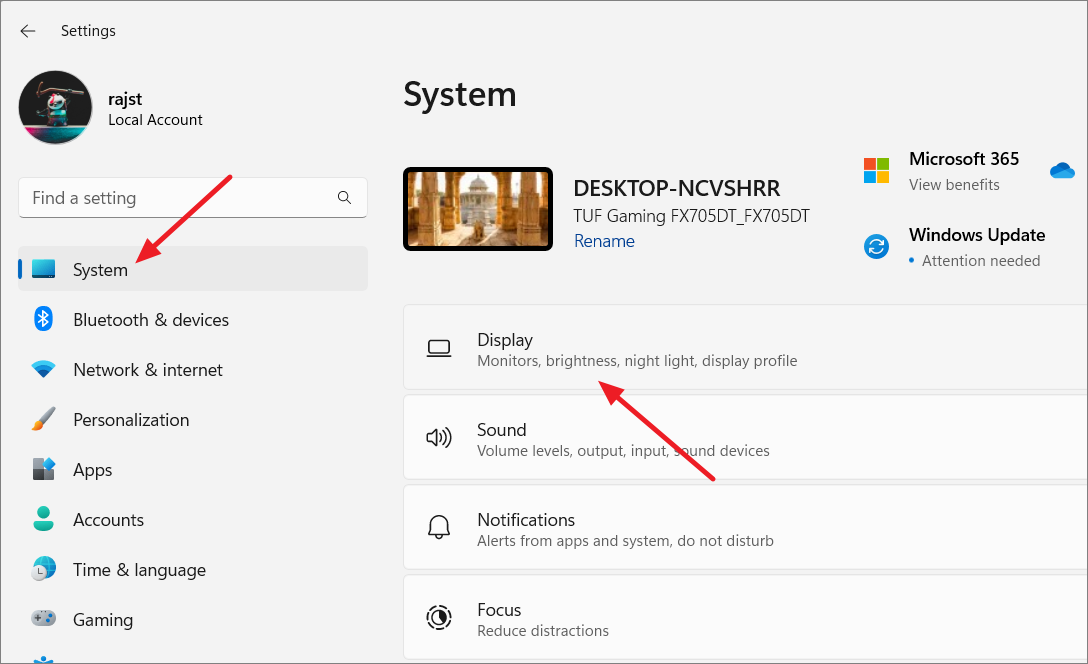
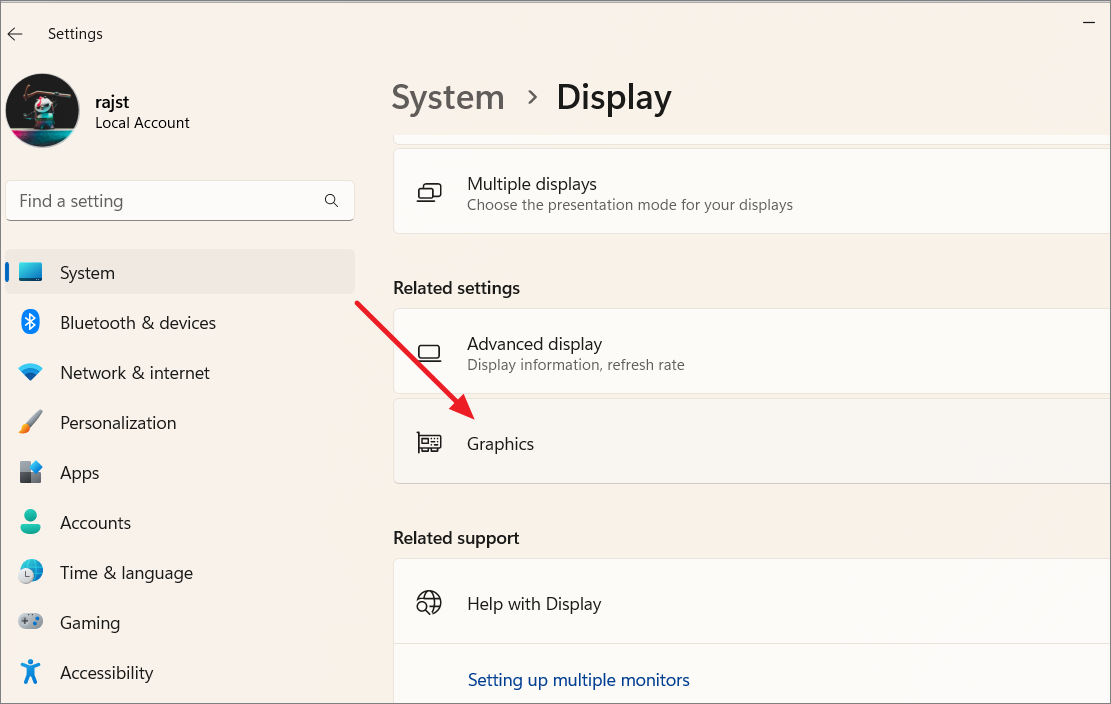
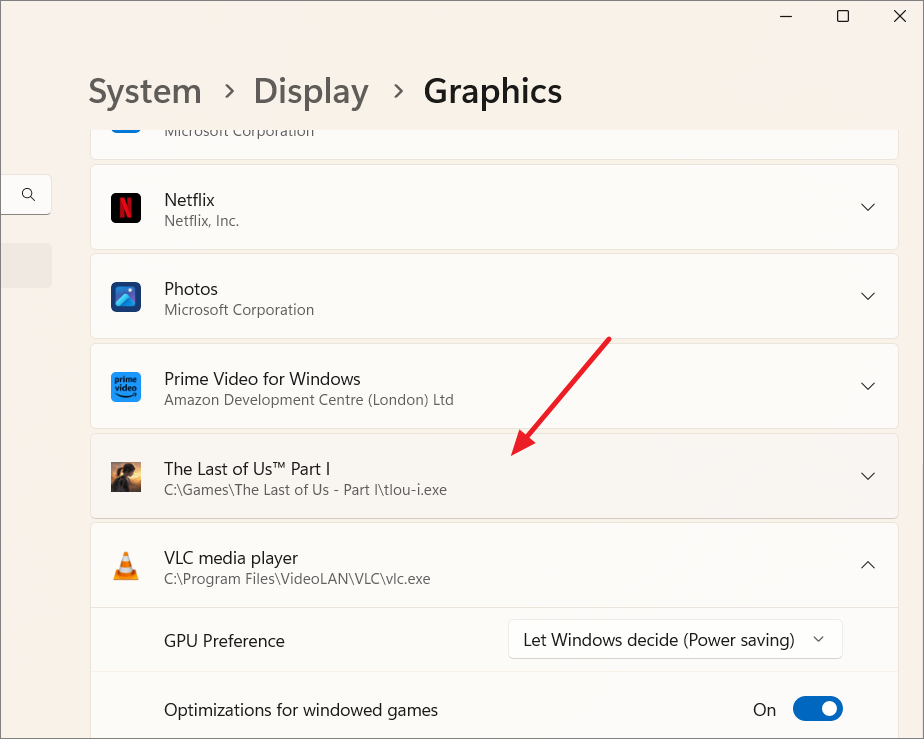
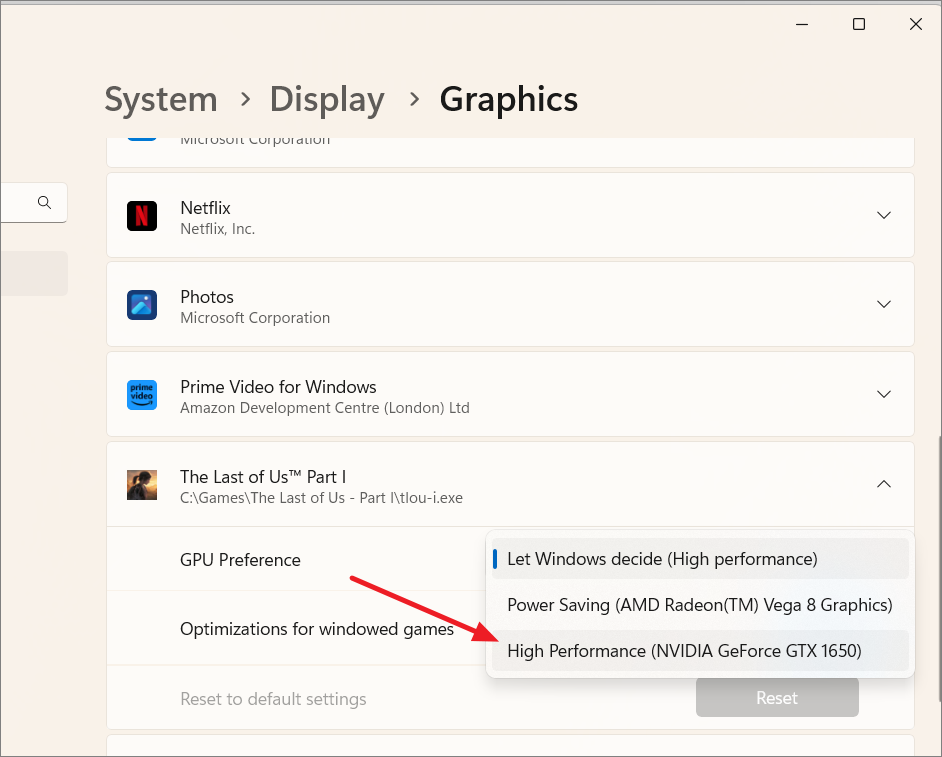
3. Specify GPU Preference Per Game
Ensuring your games use the dedicated GPU instead of the integrated graphics can vastly improve performance.
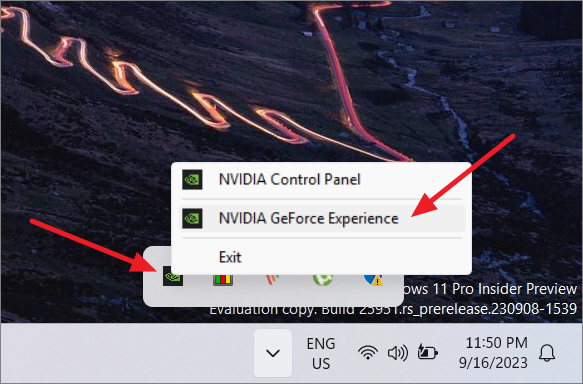
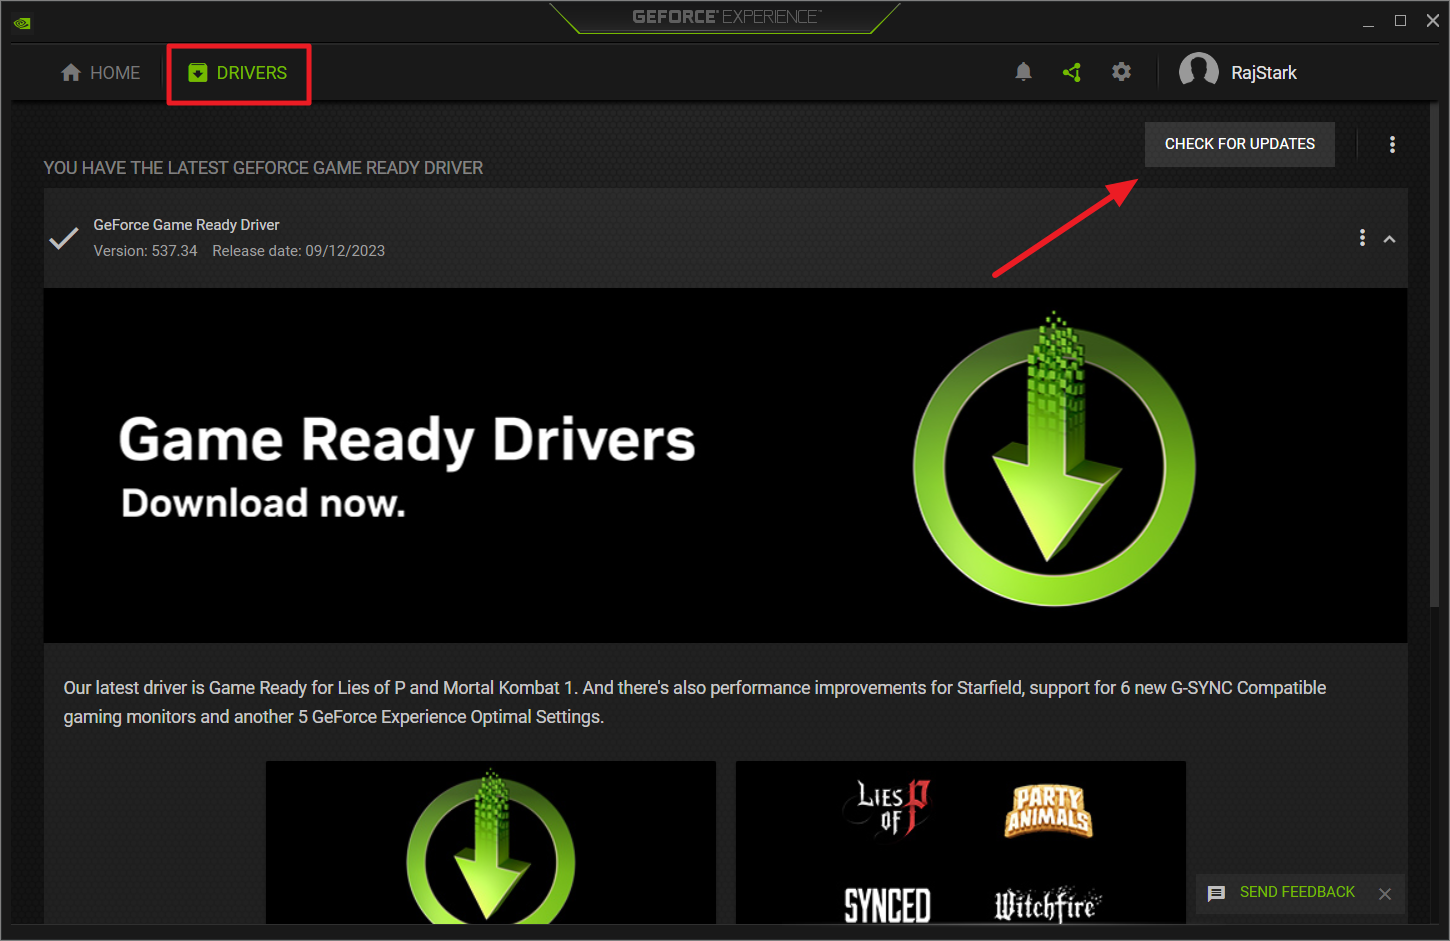
4. Update Your Graphics Drivers
Outdated graphics drivers can hinder gaming performance. Keeping them updated ensures optimal compatibility and performance with the latest games.
Windows+R, type dxdiag, and press Enter to open the DirectX Diagnostic Tool.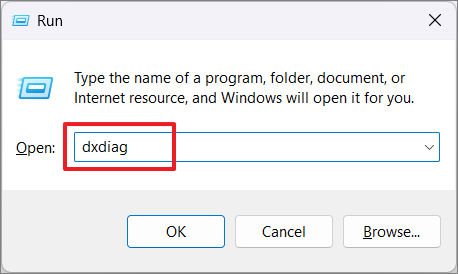

For NVIDIA GPUs:
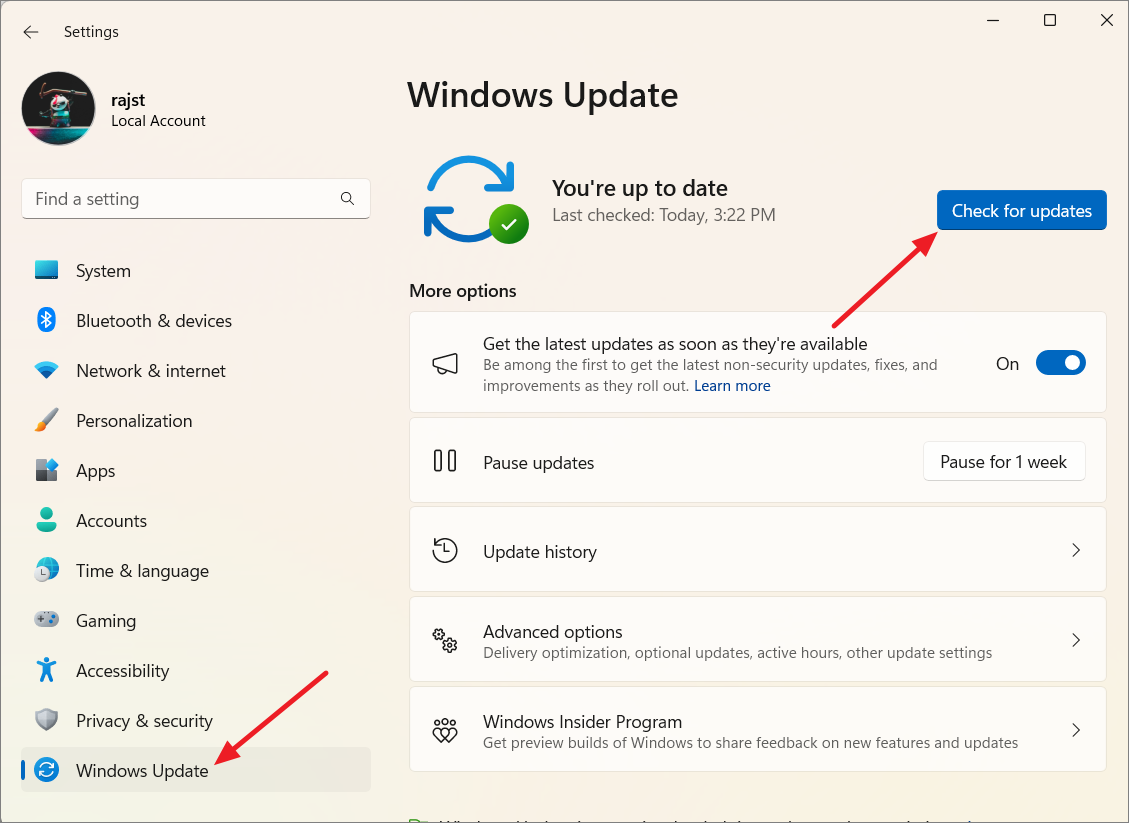
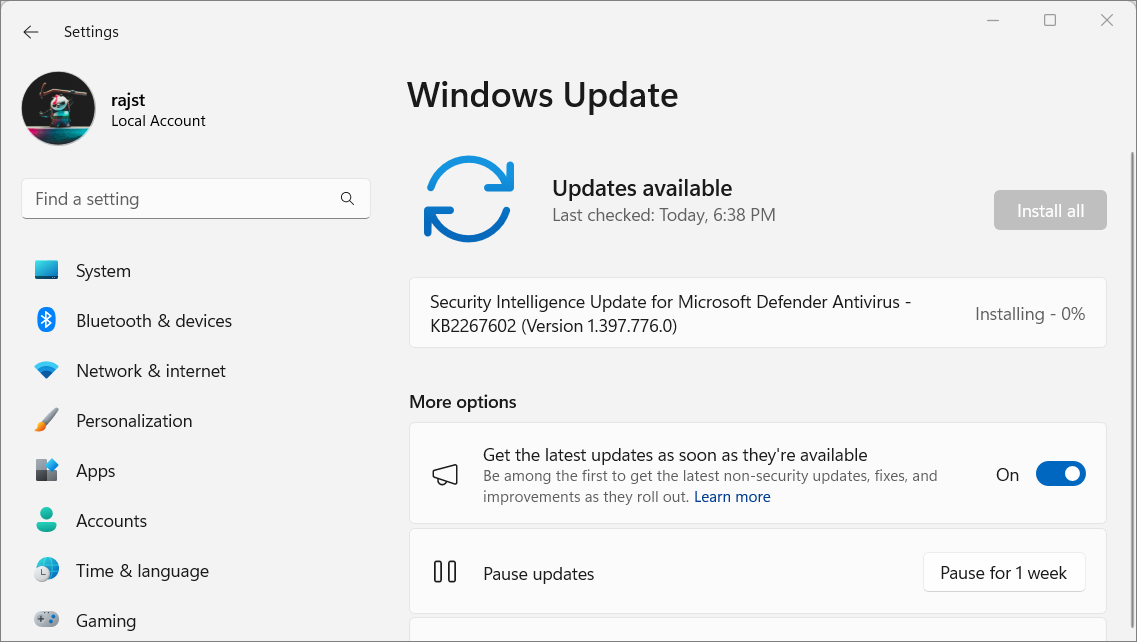
5. Update Windows
Keeping Windows 11 updated ensures you receive the latest performance improvements and bug fixes that can enhance gaming.
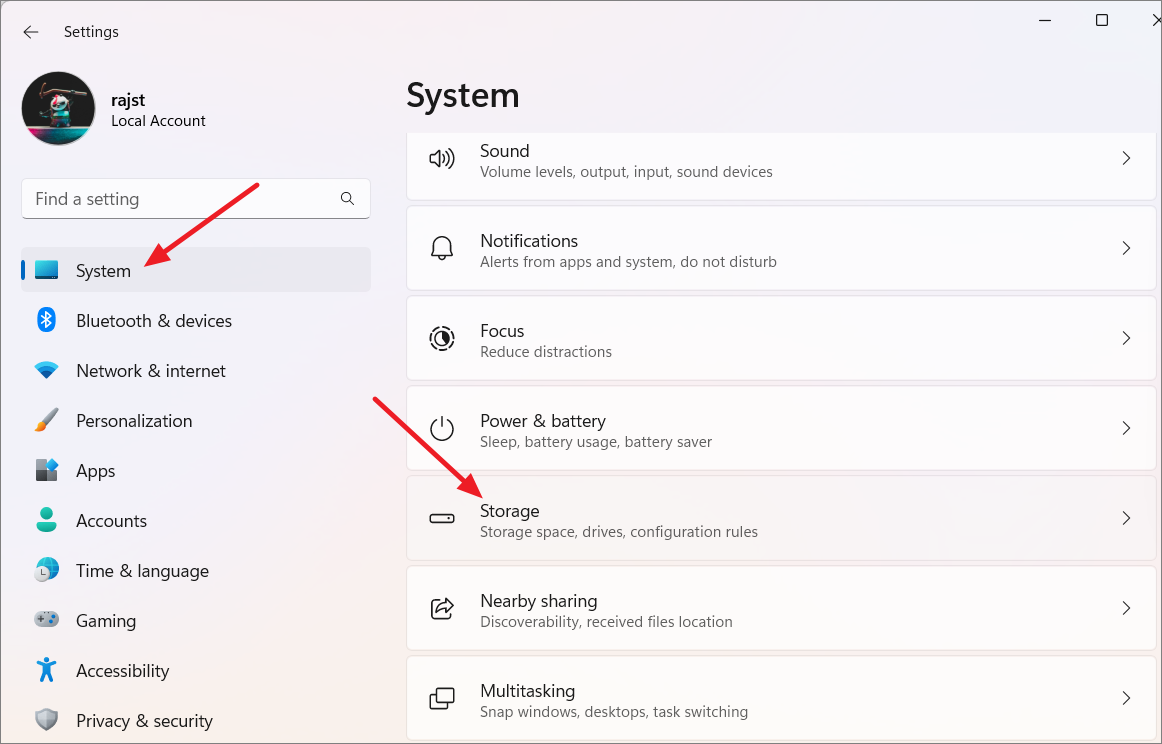
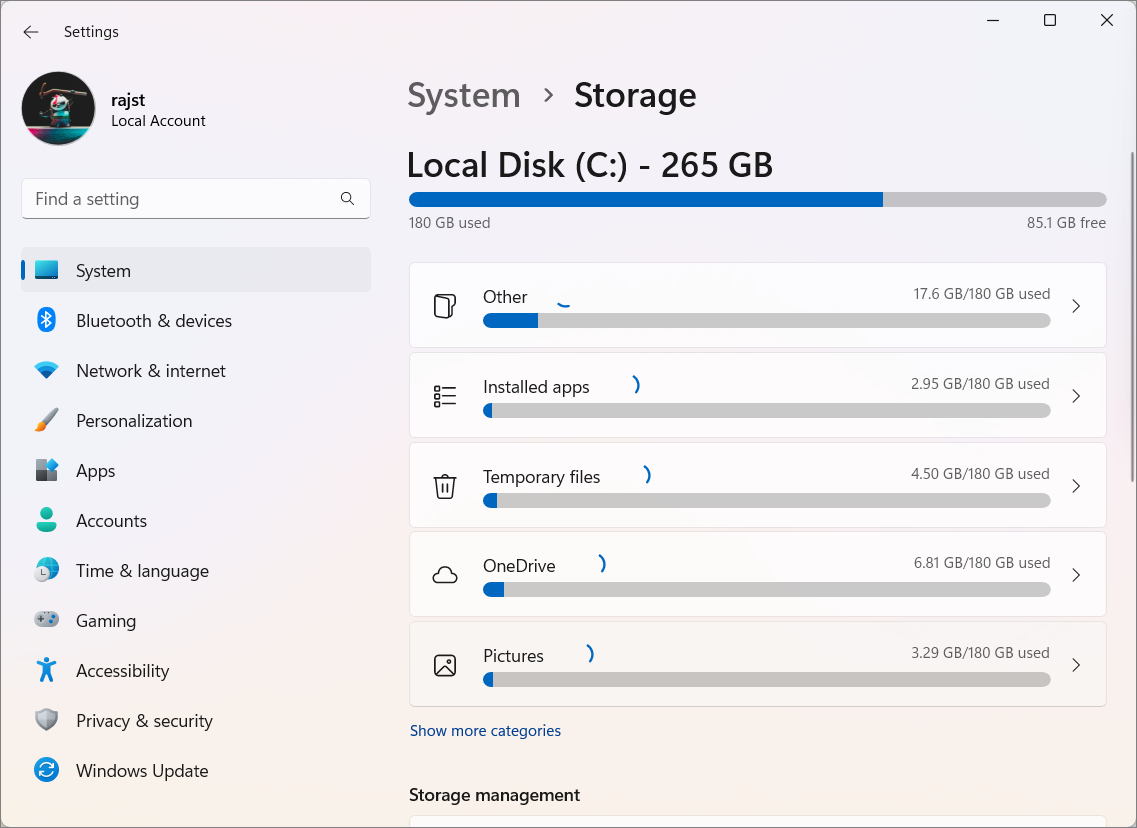
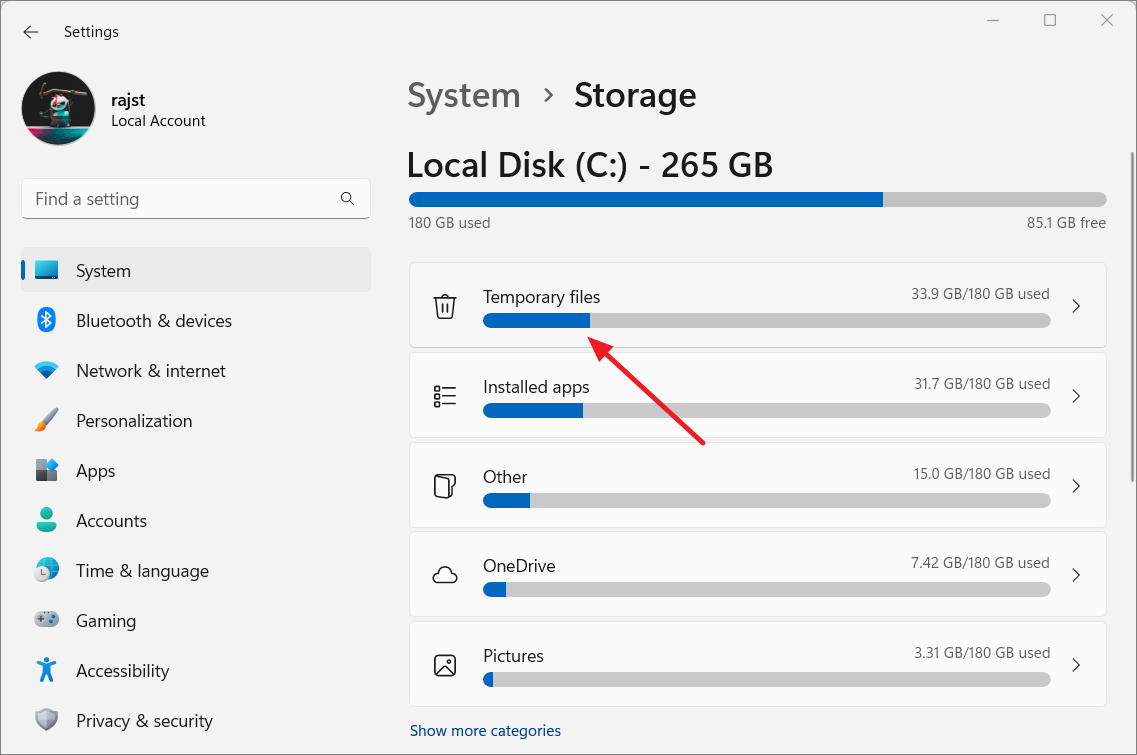
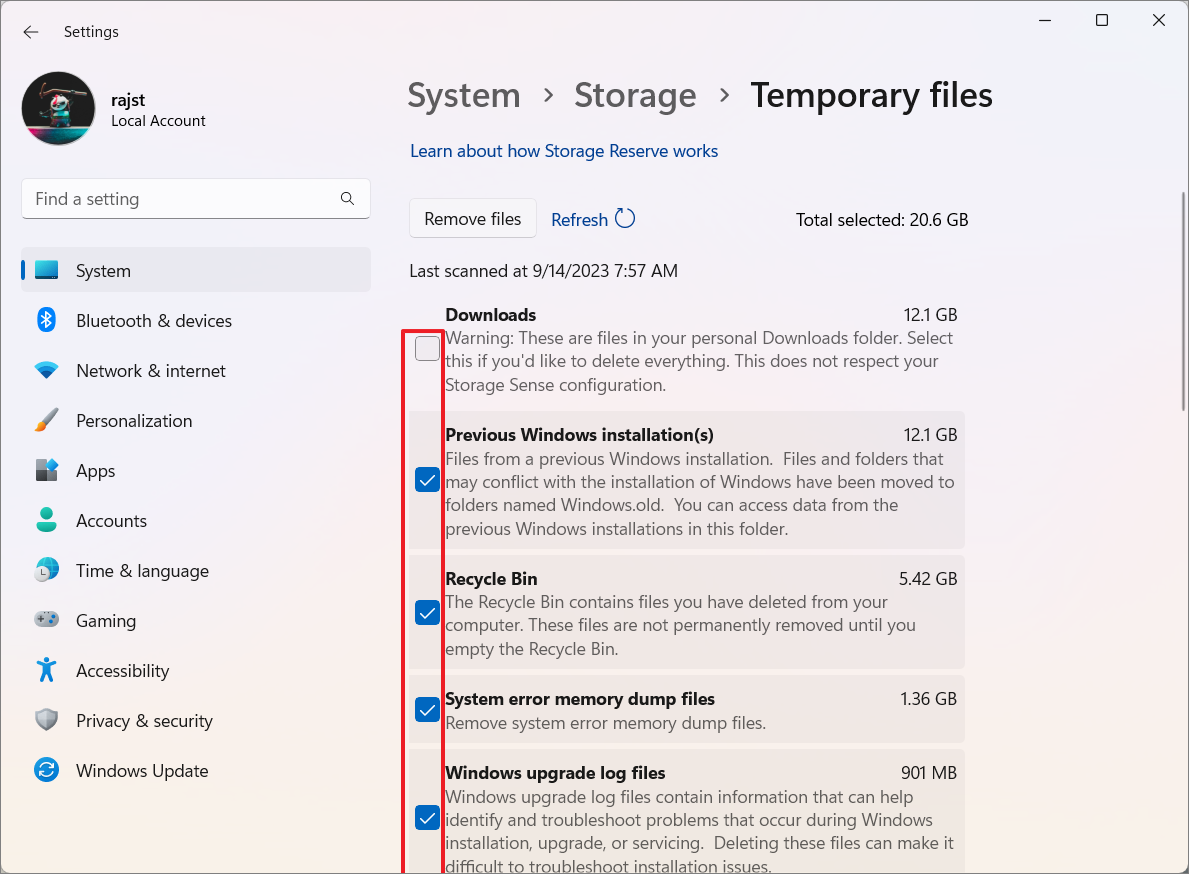
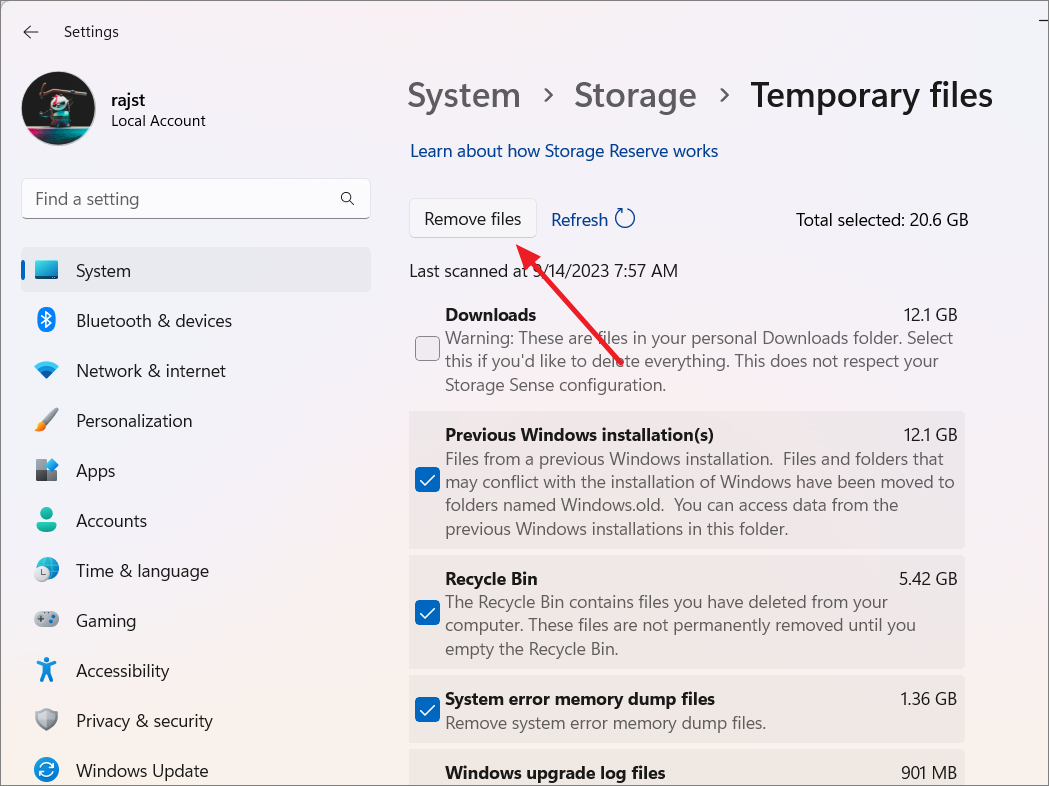
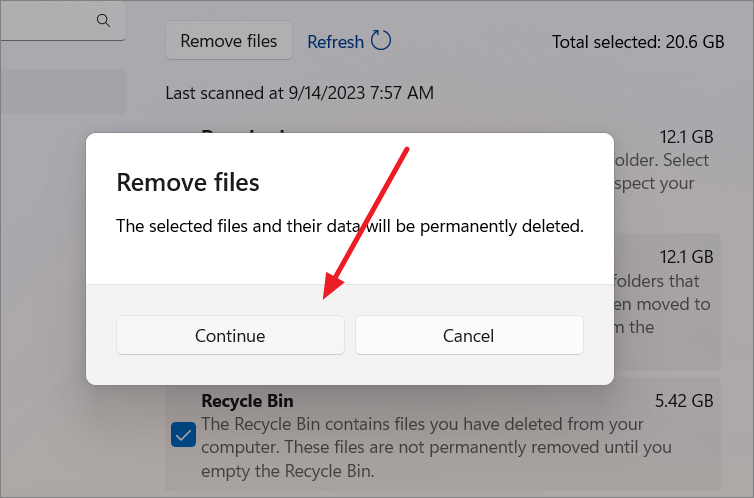
6. Perform Disk Cleanup
Freeing up disk space helps your system run more smoothly and reduces load times in games.
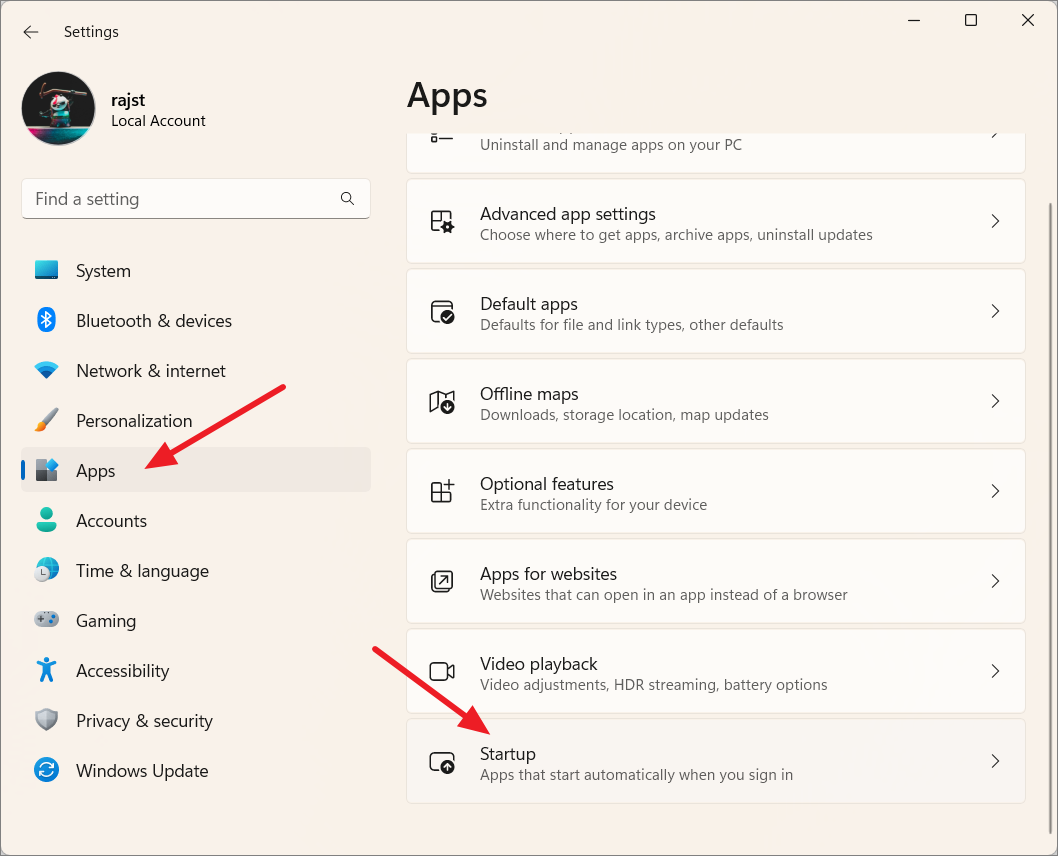
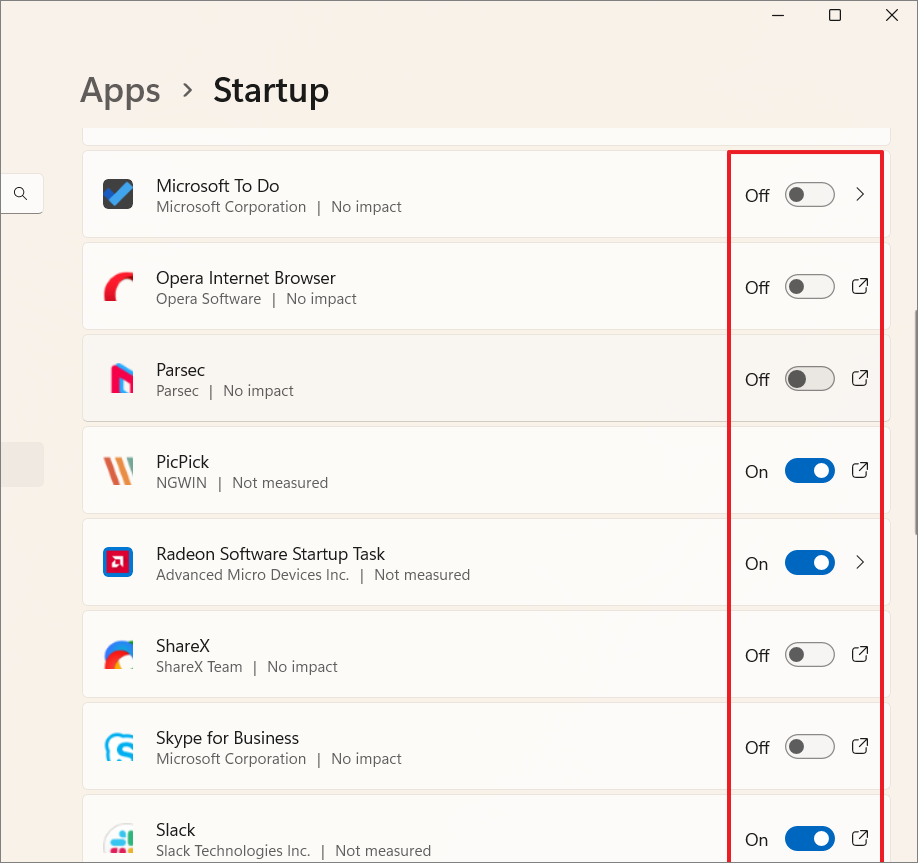
7. Disable Unnecessary Background Apps and Services
Background apps can consume system resources, affecting gaming performance. Disabling them frees up resources for your games.
8. Turn on Hardware-Accelerated GPU Scheduling
Enabling hardware-accelerated GPU scheduling can reduce latency and improve performance in graphics-intensive applications.
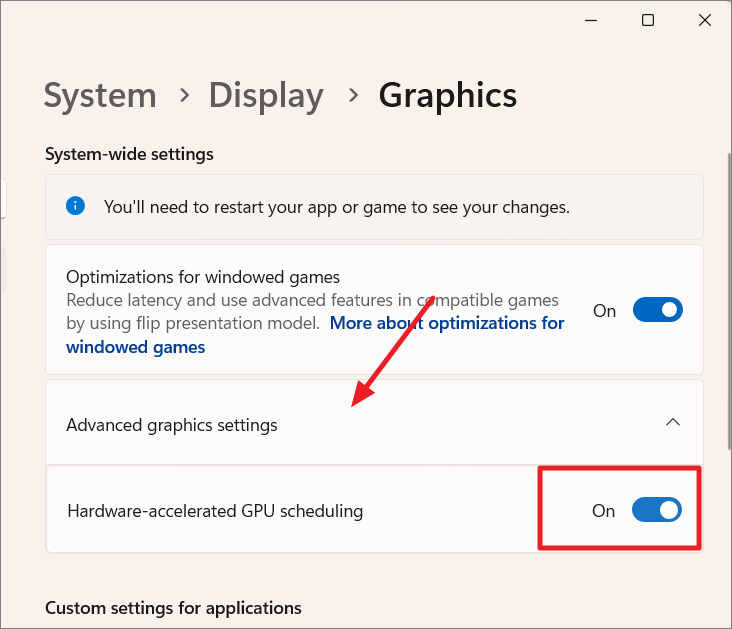
You can also enable ‘Optimizations for windowed games’ for additional performance improvements.
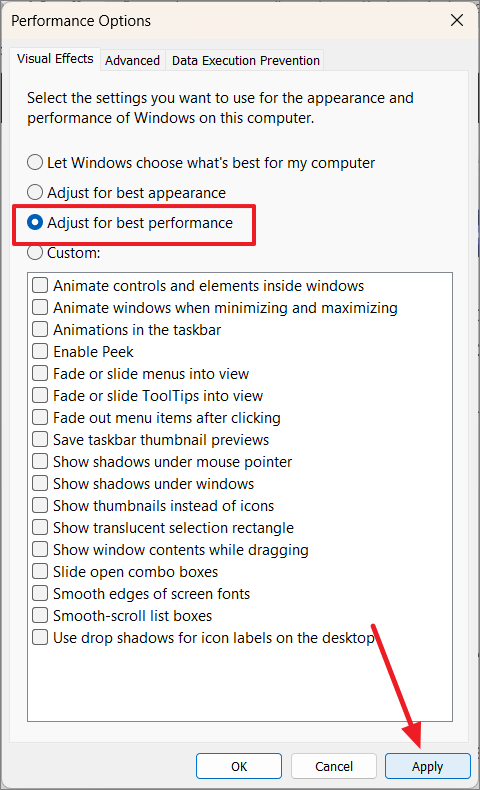
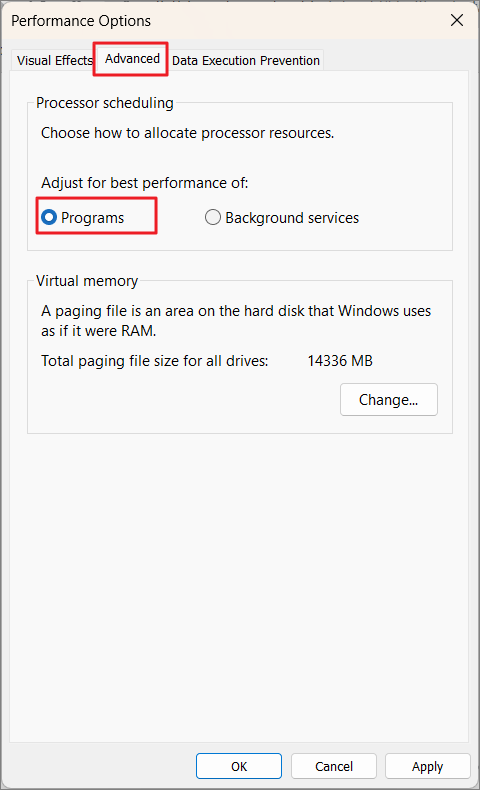
9. Adjust Windows Visual Effects
Reducing or disabling visual effects can free up system resources.
Adjust Performance, and select ‘Adjust the appearance and performance of Windows’.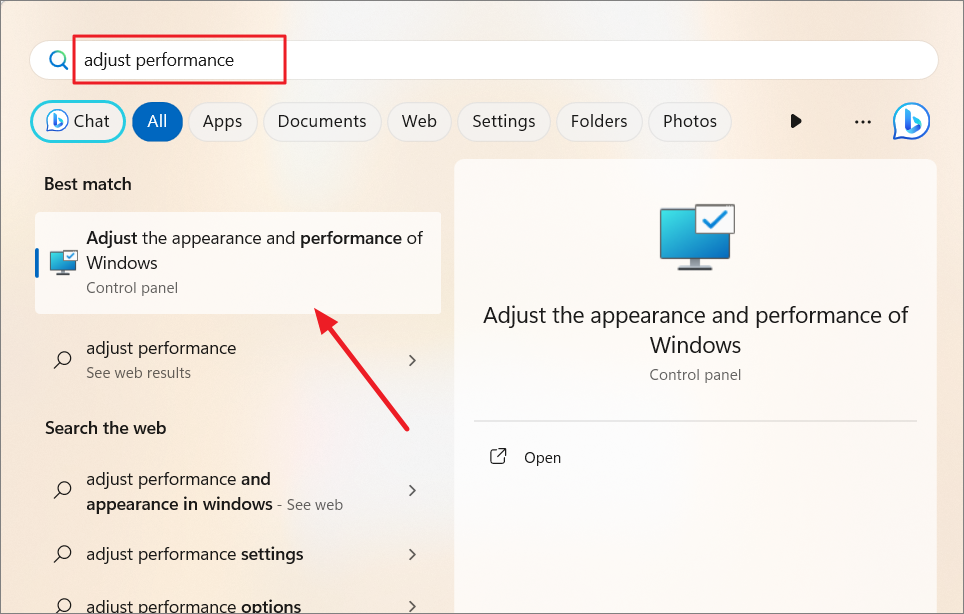
10. Monitor and Manage System Temperatures
Overheating can cause system throttling, affecting performance. Regularly monitor temperatures to prevent overheating.
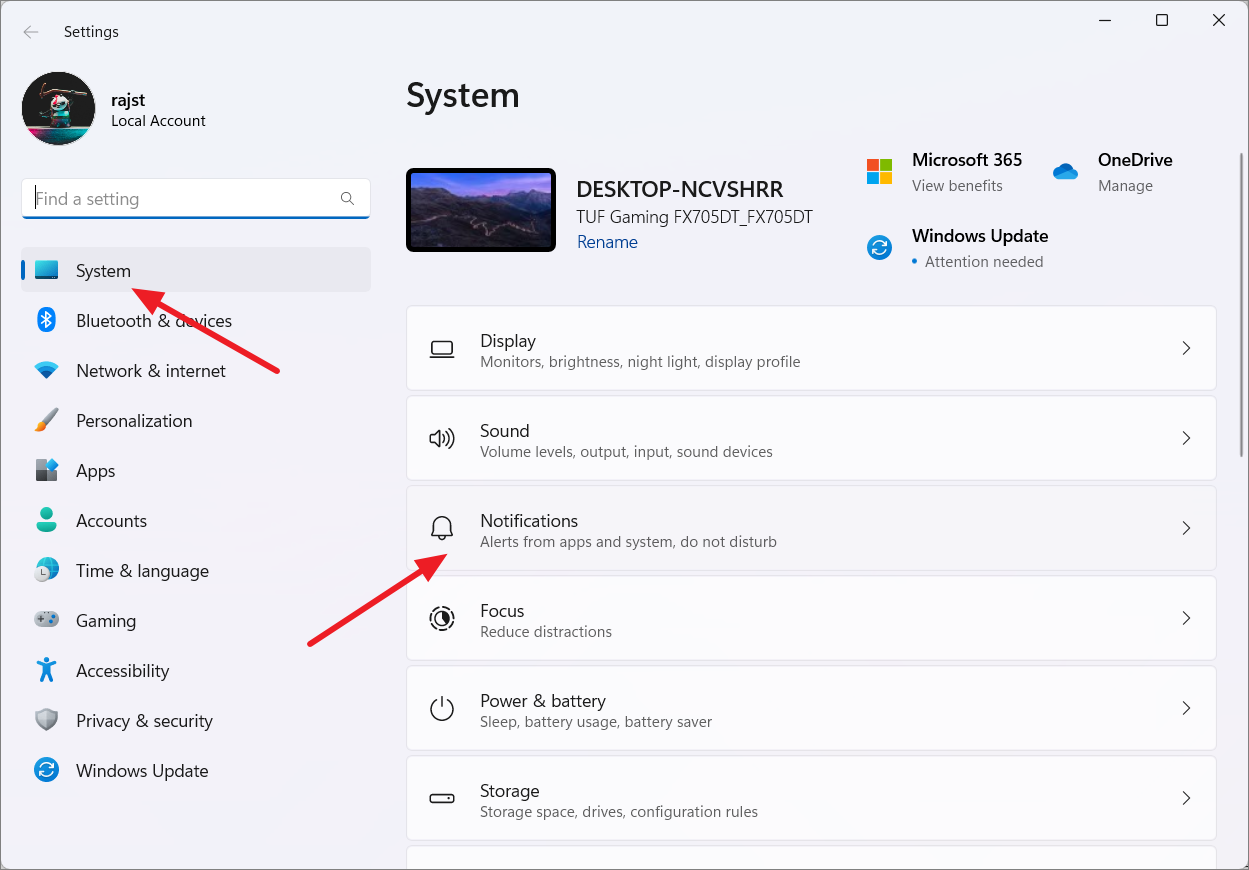
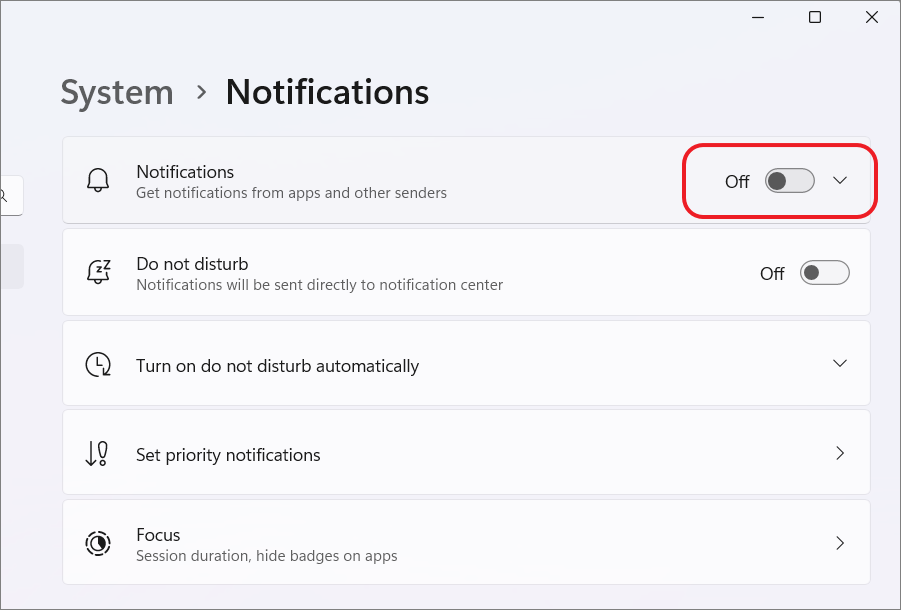
11. Disable Notifications
Notifications can interrupt gameplay and cause crashes in full-screen games.
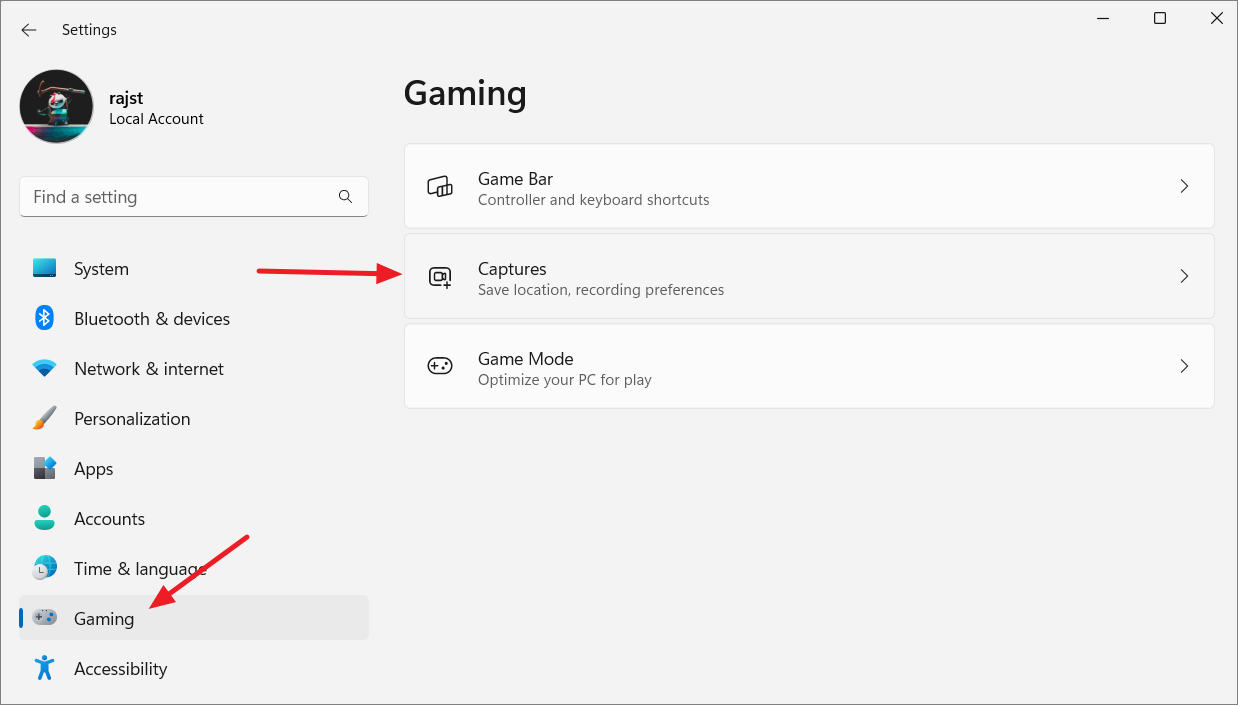
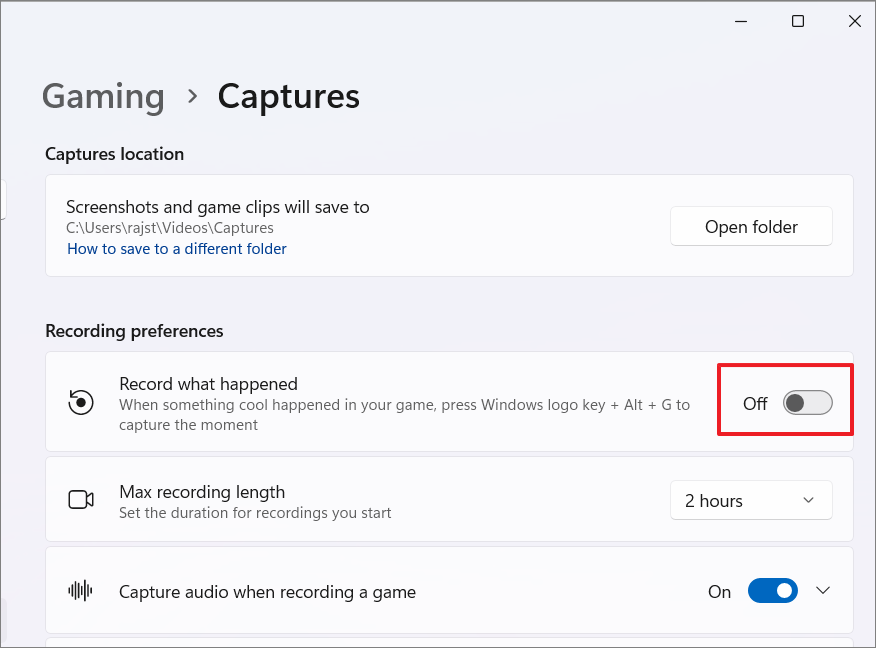
12. Disable ‘Record What Happened’
The ‘Record what happened’ feature can consume resources by running in the background.
13. Perform Disk Defragmentation
Defragmenting your hard drive can improve loading times and system responsiveness.
Note: This applies to HDDs. Do not defragment SSDs.
By following these steps, you can optimize your Windows 11 system for a smoother and more enjoyable gaming experience.


