
BitLocker is a powerful encryption feature built into Windows 11 Pro, Education, and Enterprise editions that allows you to protect your data from unauthorized access. When enabled, BitLocker encrypts your entire drive, requiring authentication before the data can be accessed – even if the hard drive is removed and connected to another system.
There are two main types of BitLocker encryption:
-
BitLocker Drive Encryption: Used to encrypt fixed internal drives, including the operating system drive. This requires authentication during boot.
-
BitLocker To Go: Used to encrypt removable drives like USB flash drives and external hard drives. These can be unlocked on any Windows or macOS system with the correct password or recovery key.
System requirements for using BitLocker
To use BitLocker on Windows 11, you’ll need:
- Windows 11 Pro, Education, or Enterprise edition
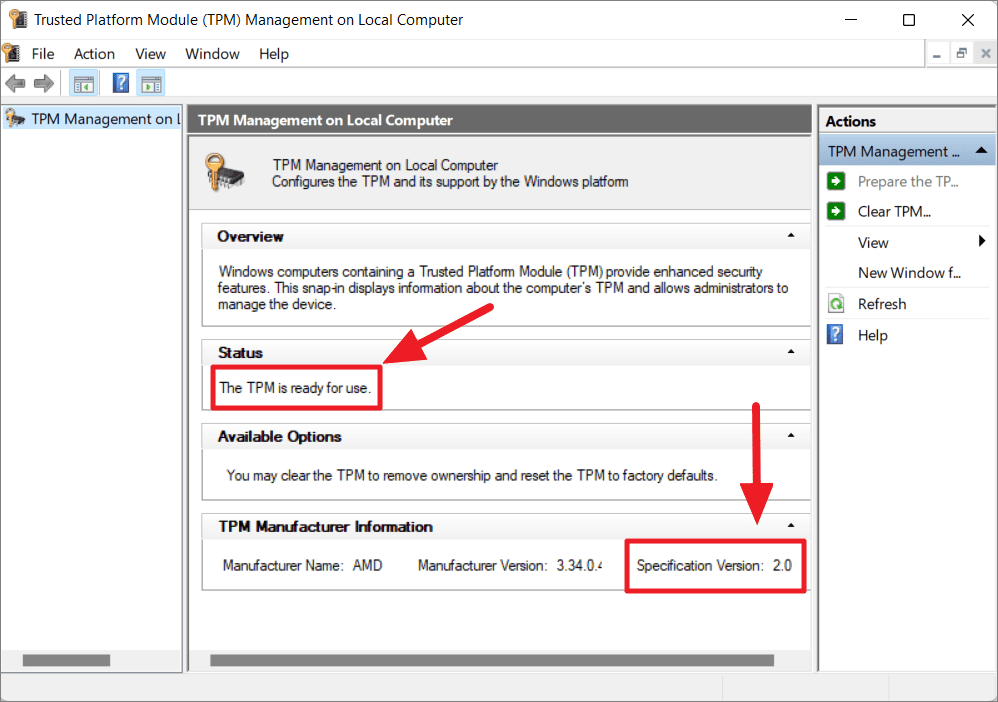
- A Trusted Platform Module (TPM) 2.0 chip enabled in UEFI/BIOS
- At least two partitions – a system partition and an operating system partition
- Administrator privileges
The easiest way to check if your system has TPM is to use the built-in TPM Management tool:
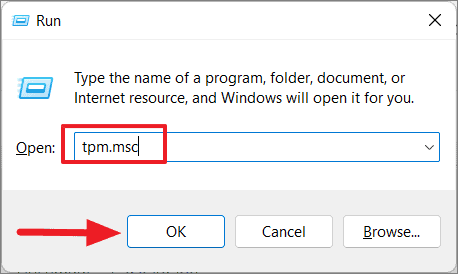
- Press Windows+R to open the Run dialog.
- Type
tpm.mscand press Enter.
- If TPM is available and enabled, you’ll see “The TPM is ready for use” under Status.
Enabling BitLocker on Windows 11
There are several methods to enable BitLocker on Windows 11. We’ll cover the most effective approaches:
Using the Settings app
- Open the Settings app (Windows key + I).
- Go to System > Storage.
- Scroll down and click on “Advanced storage settings”.
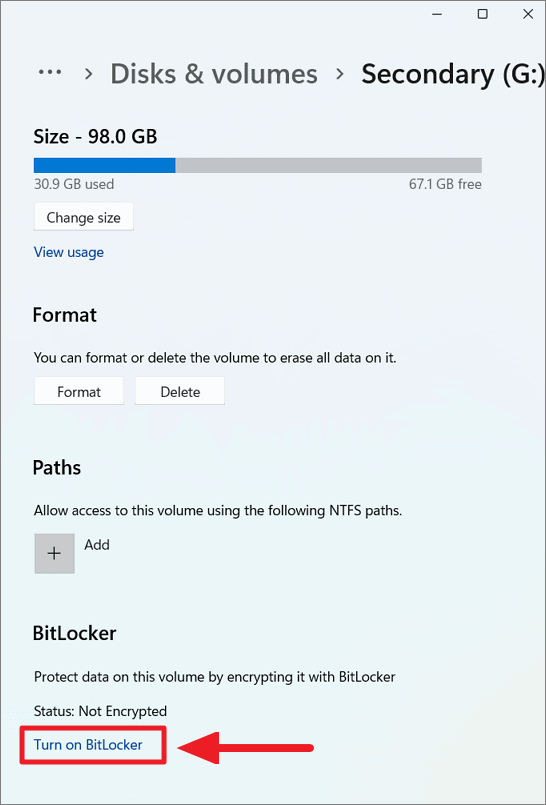
- Select “Disks & volumes”.
- Choose the drive you want to encrypt and click “Properties”.
- Under the BitLocker section, click “Turn on BitLocker”.
Using Control Panel
- Open Control Panel.
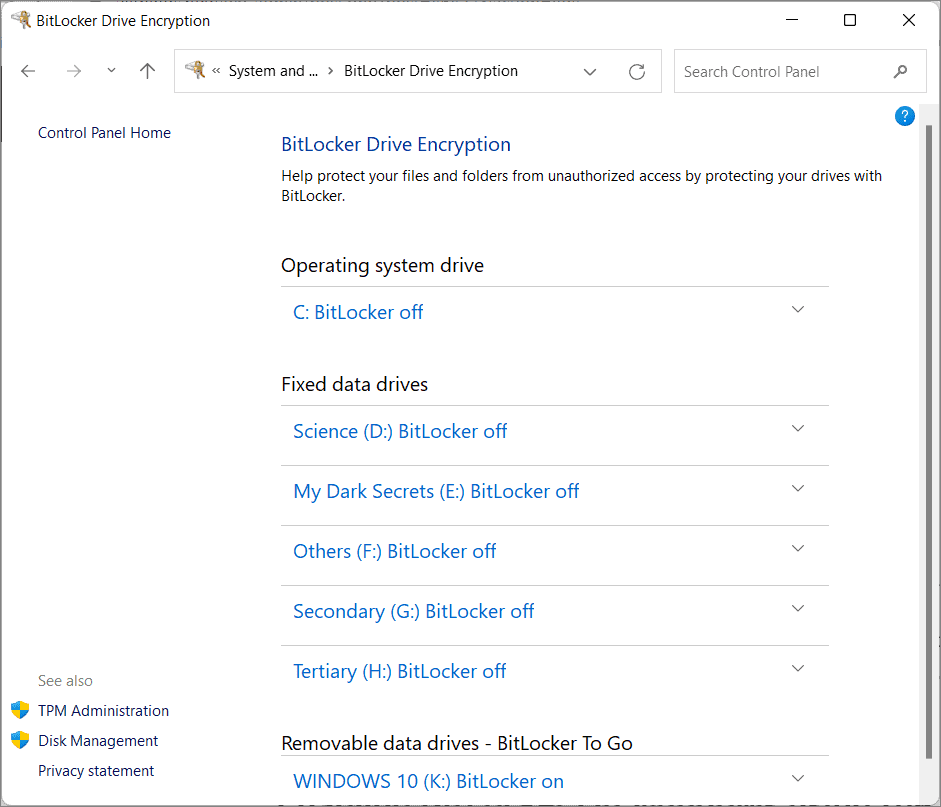
- Go to System and Security > BitLocker Drive Encryption.
- Select the drive you want to encrypt and click “Turn on BitLocker”.
Using File Explorer
- Open File Explorer.
- Right-click on the drive you want to encrypt.
- Select “Turn on BitLocker”.

Using Command Prompt
- Open Command Prompt as administrator.
- To encrypt a drive with a password, use:
Replace X with the drive letter.manage-bde -on X: -pw - To encrypt a drive with a recovery key, use:
Replace X with the drive to encrypt and Y with where to save the recovery key.manage-bde -on X: -rk Y:
Using PowerShell
- Open PowerShell as administrator.
- To encrypt a drive with a password, use:
Replace X with the drive letter.Enable-BitLocker X: -PasswordProtector
Setting up BitLocker encryption
Regardless of the method chosen, you’ll need to complete the following steps:
- Choose how to unlock your drive (password or smart card).
- Back up your recovery key. Options include saving to your Microsoft account, a USB drive, a file, or printing it.
- Choose how much of your drive to encrypt (used space only or entire drive).
- Select the encryption mode (new encryption mode or compatible mode).
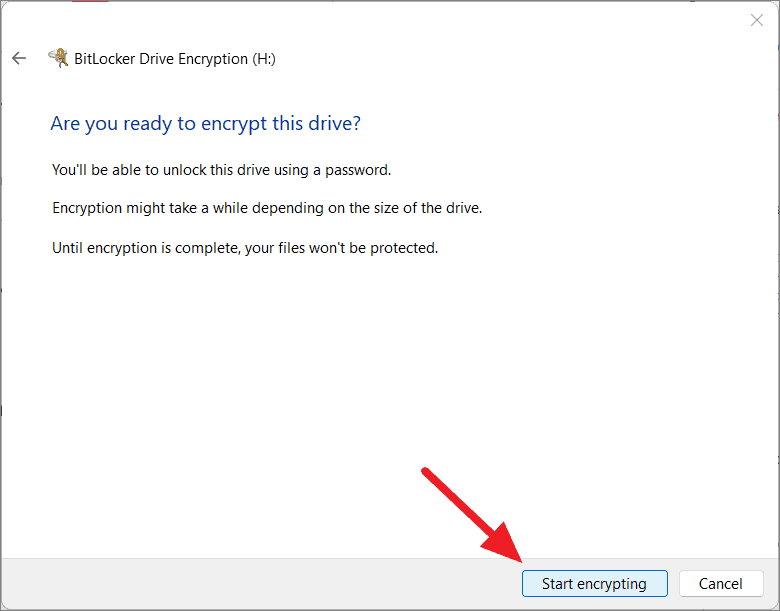
- Start the encryption process.
Managing BitLocker
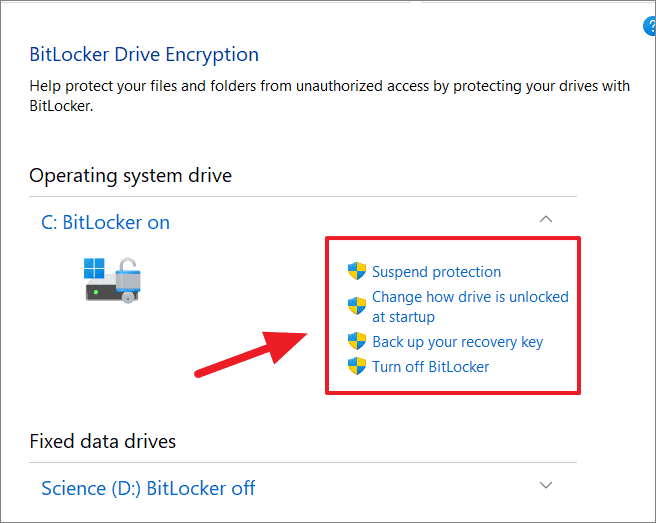
Once BitLocker is enabled, you can manage it through the BitLocker Drive Encryption control panel:
- Open Control Panel > System and Security > BitLocker Drive Encryption.
- Select the encrypted drive to view management options.
Options include:
- Changing the password
- Backing up the recovery key
- Turning off BitLocker
- Suspending protection temporarily
Disabling BitLocker
To turn off BitLocker:
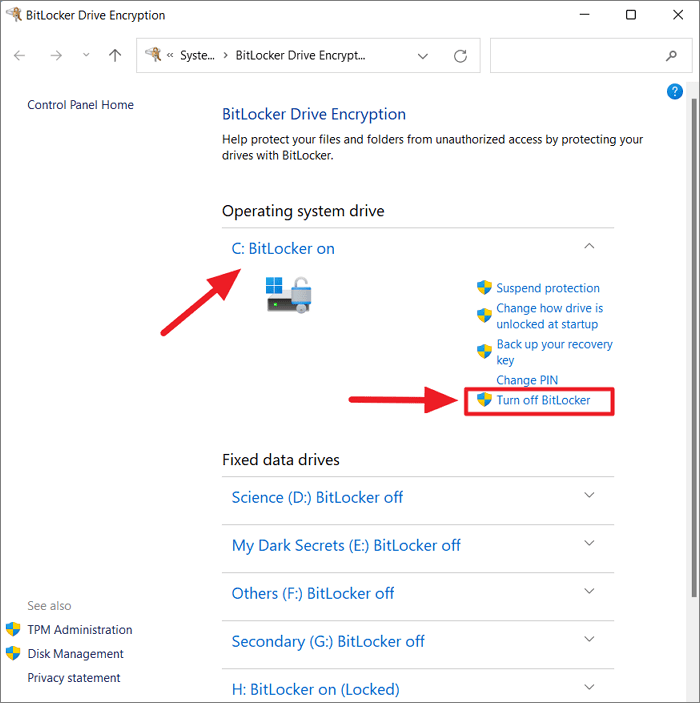
- Open Control Panel > System and Security > BitLocker Drive Encryption.
- Select the encrypted drive.
- Click “Turn off BitLocker”.
- Confirm the action when prompted.
Alternatively, you can use Command Prompt:
manage-bde -off X:
Replace X with the drive letter.
Or PowerShell:
Disable-BitLocker -MountPoint "X:"
Replace X with the drive letter.
By following these steps, you can effectively enable, manage, and disable BitLocker encryption on your Windows 11 system, ensuring your data remains secure.


