
Protecting sensitive data on a shared computer is crucial for maintaining privacy and security. While Windows 11 doesn't offer a built-in way to password-protect individual folders, there's a clever workaround using BitLocker and virtual drives. This guide will walk you through the process of creating a password-protected folder in Windows 11.
Creating a virtual drive
The first step is to set up a virtual drive using Windows' Disk Management tool:
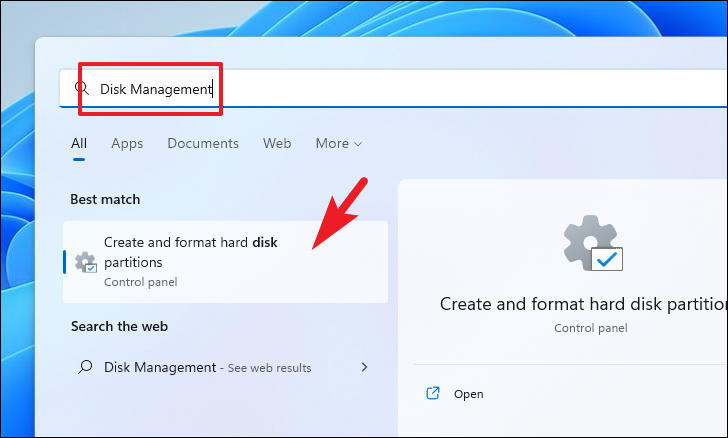
- Open the Start Menu and search for "Disk Management".
- Click on "Create and format hard disk partitions".

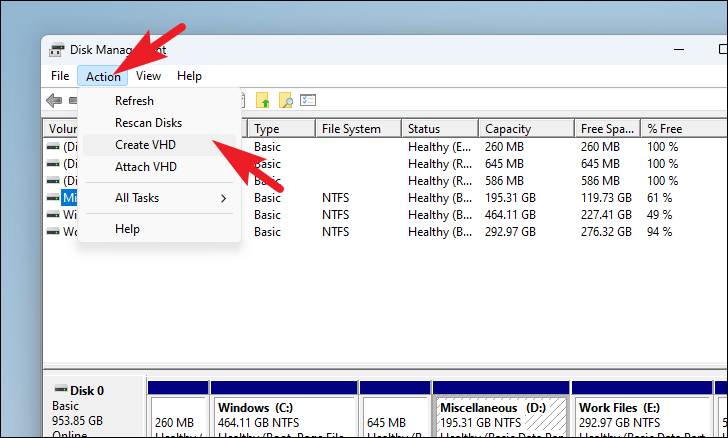
- In the Disk Management window, click on "Action" and select "Create VHD".
- Choose a location to save the virtual hard disk file.
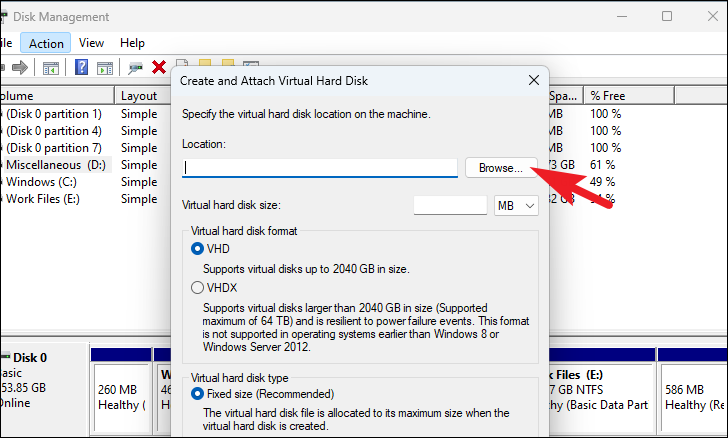
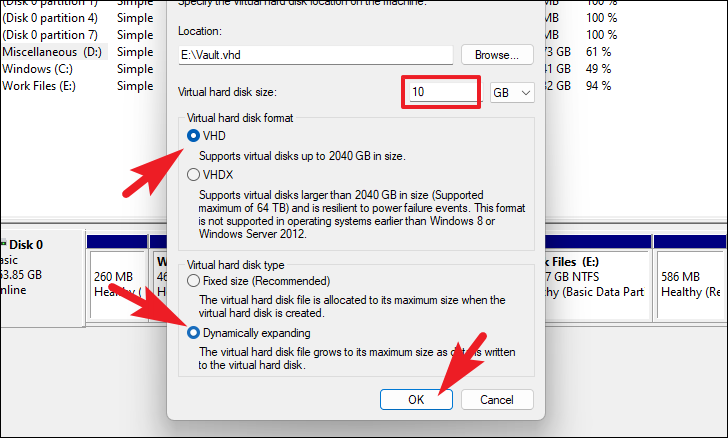
- Select "VHD" as the file format.
- Enter the desired size for your virtual drive.
- Choose "Dynamically expanding" for the virtual hard disk type.
- Click "OK" to create the virtual drive.
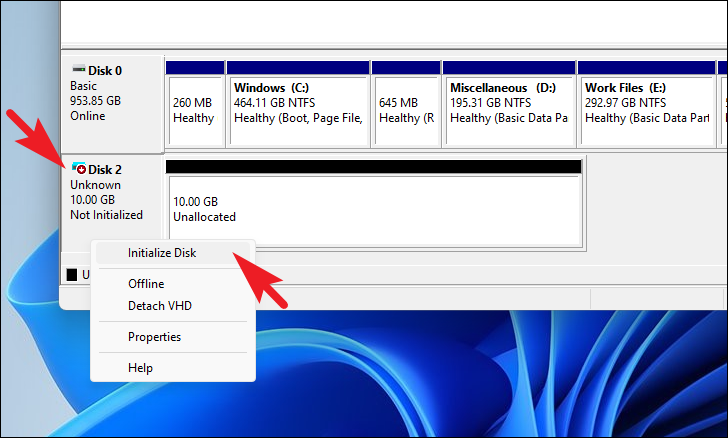
After creating the virtual drive, you need to initialize and format it:
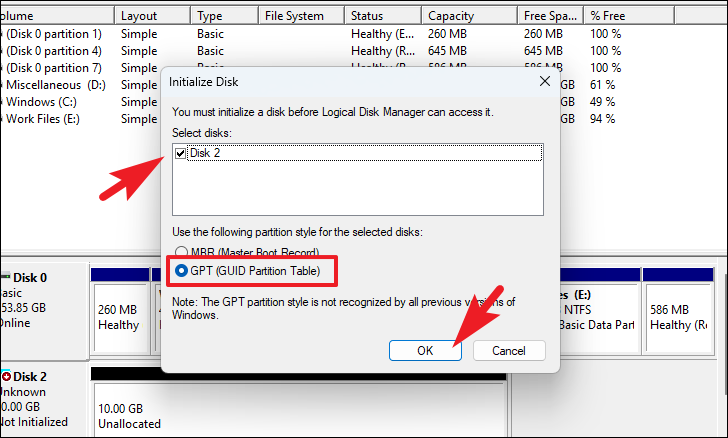
- Right-click on the newly created disk and select "Initialize Disk".
- Choose GPT as the partition style.
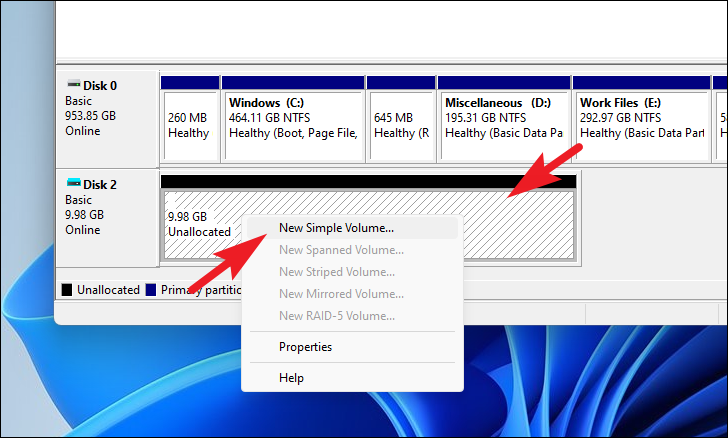
- Right-click on the unallocated space and select "New Simple Volume".
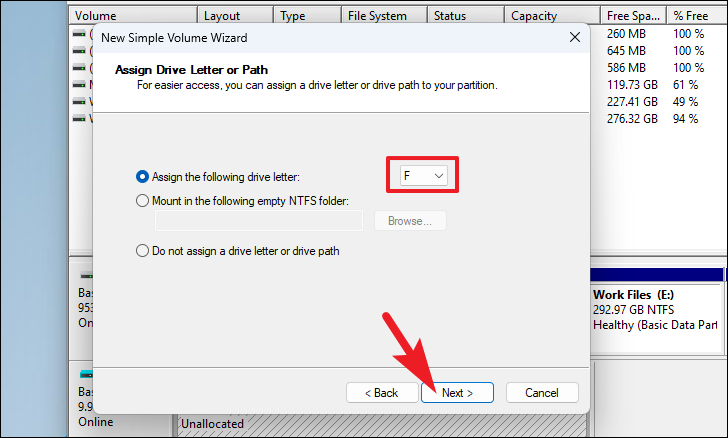
- Follow the wizard to assign a drive letter and format the volume. Let the volume size setting be on default.
Enabling BitLocker on the virtual drive
Now that you have a virtual drive, it's time to secure it with BitLocker:
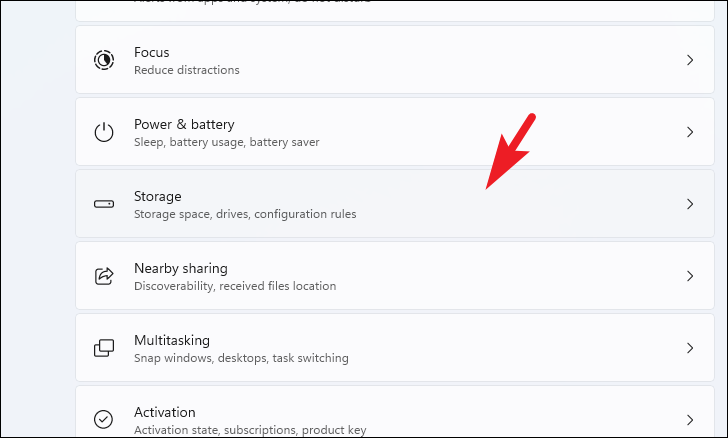
- Open Windows Settings and navigate to System > Storage.
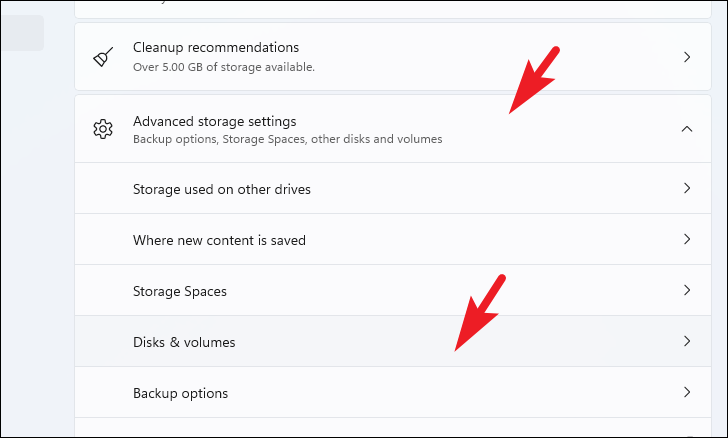
- Click on "Advanced storage settings", then "Disks & volumes".
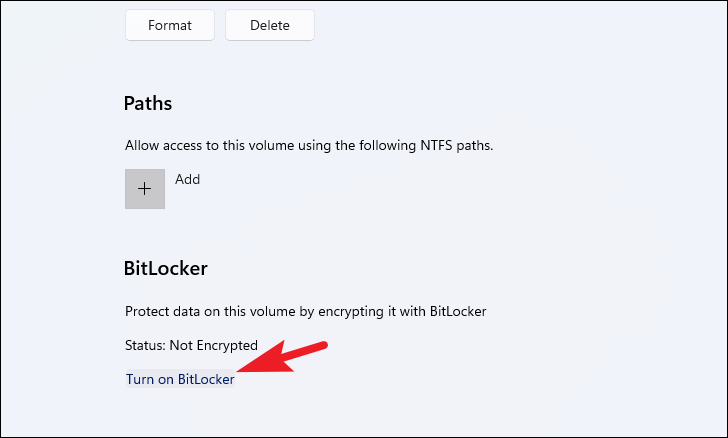
- Select the virtual drive you created and click "Properties".

- Scroll down and click "Turn on BitLocker".
- Choose to unlock the drive with a password.
- Enter a strong password for your drive.

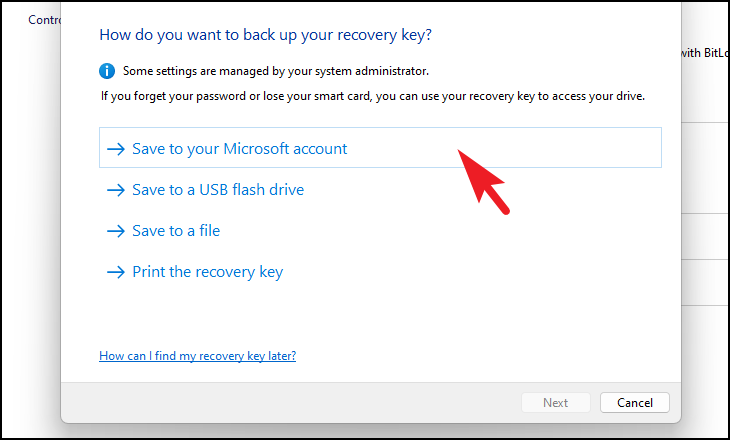
- Save the recovery key in a secure location (e.g., your Microsoft account or a USB drive).
- Choose the encryption option that best suits your needs.
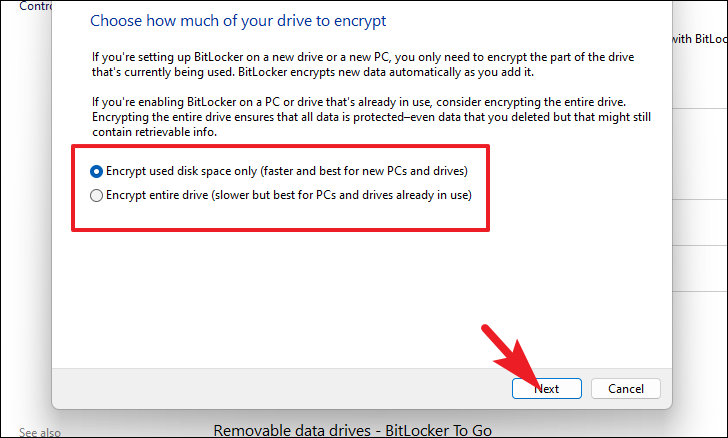
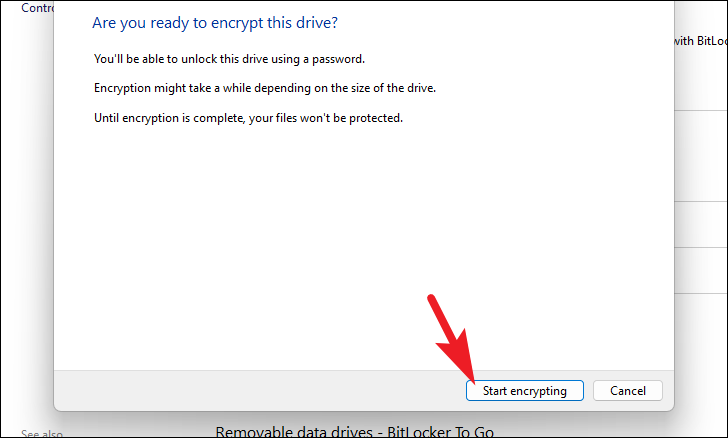
- Click "Start encrypting" to begin the BitLocker process.
Accessing your password-protected drive
To use your newly secured virtual drive:
- Navigate to the location where you saved the .VHD file.
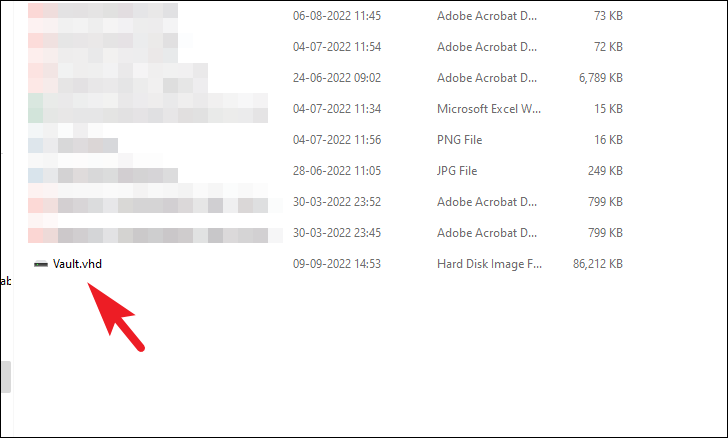
- Double-click the file to mount the drive.
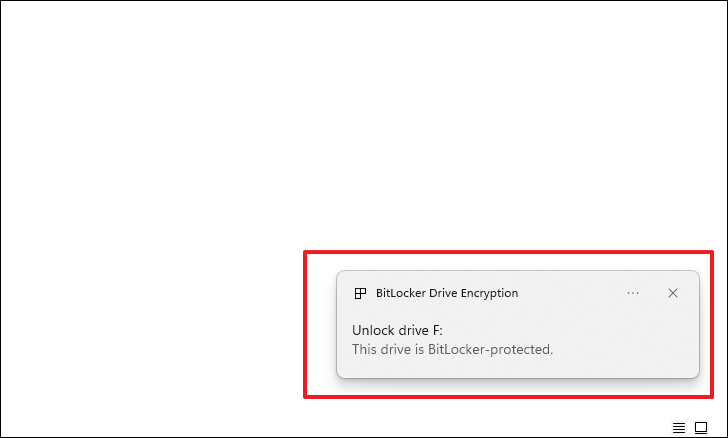
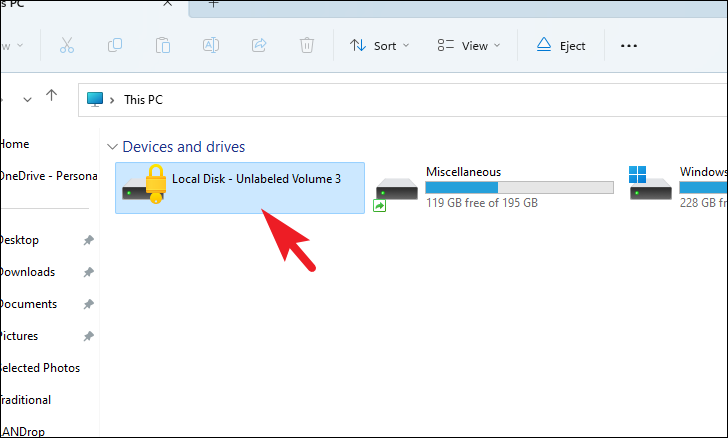
- If prompted that the volume is inaccessible, go to "This PC" in File Explorer.
- Double-click on the BitLocker drive to open it.
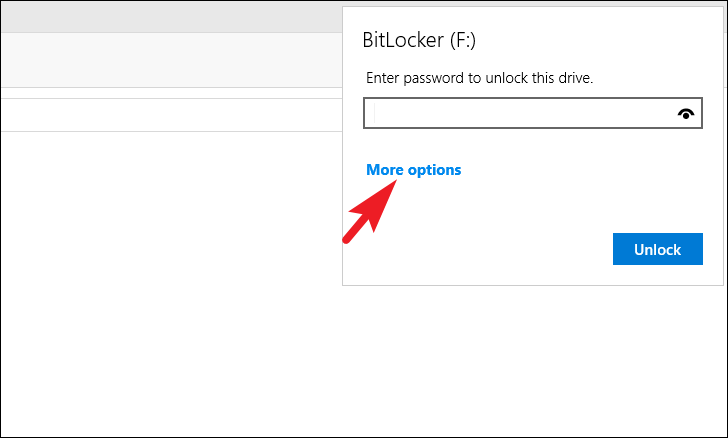
- Enter your password when prompted.
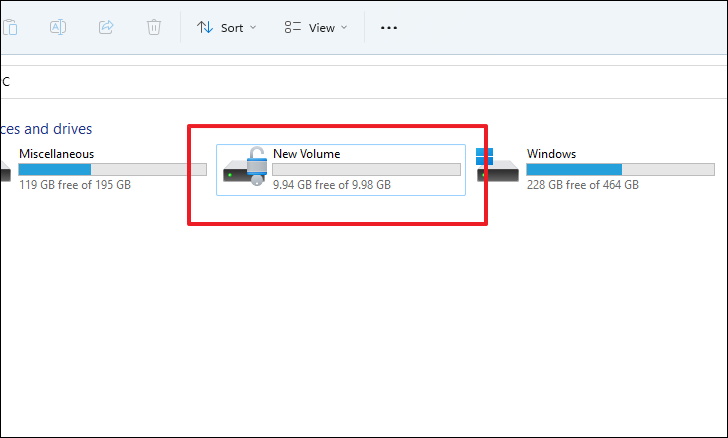
Once unlocked, you can freely access, modify, or delete files within the drive.
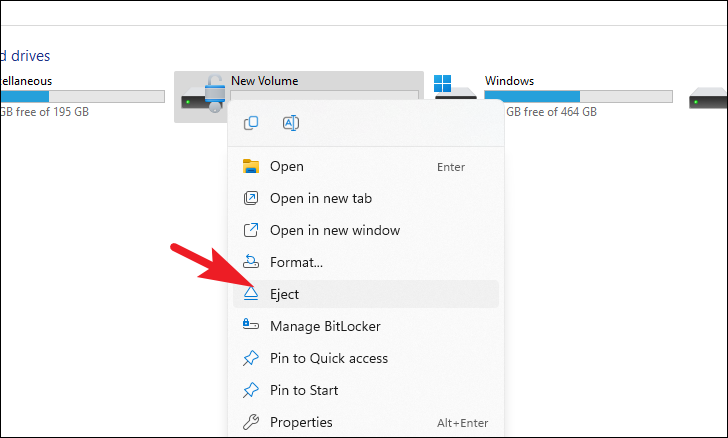
To secure the drive again:
- Right-click on the drive in File Explorer.
- Select "Eject" to dismount and lock the virtual drive.
By following these steps, you've effectively created a password-protected folder in Windows 11 using BitLocker and virtual drives. This method provides a robust solution for safeguarding your sensitive data, even when using a shared computer. Remember to choose a strong password and keep your recovery key in a safe place to ensure continued access to your protected files.