
Locking down sensitive data in Excel becomes critical when multiple users interact with shared files. Leaving worksheets unprotected exposes formulas, formatting, and confidential information to accidental or intentional changes. Setting a password to protect an Excel worksheet limits editing access, ensuring only authorized users can modify specific content while others can view or interact with permitted areas.
Protecting a Worksheet With a Password
Step 1: Select the worksheet tab you want to protect. This ensures that the changes you apply affect the correct sheet within your workbook.
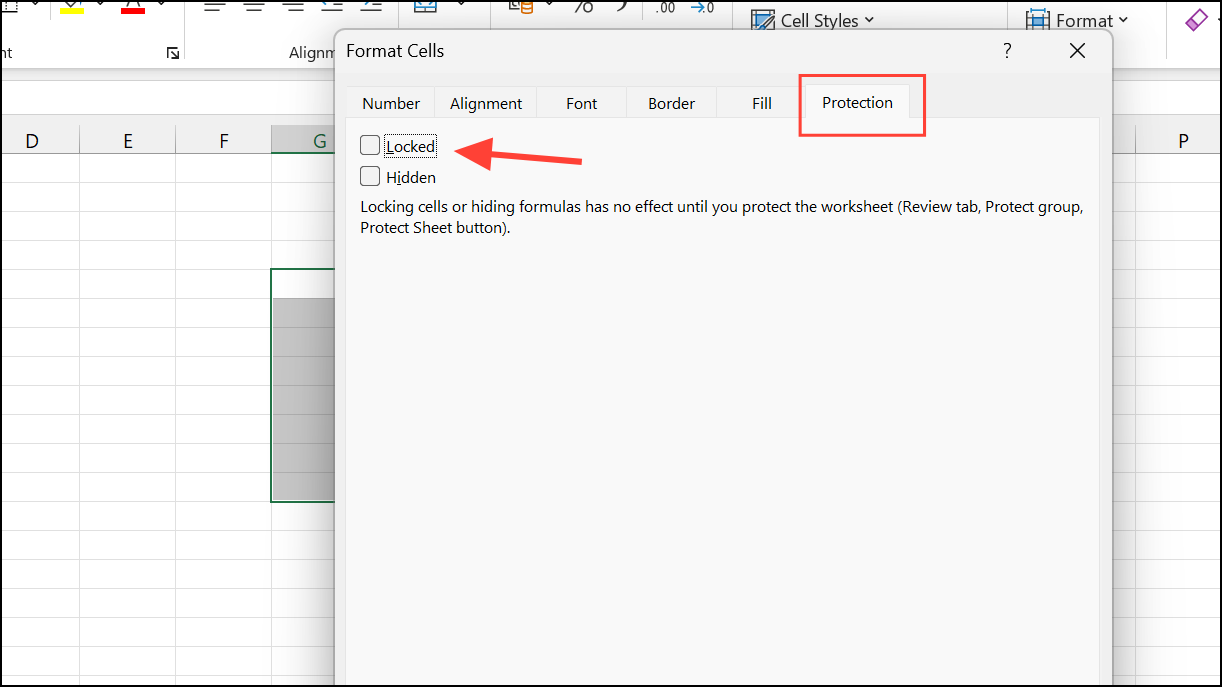
Step 2: Choose which cells, if any, should remain editable. By default, all cells are locked when you enable worksheet protection, but you can unlock specific cells for user input. To do this, select the desired cells, right-click, choose Format Cells, go to the Protection tab, and clear the Locked checkbox. This step is essential if you want users to enter data into certain fields while keeping the rest of the sheet protected.
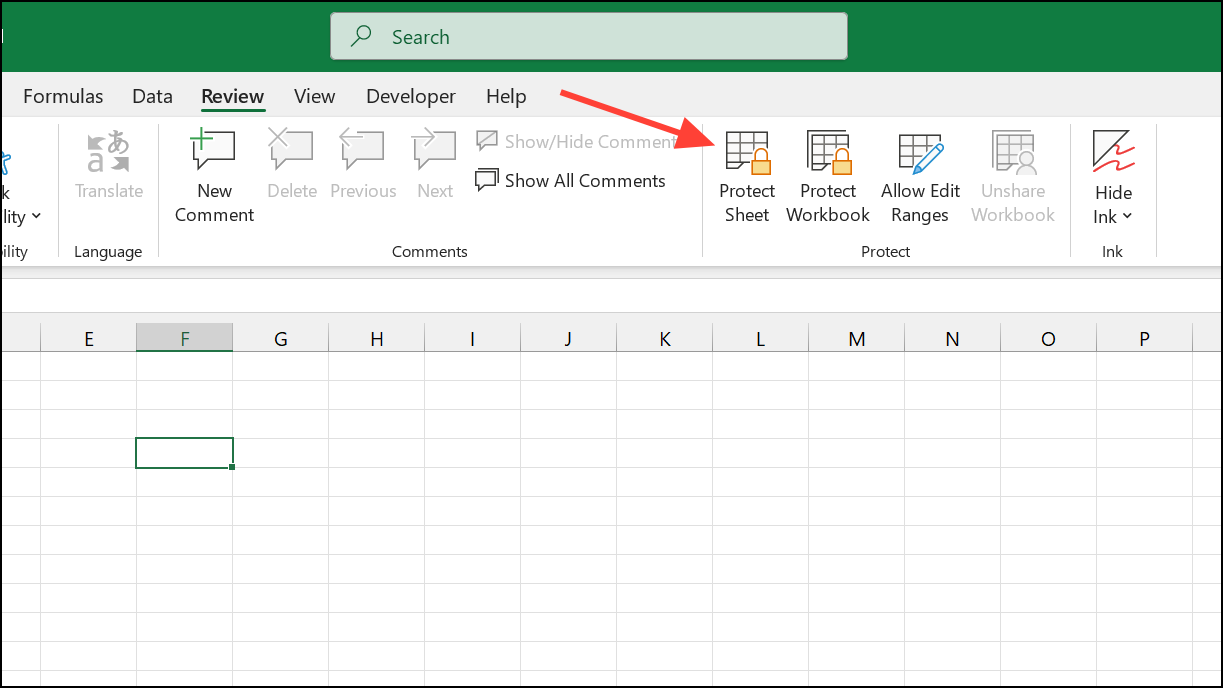
Step 3: Navigate to the Review tab on the Excel ribbon and click Protect Sheet. A dialog box will appear, allowing you to set a password and define what actions users can perform, such as selecting locked or unlocked cells, formatting, inserting rows or columns, and more. Specify your desired settings for the worksheet's protection level.
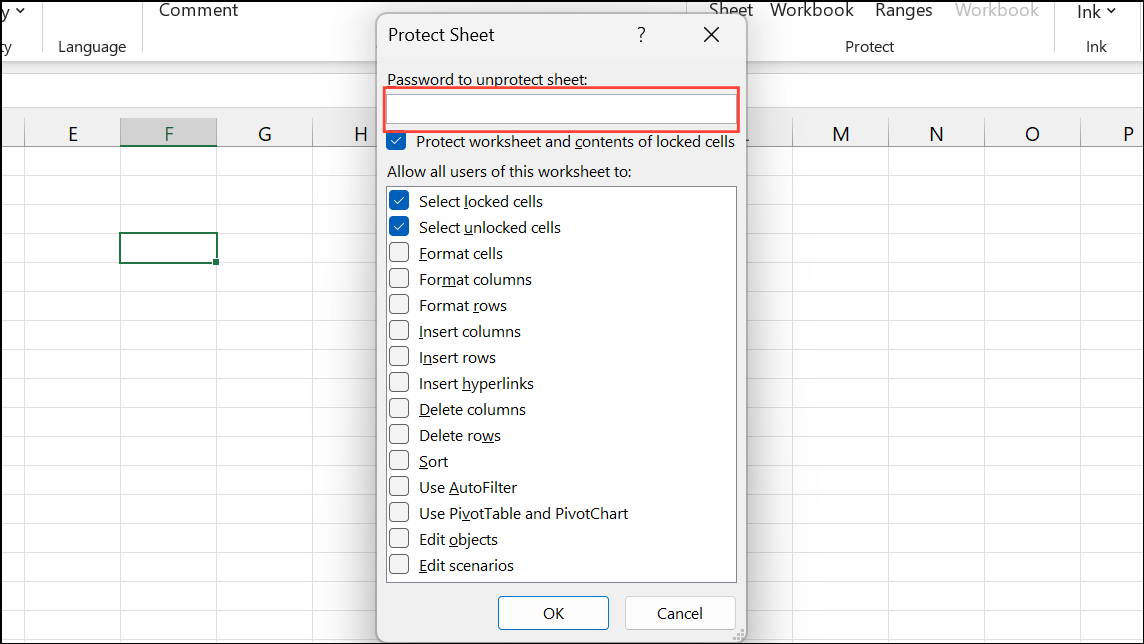
Step 4: Enter a password in the designated field. This password will be required to unprotect the sheet in the future. Confirm the password when prompted. Remember that passwords are case-sensitive and cannot be recovered by Microsoft if forgotten, so store your password securely.
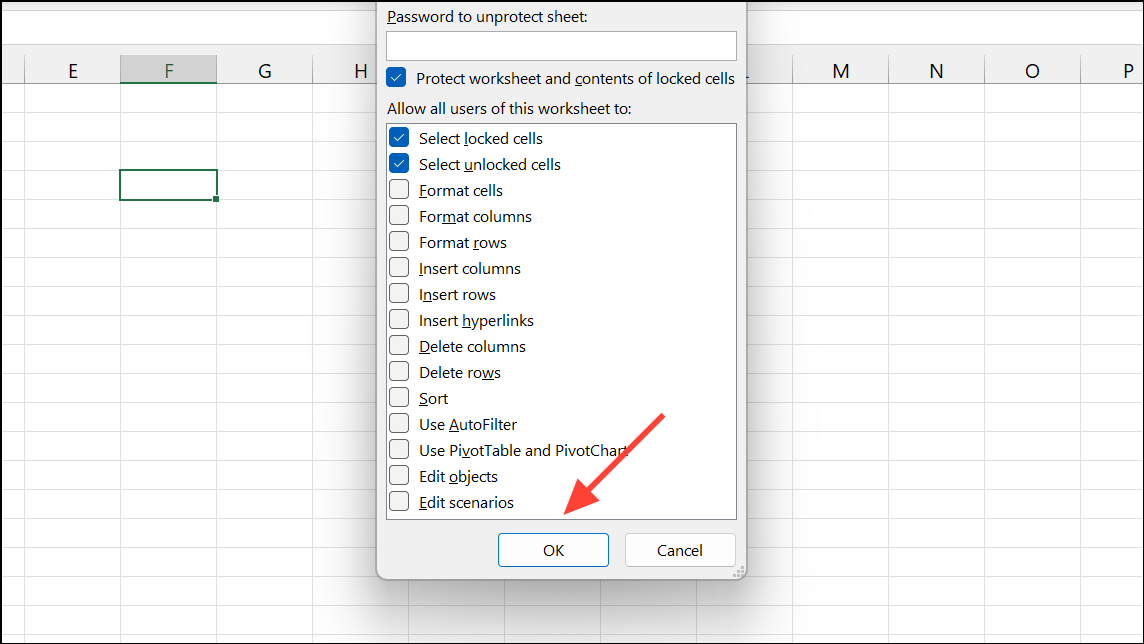
Step 5: Click OK to apply protection. Now, only users who know the password can remove protection and modify restricted areas. Others can interact with unlocked cells or perform permitted actions, depending on your settings.
Step 6: To remove protection later, go to the Review tab and select Unprotect Sheet, then enter the password.
Protecting an Entire Workbook With a Password
Securing an entire workbook restricts structural changes, such as adding, deleting, hiding, or moving worksheets. This method is useful for preventing users from altering the workbook’s organization or accessing hidden sheets.
Step 1: Open the workbook you want to protect.
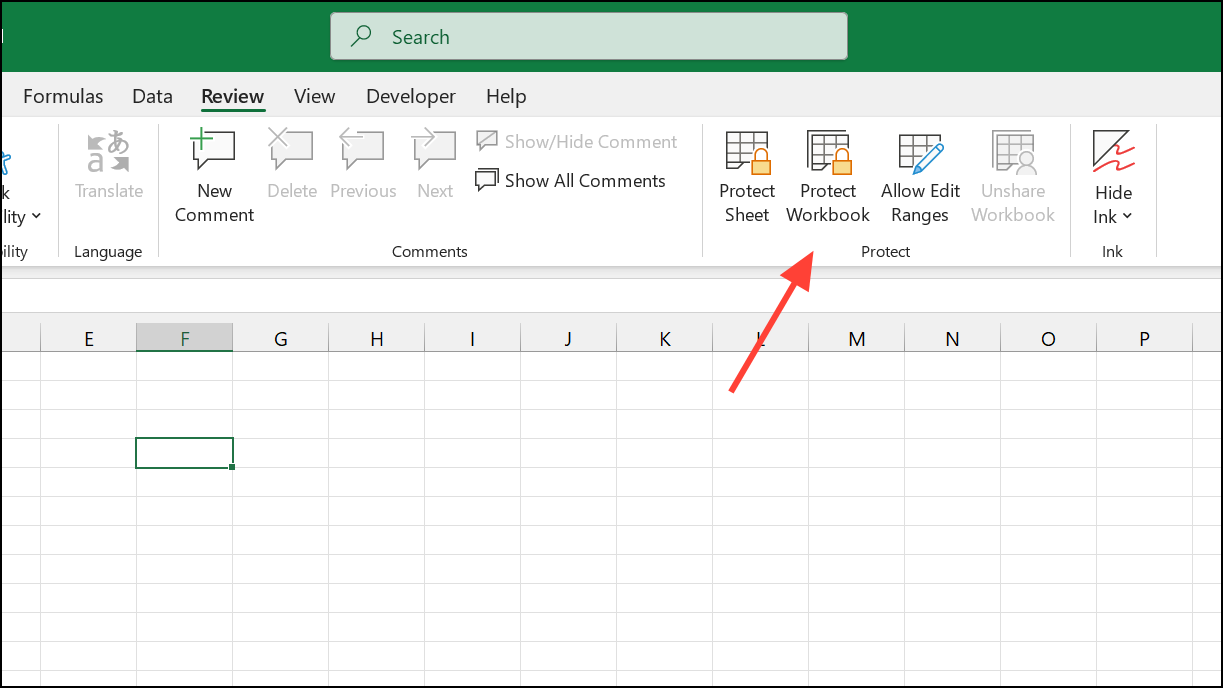
Step 2: Go to the Review tab and select Protect Workbook. A dialog box will appear.
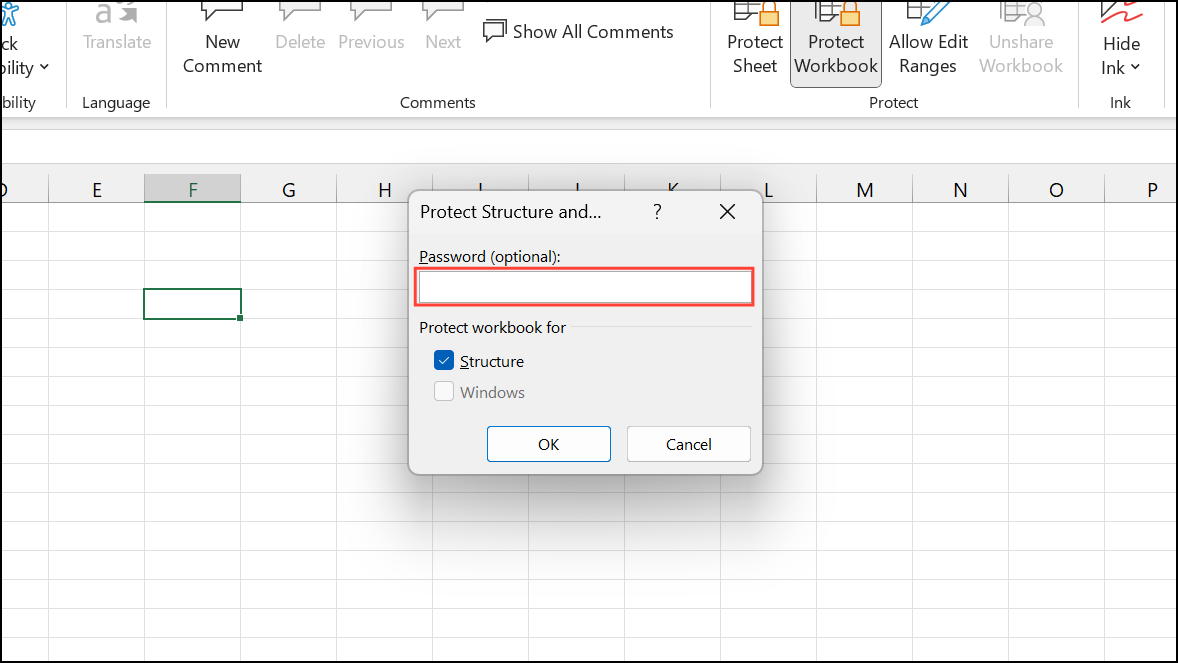
Step 3: Enter a password if you want to require one for structural changes. Confirm the password when prompted. With this protection enabled, users will need the password to add, remove, or reorganize sheets.
Step 4: Save the workbook to enforce the new protection settings.
Encrypting an Excel File With a Password
Encrypting an Excel file with a password prevents unauthorized users from opening the file at all. This method is most effective for securing highly sensitive data, as it blocks both viewing and editing without the correct password.
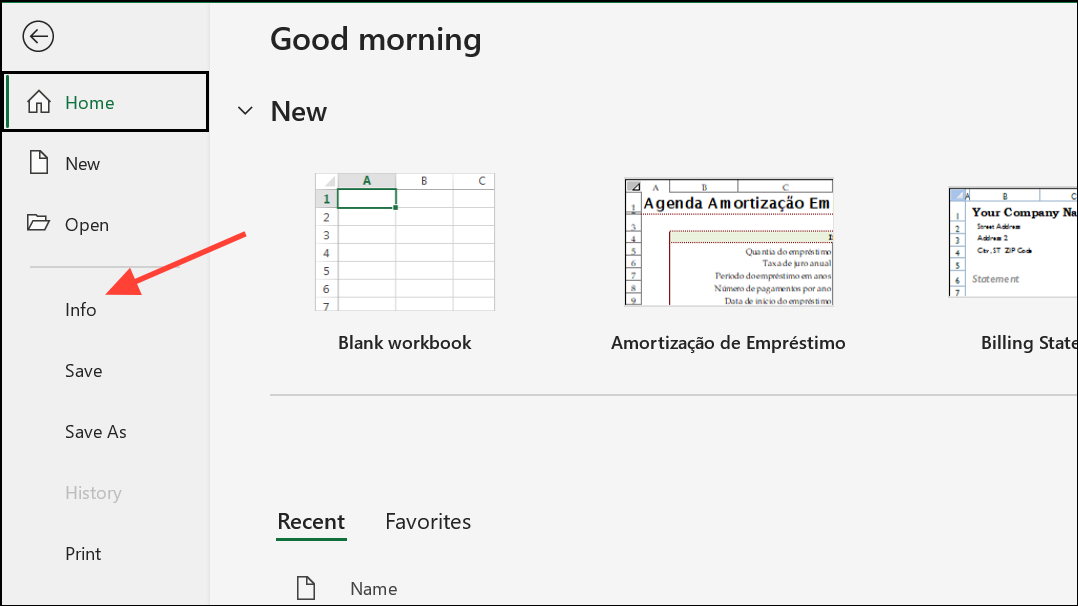
Step 1: Click the File tab and select Info.
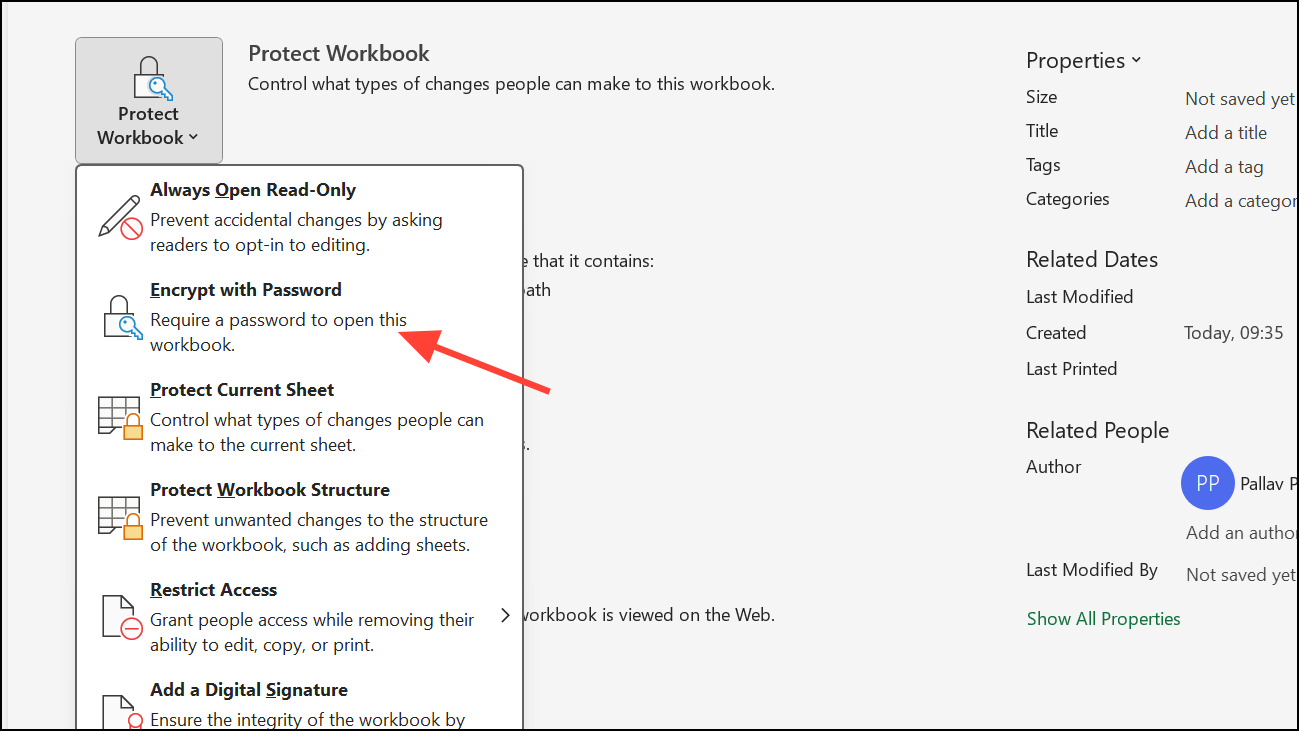
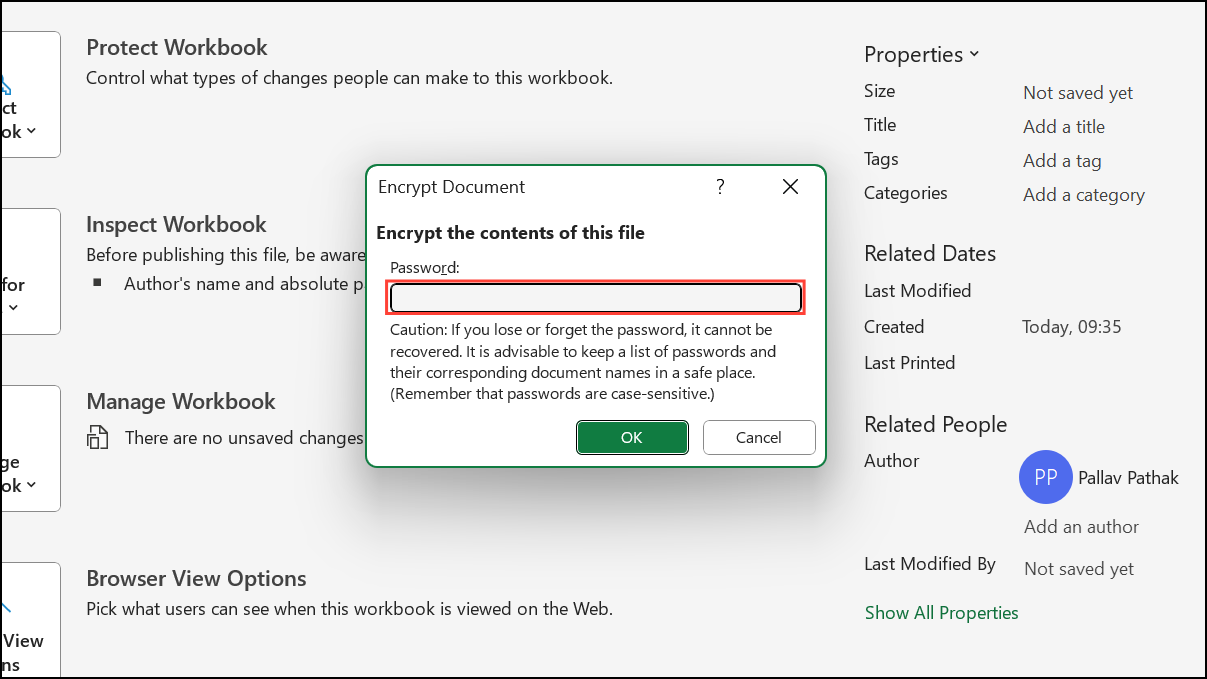
Step 2: Click the Protect Workbook dropdown and choose Encrypt with Password.
Step 3: Enter a password in the dialog box and click OK. Confirm the password when prompted. This step encrypts the entire file, making it inaccessible without the password.
Step 4: Save the workbook to apply encryption. Going forward, anyone attempting to open the file must enter the correct password.
Limiting Editing or Viewing Access
While worksheet and workbook protection restricts editing, preventing users from viewing specific sheets is not fully secure in Excel. Hiding sheets and protecting the workbook structure can obscure data from casual users, but determined users or those with advanced knowledge may still access hidden information.
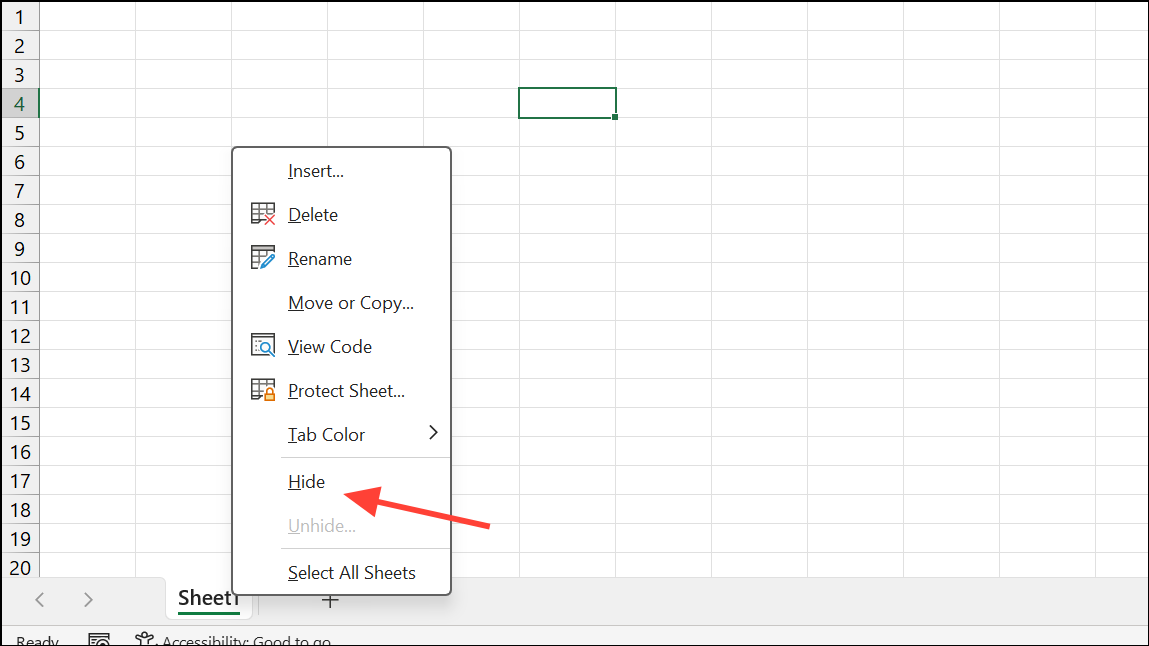
- To hide a sheet, right-click its tab and select
Hide. Then protect the workbook structure to prevent un-hiding without a password.
- For more robust separation, store sensitive data in separate password-protected workbooks rather than multiple sheets within one file.
- Consider using dedicated payroll or HR software for critical data, as Excel’s protection features are not designed for high-security needs.
Be aware that Excel worksheet and workbook protection is intended to deter accidental changes and casual access, not to provide strong security against malicious intent. Always assess the sensitivity of your data before relying solely on Excel’s built-in protection features.
Applying a password to an Excel worksheet or workbook improves control over who can modify or view your data. For highly sensitive information, consider additional security measures or specialized software beyond Excel’s native protection tools.