If you're encountering occasional glitches or unexpected behavior with Microsoft Edge on your Windows 11 PC, reinstalling the browser can often resolve these issues. Since Windows 11 doesn't allow you to uninstall Edge through the usual methods like the Settings app or Control Panel, you can use a workaround involving the Command Prompt to remove and then reinstall Microsoft Edge.
Uninstalling Microsoft Edge using Command Prompt
Step 1: Begin by locating the Microsoft Edge installer on your computer. Open File Explorer by double-clicking the 'This PC' icon on your desktop or by pressing the Windows+E keys simultaneously.

Step 2: In the File Explorer address bar, type or paste the following path and press Enter:
C:\Program Files (x86)\Microsoft\Edge\Application\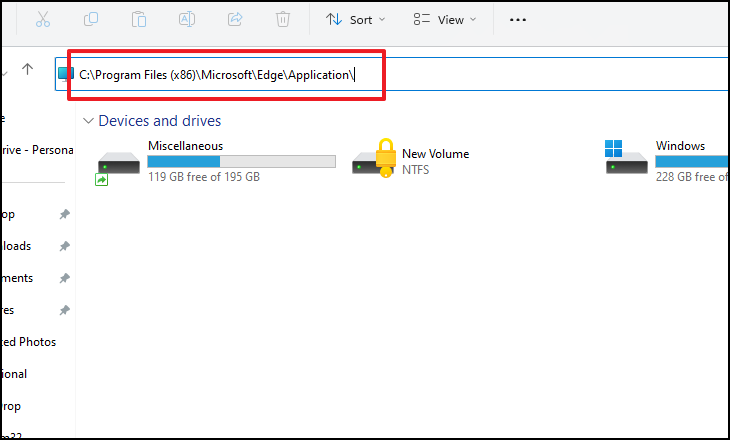
Step 3: Open the folder that corresponds to the current version number of Microsoft Edge installed on your system. Double-click on the version folder to proceed. Your version number might differ from the one shown in the screenshot.
Note: The version number may vary depending on the version of Edge installed on your computer.
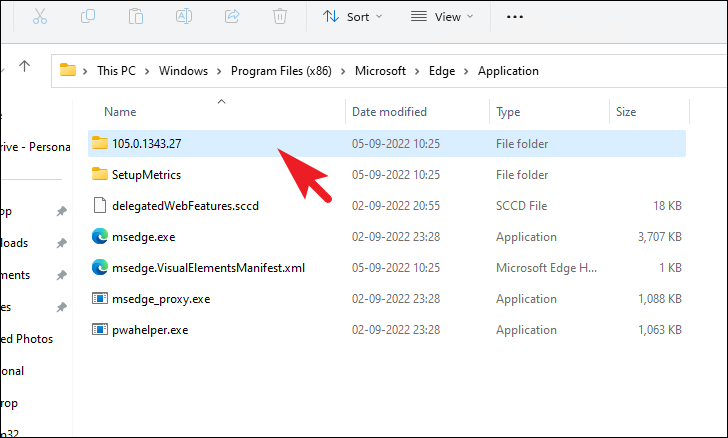
Step 4: Inside the version folder, double-click on the 'Installer' folder to open it.
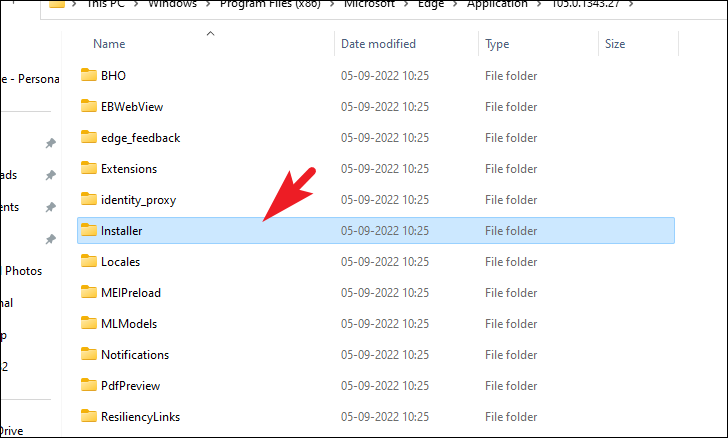
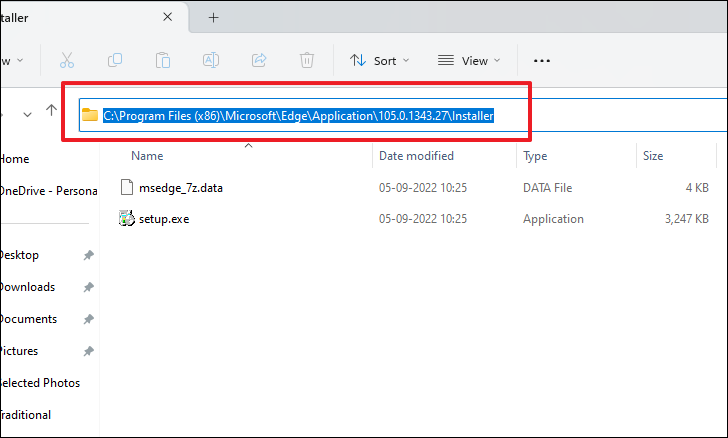
Step 5: Copy the full path of the 'Installer' directory. Click on the address bar, ensure the entire path is highlighted, and press Ctrl+C to copy it. You'll need this path in the upcoming steps.
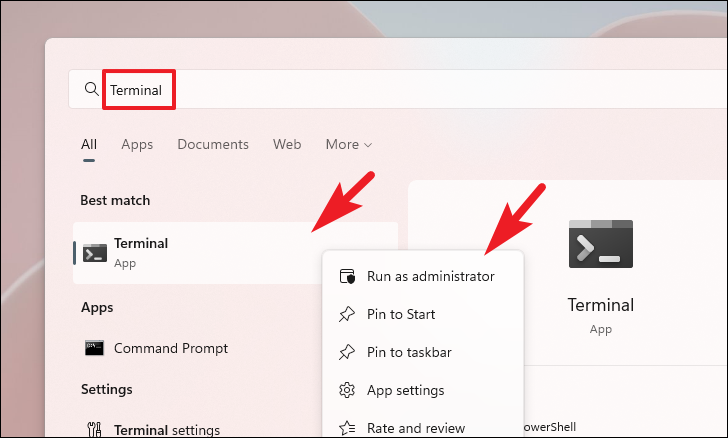
Step 6: Open the Start Menu and type 'Terminal' in the search bar. Right-click on the 'Terminal' app in the search results and select 'Run as administrator' from the context menu.
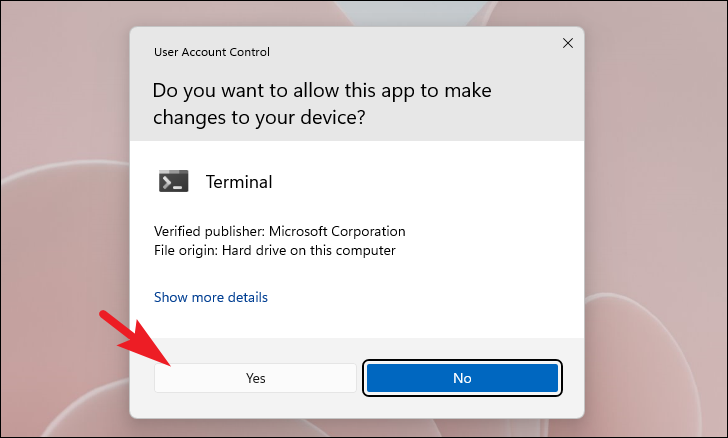
Step 7: If prompted by the User Account Control (UAC), click 'Yes' to grant administrative privileges. If you're not signed in as an administrator, you'll need to enter the administrator password to proceed.
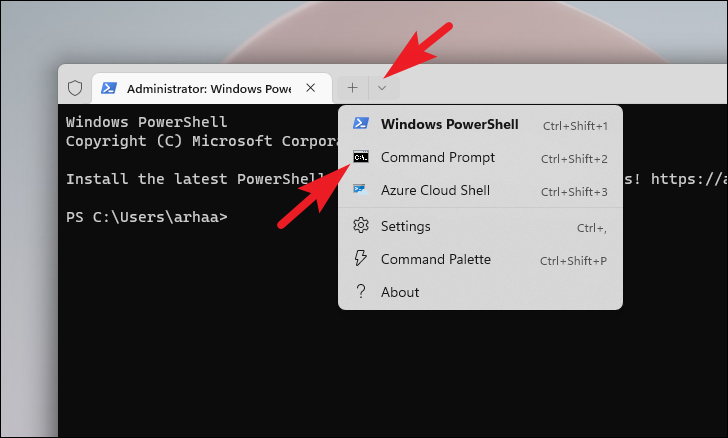
Step 8: In the Terminal window, click on the downward-facing chevron (arrow) and select 'Command Prompt' from the dropdown menu to open a Command Prompt tab with administrative privileges.
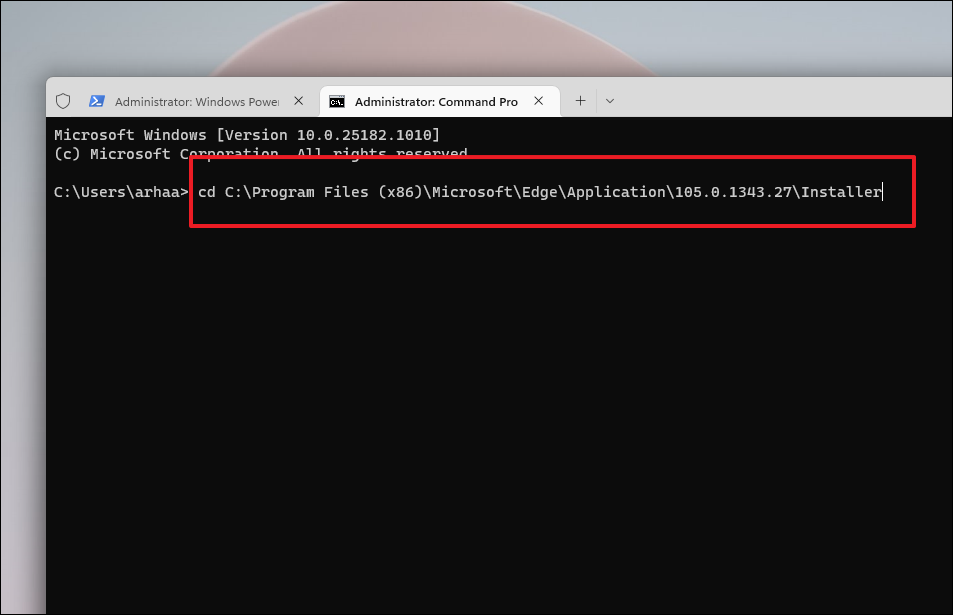
Step 9: Change the directory to the 'Installer' folder you copied earlier by entering the following command and pressing Enter:
cd <copied directory>Note: Replace <copied directory> with the actual path you copied in Step 5.
Step 10: To uninstall Microsoft Edge, execute the following command in the Command Prompt and press Enter:
setup.exe --uninstall --system-level --verbose-logging --force-uninstall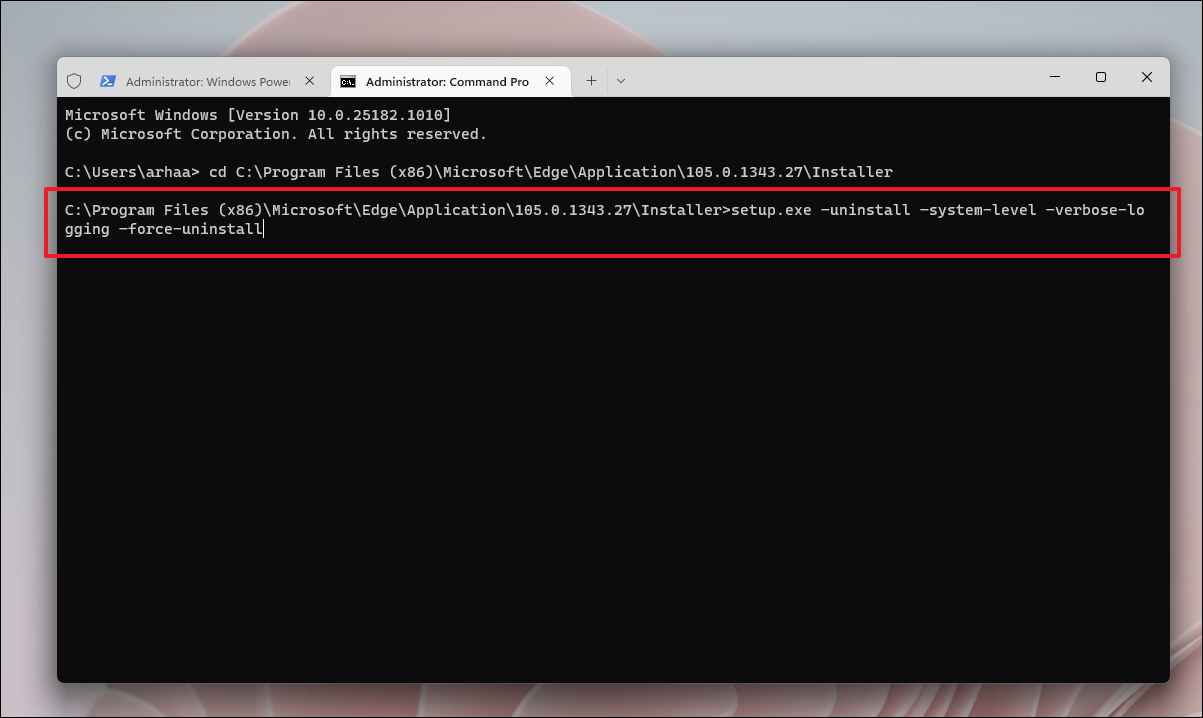
Step 11: After the command runs successfully, Microsoft Edge will be removed from your computer. It's advisable to restart your PC to ensure all related files are completely deleted.
Reinstalling Microsoft Edge
Step 1: To reinstall Microsoft Edge, open any web browser installed on your computer and navigate to www.microsoft.com/edge. Click on the 'Download Edge' button.

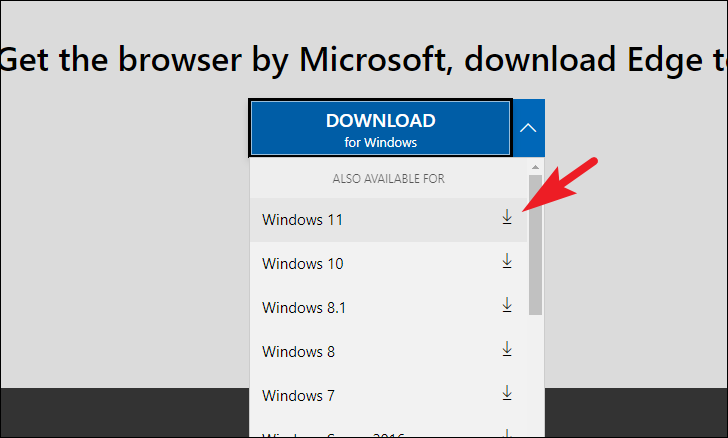
Step 2: On the download page, find the 'Windows 11' option and click the 'Download' button beneath it. A new window will appear prompting you to accept the license terms.
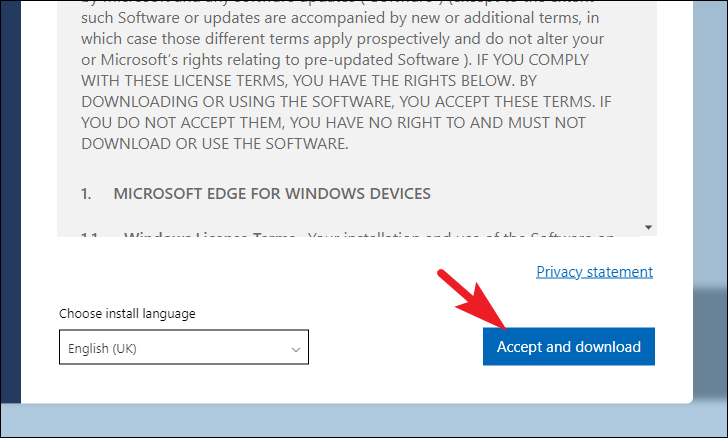
Step 3: Click on 'Accept & download' to begin downloading the Microsoft Edge installer.
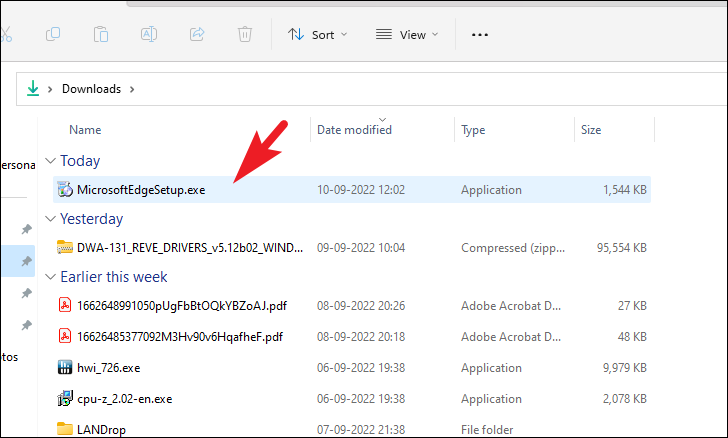
Step 4: Once the download is complete, go to your 'Downloads' folder and double-click the downloaded .exe file to launch the installer.
Step 5: The installer will automatically download the necessary files and install Microsoft Edge on your computer. Wait for the installation process to complete.
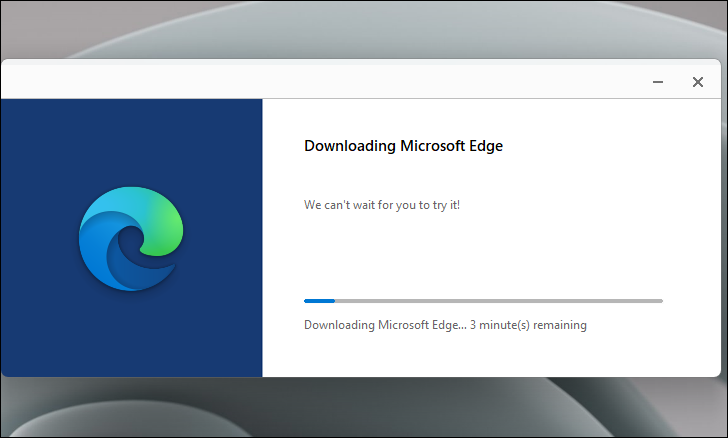
Step 6: After the installation is finished, Microsoft Edge will launch automatically. You can now start using the browser as usual.
By following these steps, you can successfully uninstall and reinstall Microsoft Edge on your Windows 11 computer, potentially resolving any issues you've been experiencing with the browser.


