
If your Windows 11 computer is experiencing sluggish performance or applications are freezing and crashing, high memory usage might be the underlying issue. Excessive memory consumption can significantly slow down your system, leading to lags and unresponsiveness. This guide will help you understand the causes of high memory usage on Windows 11 and provide effective solutions to fix it.
What is memory (RAM)?
Memory, commonly known as RAM (Random Access Memory), is a crucial component of your computer that temporarily stores data required by the CPU to execute tasks efficiently. Unlike storage devices that keep data permanently, RAM holds data only while programs are running. When you open an application, the CPU transfers data to the RAM for quick access. Once you close the program, the data is cleared from the memory.
What causes high memory usage?
Several factors can lead to high memory usage on your Windows 11 system. Identifying these causes can help you address the issue effectively.
- Running multiple programs simultaneously.
- Too many applications launching at startup.
- Insufficient physical memory (RAM).
- Malware or viruses consuming resources.
- Incorrect registry configurations.
Now, let’s explore various methods to fix the high memory usage issue.
1. Close unnecessary apps
One of the simplest ways to free up memory is by closing applications you aren’t using. Running too many programs at the same time can consume a significant amount of RAM, causing your system to slow down. You can use the Task Manager in Windows 11 to identify and close resource-intensive apps.
To force close an application:
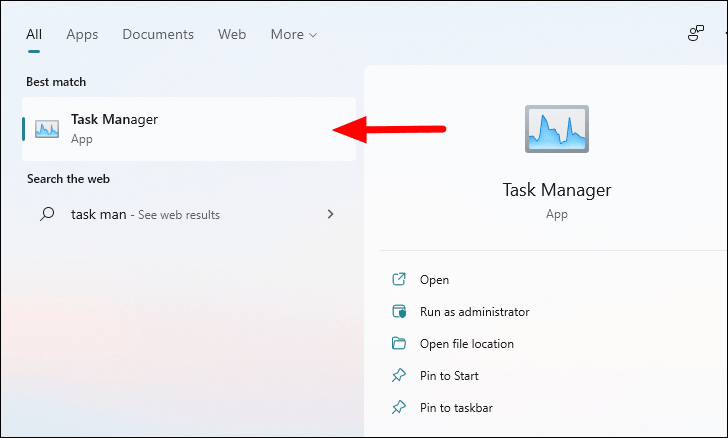
- Press the Windows key to open the Start Menu, type Task Manager, and select it from the search results.
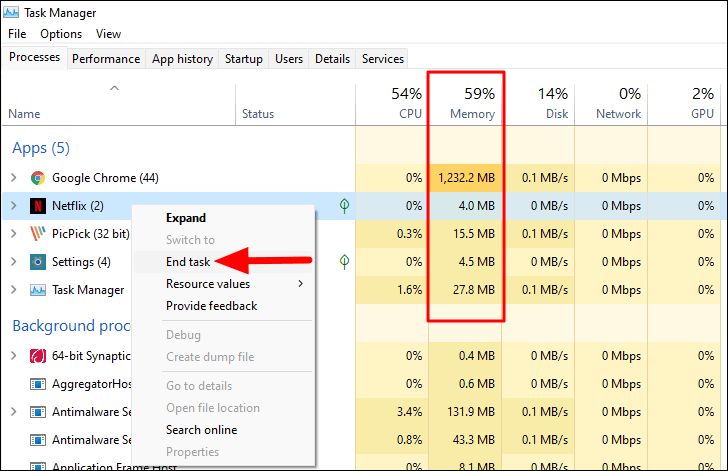
- In the Task Manager window, under the Processes tab, you’ll see a list of running apps and their memory usage under the Memory column.
- Identify apps that are consuming a lot of memory or those you no longer need running.
- Right-click on the app and select End task from the context menu to close it.
The application will close and no longer appear in the Task Manager. Repeat these steps to close other unnecessary apps and reduce memory usage.
2. Disable apps from running at startup
Some programs automatically start when you turn on your computer, consuming memory from the moment your system boots up. Disabling unnecessary startup apps can help free up resources and speed up your computer.
To prevent apps from running at startup:
- Open the Task Manager as described earlier and navigate to the Startup tab at the top.
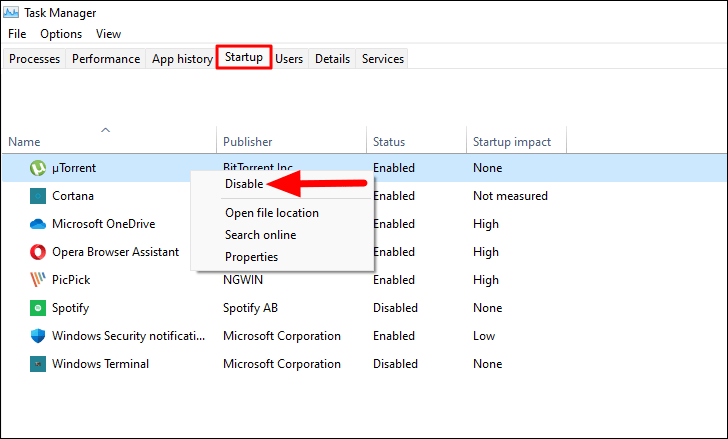
- You’ll see a list of programs that launch at startup along with their impact on startup time.
- Right-click on any app you don’t need to start automatically and select Disable.
3. Run a full system scan
Malware or viruses can consume significant memory by running unwanted processes in the background. Performing a thorough system scan can detect and remove such threats, potentially freeing up memory and improving performance.
To run a full system scan using Windows Security:
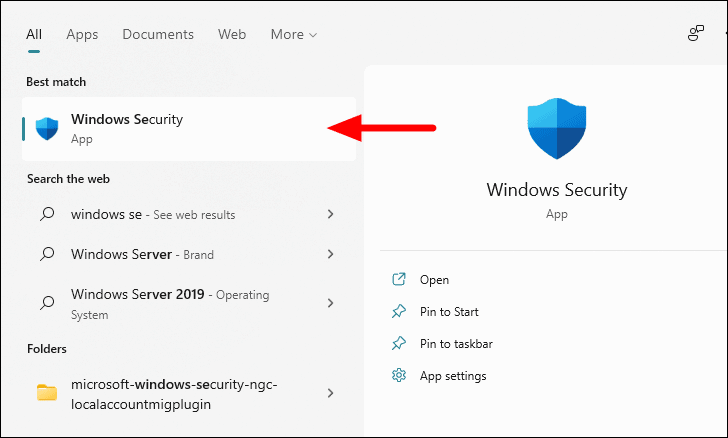
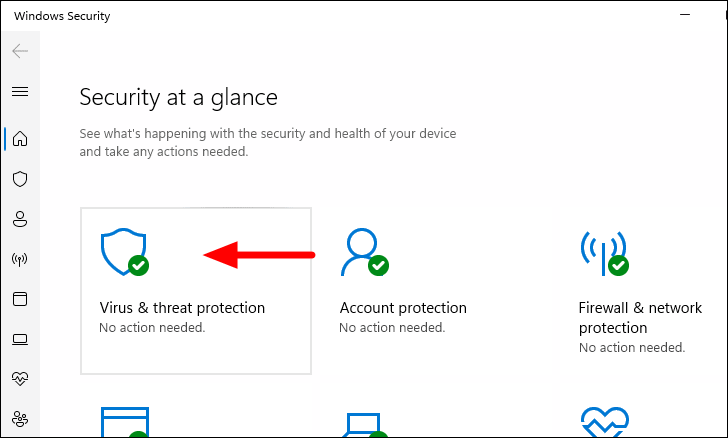
- Press the Windows key, type Windows Security, and select it from the search results.
- In Windows Security, click on Virus & threat protection.
- Click on Scan options beneath the Quick scan button.
- Select Full scan and click Scan now.
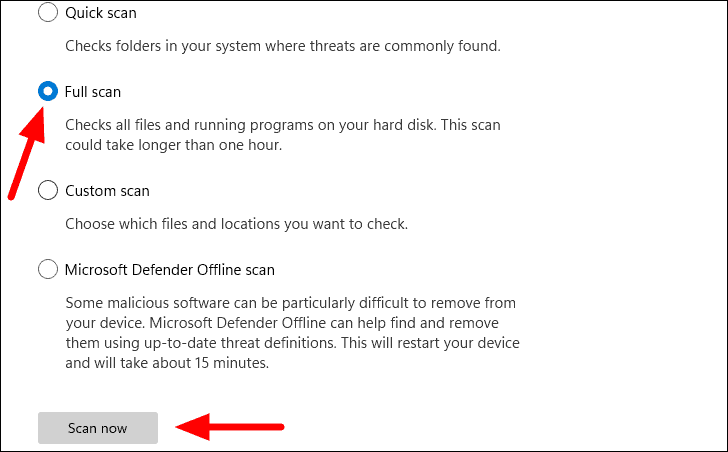
Windows Security will scan your system for malware and remove any detected threats.
4. Increase virtual memory
Virtual memory allows your system to use disk space to simulate extra RAM, which can alleviate high memory usage issues. Increasing the size of virtual memory can help if you’re running out of physical RAM.
To increase virtual memory:
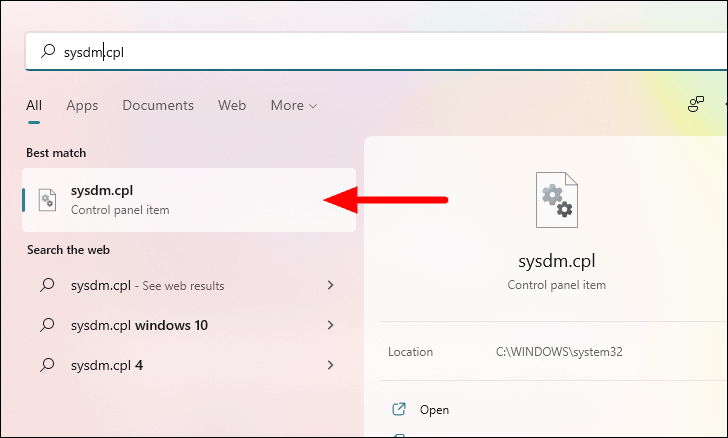
- Press the Windows key, type sysdm.cpl, and select it from the search results to open System Properties.
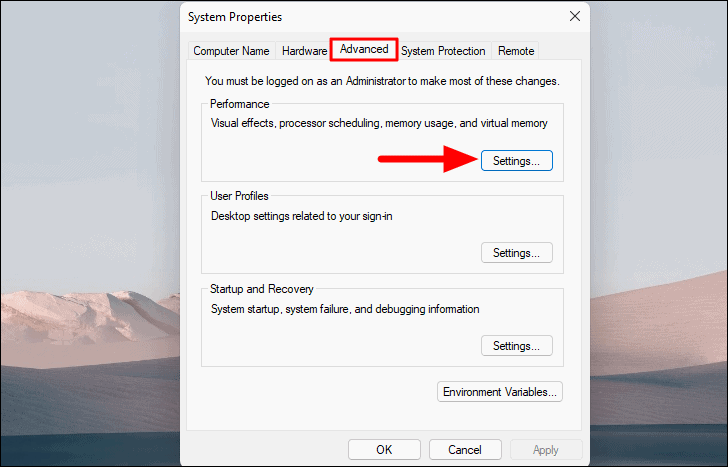
- In the System Properties window, go to the Advanced tab and click on Settings under the Performance section.
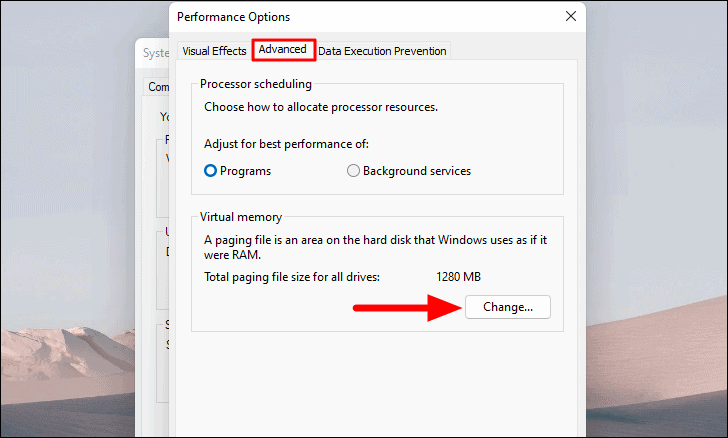
- In the Performance Options window, navigate to the Advanced tab and click Change under Virtual Memory.
- Uncheck the box next to Automatically manage paging file size for all drives.

- Select your system drive (usually C:), choose No paging file, and click Set.
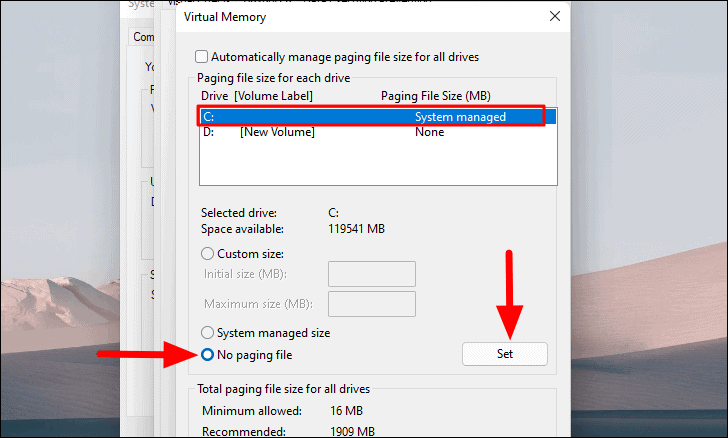
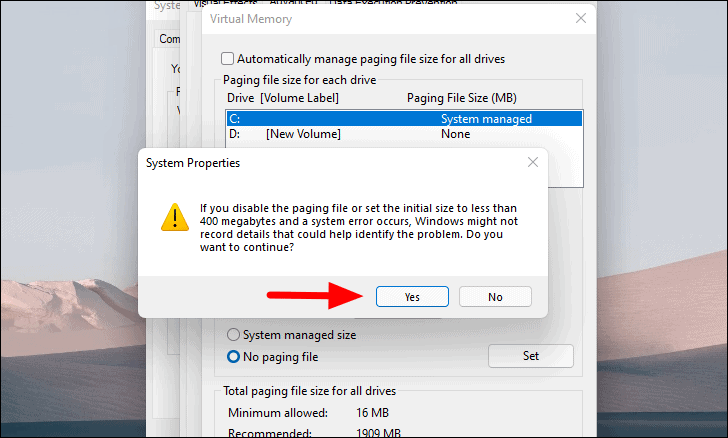
- Confirm any prompts that appear by clicking Yes.
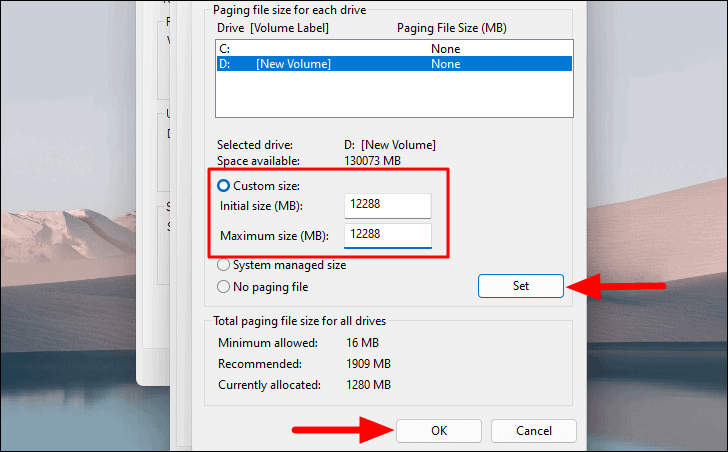
- Select another drive with sufficient space, choose Custom size, and enter a value that’s 1.5 to 2 times your physical RAM in both the initial and maximum size fields. For example, if you have 4 GB of RAM (4096 MB), you can enter 6144 MB in both fields.
- Click Set and then OK to save changes.
Restart your computer for the changes to take effect.
5. Change system performance settings
Adjusting your system’s performance settings can optimize Windows 11 for better performance, potentially reducing memory usage.
To change performance settings:
- Open the System Properties window by pressing the Windows key, typing sysdm.cpl, and selecting it from the results.
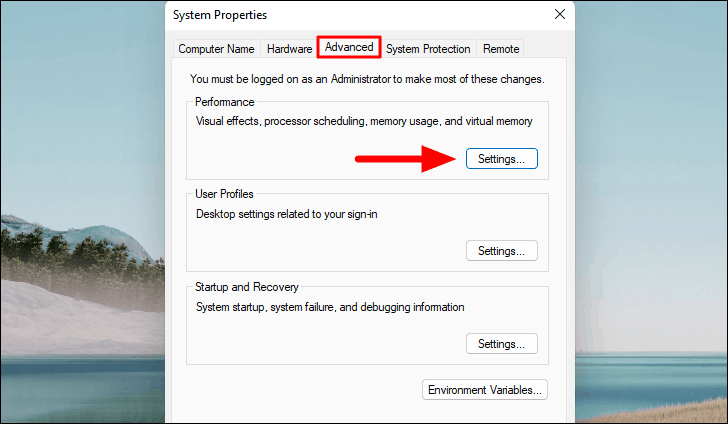
- Navigate to the Advanced tab and click on Settings under the Performance section.
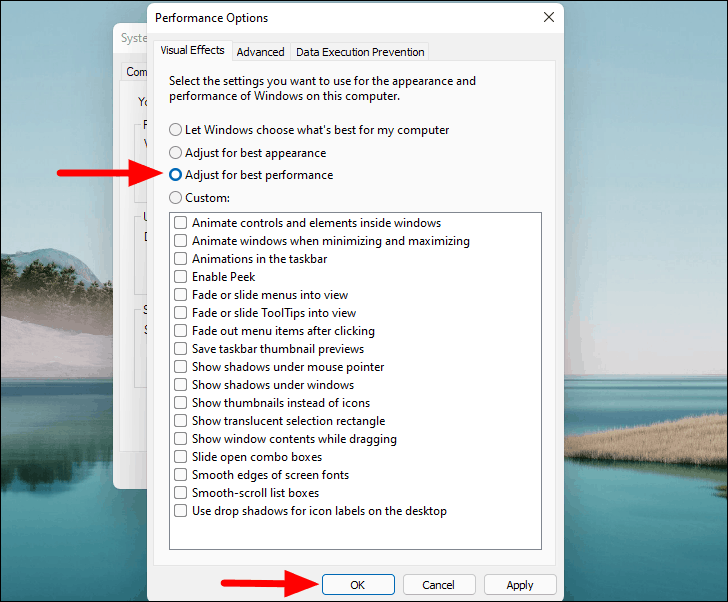
- In the Performance Options window, select Adjust for best performance.
- Click OK to apply the changes.
6. Disable SysMain service
The SysMain service preloads commonly used programs into RAM to speed up their launch, but it can sometimes contribute to high memory usage. Disabling SysMain may help reduce memory consumption.
To disable the SysMain service:
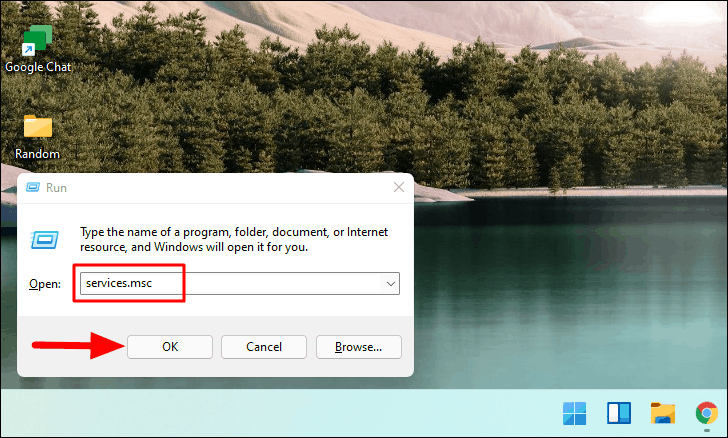
- Press Windows + R to open the Run dialog box, type services.msc, and press Enter.
- In the Services window, scroll down to locate SysMain, which is sorted alphabetically.
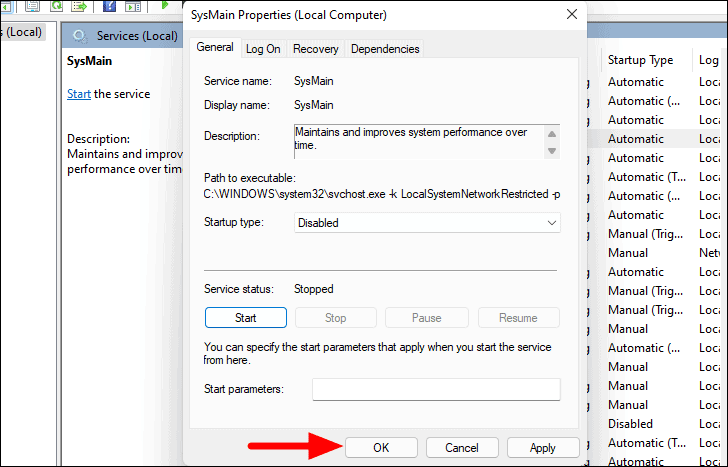
- Double-click on SysMain to open its properties.
- Set the Startup type to Disabled from the drop-down menu.
- Click on Stop under Service status to halt the service.
- Click OK to save the changes.
After disabling the SysMain service, monitor your system’s performance to see if memory usage improves.
7. Defragment hard drive
Over time, files on your hard drive can become fragmented, which can slow down your system and contribute to high memory usage. Defragmenting your hard drive can reorganize these fragments for more efficient access.
Note: This step is only necessary for HDDs (Hard Disk Drives). SSDs (Solid State Drives) do not require defragmentation.
To defragment your hard drive:
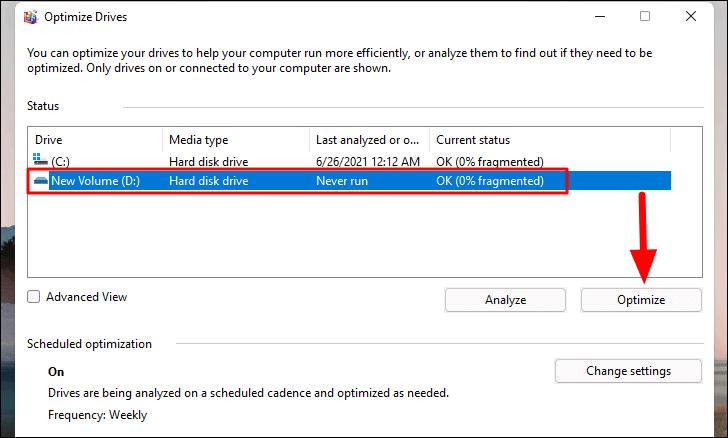
- Press the Windows key, type Defragment and Optimize Drives, and select it from the search results.

- Select the drive you wish to defragment and click Optimize.
- Wait for the defragmentation process to complete.
After defragmentation, restart your computer and check if the memory usage has reduced.
8. Make changes to the registry
Configuring Windows to clear the page file on shutdown can help manage memory usage. However, editing the registry can have serious consequences if not done correctly, so proceed with caution.
Note: Be careful when editing the registry and follow the steps precisely.
To configure Windows to clear the page file at shutdown:
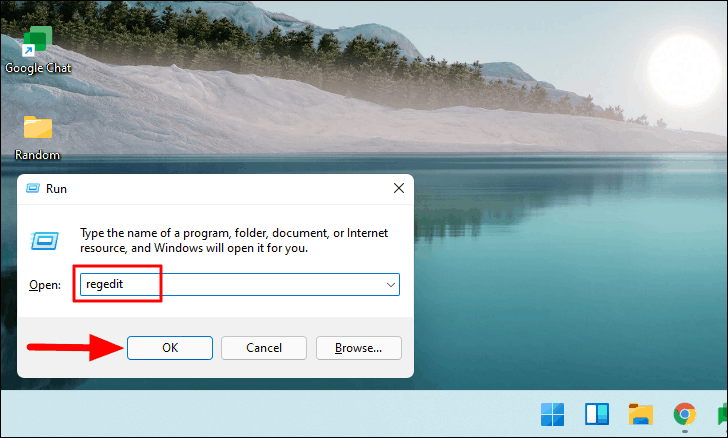
- Press Windows + R to open the Run dialog box, type regedit, and press Enter to open the Registry Editor. Click Yes if prompted.
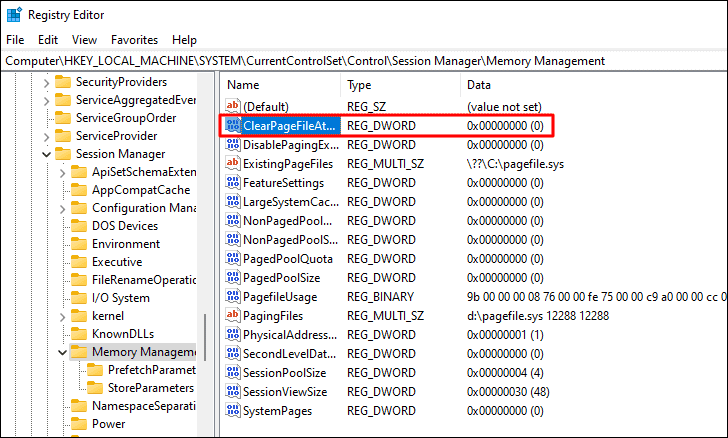
- Navigate to the following path:
HKEY_LOCAL_MACHINE\SYSTEM\CurrentControlSet\Control\Session Manager\Memory Management- In the right pane, double-click on ClearPageFileAtShutdown.
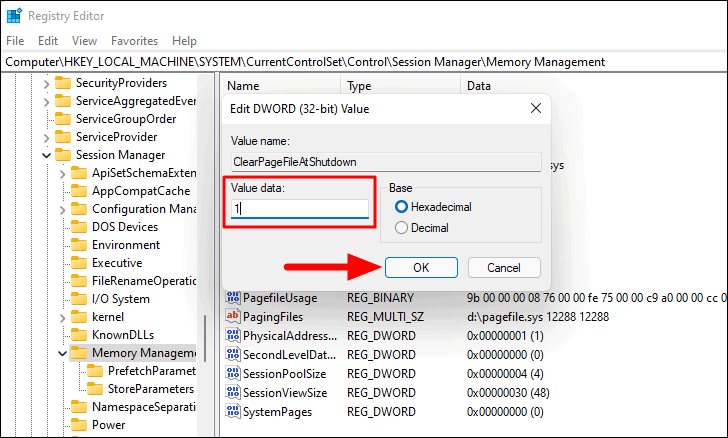
- Change the Value data to
1and click OK.
- Close the Registry Editor and restart your computer for the changes to take effect.
9. Increase the RAM
If none of the above solutions resolve the high memory usage issue, upgrading your physical memory (RAM) might be necessary. Before doing so, check how much RAM your system currently has and the maximum supported capacity.
To check your current RAM:
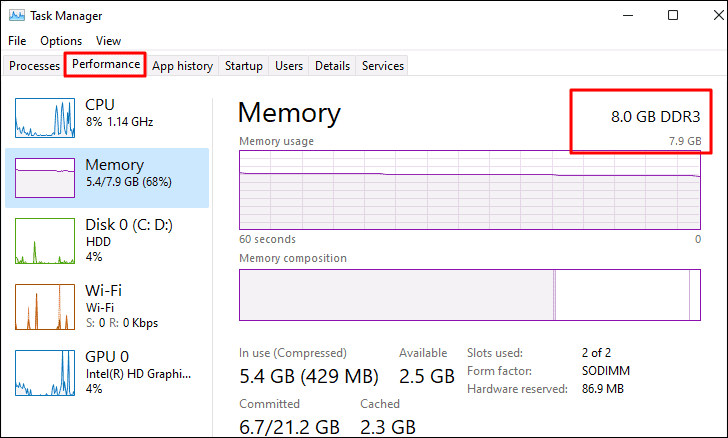
- Open the Task Manager and navigate to the Performance tab.
- Click on Memory on the left sidebar. Your installed RAM will be displayed in the top-right corner.
Consult your system’s manufacturer or a professional technician to upgrade your RAM appropriately.
By following these steps, you should be able to reduce high memory usage on your Windows 11 system, leading to improved performance and responsiveness.


